Beige Wedding Quilt - Day 7
I got up and got this quilt bound early in the morning - first thing. I trimmed it, and then machine bound it.

I realized I hadn’t taken a picture of the binding process. I used the darker of the chain fabrics as I had plenty of it. I still don’t know who makes it - just that it is called Color Confetti and it says Made in Japan on it. It actually looks like one of Rachael’s picks on the website.
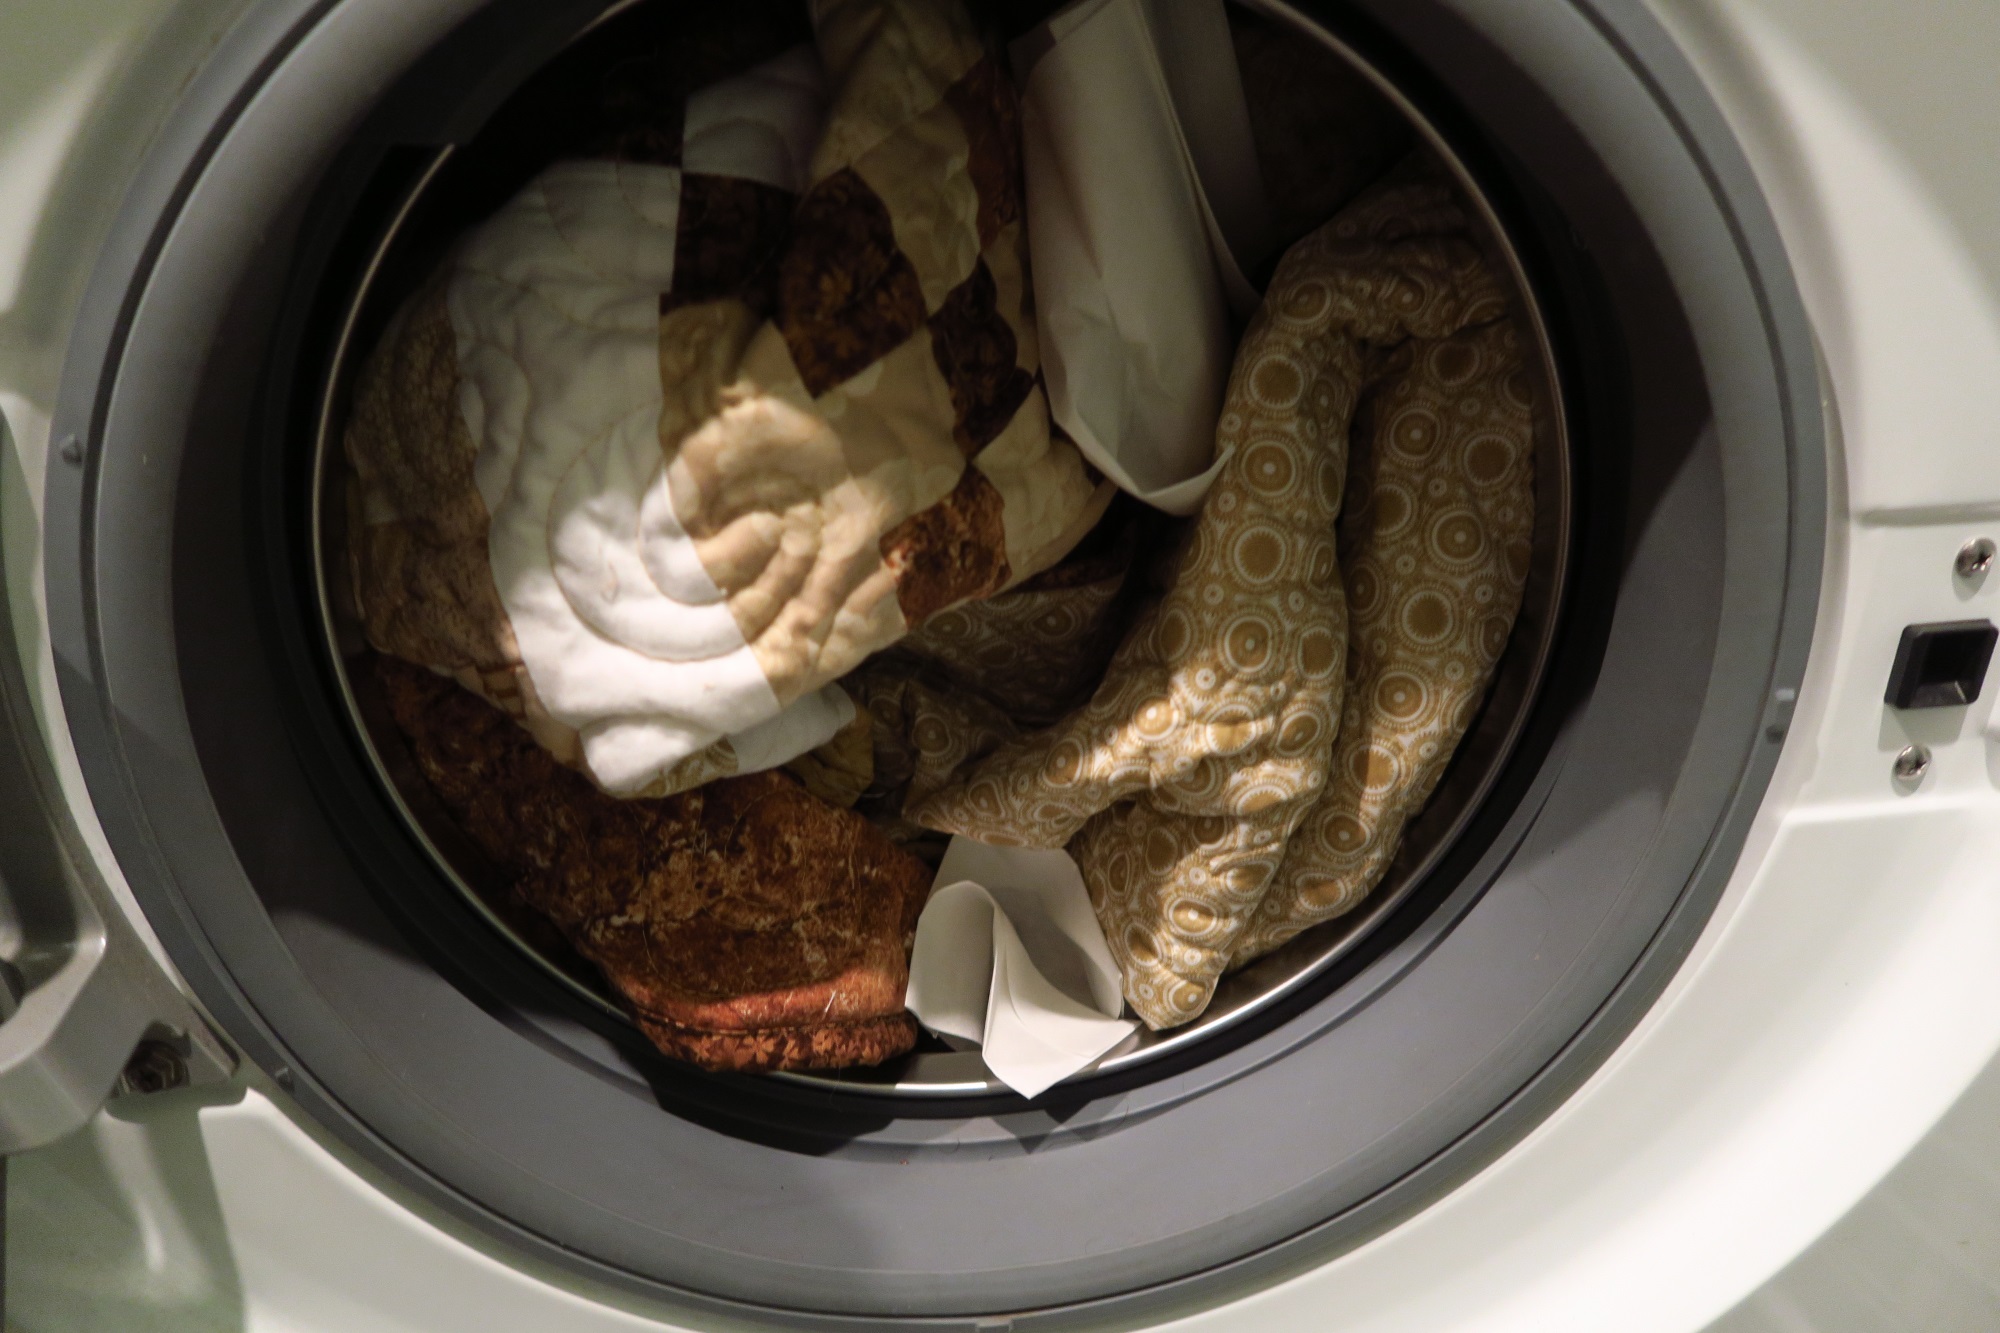
I think I threw 3 new color catchers in there for good measure. They didn’t come out with much on them.
Anyway, it doesn’t matter. I’ve used everything in this quilt - from basic Polish solid white used for the sashing strips to Stonehenge, Riley Blake, Kaufman, purchased in Turkey fabrics with no name brand, other no name, etc. The only thing I didn’t use was upcycled fabrics in the actual top.
Once I got the quilt in the wash, I went to work on the decorator pillows and pillow cases.
For the decorator pillows, I decided to just go ahead and make “big” patchwork dark beige and light beige patchwork squares and make them into a pillow to mimic the half square triangle backgrounds.
At first I thought I’d use any leftover 2” strips I had, but ultimately I decided to cut 2.5” strips and use 9 across and 9 down so my pillows would be 18” x18” - a very nice size for decorator pillows.

I cut as many of the dark fabrics as I could find - and did the same with the lights. I had fewer of the darker beiges.

i then sewed three of them together and made several different sets. Then I took those together and made sets of 9 in various combinations. I made 9 such strips.
I then put them together until I had a big square of 9x9 blocks. I didn’t worry too much about the actual placement of the squares - just didn’t want the exact same ones to hit side by side.


I did the back in an envelope style instead of using a zipper. I just decided to be different. I also used this old Mary Engelbreit copyright 1998 fabric on the backs. I thought, “Why not?” :) I actually hadn’t used it in the front of the quilt.
Then I realized I would need to make the pillow forms as I didn’t want to arrive on location and go find some (there wouldn’t be time)- and I didn’t have any here in the house.

I have bags and bags of this stuff. I’m trying to get rid of it - give it away as I really don’t want to have as much as I do have if others can use it. I keep making more scraps, of course so should I need some for myself or my own projects, I should have it.
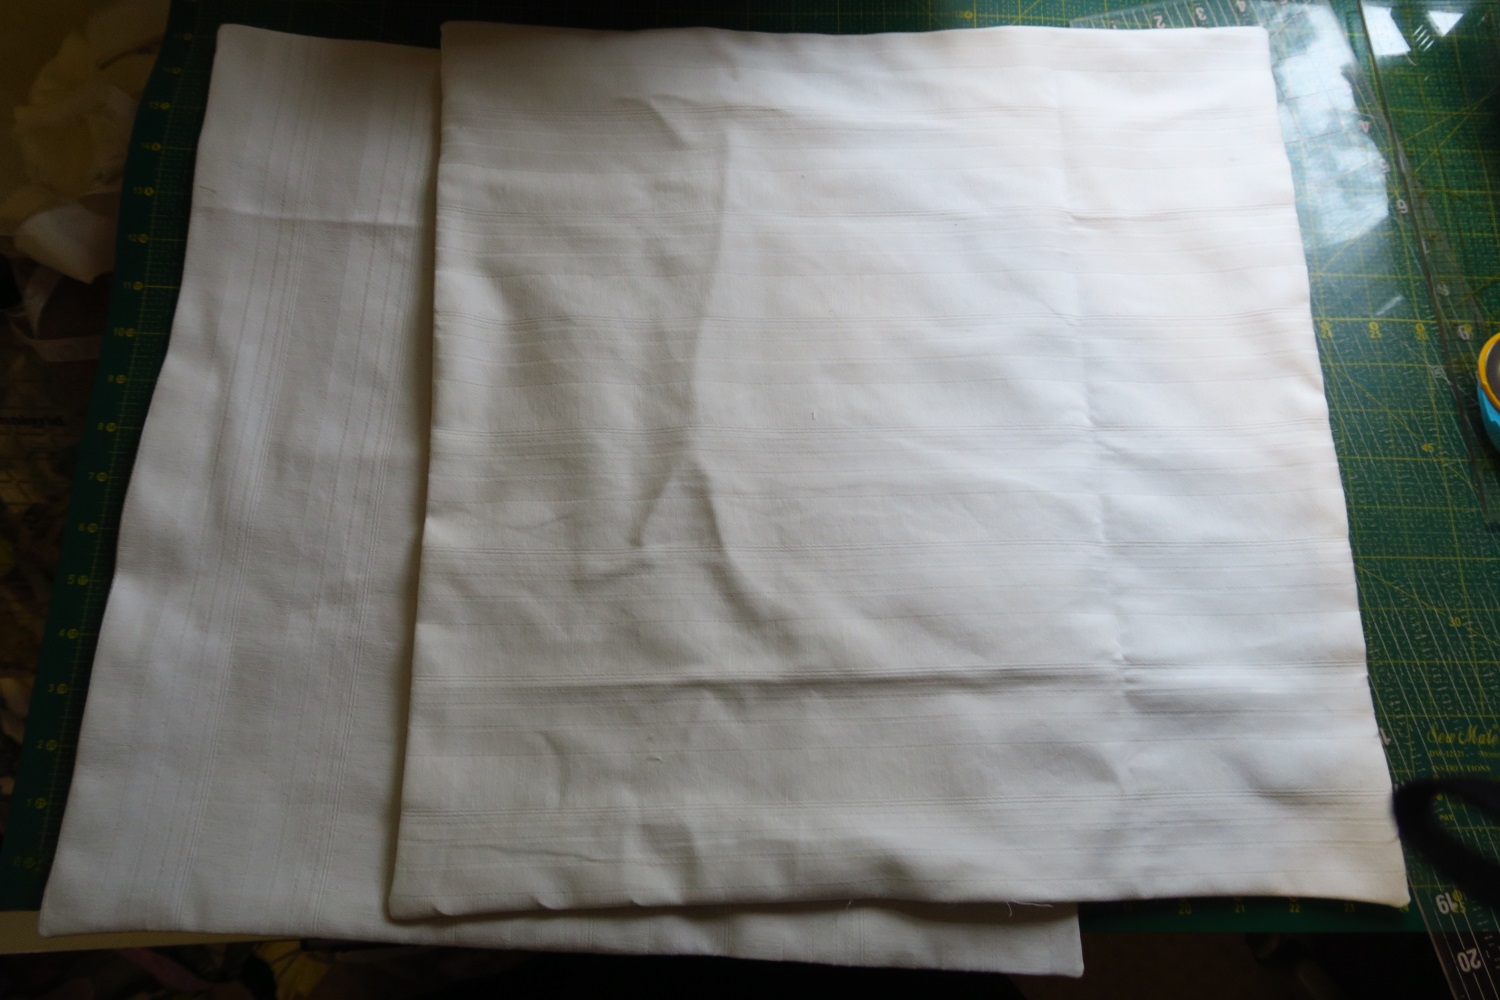
I just cut two pieces of white fabric - kind of not-so-nice stuff (upcycleds) I have slated for possibly labels for charity quilts - actually it’s heavier than regular quilting cotton - into 19” squares, sewed around the edges, turned it inside out after trimming the corners, stuffed it with polyester fiberfill leftover from various quilts and sewed it shut.

Here’s where i sewed it shut.

the pillow form - I wasn’t entirely sure how much filling to put in.
Here are the two pillows after they were stuffed. I did top stitch around the edges in an effort to keep the front to the front and the back from showing on the front side.

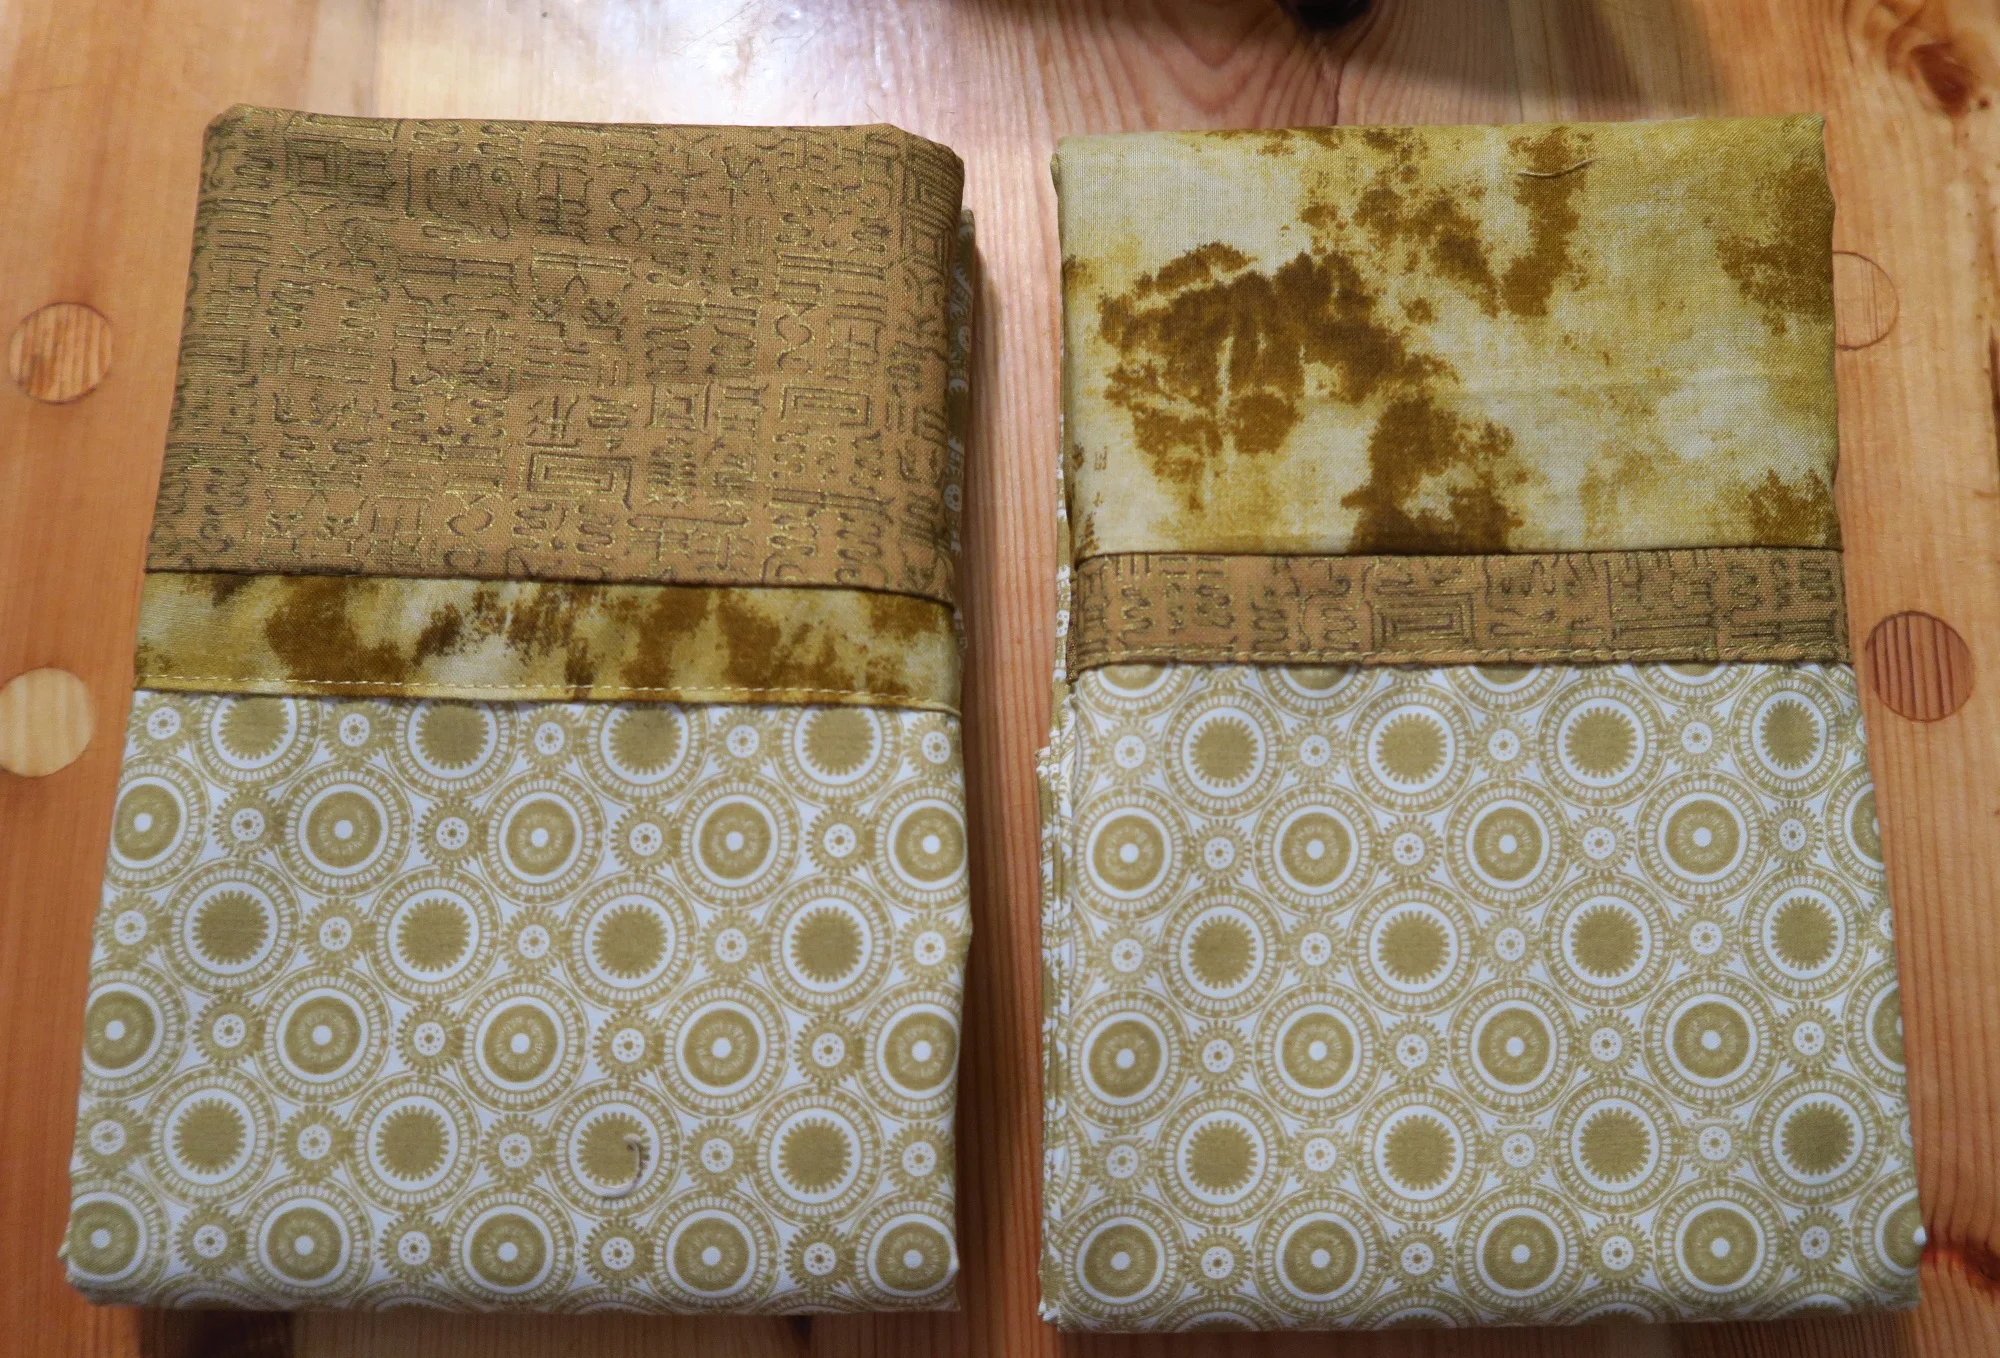
And the pillow cases. I forgot to take a lot of pictures of what I did, but here I am showing as I am making the French seam - sewing first the wrong side together and then I would flip and sew the right sides together so all the seams are enclosed. Because of what many people mentioned about the little strip of accent fabric wrinkling all up and needing to be ironed, I top stitched it in place.


Then I got the quilt out of the machine and laid it on the table to dry.
Here’s the entire set from a distance:

And the final shots -

When I first chose out the beige fabrics, there was quite a variety. I had wondered about a few of them, but I think by looking it from a distance you can see that the variety of shades and tones actually makes the quilt much more interesting than if they had been perfectly “coordinated” with one line of fabrics that all have the exact same pigment in the fabrics.


The quilt roll:
The decorator pillows were a good choice, I believe. One light and one dark - all from the fabrics I used in the center of the quilt. Here’s the whole set:


The last thing I needed to do was make a label - so here it is under construction.
I applied the label and took the quilt outside in the beautiful weather for pictures.
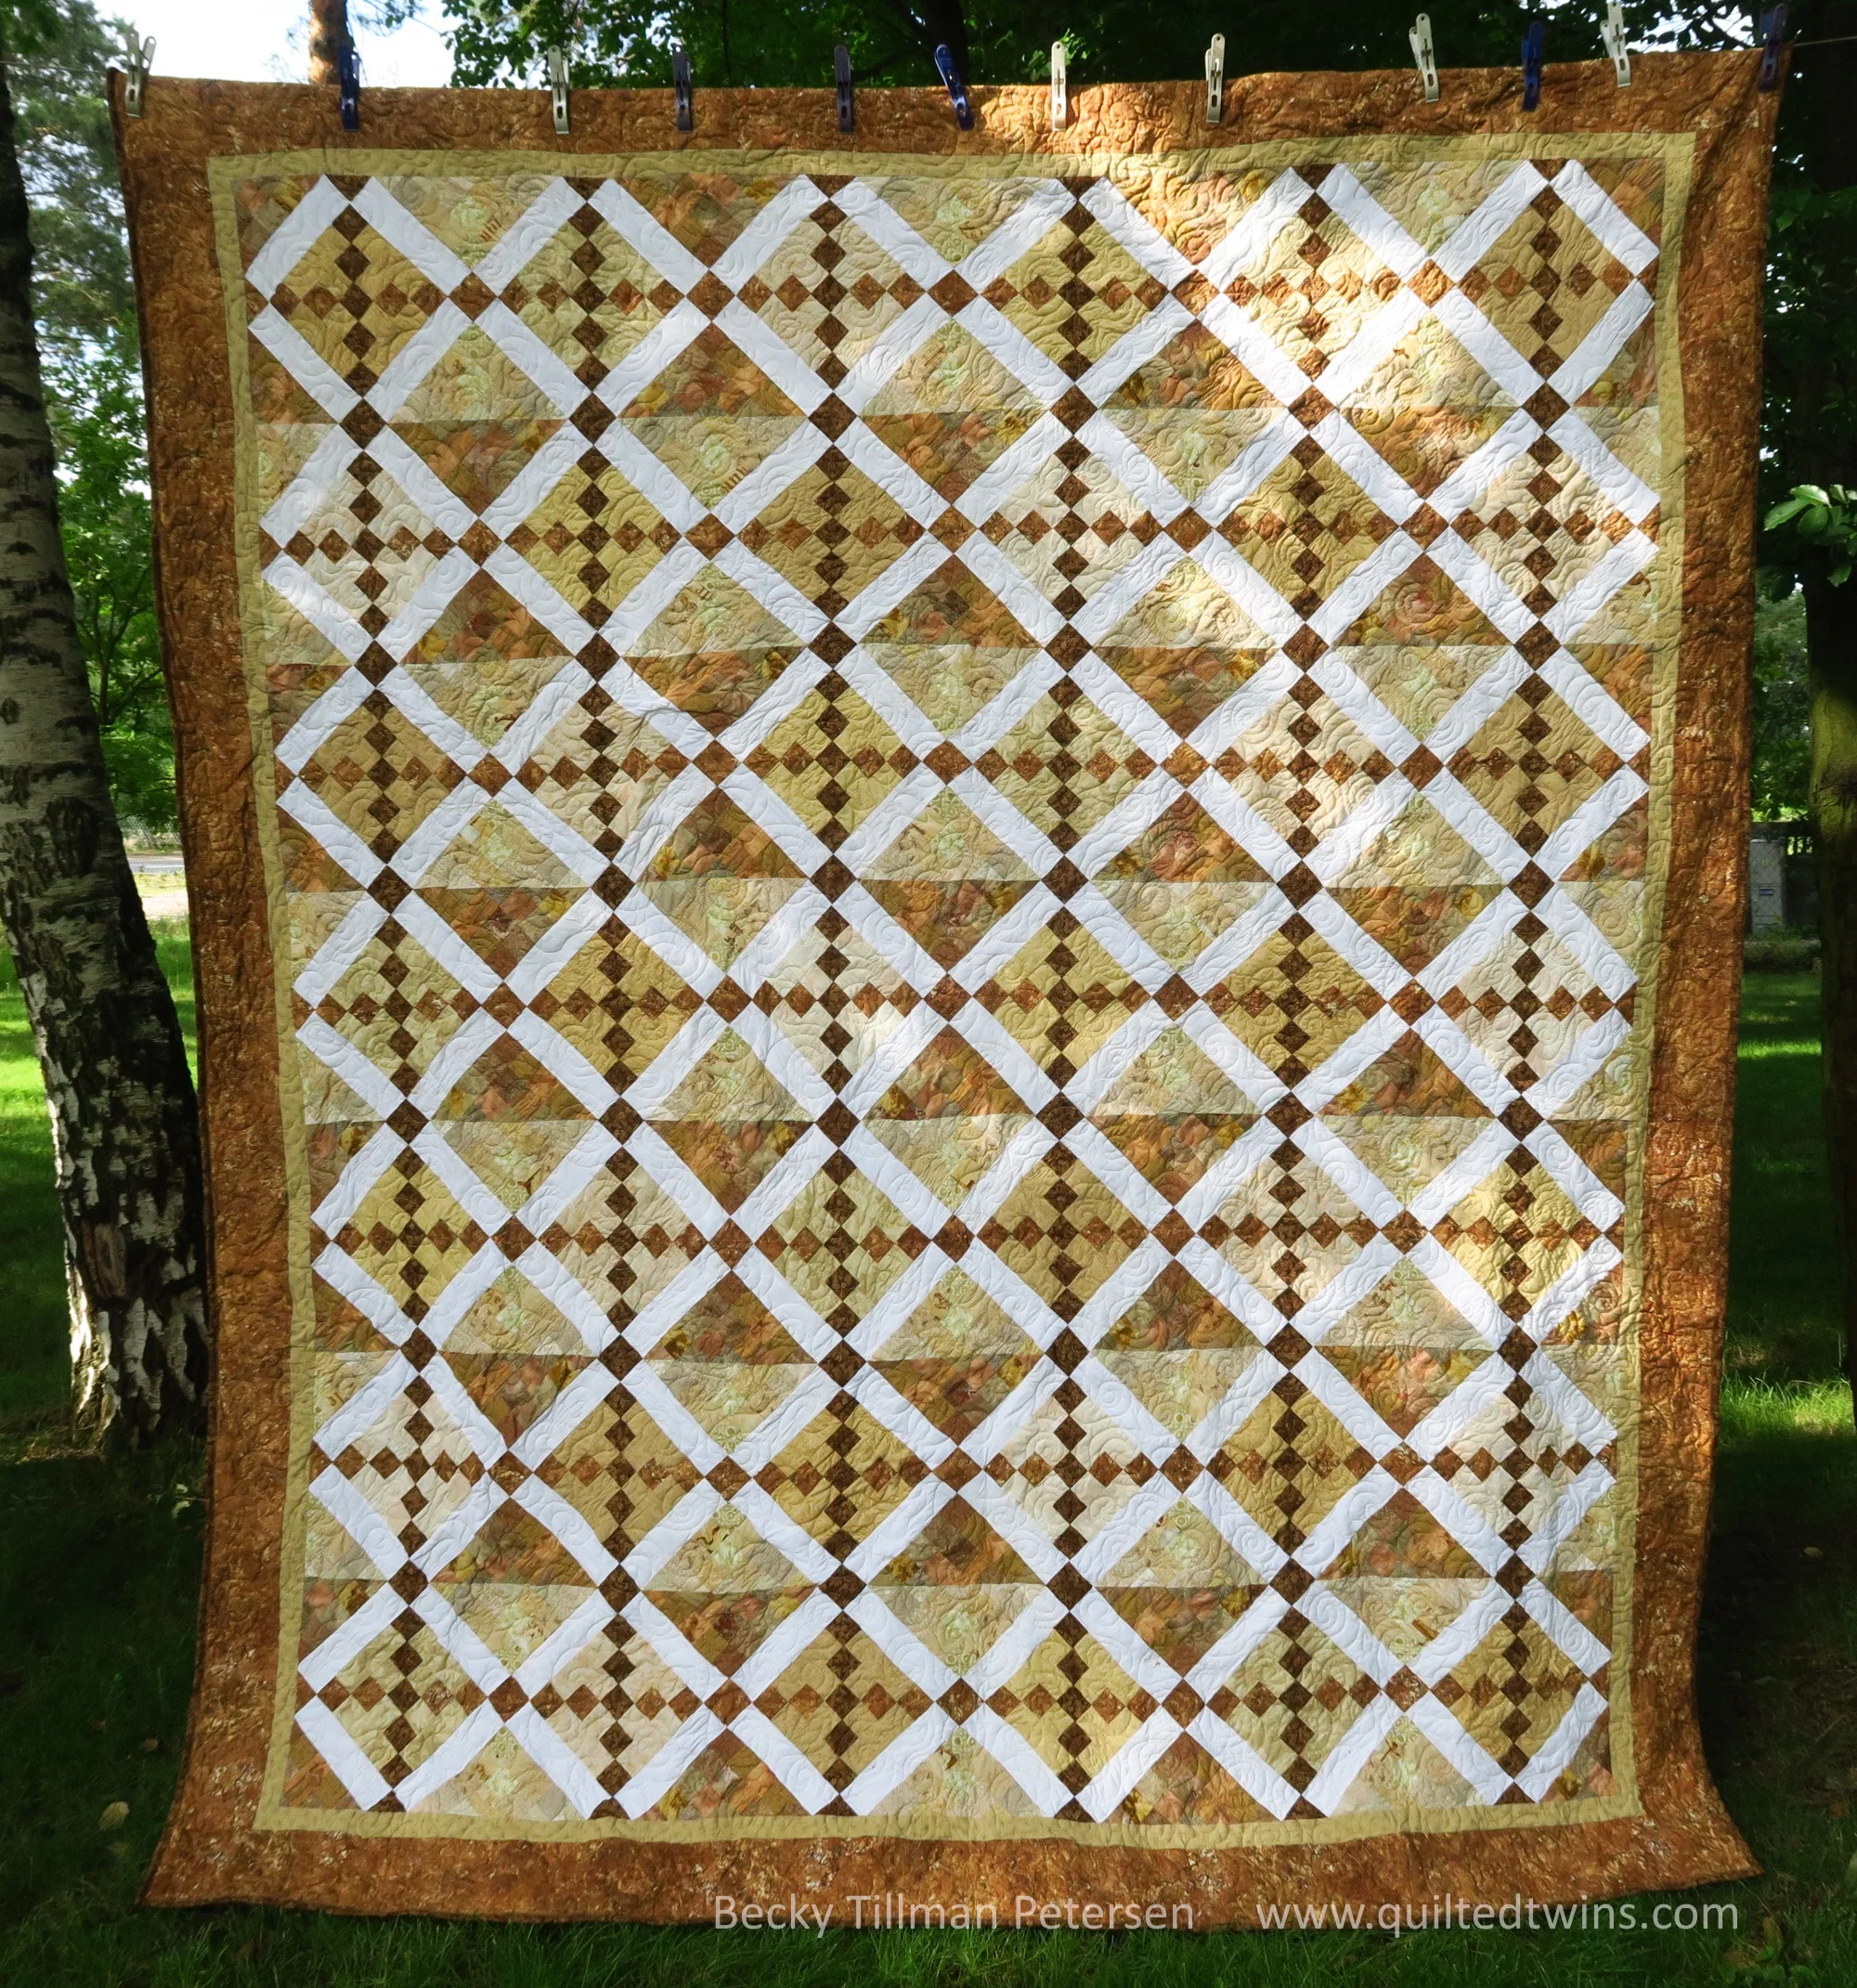

I thought I’d capture the star once again for those who want to try to find it.
I figure you’ve probably seen enough pictures already, but one more -
Thanks for following this story - From idea to finished set! I don’t usually work in such a manner, but since I did, I thought you might find it interesting to coming with me on this journey.
Now off to the wedding!
Have a great day wherever you are reading this!
Be sure to check out what my sis has for you in the store!