"Wonky Haven" - #82 - 2" strips and squares top finished

I had 27 of these already made. For this quilt, I used 24.
I decided to name this quilt top “Wonky Haven” because of all the wonky effects here. It may not look like it here but the basis of this quilt was this pile of blocks which had been hanging around my sewing room for a couple of years. They are all 2” low volume strips block which were cut 12.5'“ square - more or less.
I ended up using alternating blocks mostly bright tone on tone, and doing some wonky cutting - improv, and coming up with a 10.5” block. That is what makes up the center.
I had watched Karen Brown’s “Ugly Quilt” video when I went into my sewing room and saw these blocks just sitting there and thought, “Why not made those work for that? She talks about it in this video here.
Obviously I adapted a good bit of it to fit my needs.

I think some may call this method a sort of “stack and slash” type of thing. I know that when I made my Americana Stars quilt, I used this method. I’ve seen it other places on the internet - in some form or another. Often called improv quilting - at least a variation of it.
I started with those low volume blocks shown above- I had them already sitting in my sewing room and decided it was time for them to “evaporate” ! LOL. That meant, I needed to USE them up! Seems like I get that way every summer at some point or another!
However many blocks you start with - if you are going to use up low volume fabrics as I did, you will need the same number of squares of another fabric. I chose tone on tone in brights, mostly, just to help the design show up.
Here are some photos that show how I made the blocks. You need to alternate bright/low volume/bright/low volume, etc. I made 12 at a time, so I needed 6 different brights and 6 of those low volume blocks for each “round” of blocks I made.


Since I only made 12 blocks at a time, I did it 4 times to get the necessary 48 blocks needed for this quilt center. I then had a raging debate in my mind. Leave it as is - after all, I only had 3 more of those low volume blocks - with no border - and just finish it - a 60”x80” quilt, or keep going. I’ve been trying to make these quilts a queen size. I seriously did fight with myself for a couple of days. I went back to the drawing board as I didn’t really want to make up more low volume blocks just to make this a queen size quilt. I wanted to add an interesting border to give this top some more pizzazz.

This is what it looked like before I added the border. It was okay, but I wanted more. I wanted it bigger. I wanted it with a bit more oomph.
So I began to play. I don’t really need to tell you how much I had to play with it to get this look that I wanted, but it was over the course of several days. I don’t mean I sat here at the computer for several days, all day, but that I did something and let it just “sit” and I thought about it - and if I felt uneasy about it - I tried again. And so I ended up with this.
This one felt “right” to me. It kept the spirit of the wonky/crazy effect while making it big enough. Plus I was able to use up a piece or two more of my low volume - actually that outer border and the inner low volume - an old duvet cover that I am glad to see used up.

I made the wonky border pieces much like I made the wonky star points, only I started with a 4.5”x6.5” piece of colorful fabric. “Wonky Stars” - the pattern is here -
Here are a few pictures to give you the idea. Click on the arrows to go to the next photo.


So in the end, am I pleased with this top?
I am. Very much so.
It’s bright. It’s cheery. It’s a perfect “summer” quilt top!

And while I’ve not gotten the pattern all written up yet with all the exact dimensions for the borders, I did need 22 of the border colorful pieces for each side (4.5”x6.5”) and 17 for the top and bottom for a total of 78. Otherwise, there are enough pictures in this blog post to show you what I did to get this quilt top!

This quilt top finishes as 88”x108”.
If you are a new reader here, or relative new, you may think, “Oh wow, 82,she’s not done 82 quilts from her 2” strips - don’t believe it.” That’s fine. But they are documented on this page. As I finish them, I’m also putting a photo on the top so I can have them all together in miniature.
Enjoy! I hope it brightens your day!
Have a great day wherever you are reading this!
——————-
Be sure to check out what my sis has for you in the store!

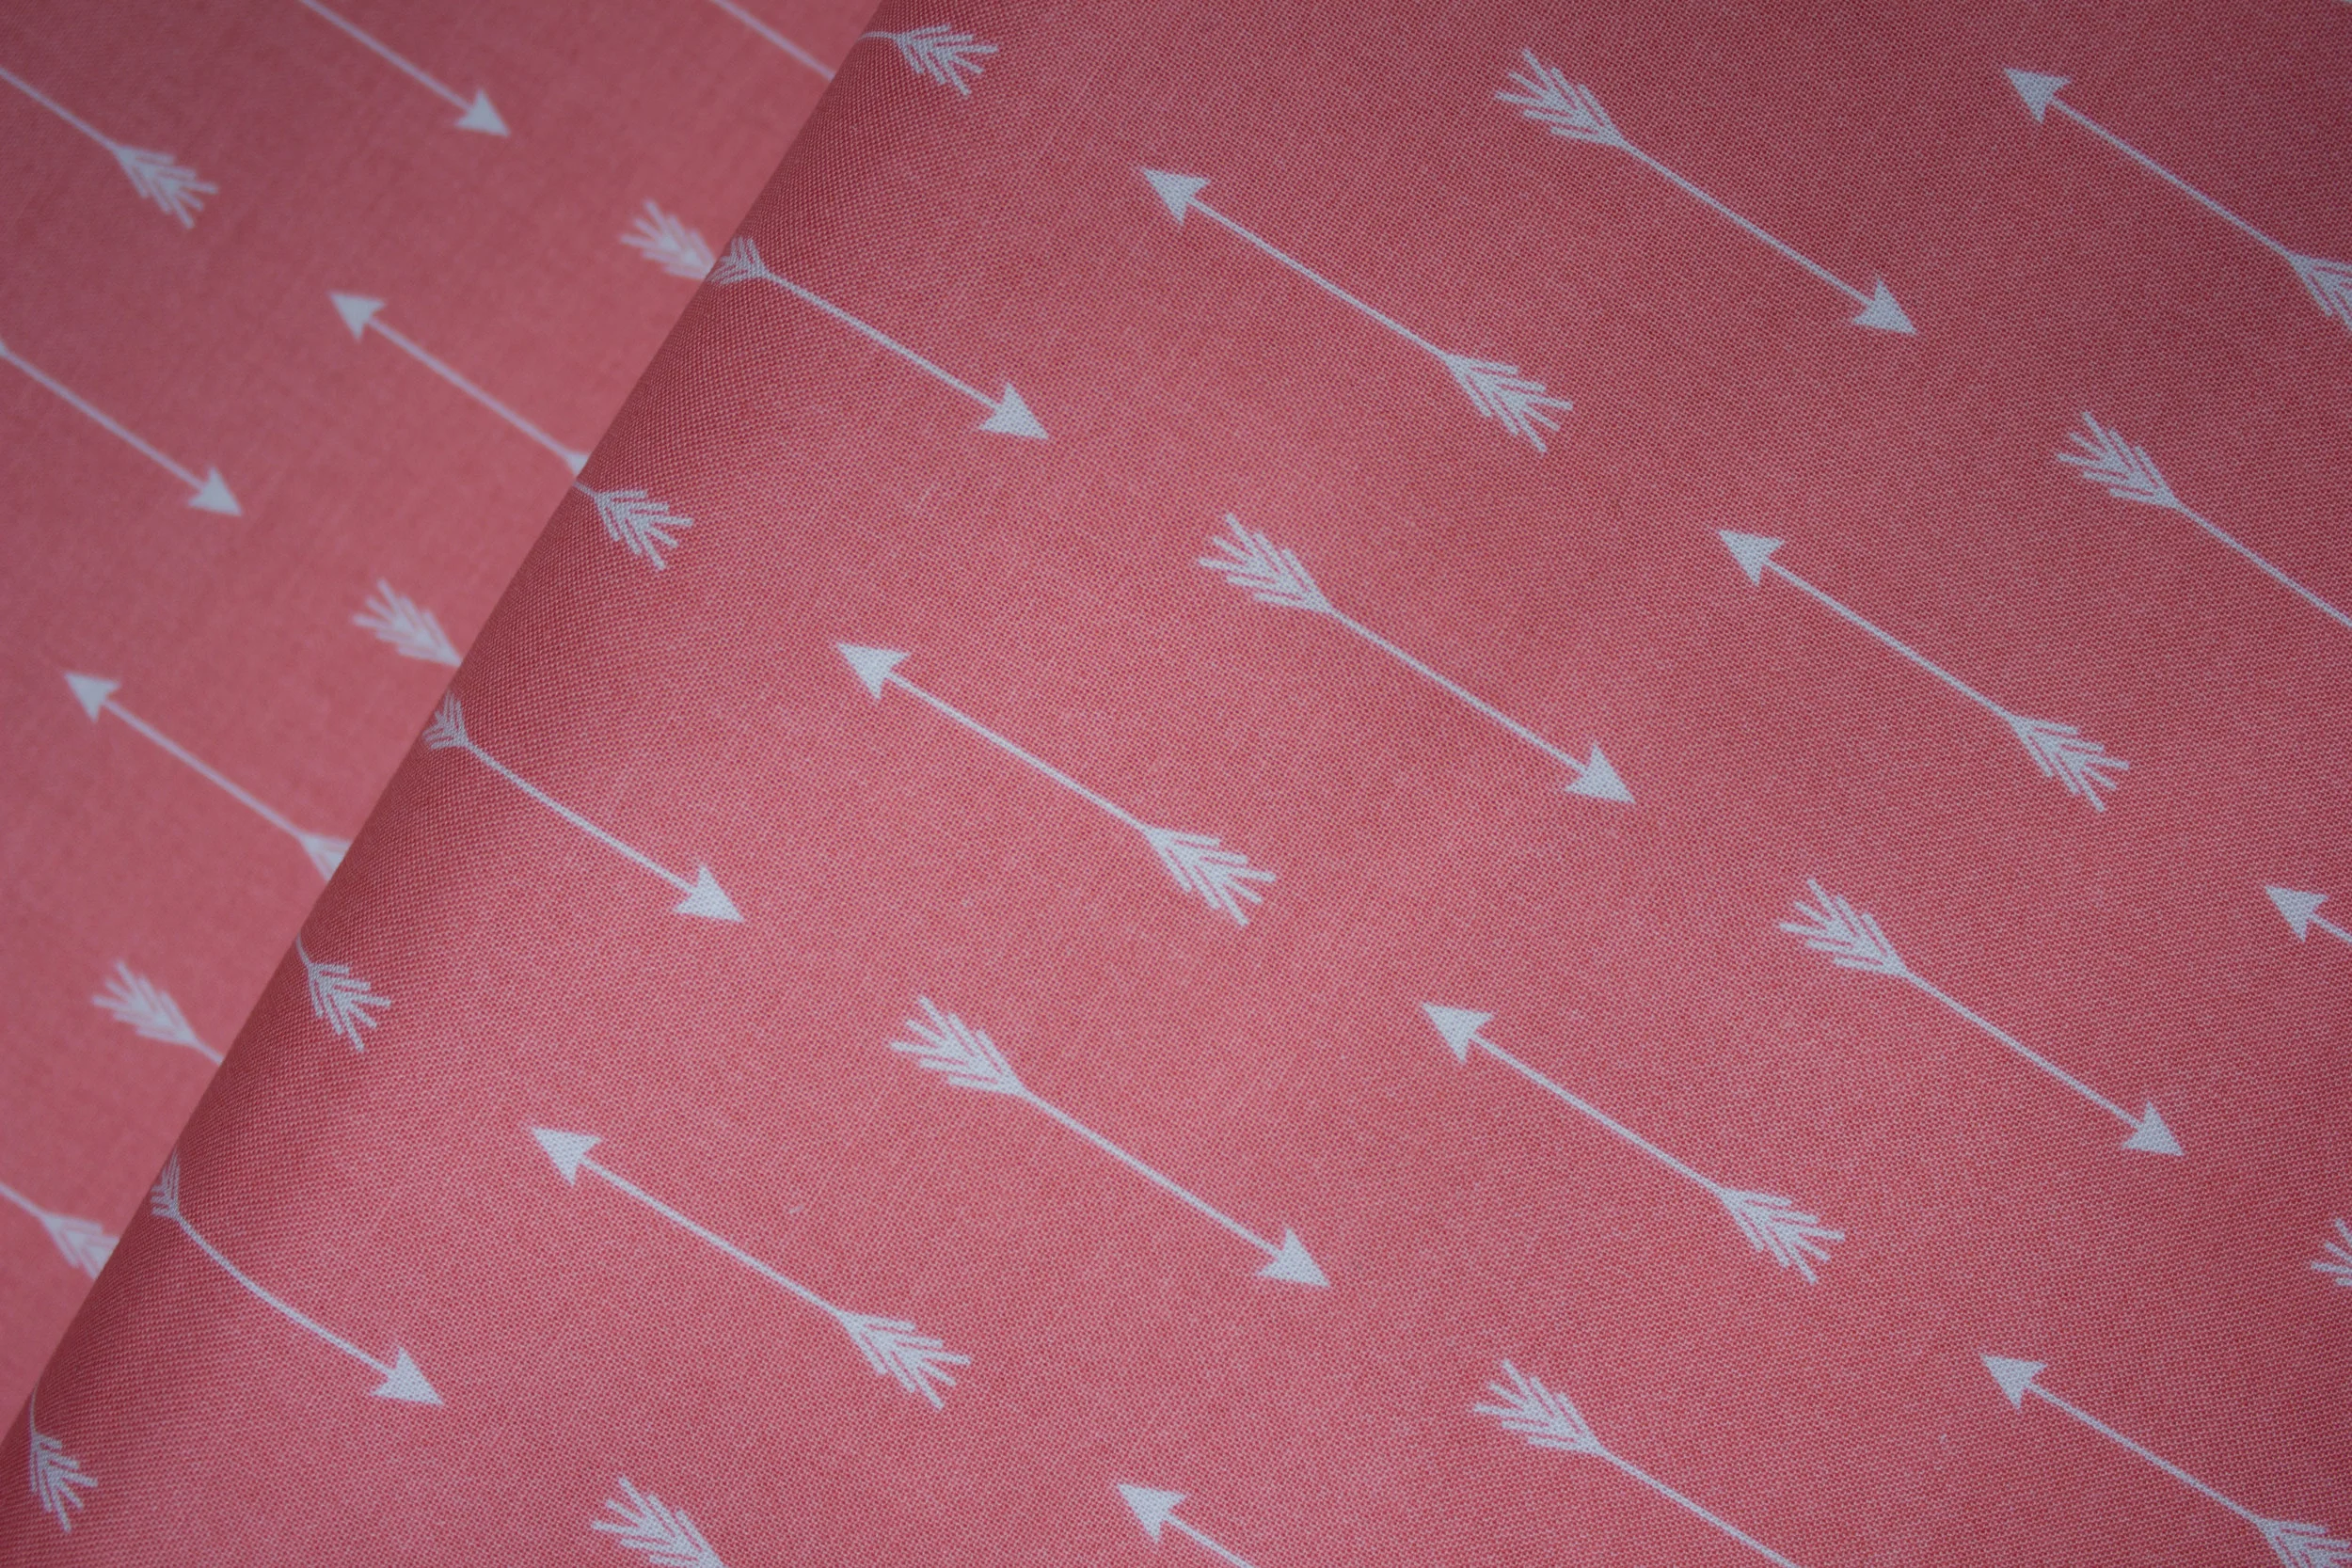
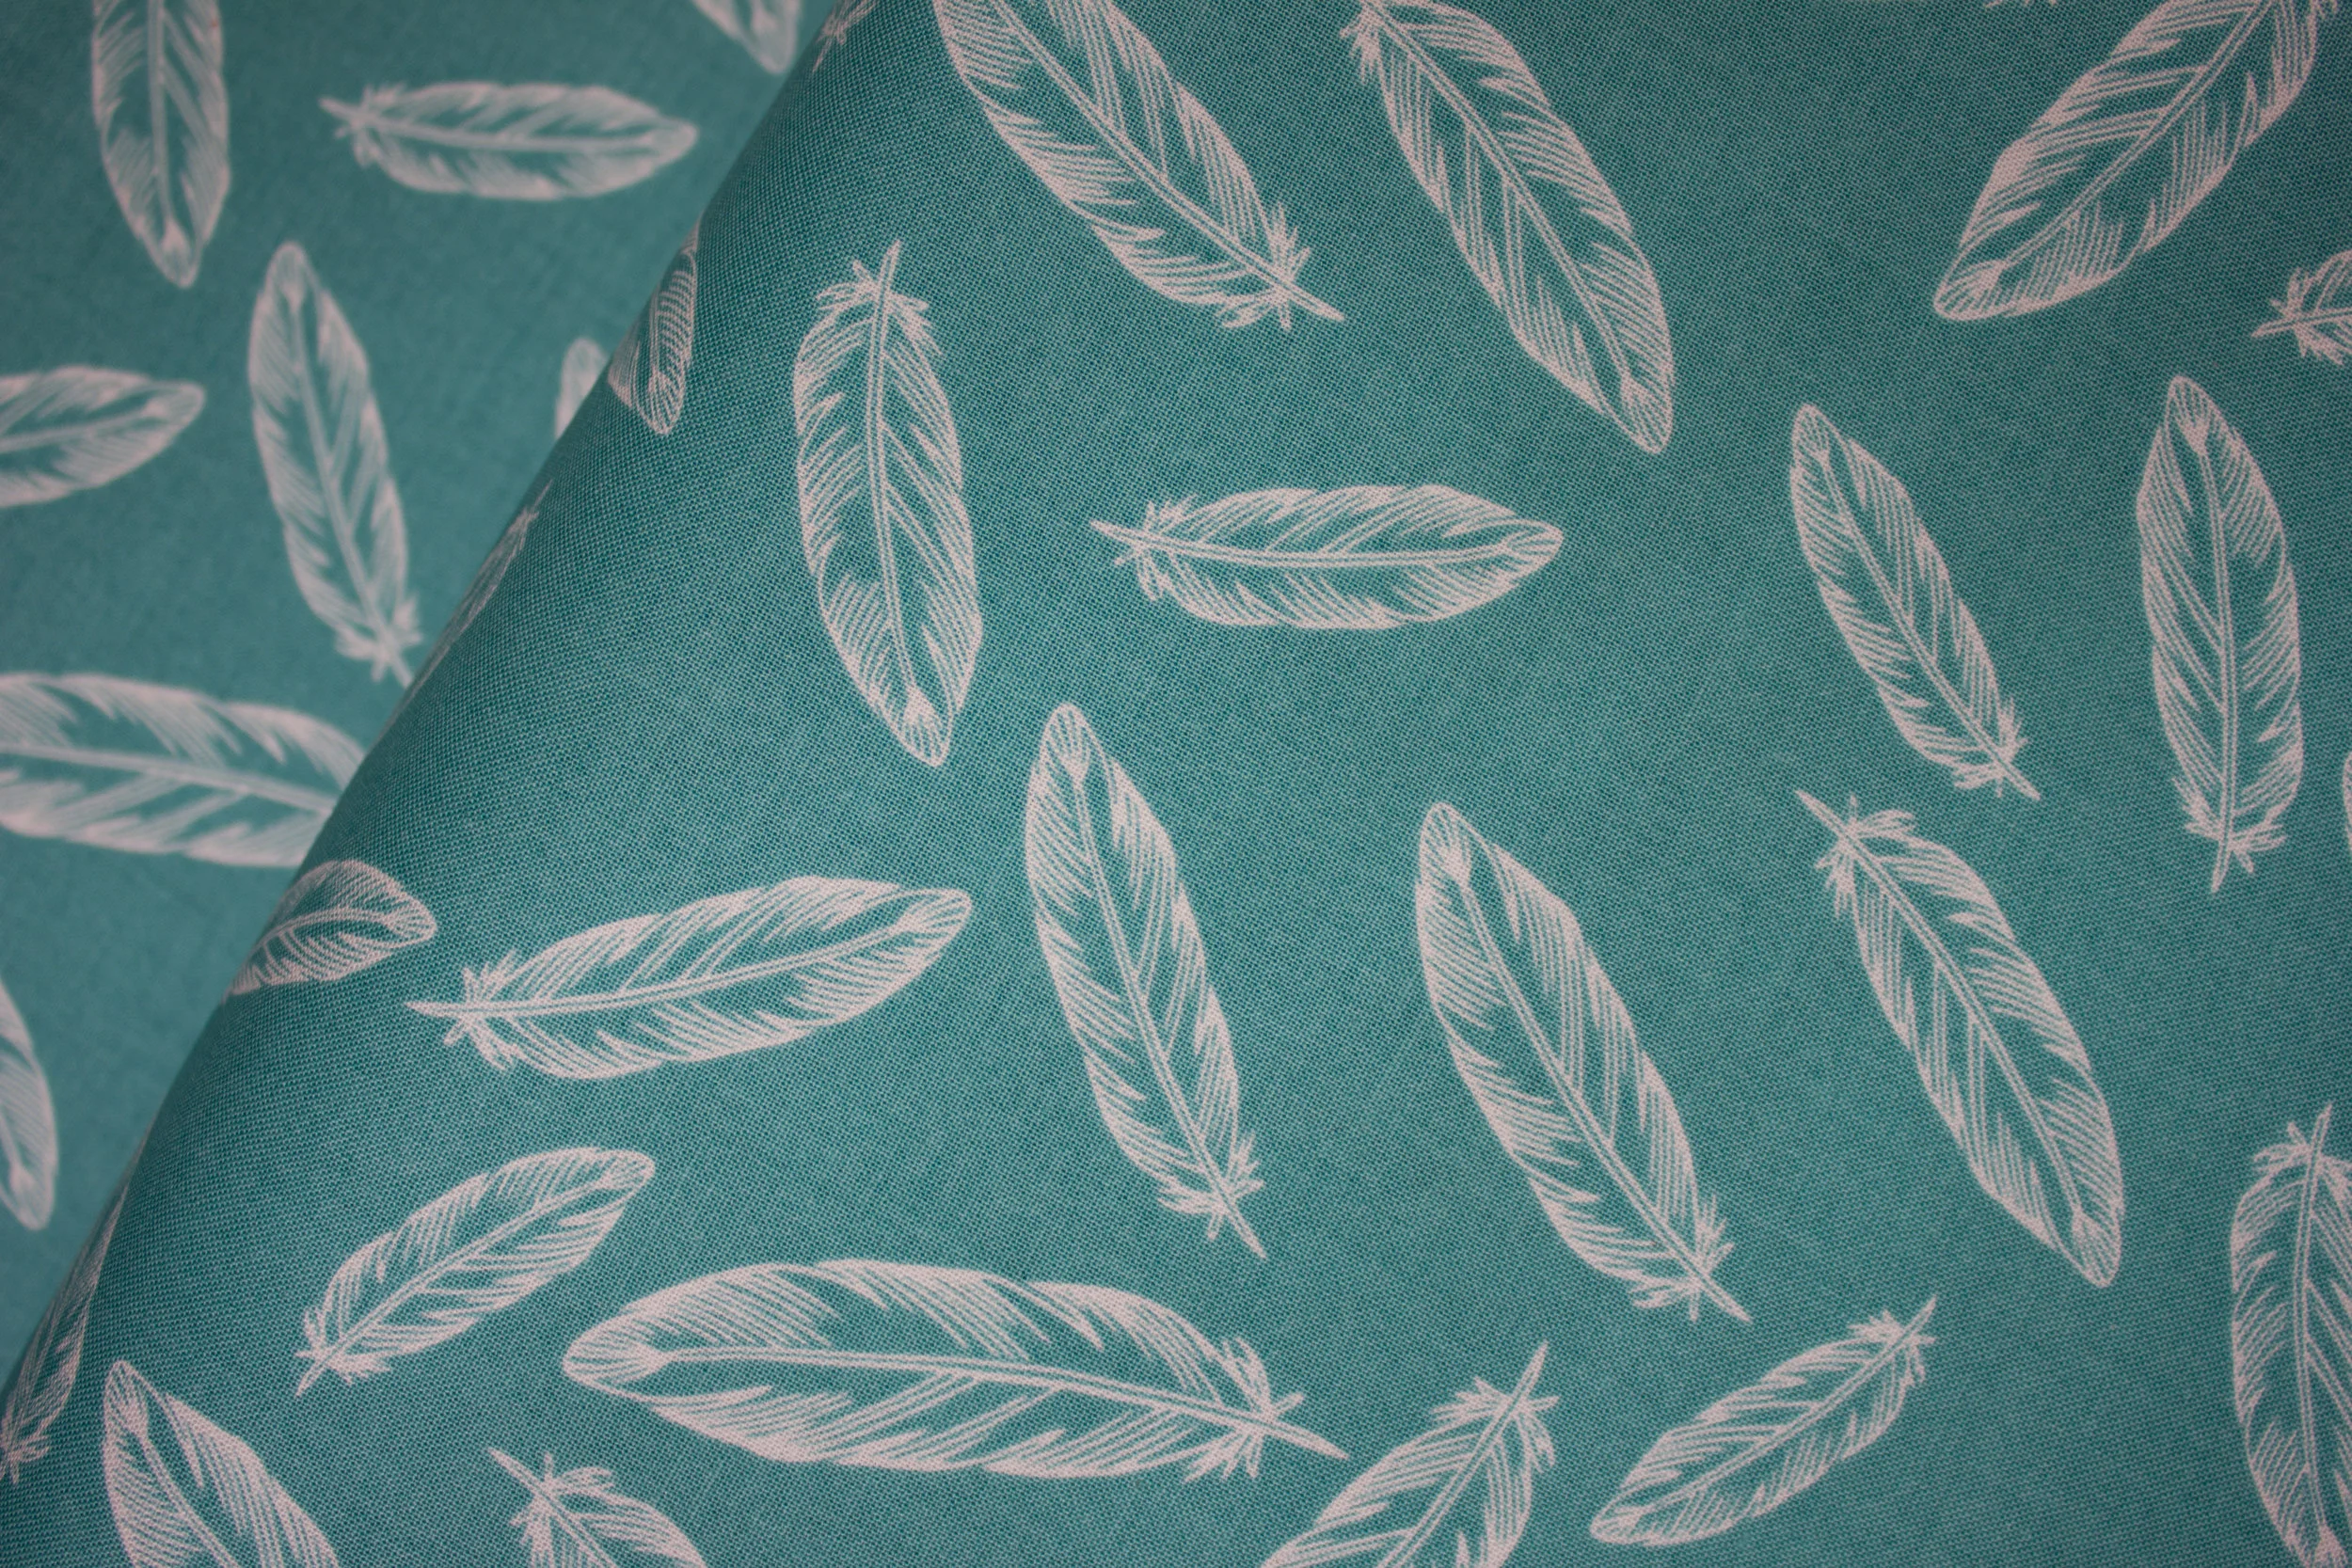
Colors may vary slightly from what is portrayed. Screens vary as well as our eyes sometimes see things differently, but we've made every attempt to have the color be accurately portrayed.
Price is by the Yard.