"The Kitchen Sink"
Why "The Kitchen Sink"?
This is number 17 of my upcycled blues series - and is named "The Kitchen Sink" which is an allusion to the idiom "It's got everything but (or and) the kitchen sink"
According to one website I found, this idiom means this
“everything but the kitchen sink
You use everything but the kitchen sink to talk about a lot of different objects, many of which are unnecessary. They tend to pack everything but the kitchen sink in rather too many suitcases. Note: Kitchen sink is used in other structures to mean a lot of different objects. Their stores sell everything including the kitchen sink. Note: This expression is used humorously.”
So what all is involved in this quilt?
As I was working on the rest of the quilts in the series, I noticed that I was creating leftovers. I had pockets, leftover labels, leftover pieces of blocks - a couple of times I accidentally made extra blocks, leftover 1.5" strips, leftover half square triangles (HST) - those were mostly "bonus triangles" from the other quilts - and various other misc. pieces. I challenged myself to try to use these up in one wild quilt!
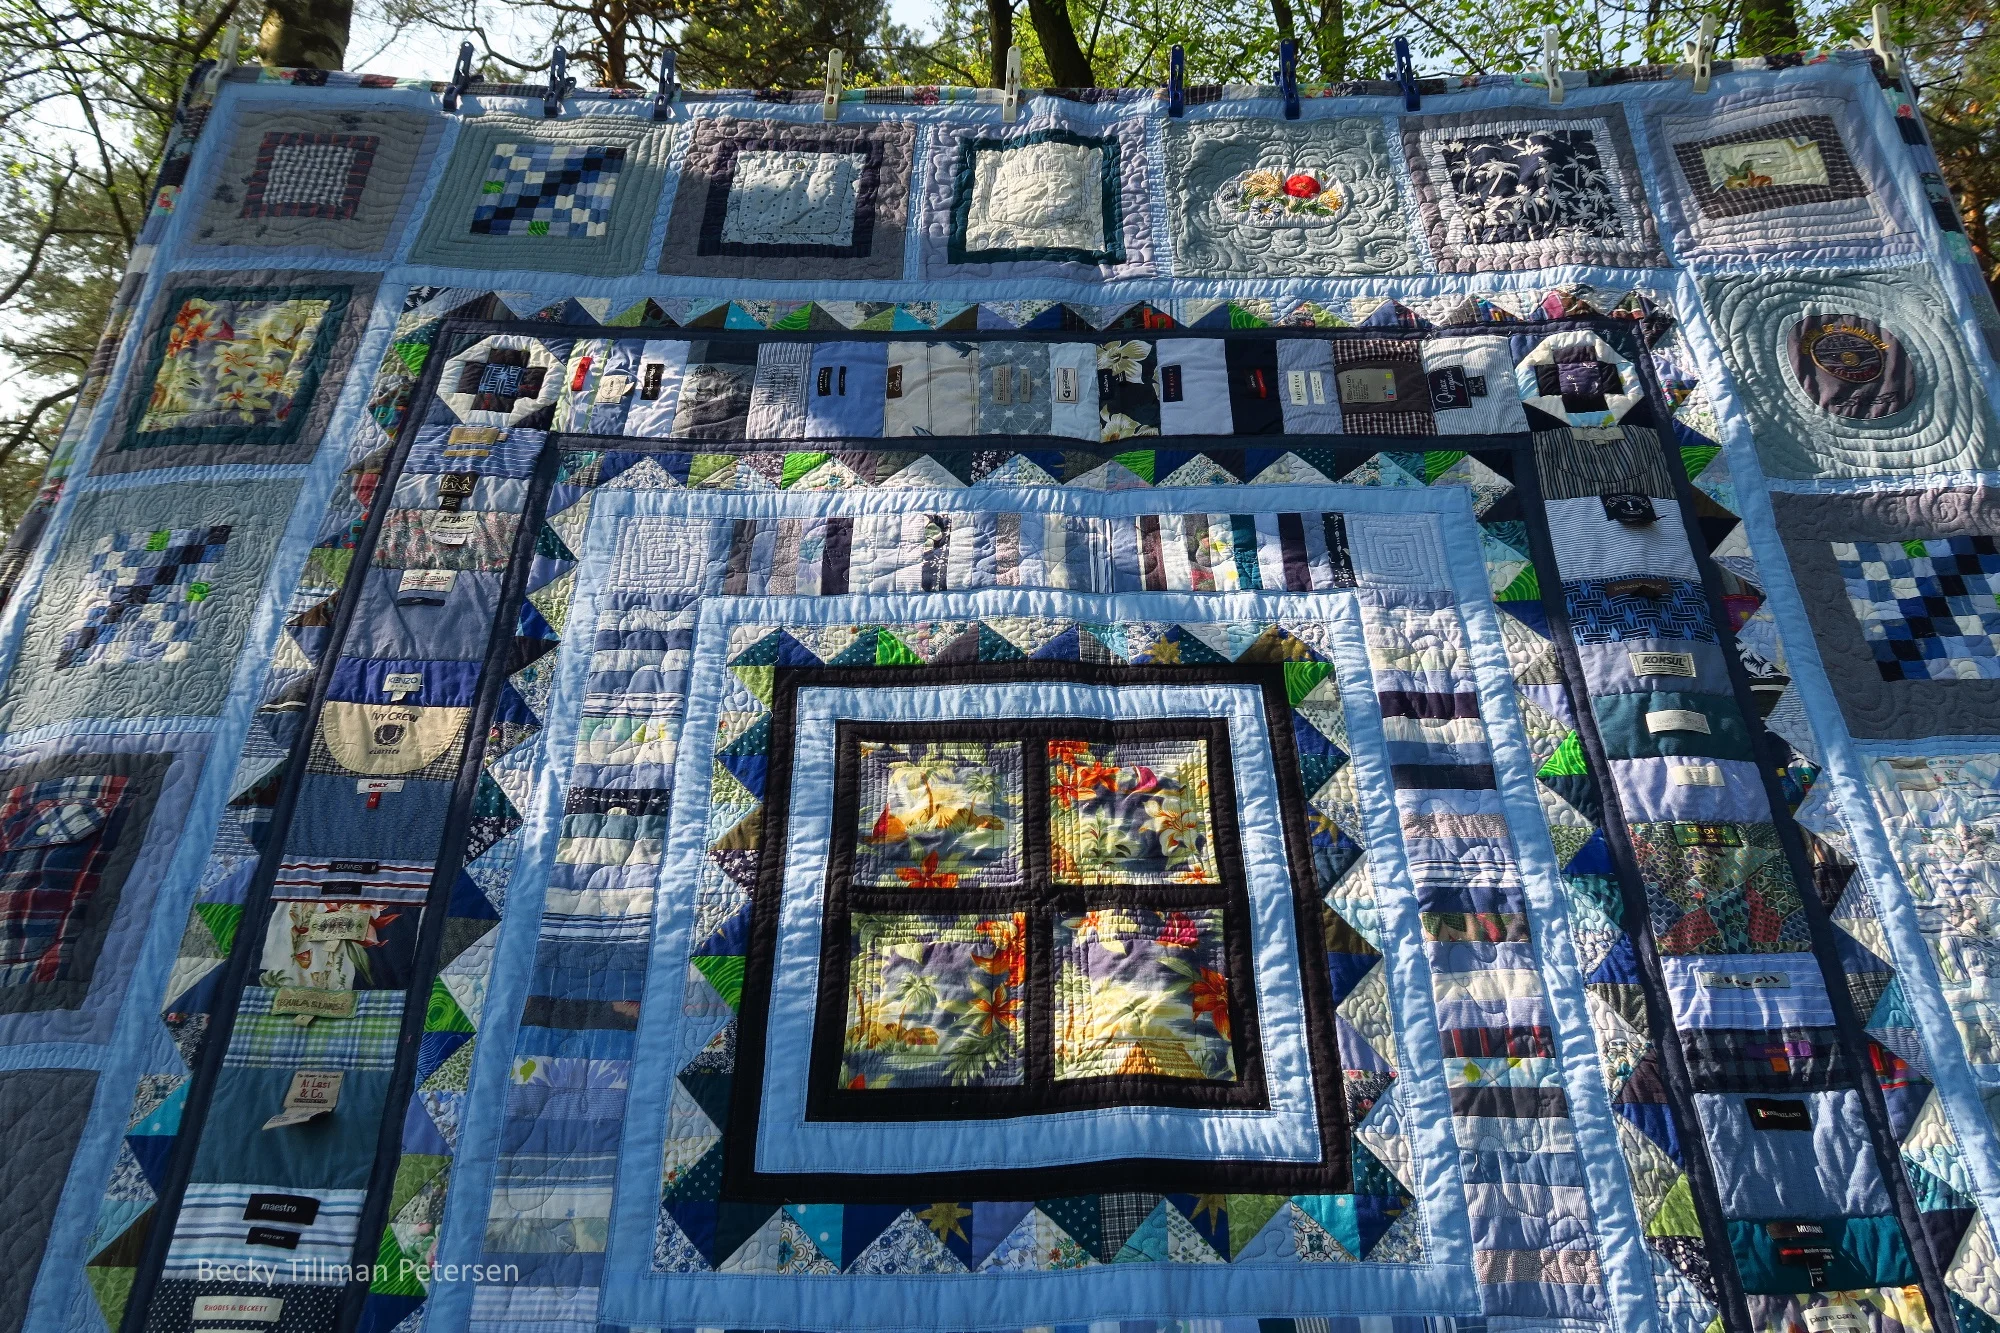
So here it!
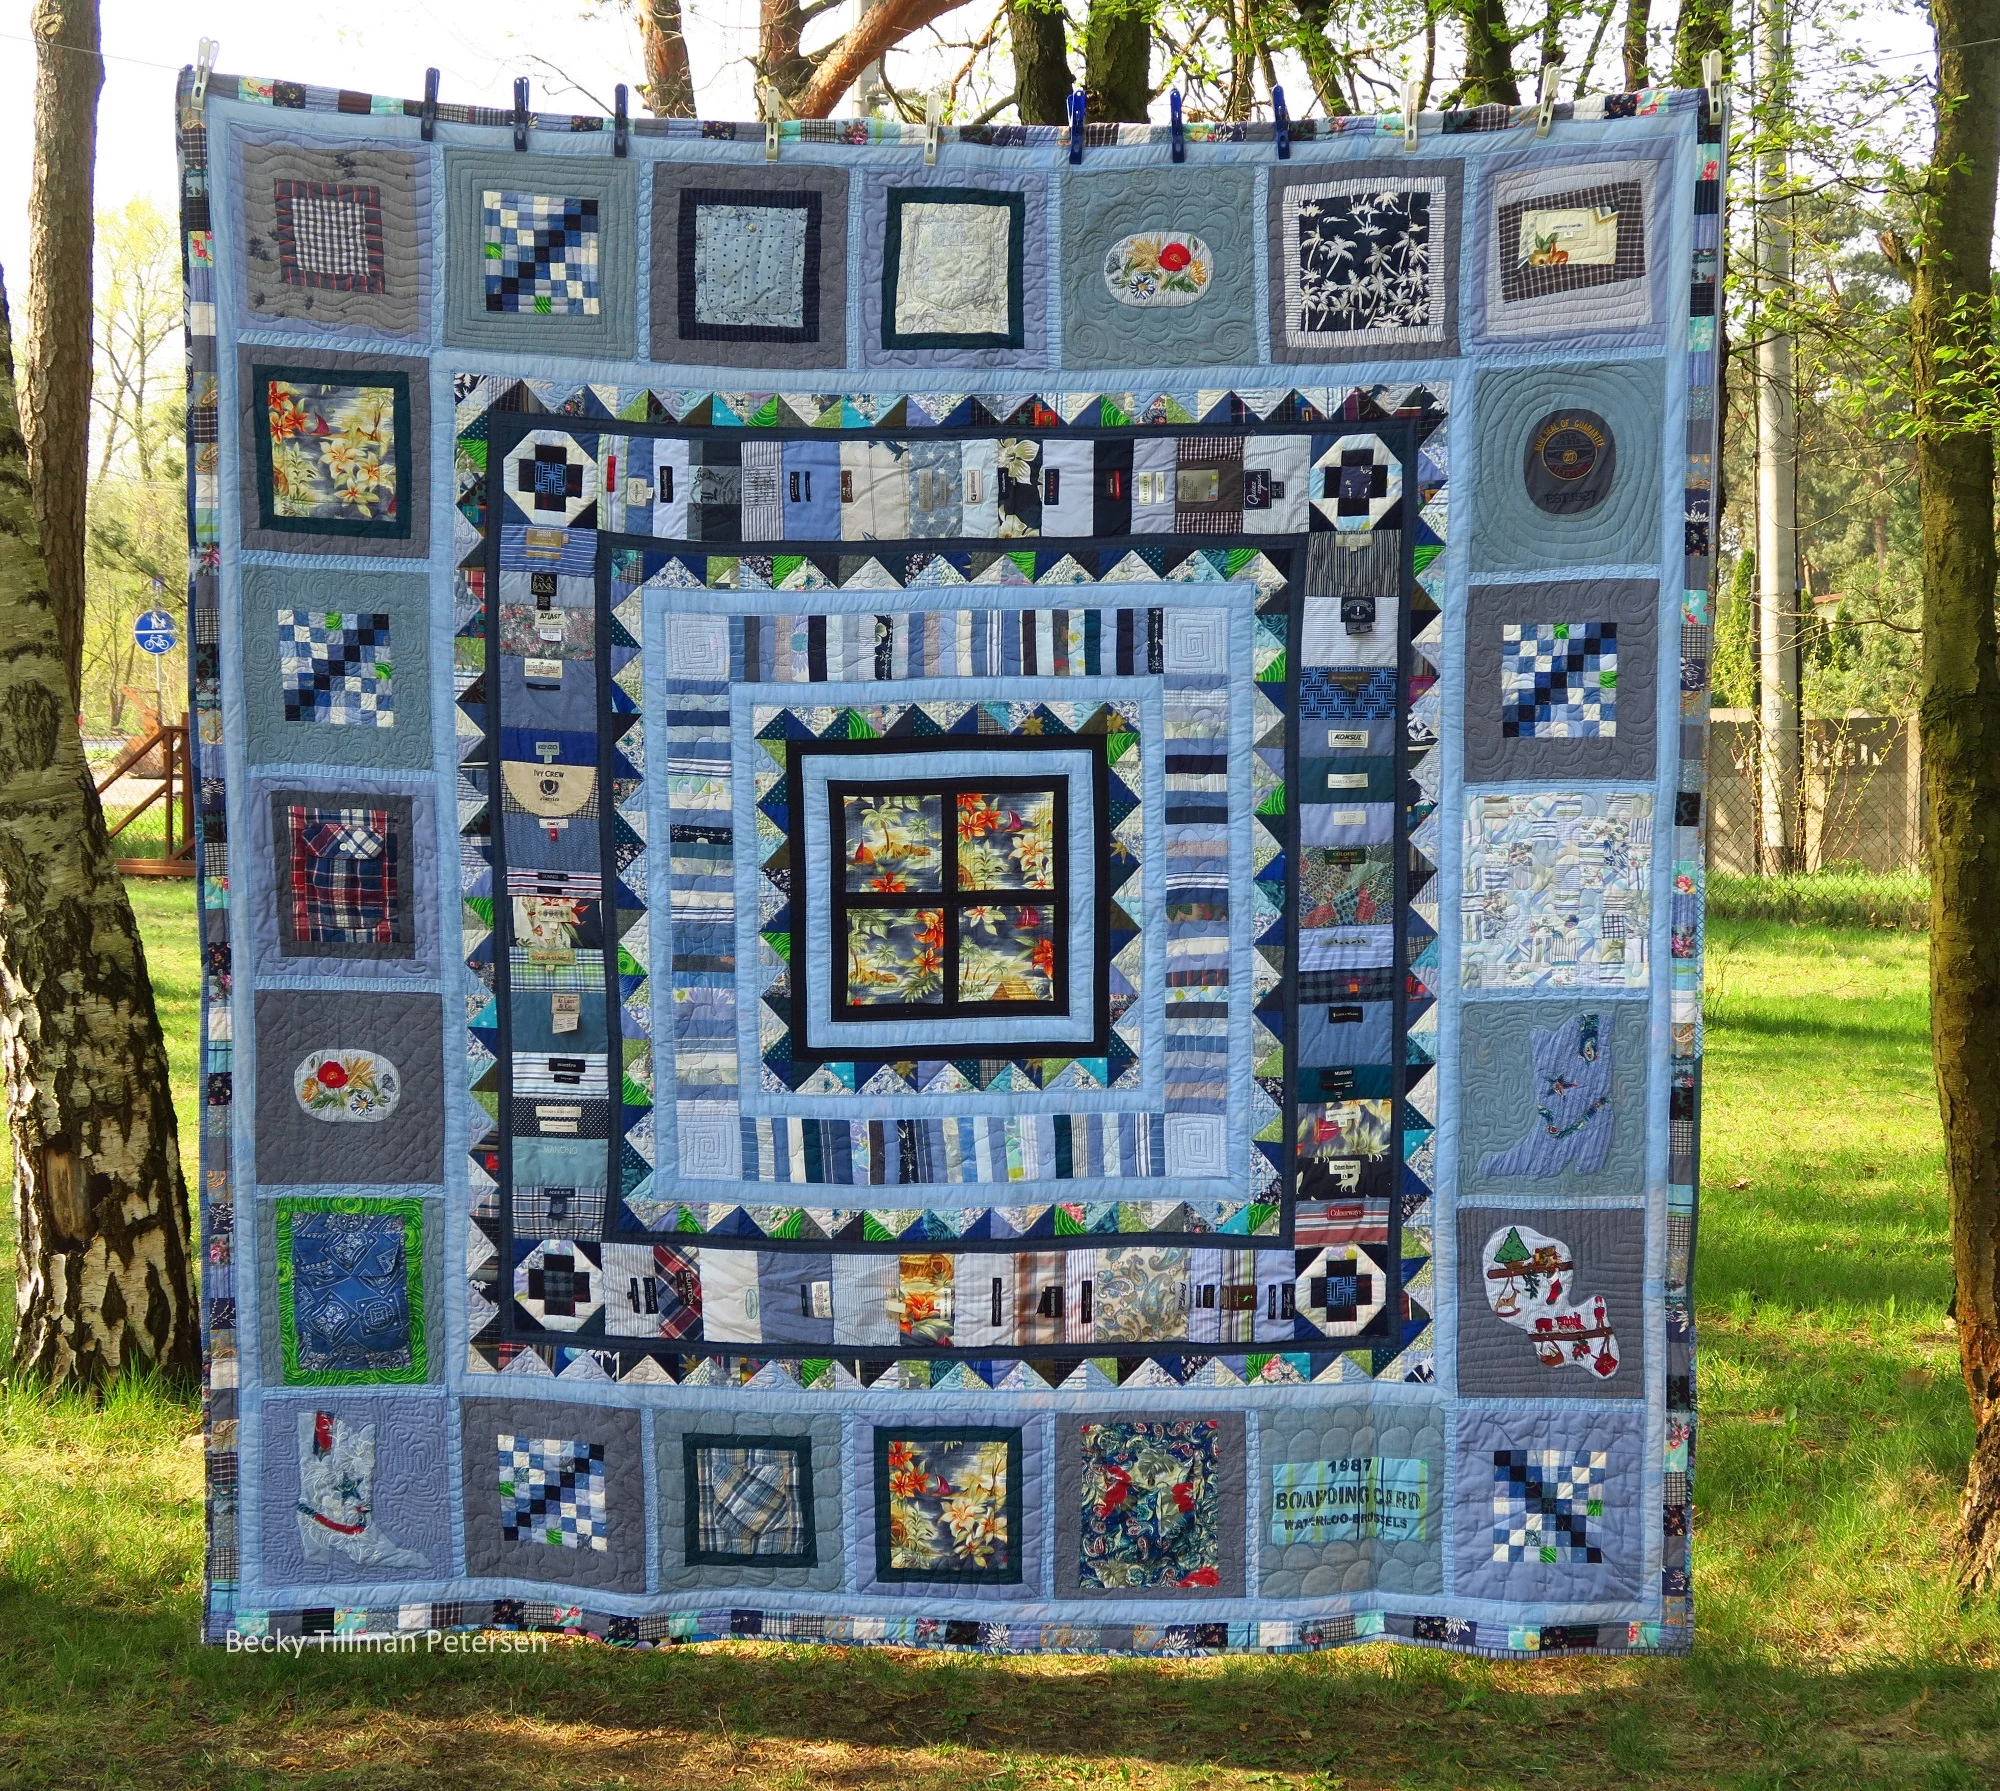
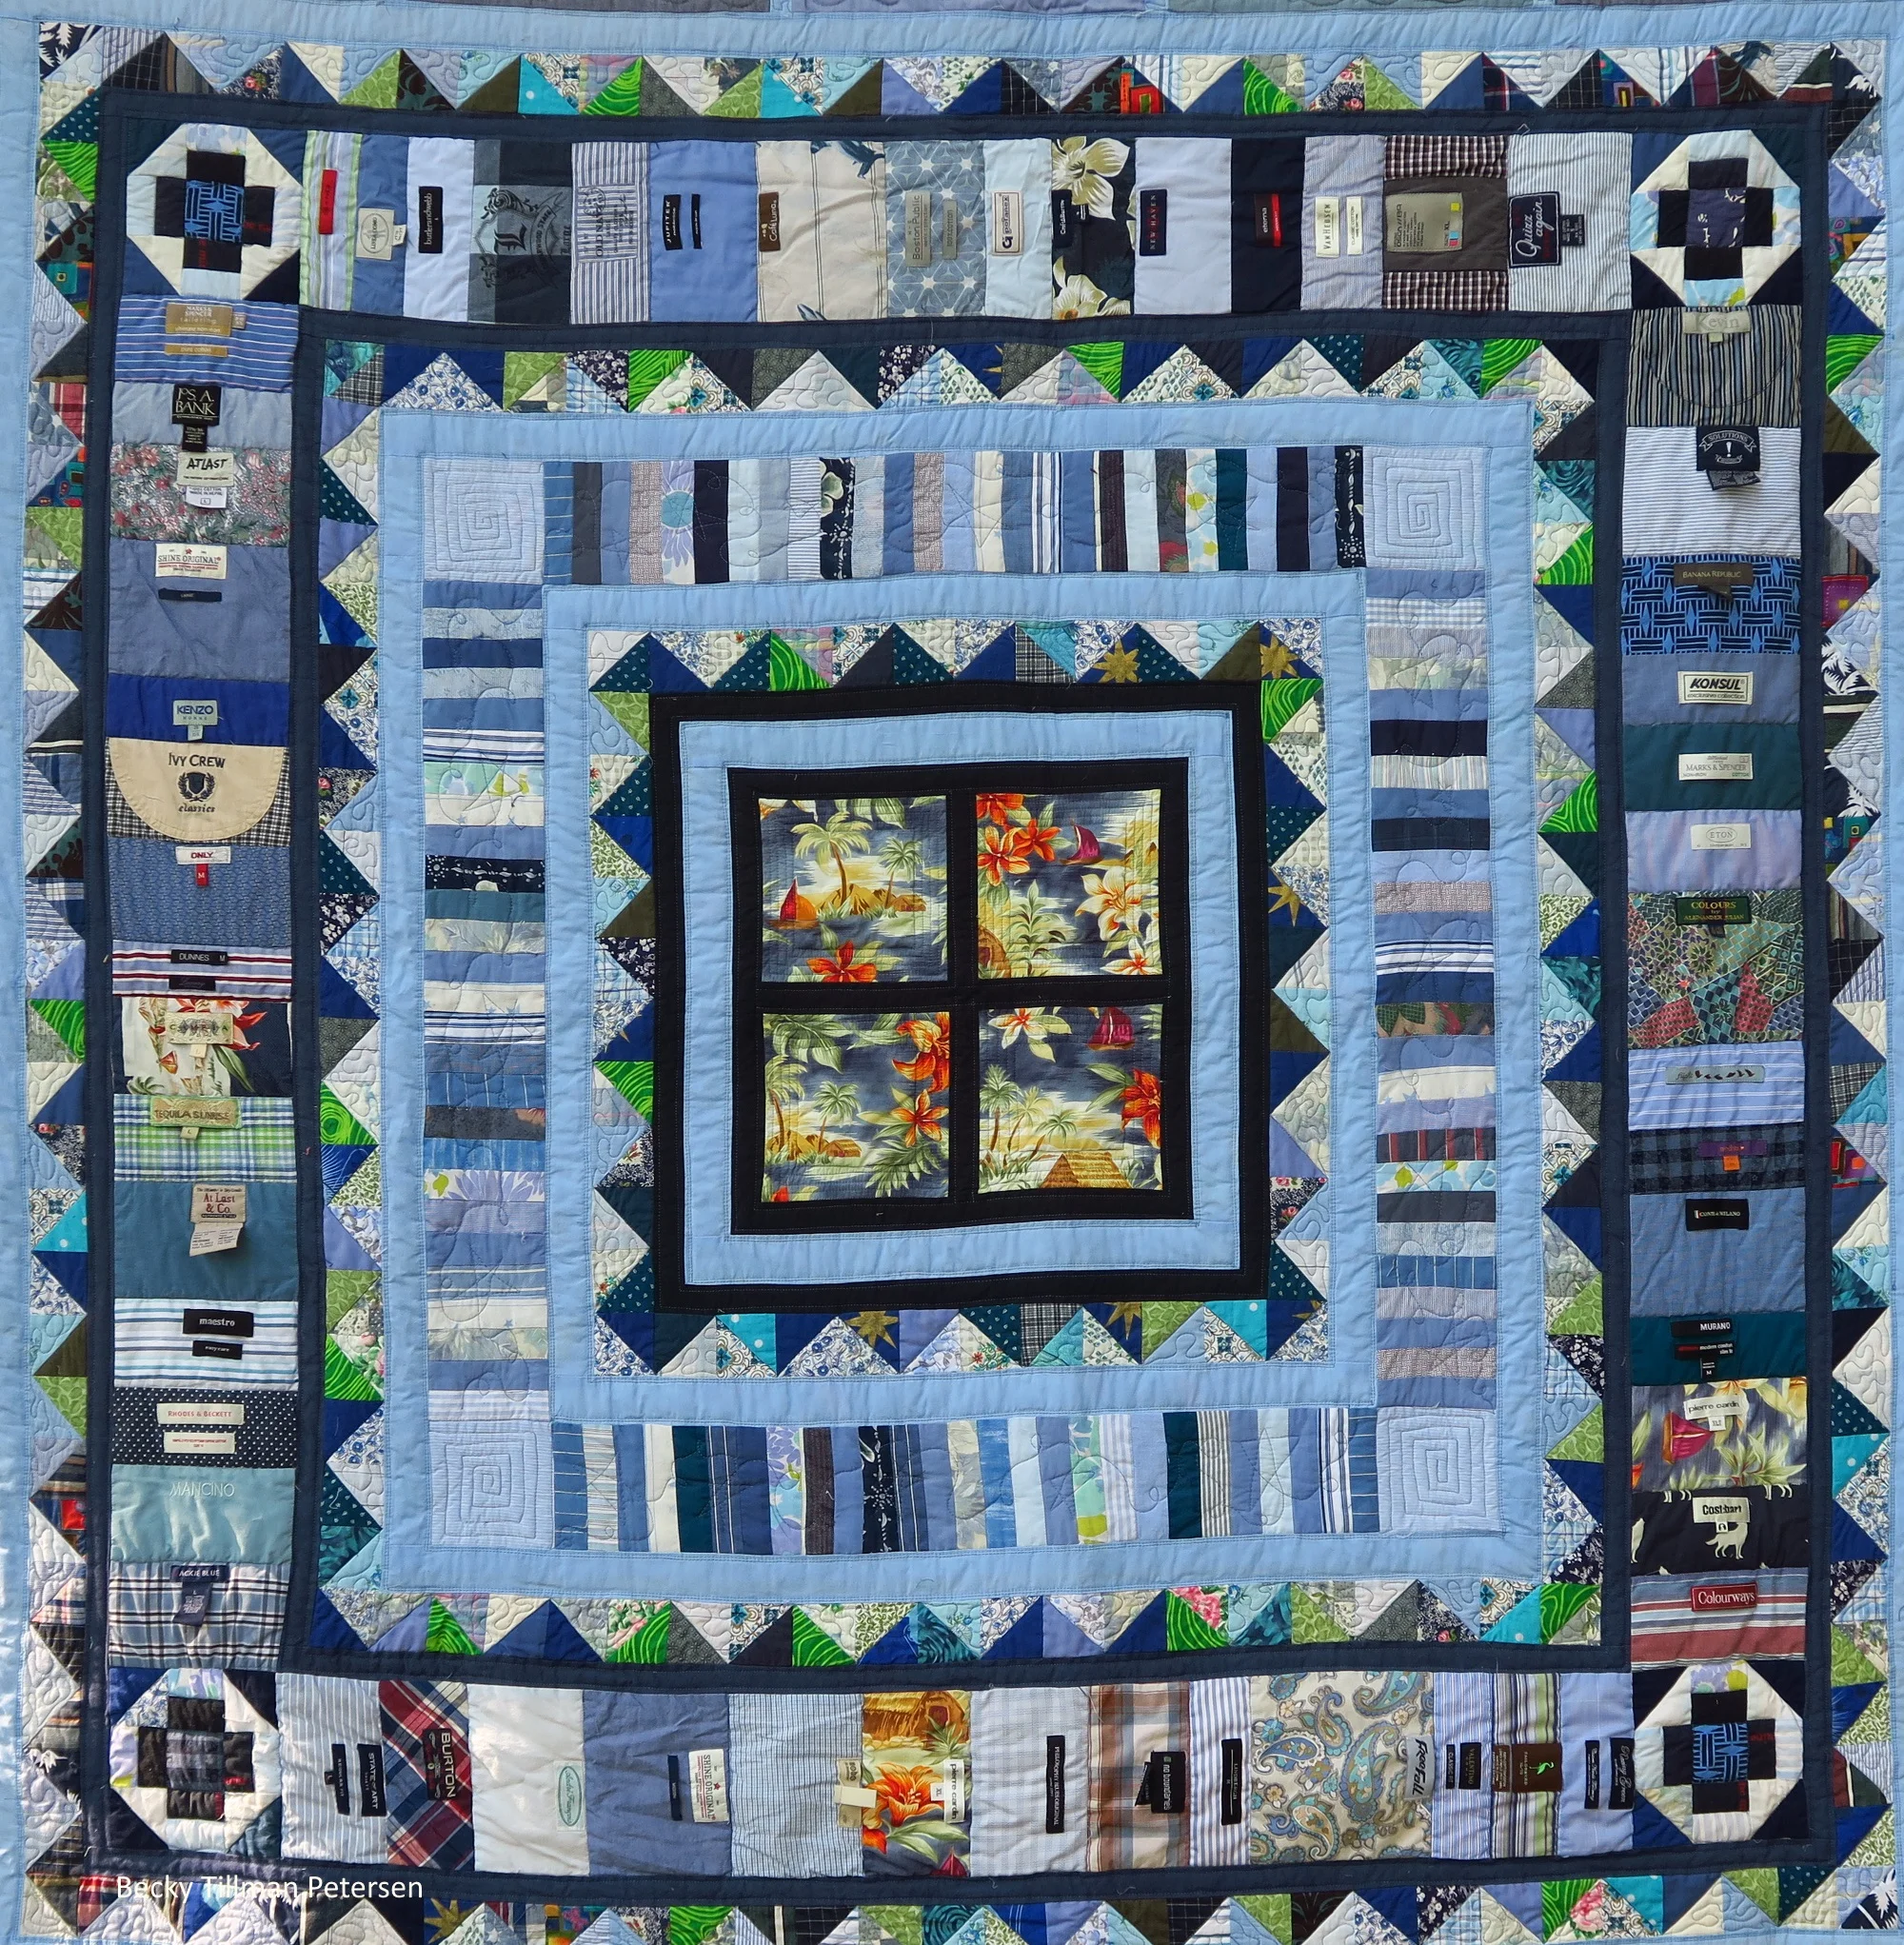
The Kitchen Sink
The Thinking Process Behind This Quilt
When making this quilt, I literally did it in rounds - just like you may have heard of some quilt groups or sewing circles who pass around a quilt and it is your responsibility to add the next round. I really didn't know where I was going with it when I started. I knew I had a bunch of things I wanted to use up and I knew I wanted to use that light blue duvet cover as the constant fabric that helped coordinate it all - hoping I had enough of it to tie the whole thing together.
I started with this:
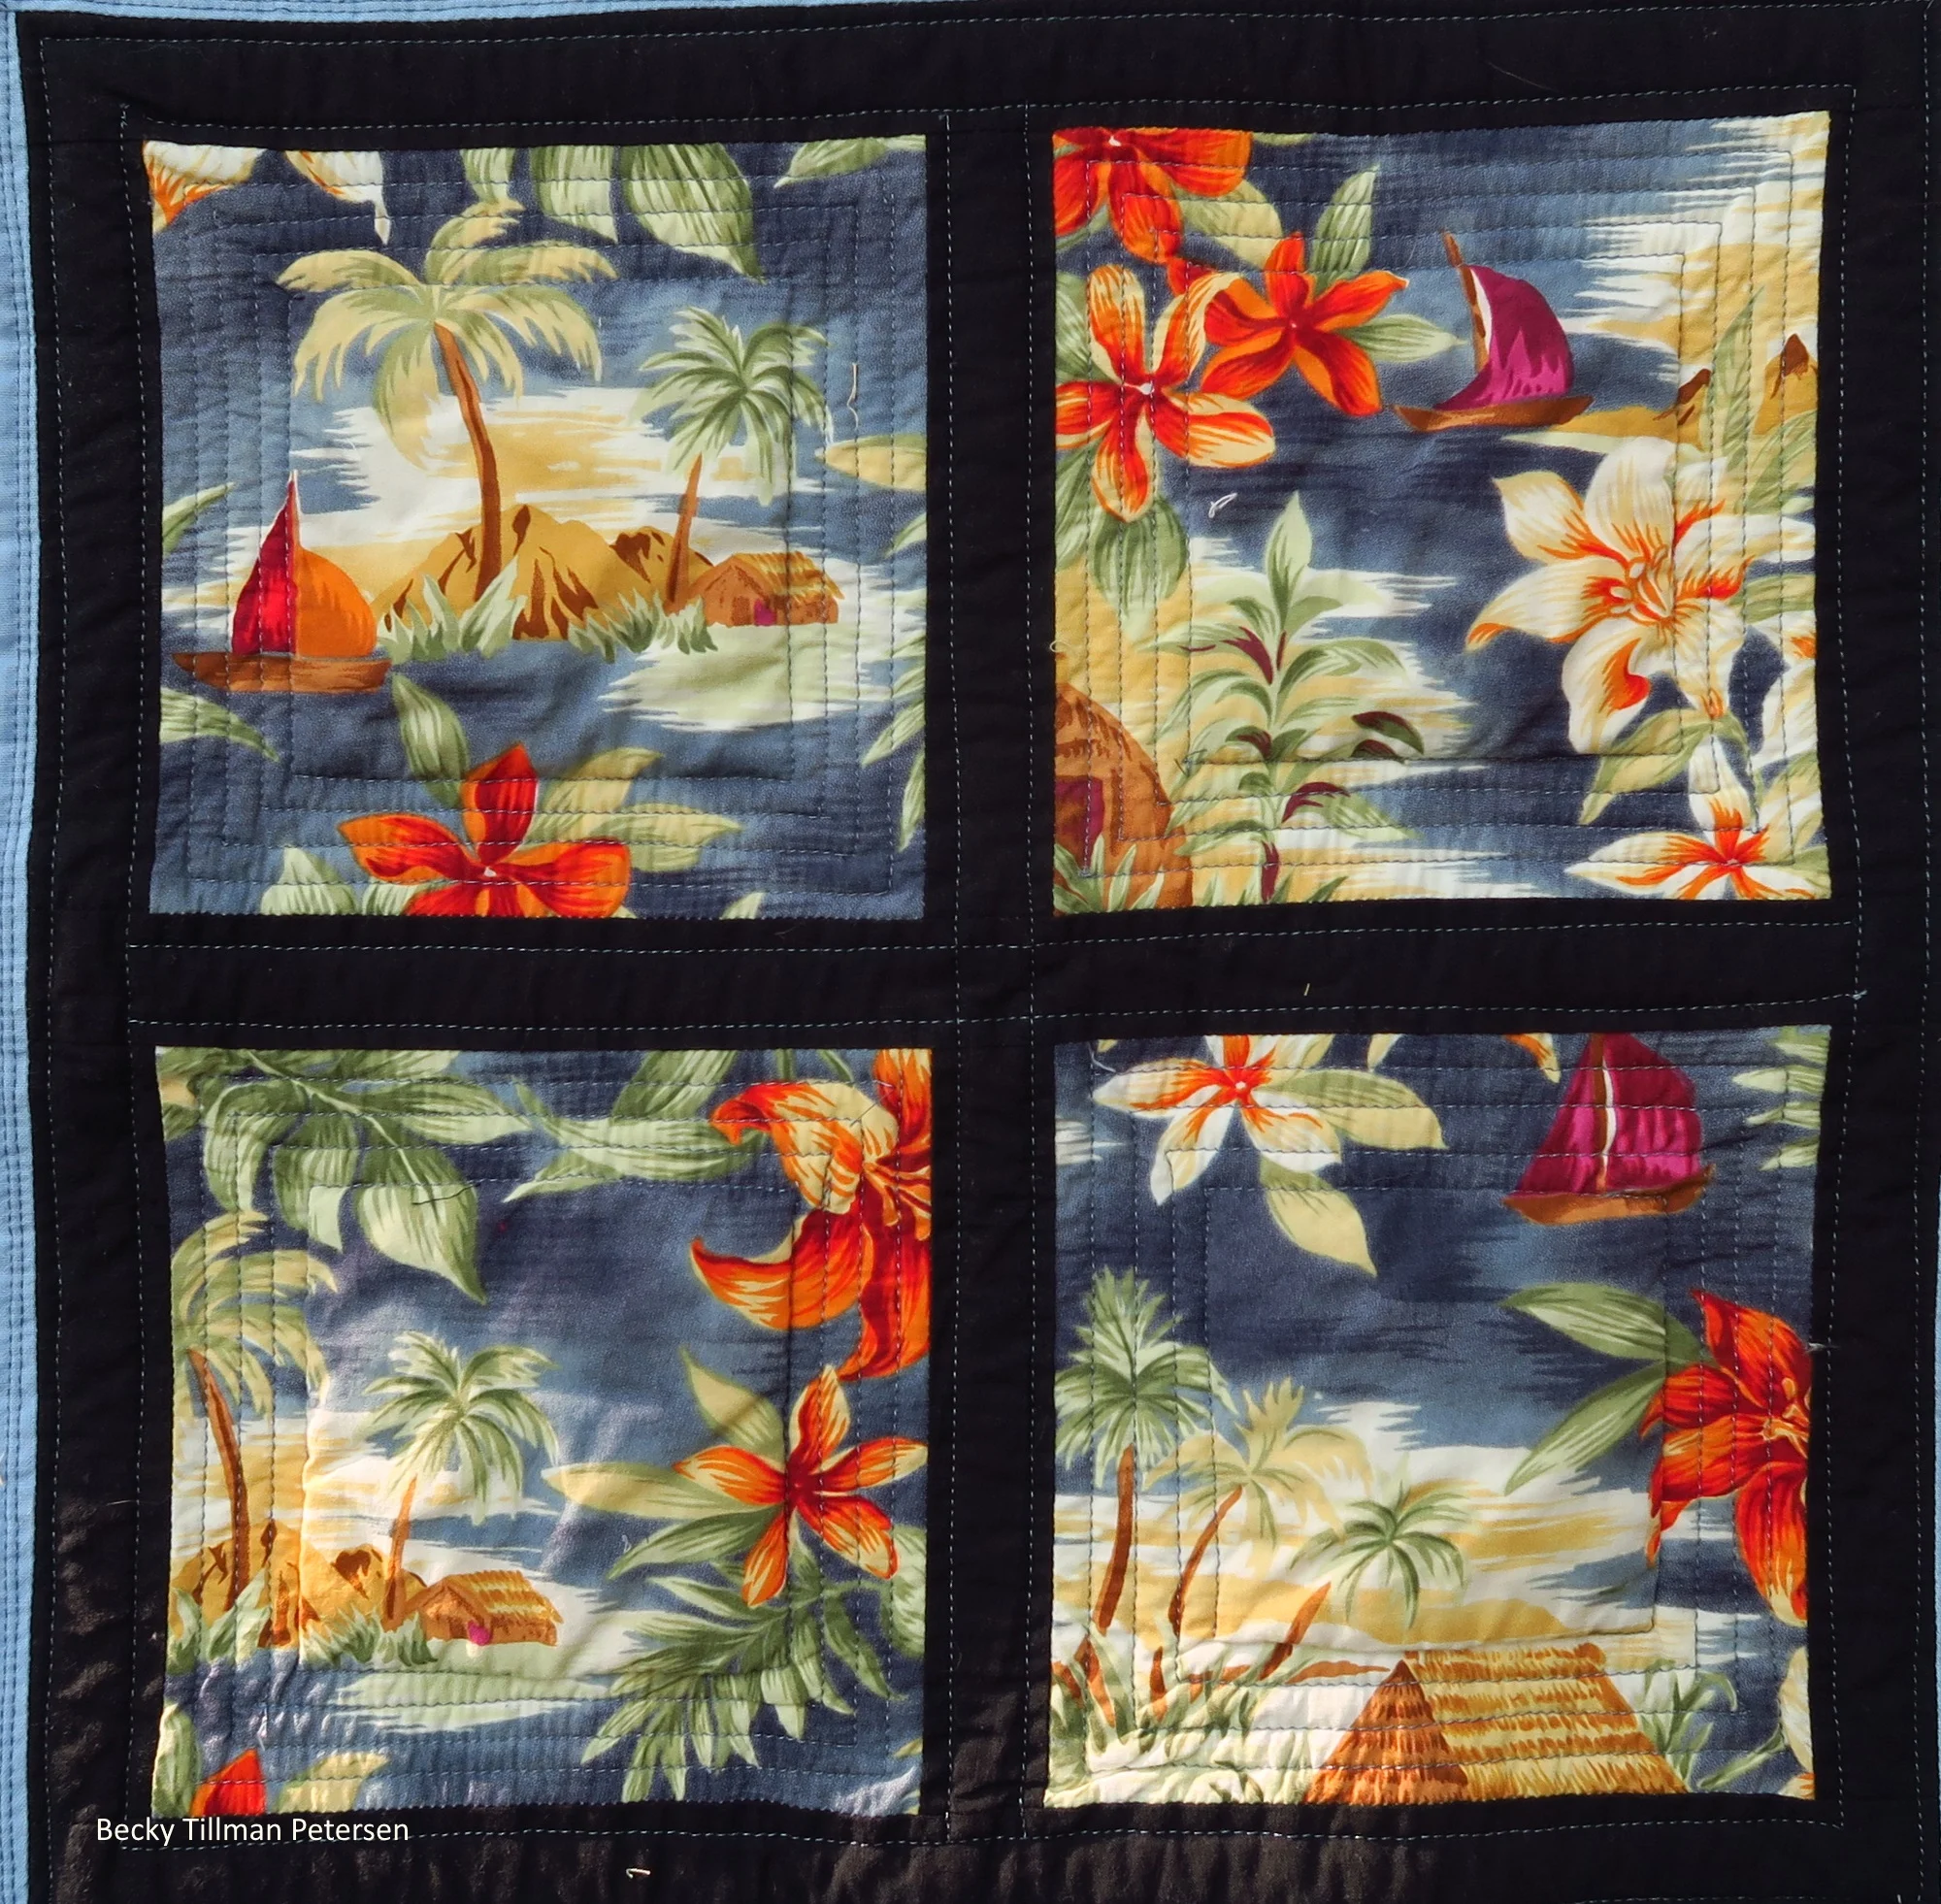
I really liked this Hawaiian shirt and wanted to feature it somehow. This is how I figured I could give it the best exposure. Seeing as how I (we - the Quilted Twins) was/were born in Florida where it's warm a lot and palm trees do really grow - I like these fabrics/designs!
Hopefully I have left it big enough for you to see what I did with the quilting.
The next round - I added some light blue and another round of navy (that's not black - its very dark navy blue) - and then those half square triangles that were bonus triangles - cut offs from the stars in Double Star Beauty, Starring Monkey Wrenches and Periscope. I had saved them all in a zipper type bag and decided to try to use up as many as I could in this top!
So while the borders look nice, they also are added to make the math work - so that the HST border fits as it should. Actually all the borders were figured that way. I couldn't really make a round until I knew where the round after it was going - as I might need to make it bigger or smaller..
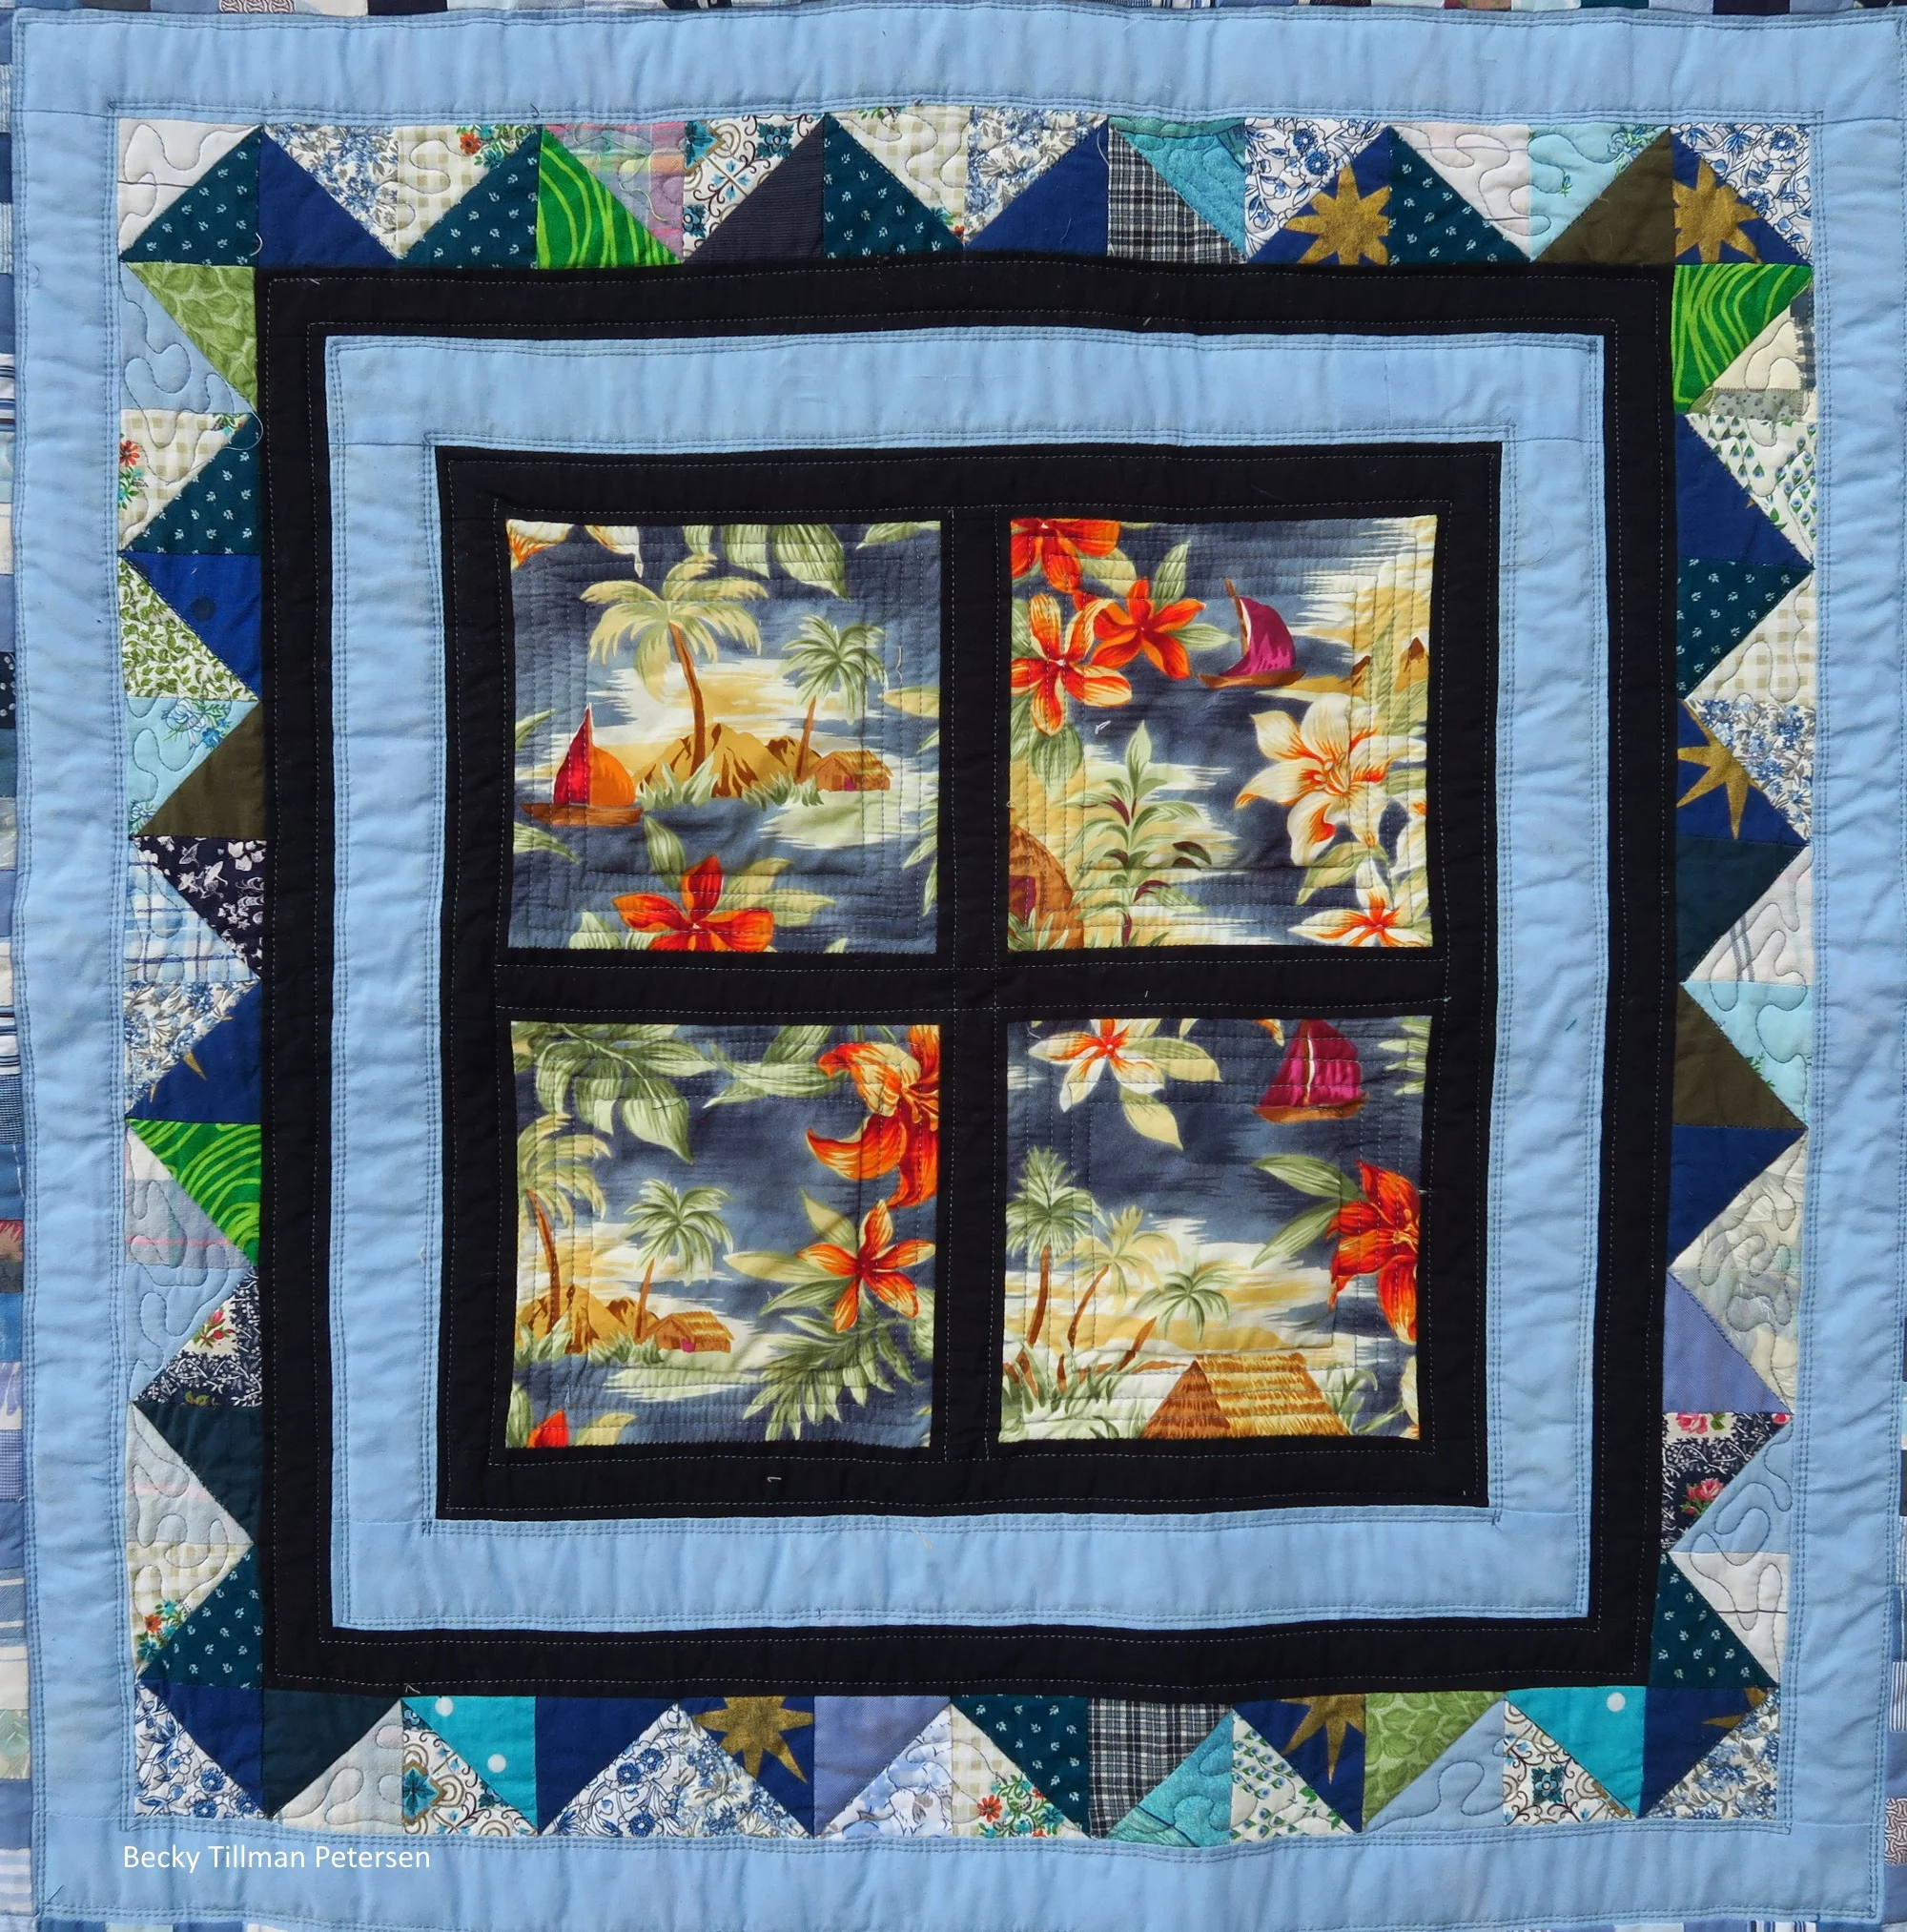
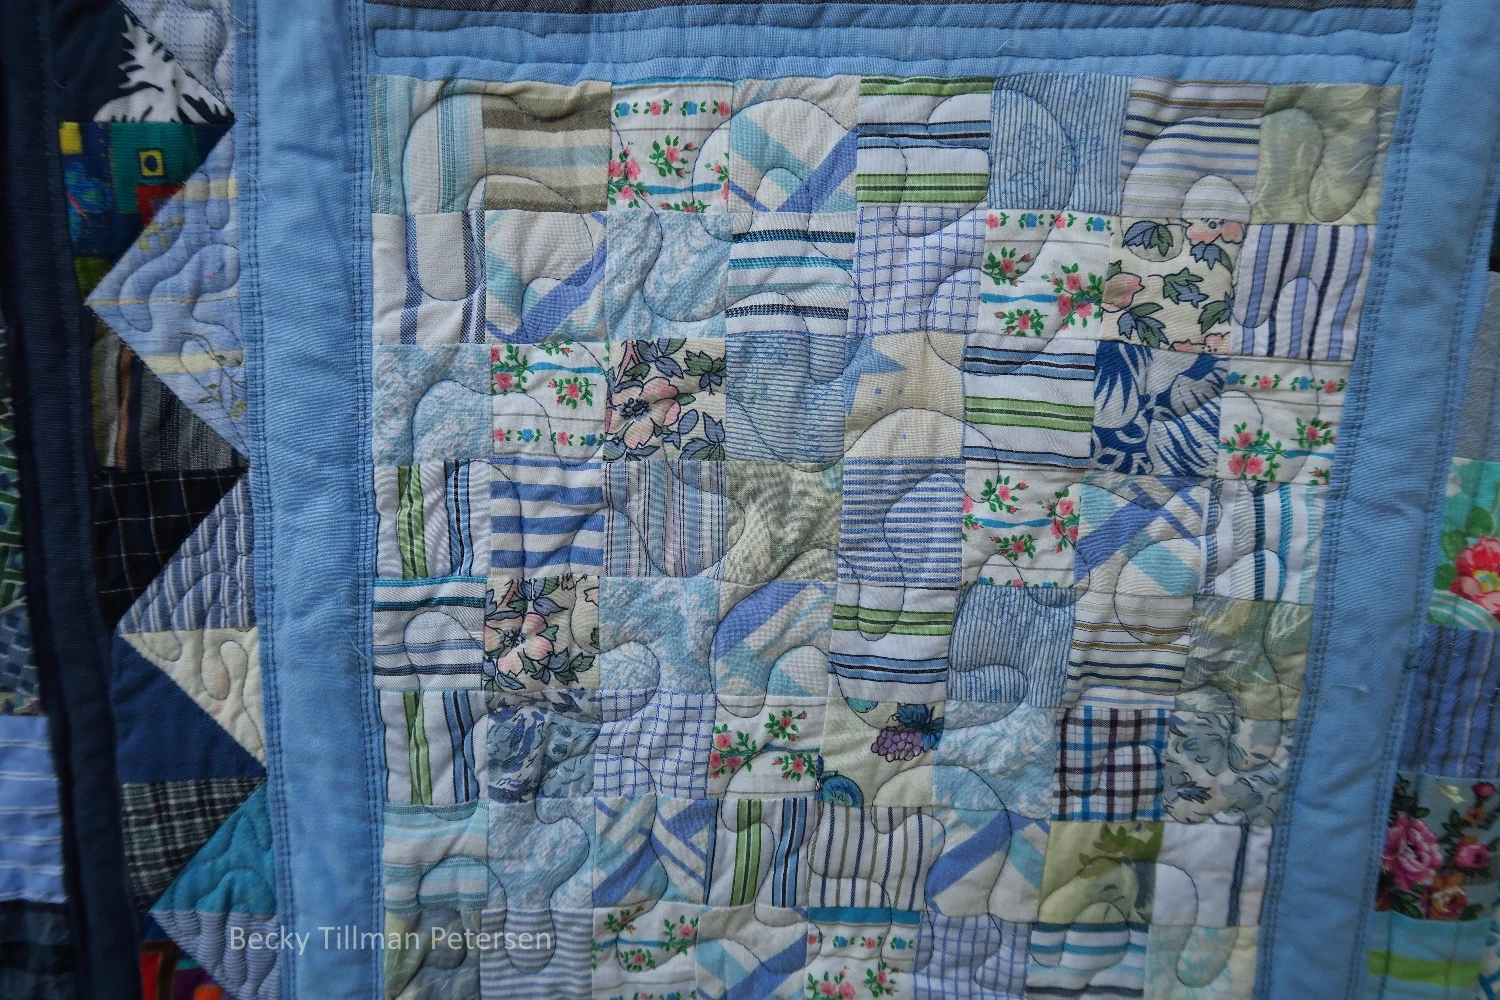
I was hoping for a basic window effect without it really being an attic window - since I didn't want that. However, these were all small squares - not one big piece of shirting cut into four. I fussy cut nice scenes out of the back - hoping it would turn out pretty.
The next set of rounds -
I really wanted to use up a lot of 1.5" strips I had cut. I had a lot from making the strip sets for Triple Irish Delight and All Crumbled Up. This round used almost all of those 1.5" strips up completely.
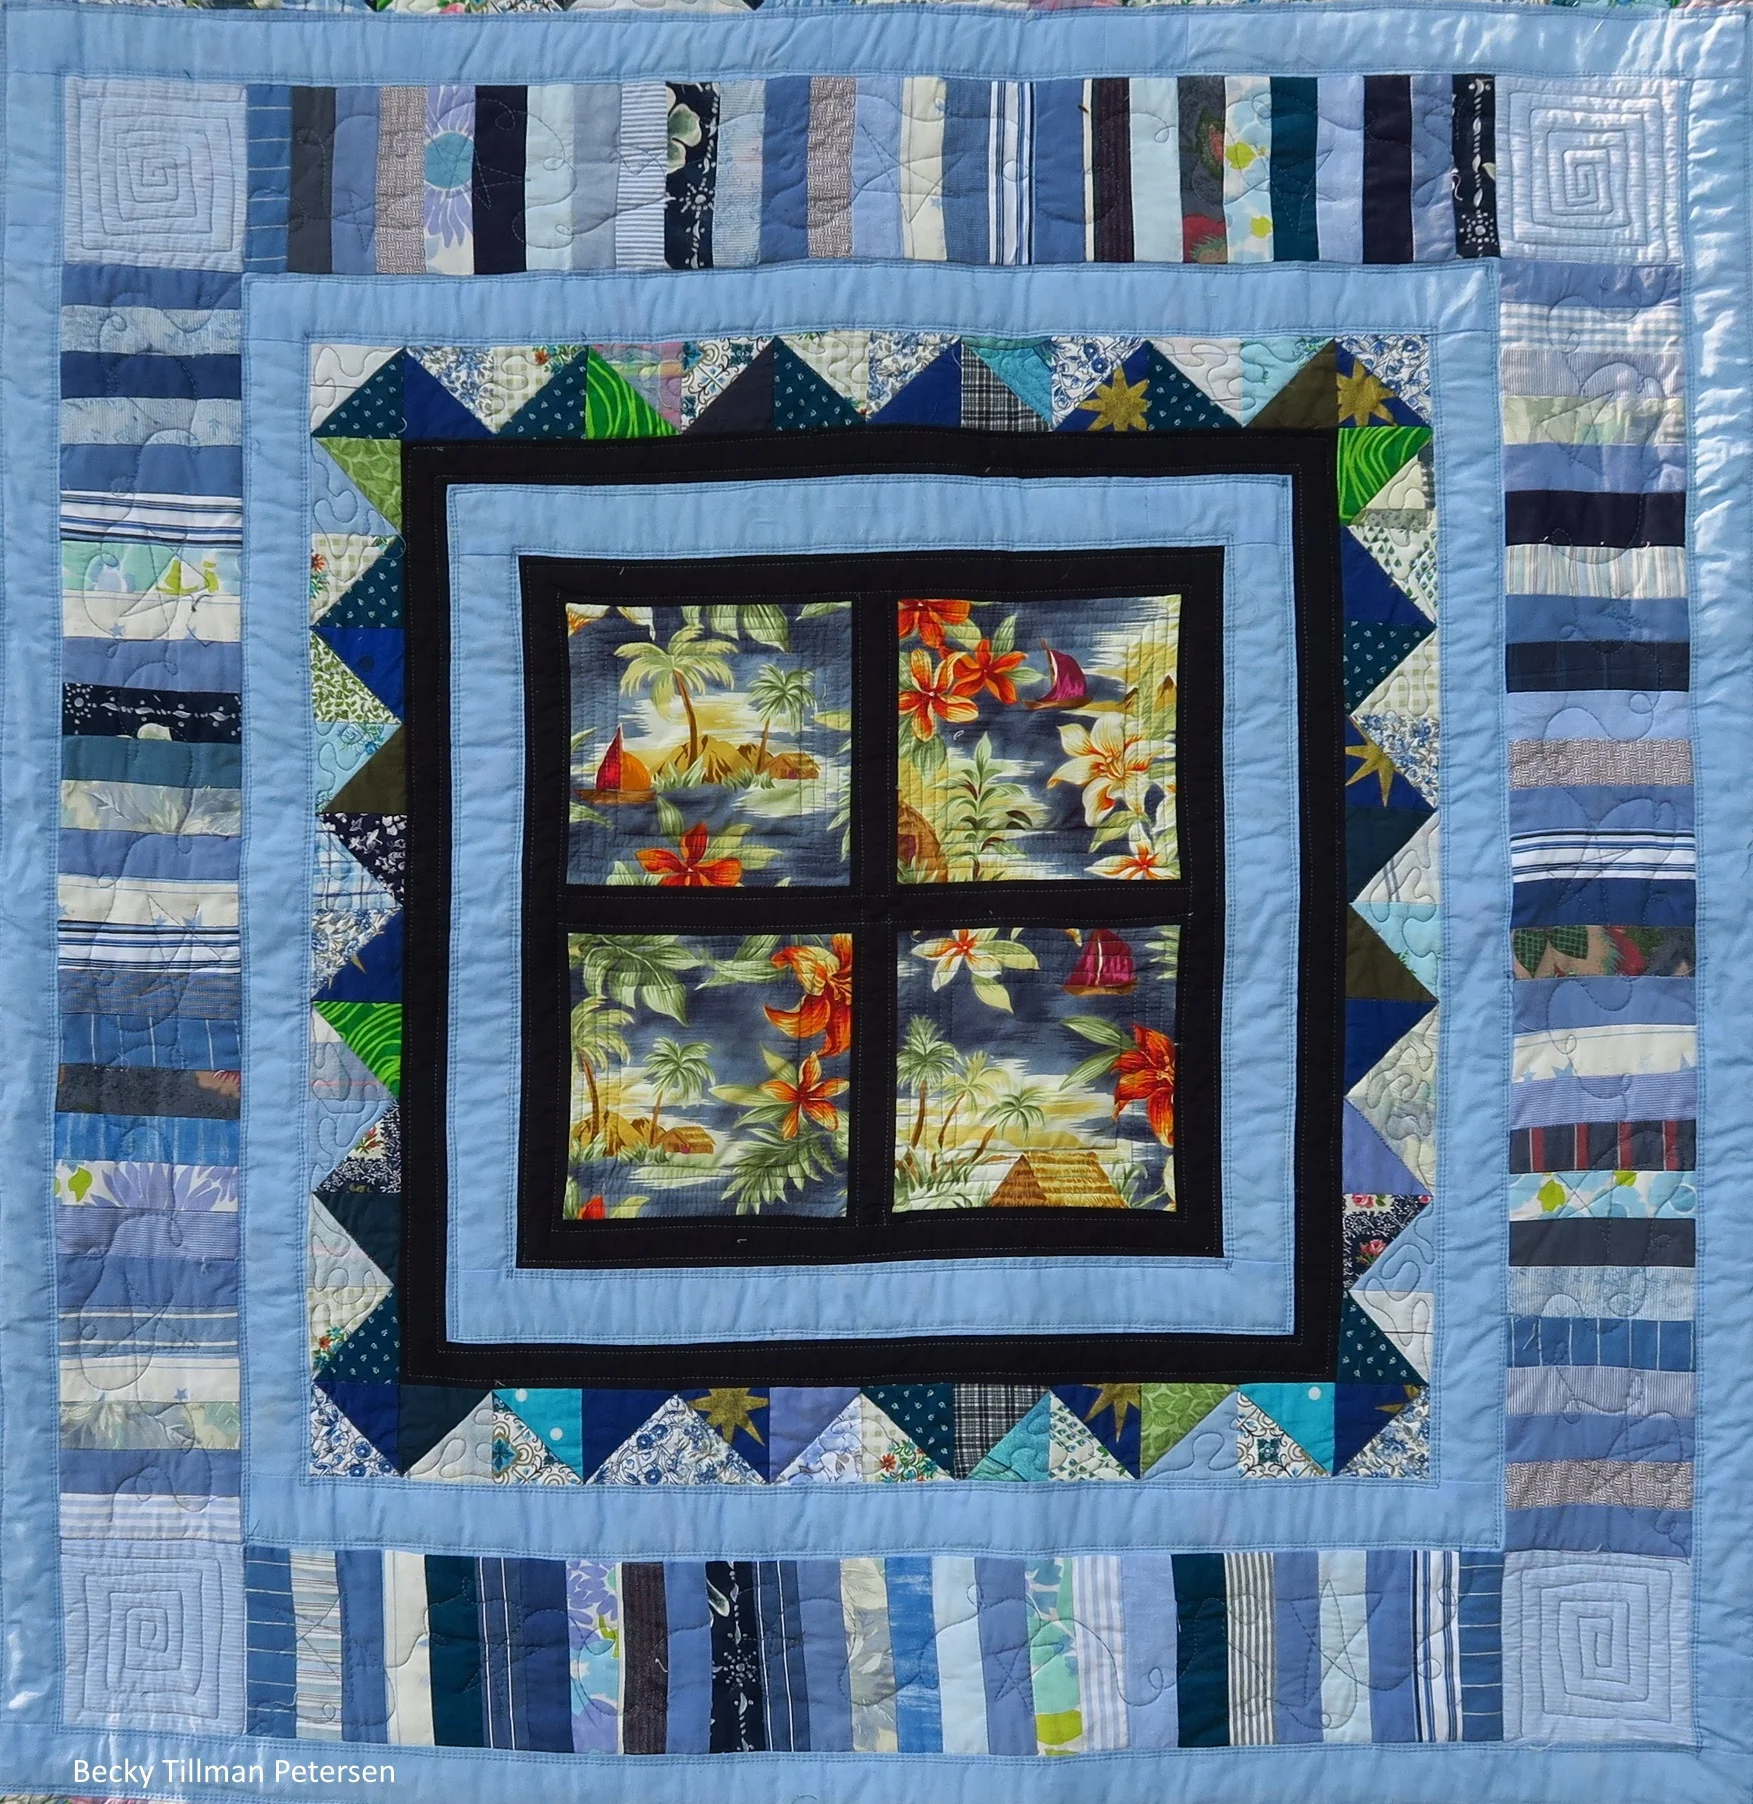
I knew I still had a lot of leftover labels - ones that I hadn't even cut into when I made Premium Labels - and I wanted to use up as many as I could on this quilt. So, I decided on a 6.5" cut width (because I have a nice ruler that is that width :)) and and figured out the size of borders I needed to have it all work out right.
I wanted those labels to be sort of a feature - so I figured I could do that by making HST making a frame of sorts. So that is what I did. I added those skinny rows of navy to make the math work - and for emphasis, of course! The corner pieced blocks I added because I didn't really know how to make a nice 6.5" square block using just a label - most of the back yokes aren't THAT big -and I would have needed four of them. So I made a different square as the corner blocks.
I did work on this in EQ, by the way. If this is something you really think you'd like, I can work it up - it's such a unique design, though - because it is from my own leftovers, I had doubts that anyone else would need such a pattern. Just let me know if this is something you think you'd use. Just put a note in the comments.
Then for the outermost round, once again, I added another light blue round first to make the math work right, and then I added fabric to the blocks or pockets, or embroidery or pieces of fabric until the blocks were 12.5" square. I separated them with a tiny piece of light blue - just like my EQ told me to, and it all worked out just fine.
I added one more round of light blue and added some 2.5" squares - just to try to use them up -as my 2.5" box still had quite a bit in it.
Remember, these are all upcycled materials -
And yes, I ran out of that light blue right at the end. It was almost miraculous. I had about a 2" strip left of that duvet cover.
Yes. That's all. I really didn't know if I was going to have enough there towards the end. I was saving every scrap in one place - in case I had needed to piece small pieces together to get the last few inches of that final light blue border.

Close Ups
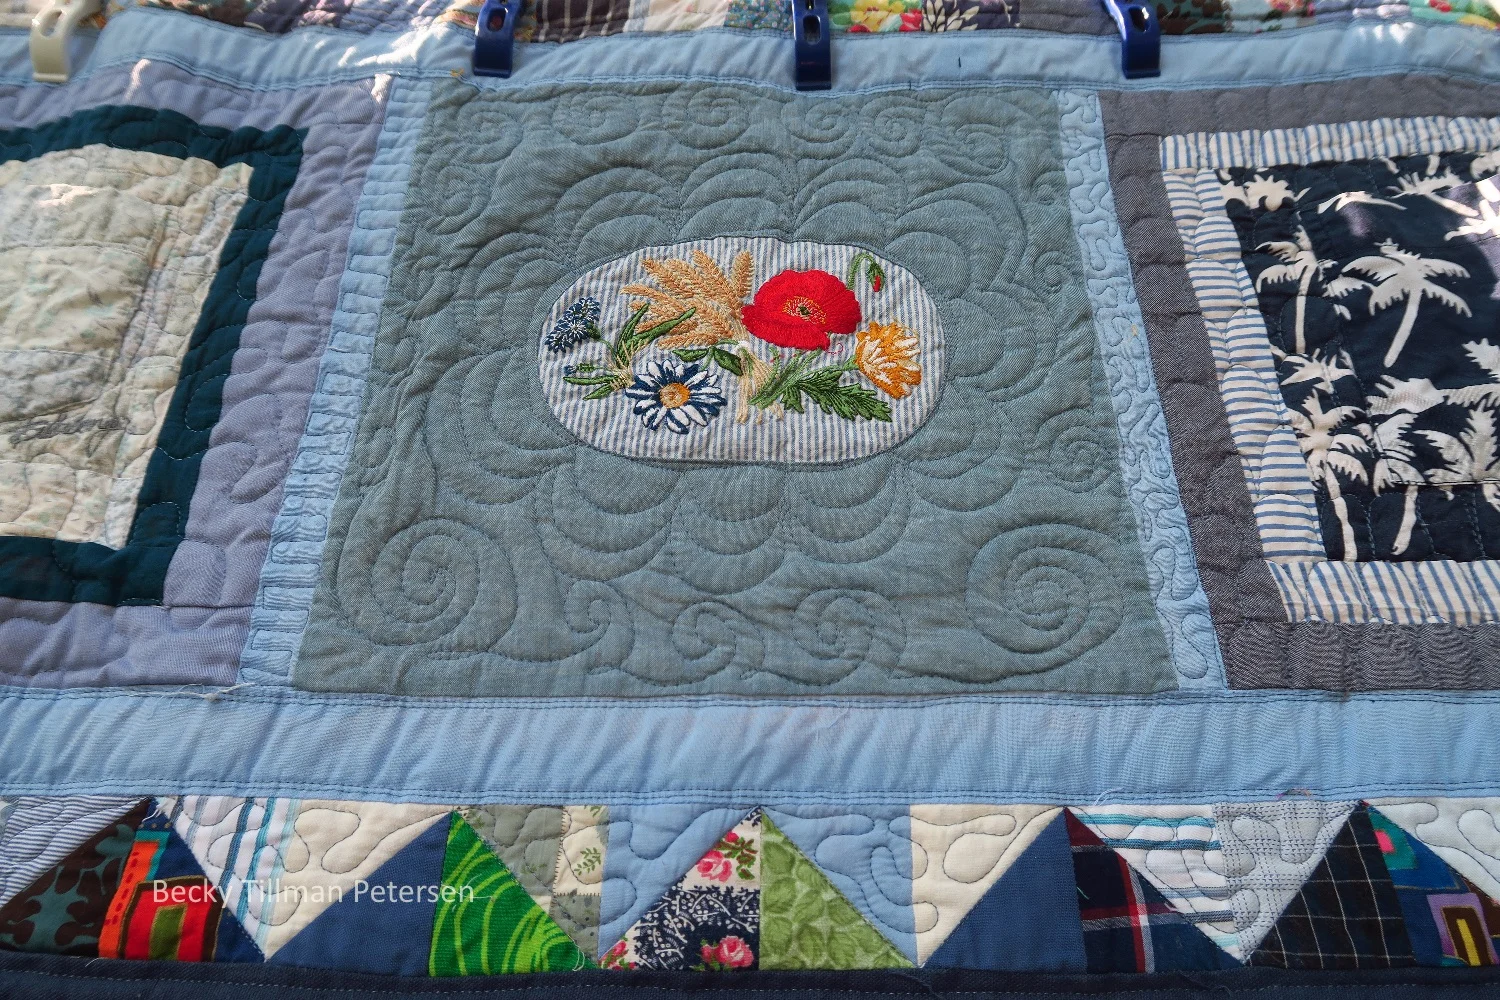
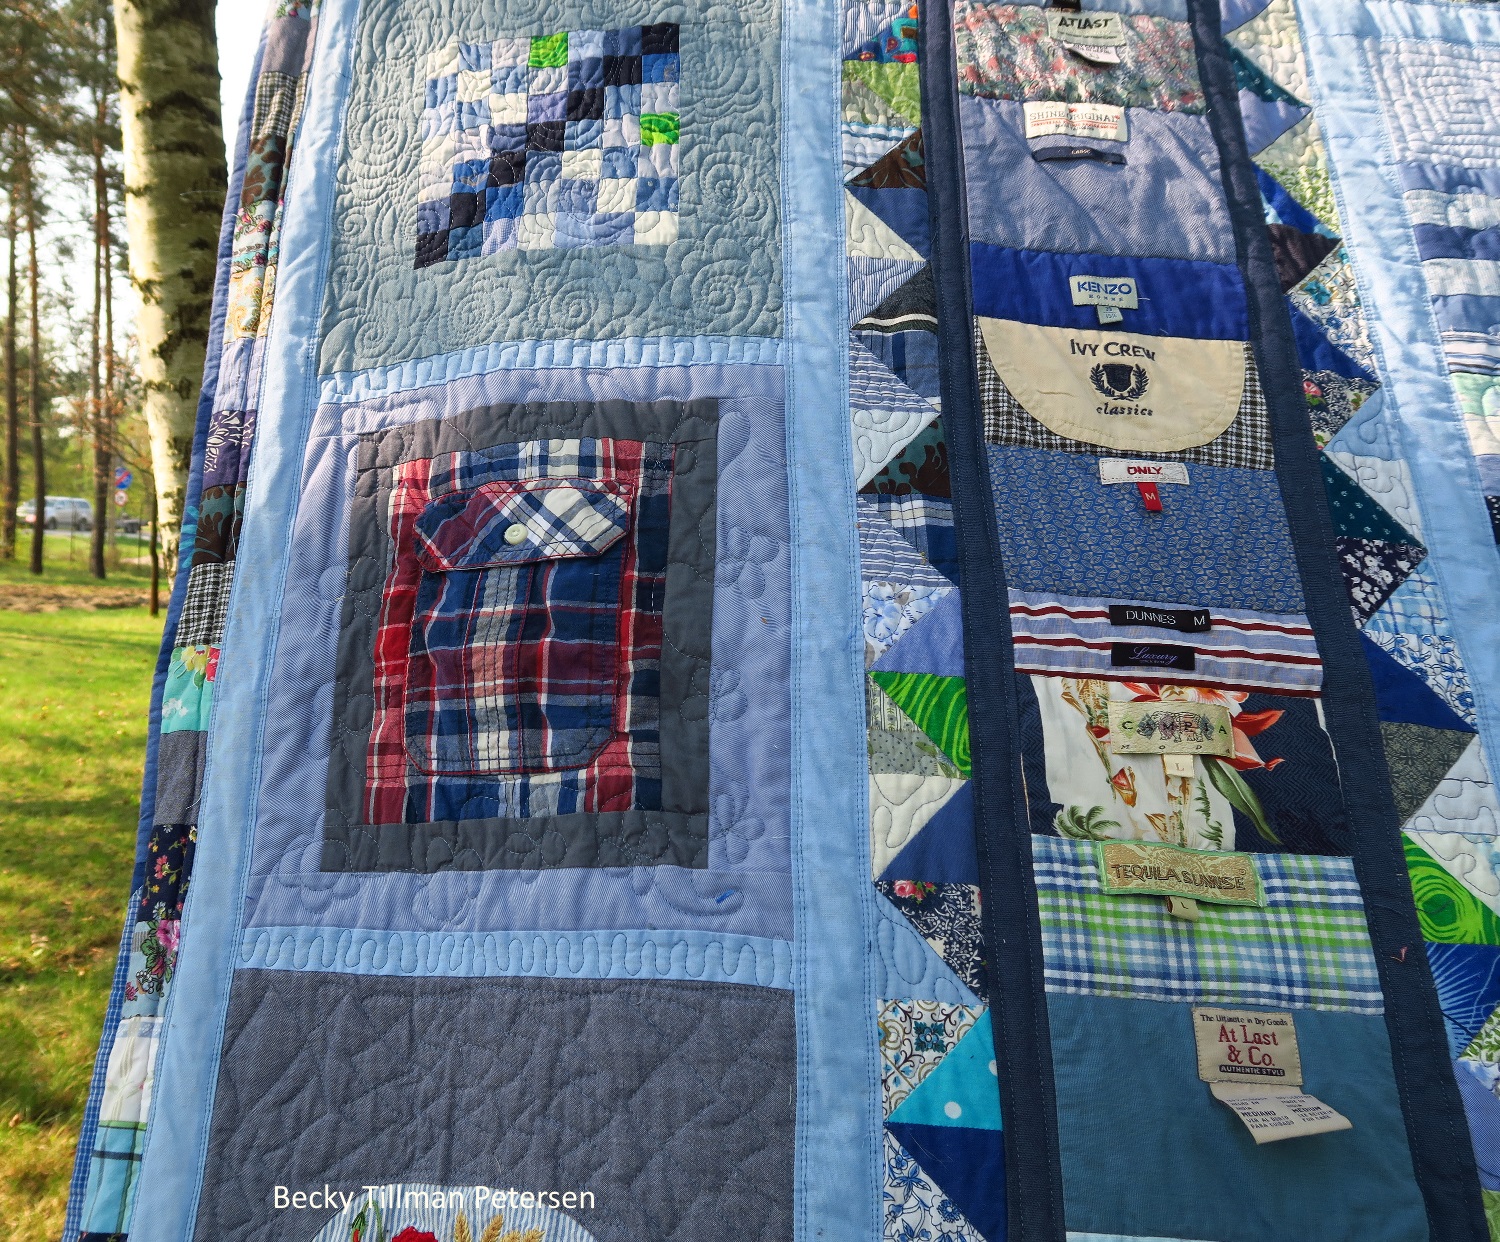
Here are some close ups so you can see. Here's embroidery from a ladies' shirt.
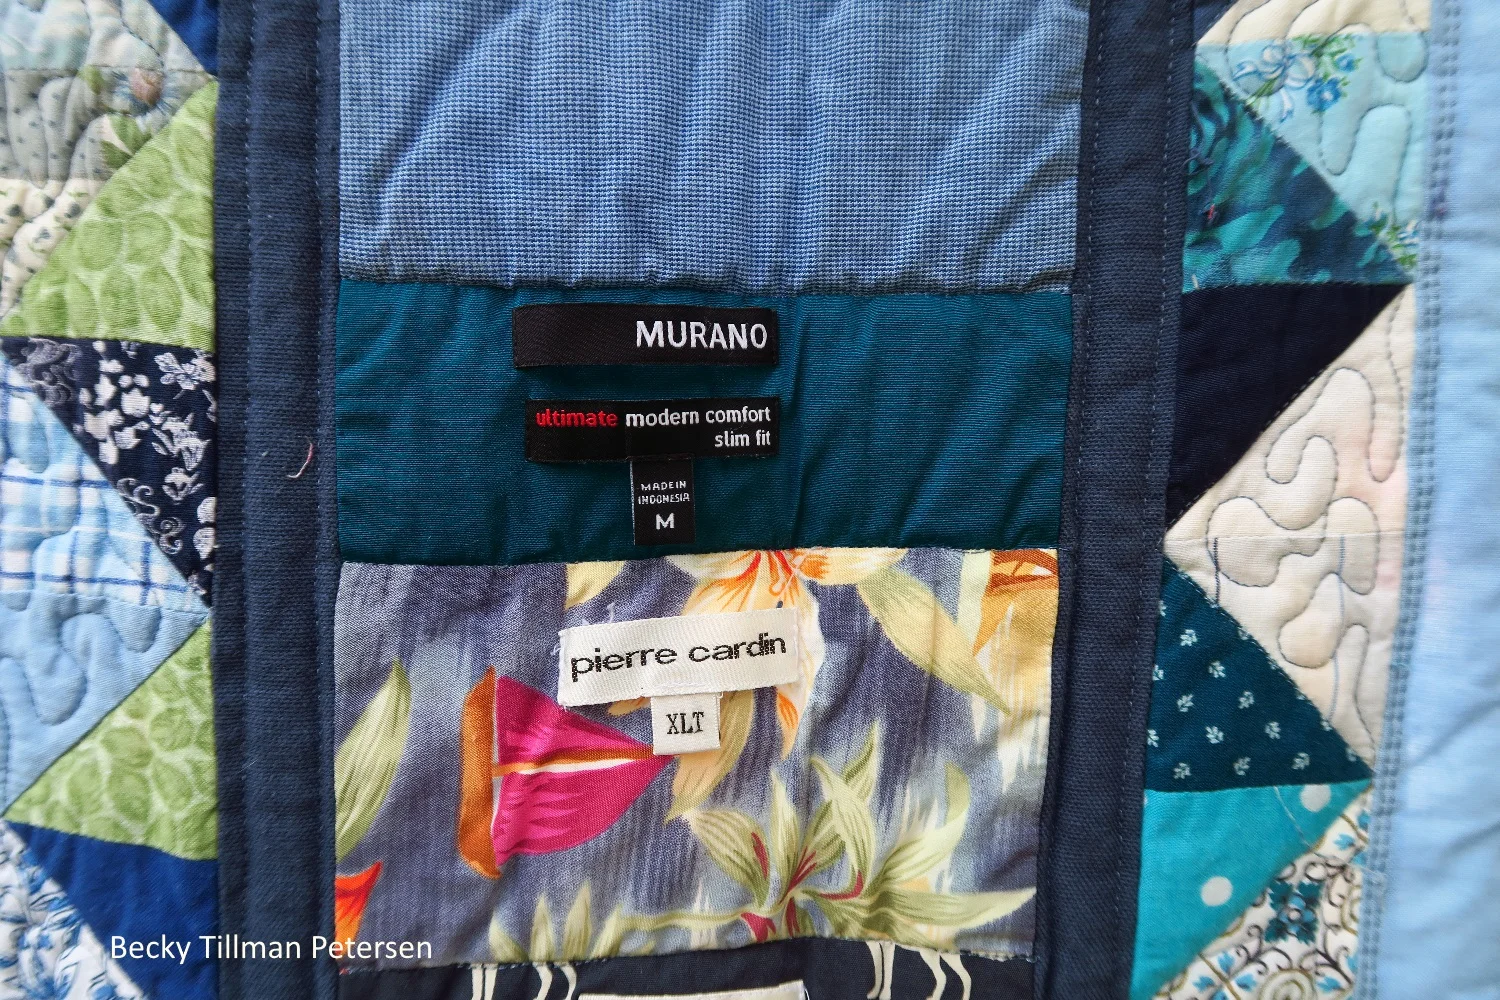
A close up of the row of labels - this time no fancy piecing. I stitched in the ditch between them to keep them in place.
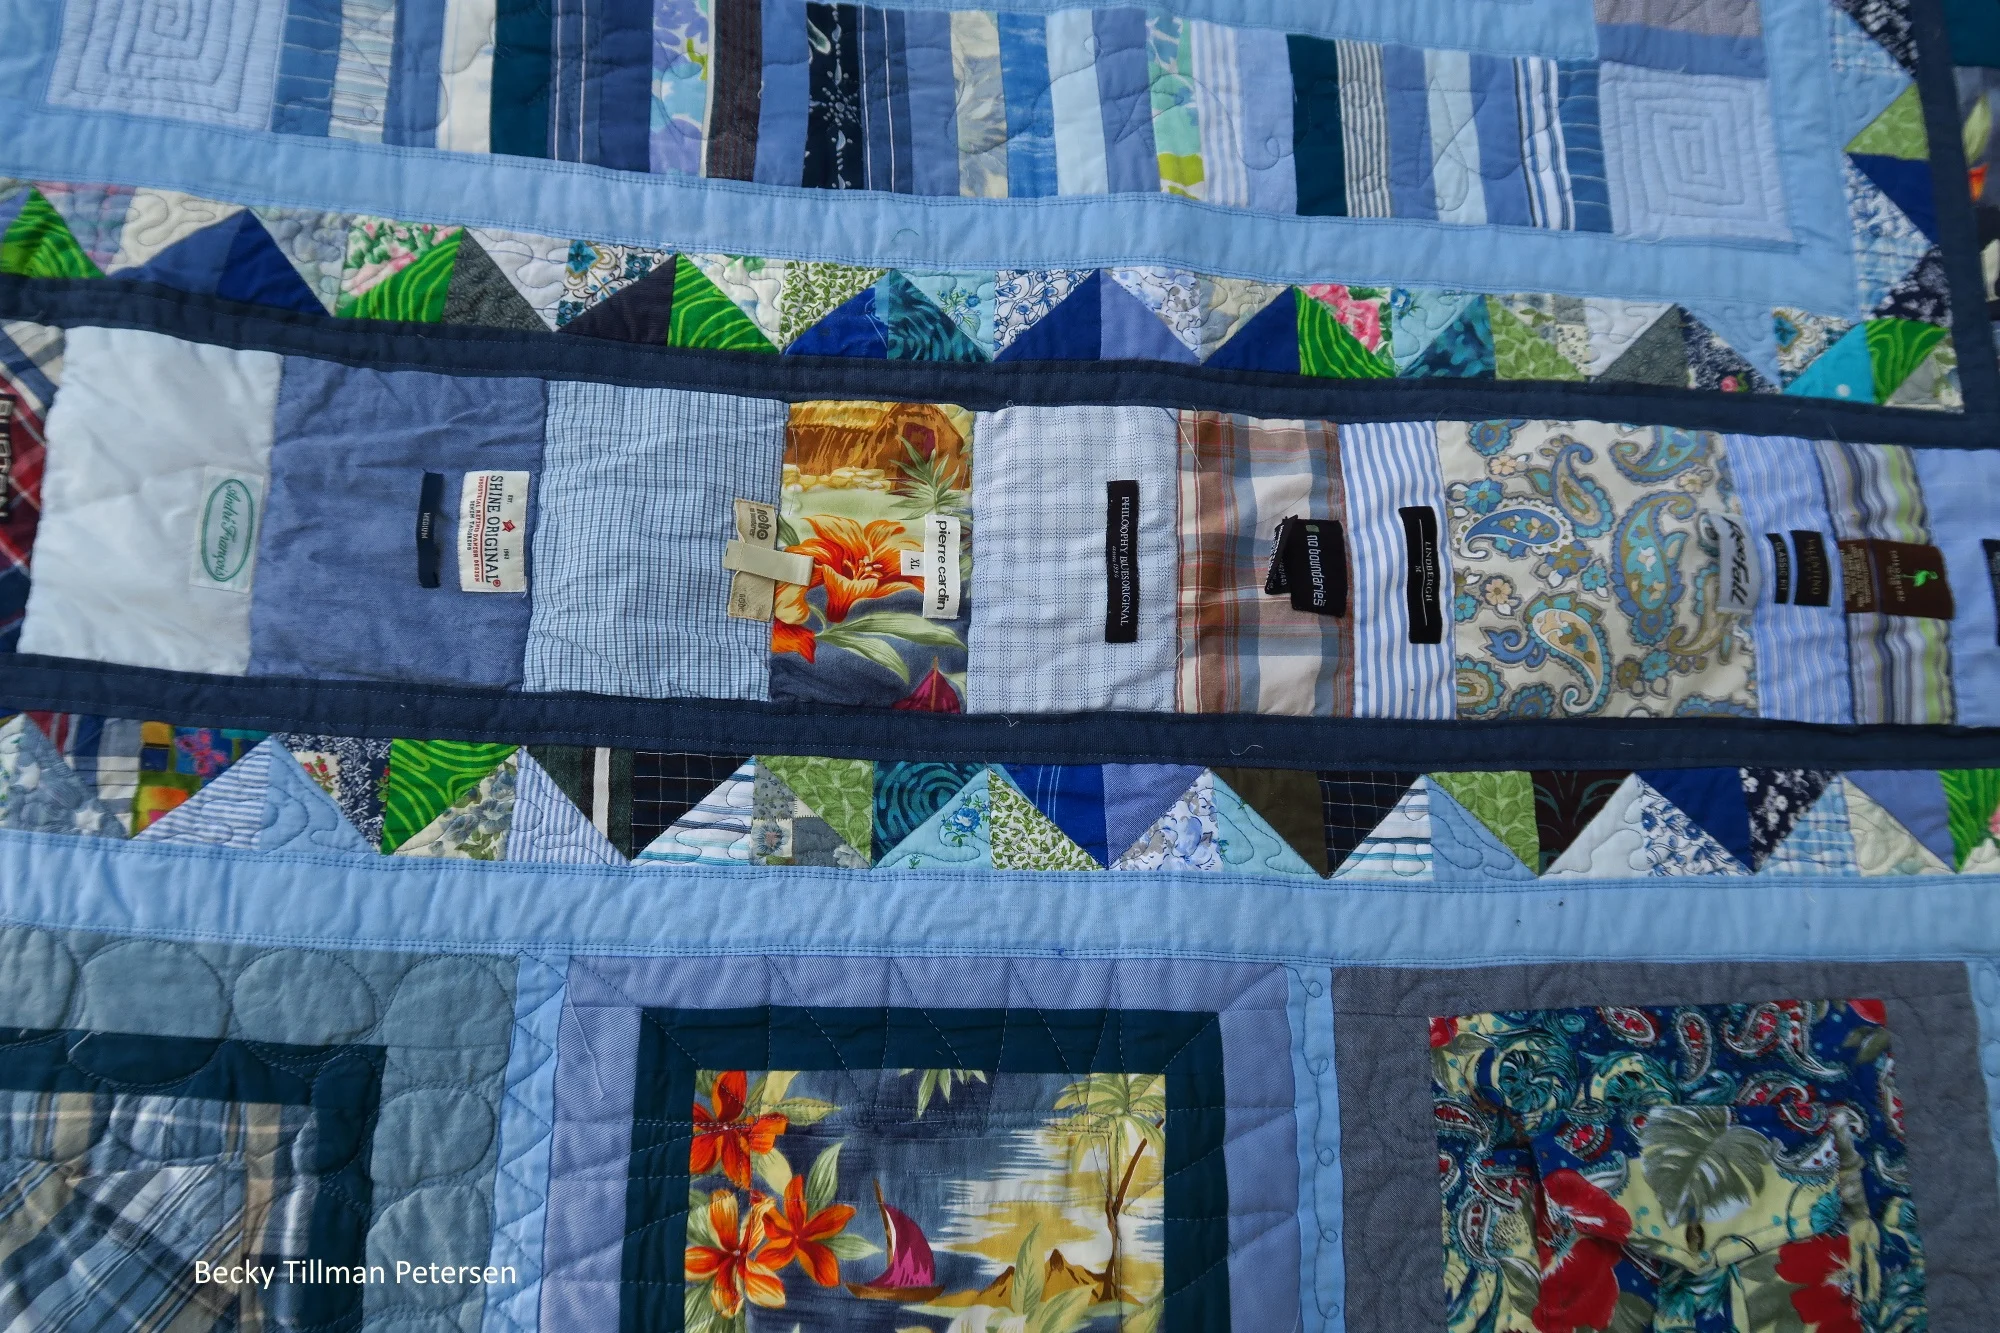
I used several pockets - of course I have dozens more - need to figure out another quilt with them as the featured item!
When quilting this, I used it as a sampler of sorts. I tried just about everything I've ever tried or even looked at except feathers. I couldn't figure out for sure where to put those.
I did straight line quilting - including using my dual needle. It's a "for sure" way to making sure the top stitching doesn't wobble or look uneven. The only bad thing, the lines are very close together. But I really do like the look! I used it in the light blue, but in the navy since the sashing widths were only 1" to start with, I didn't use it - opting to use a single needle instad.
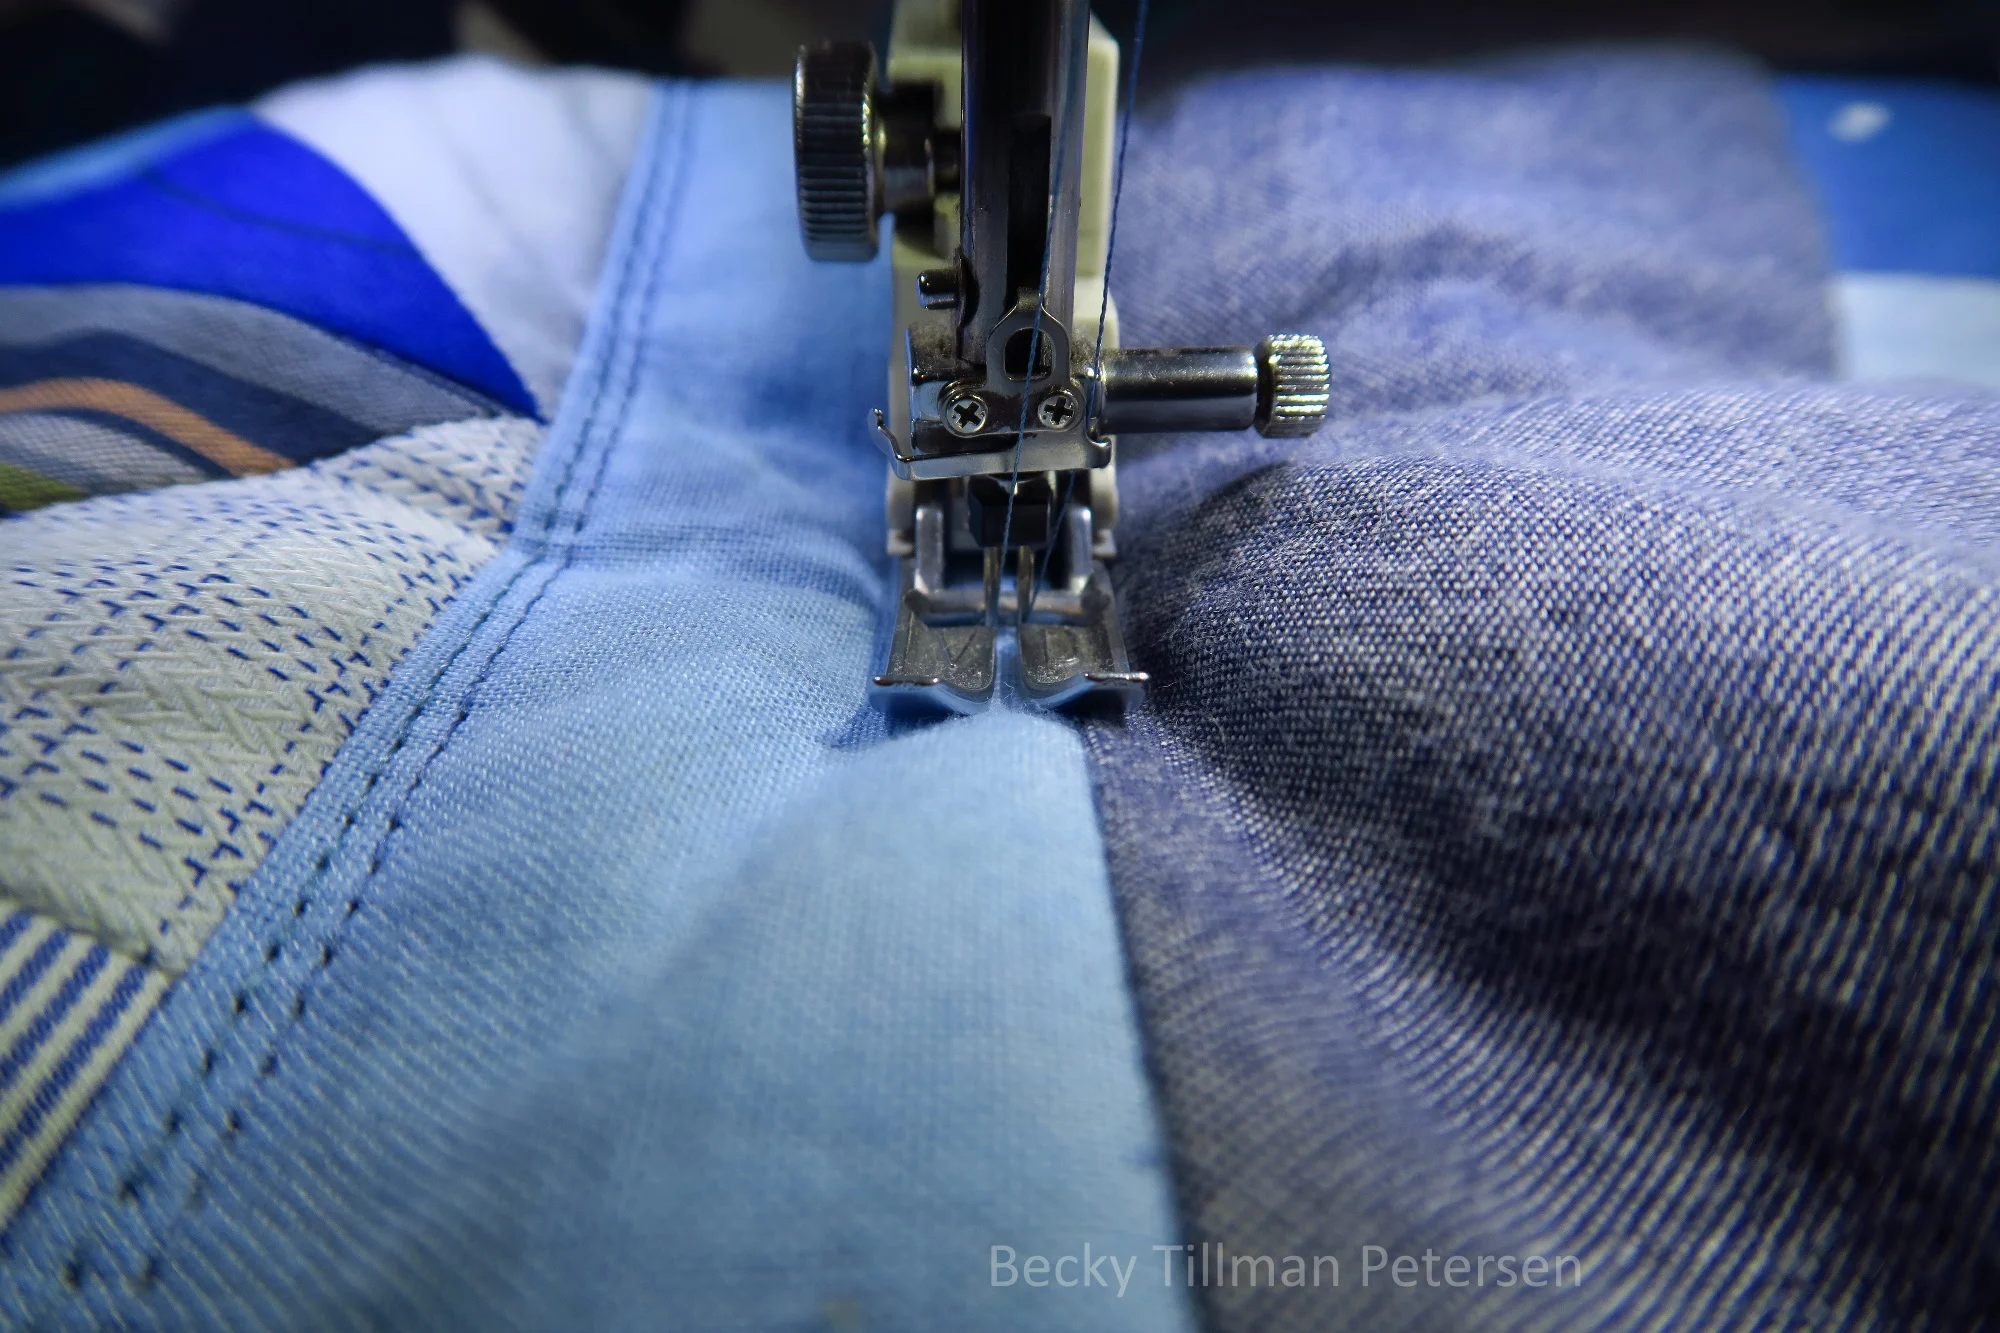
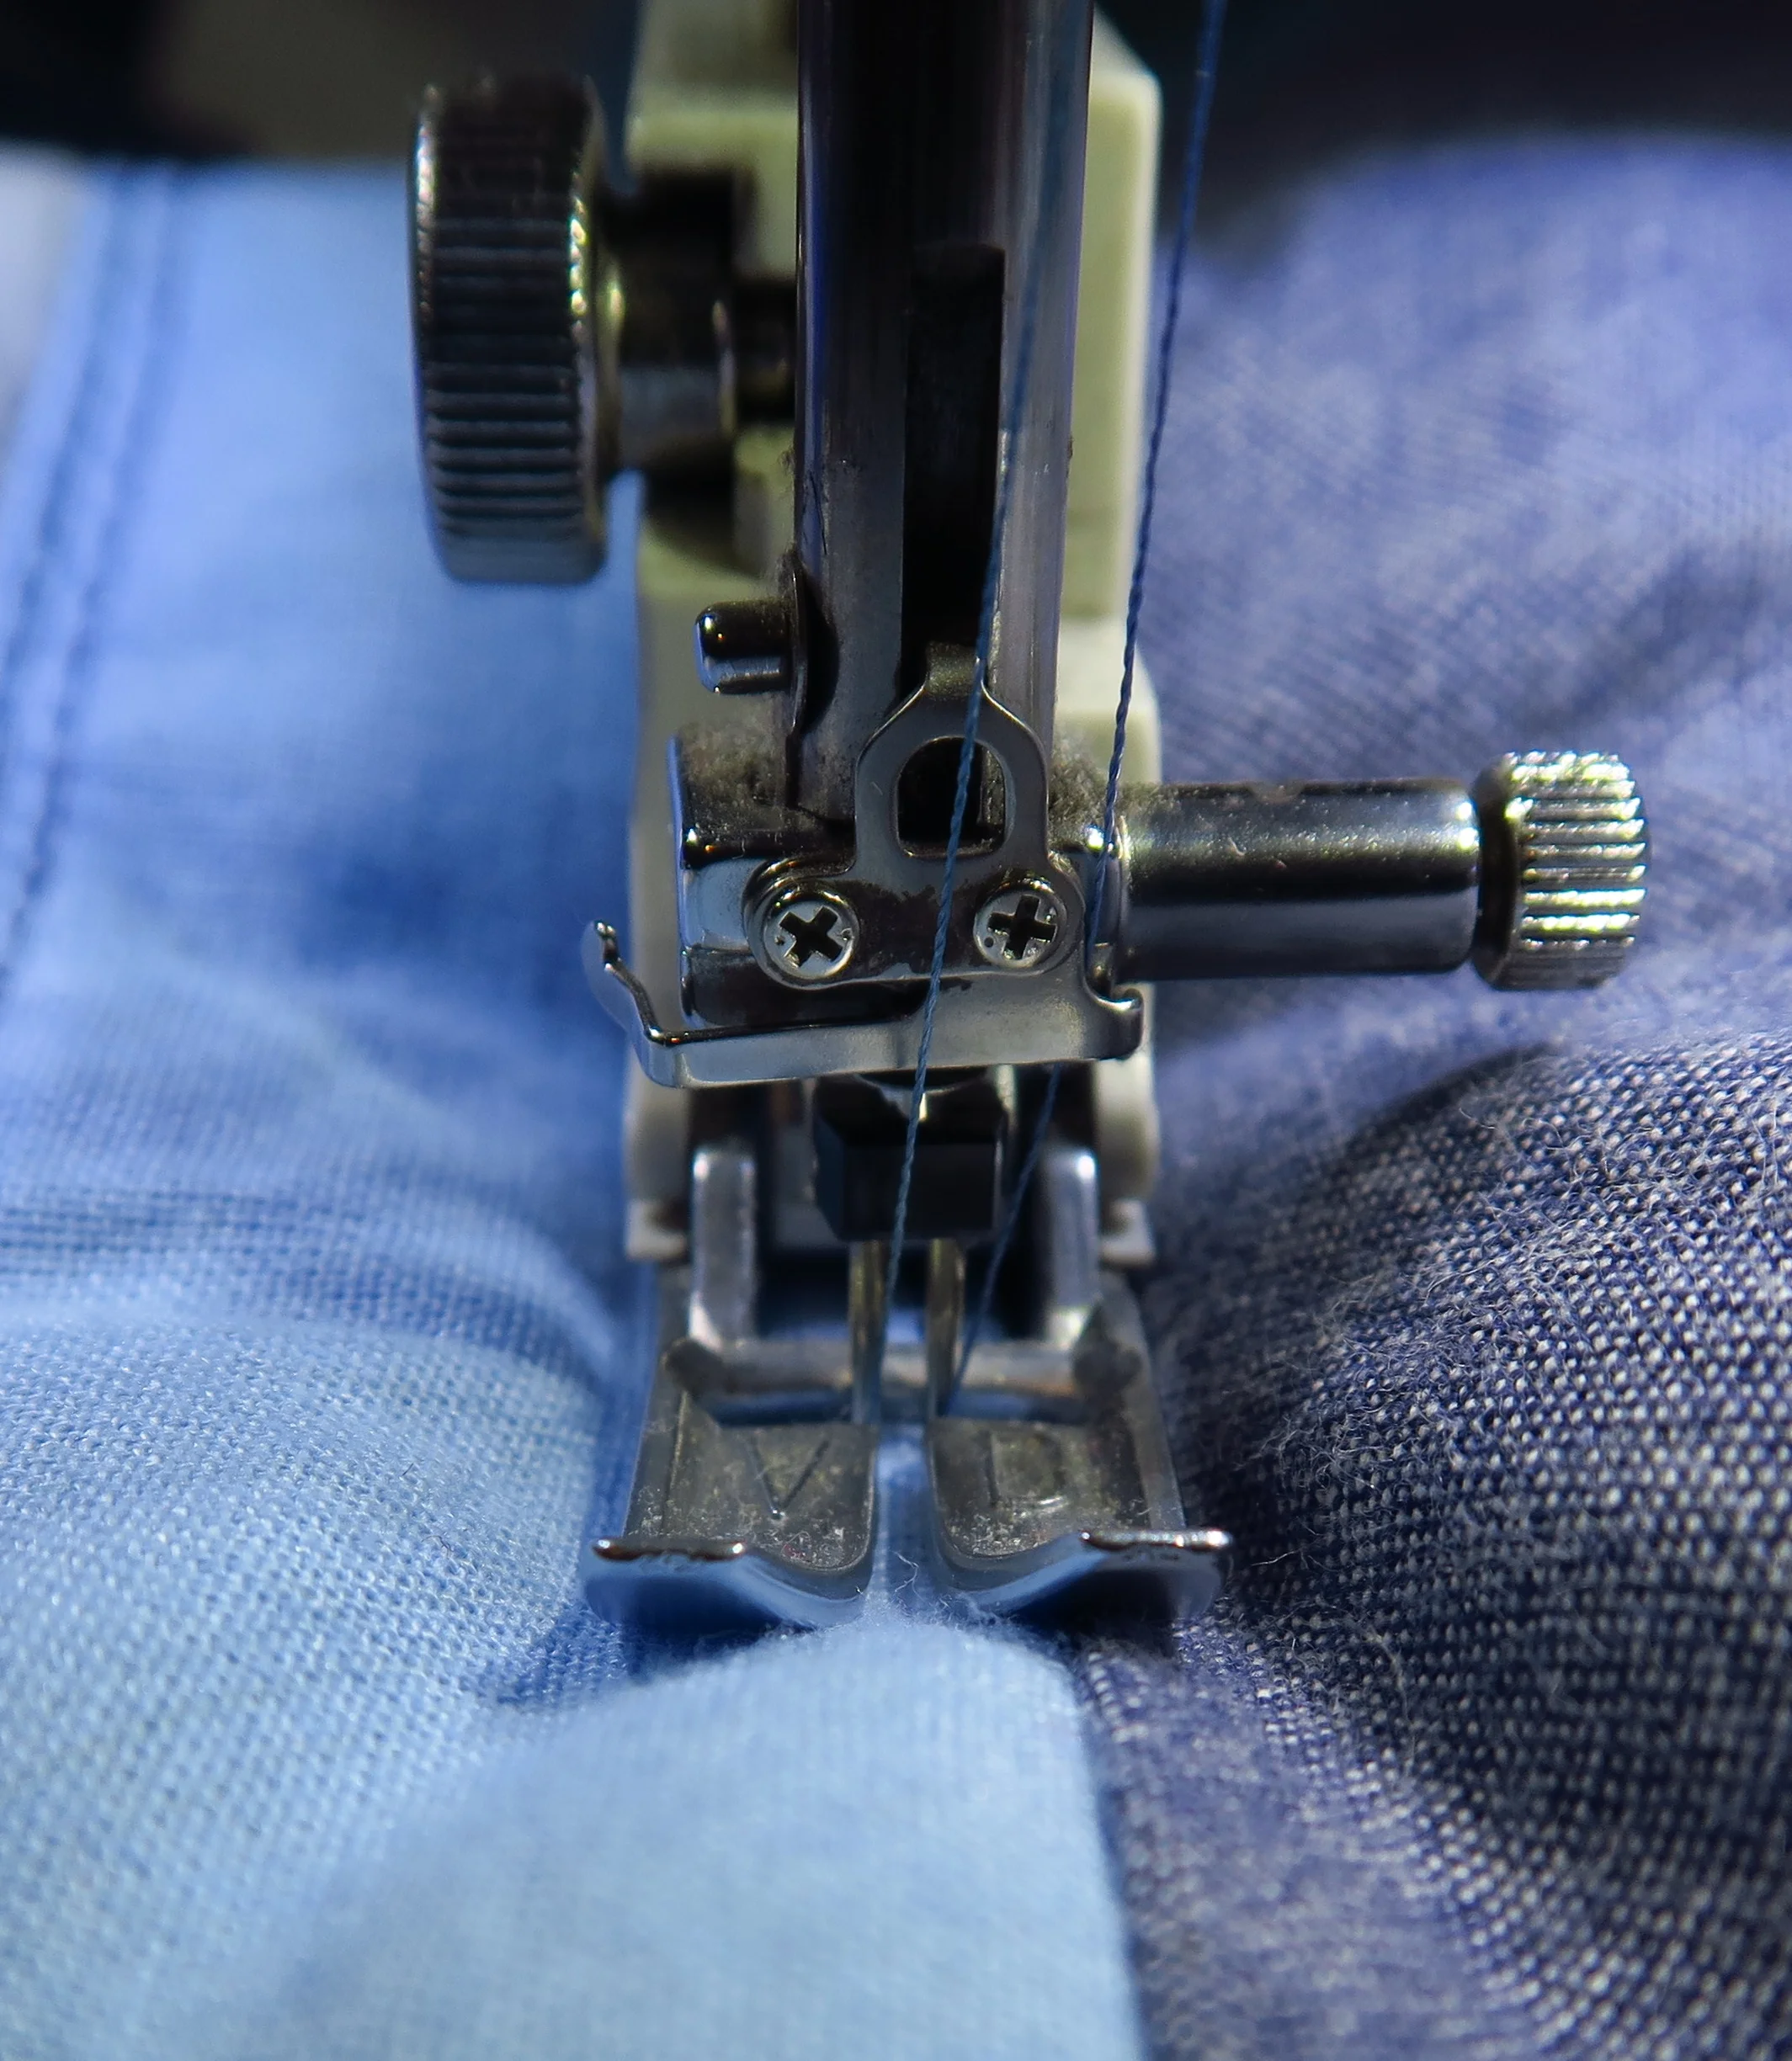
I was a little scared it wouldn't work, but it worked like a charm! It was great! Easy. I didn't try to go fast, though. It made me want to try to use the dual needle more often.
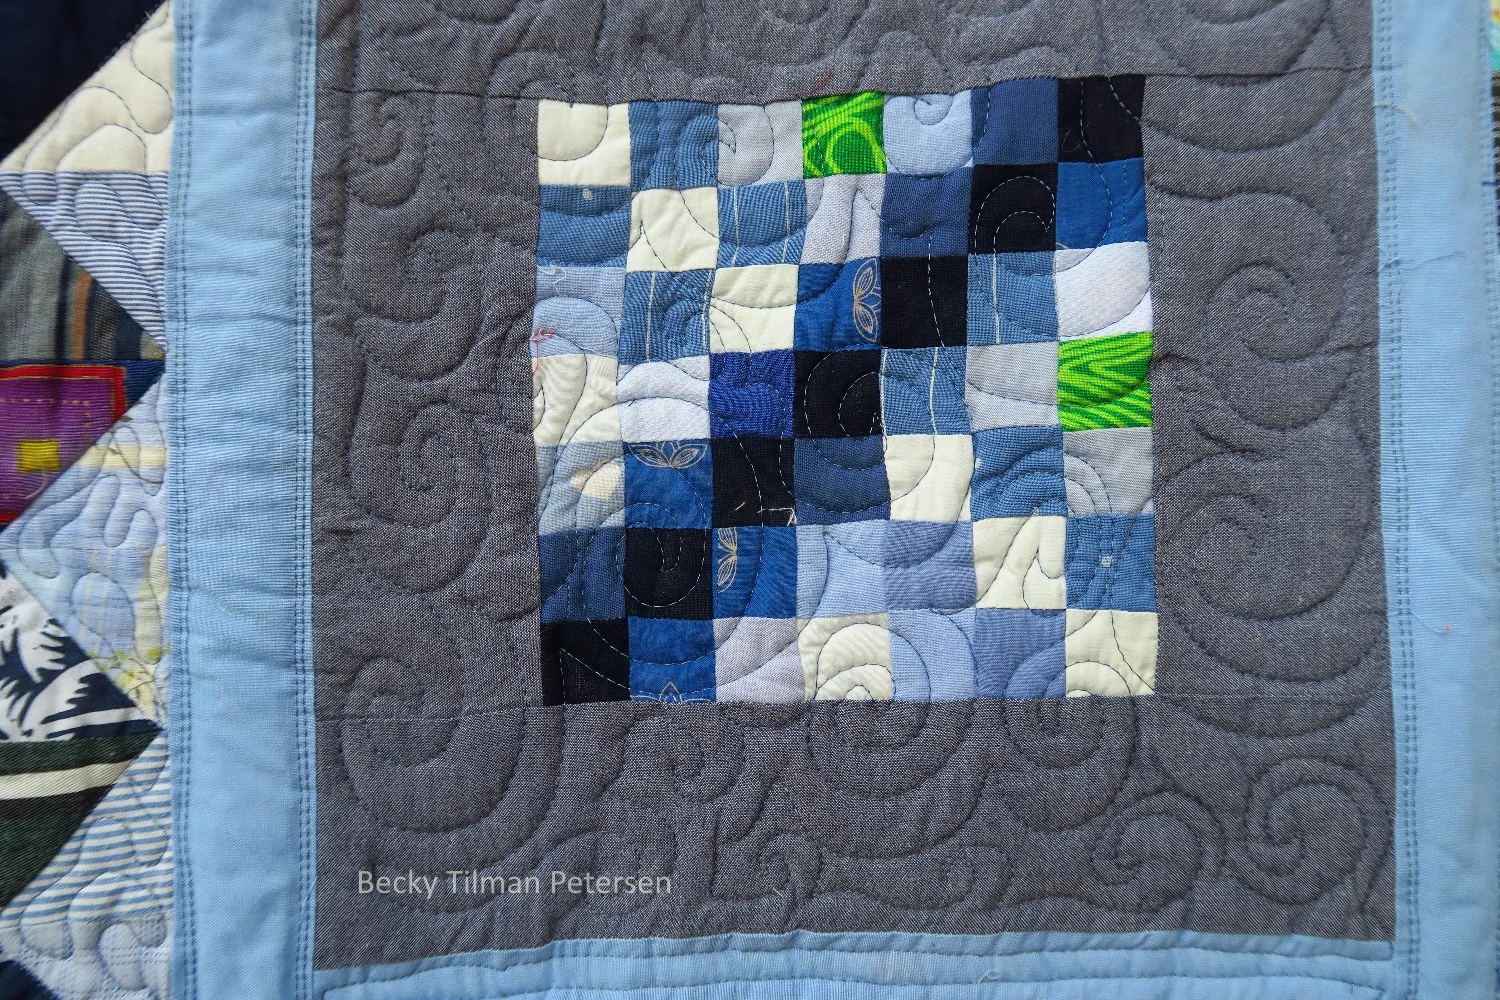
some more close ups of some of the blocks:
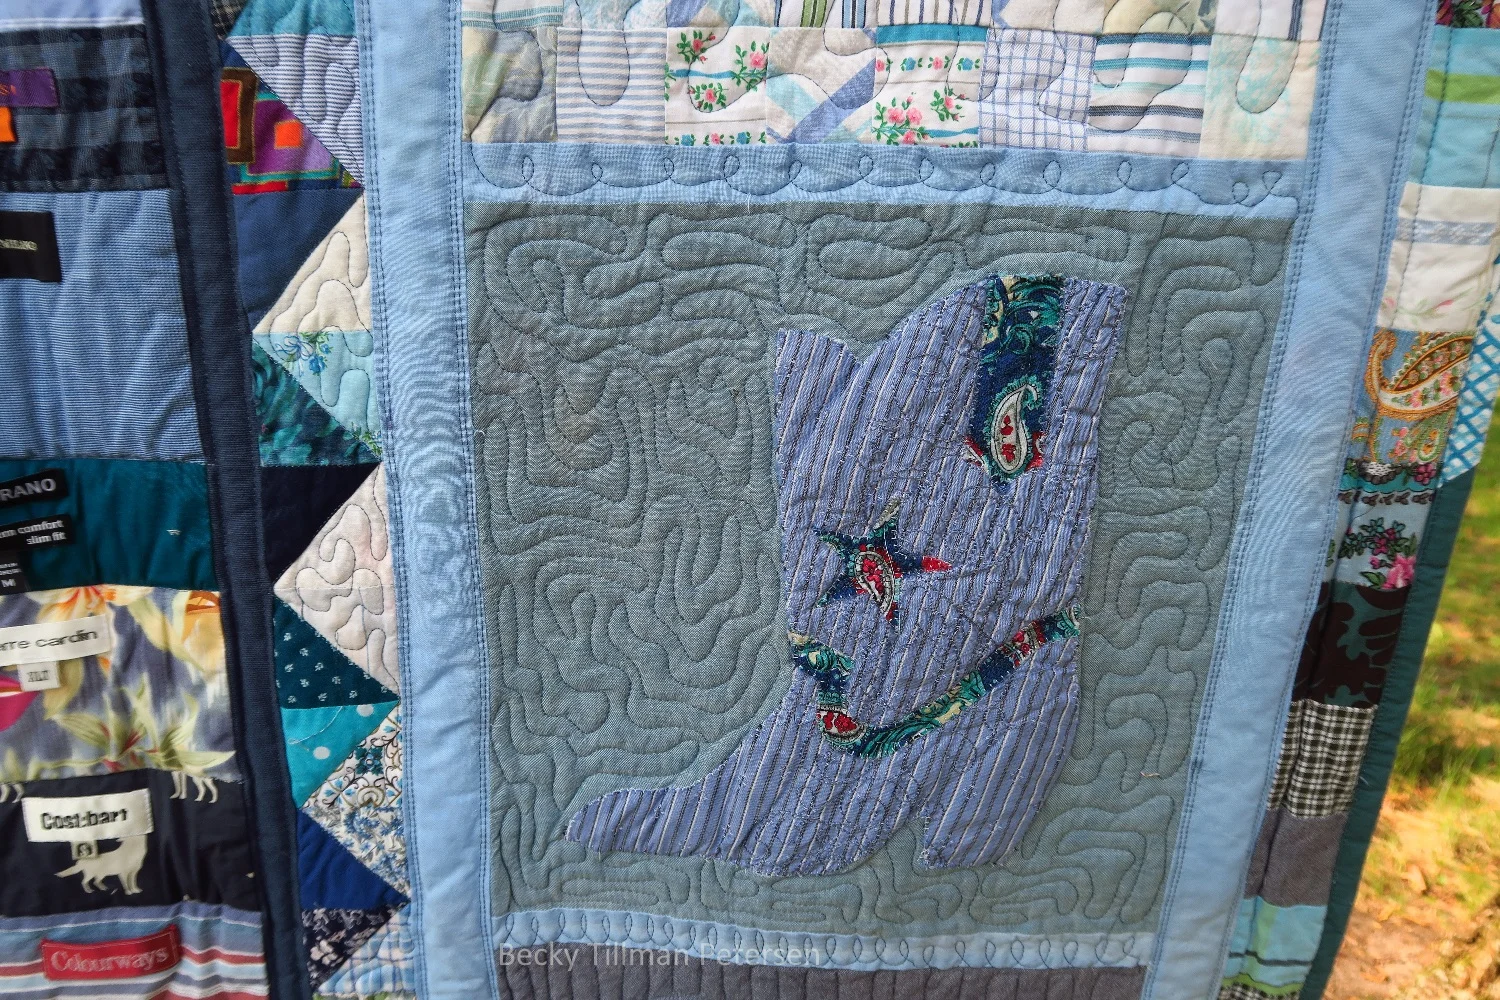
I cut the cowboy boot and various pieces out using my Sizzix die, fused it on and then sewed around. The contrast isn't great here, but it's enough. It makes you look.
Praticing curls.
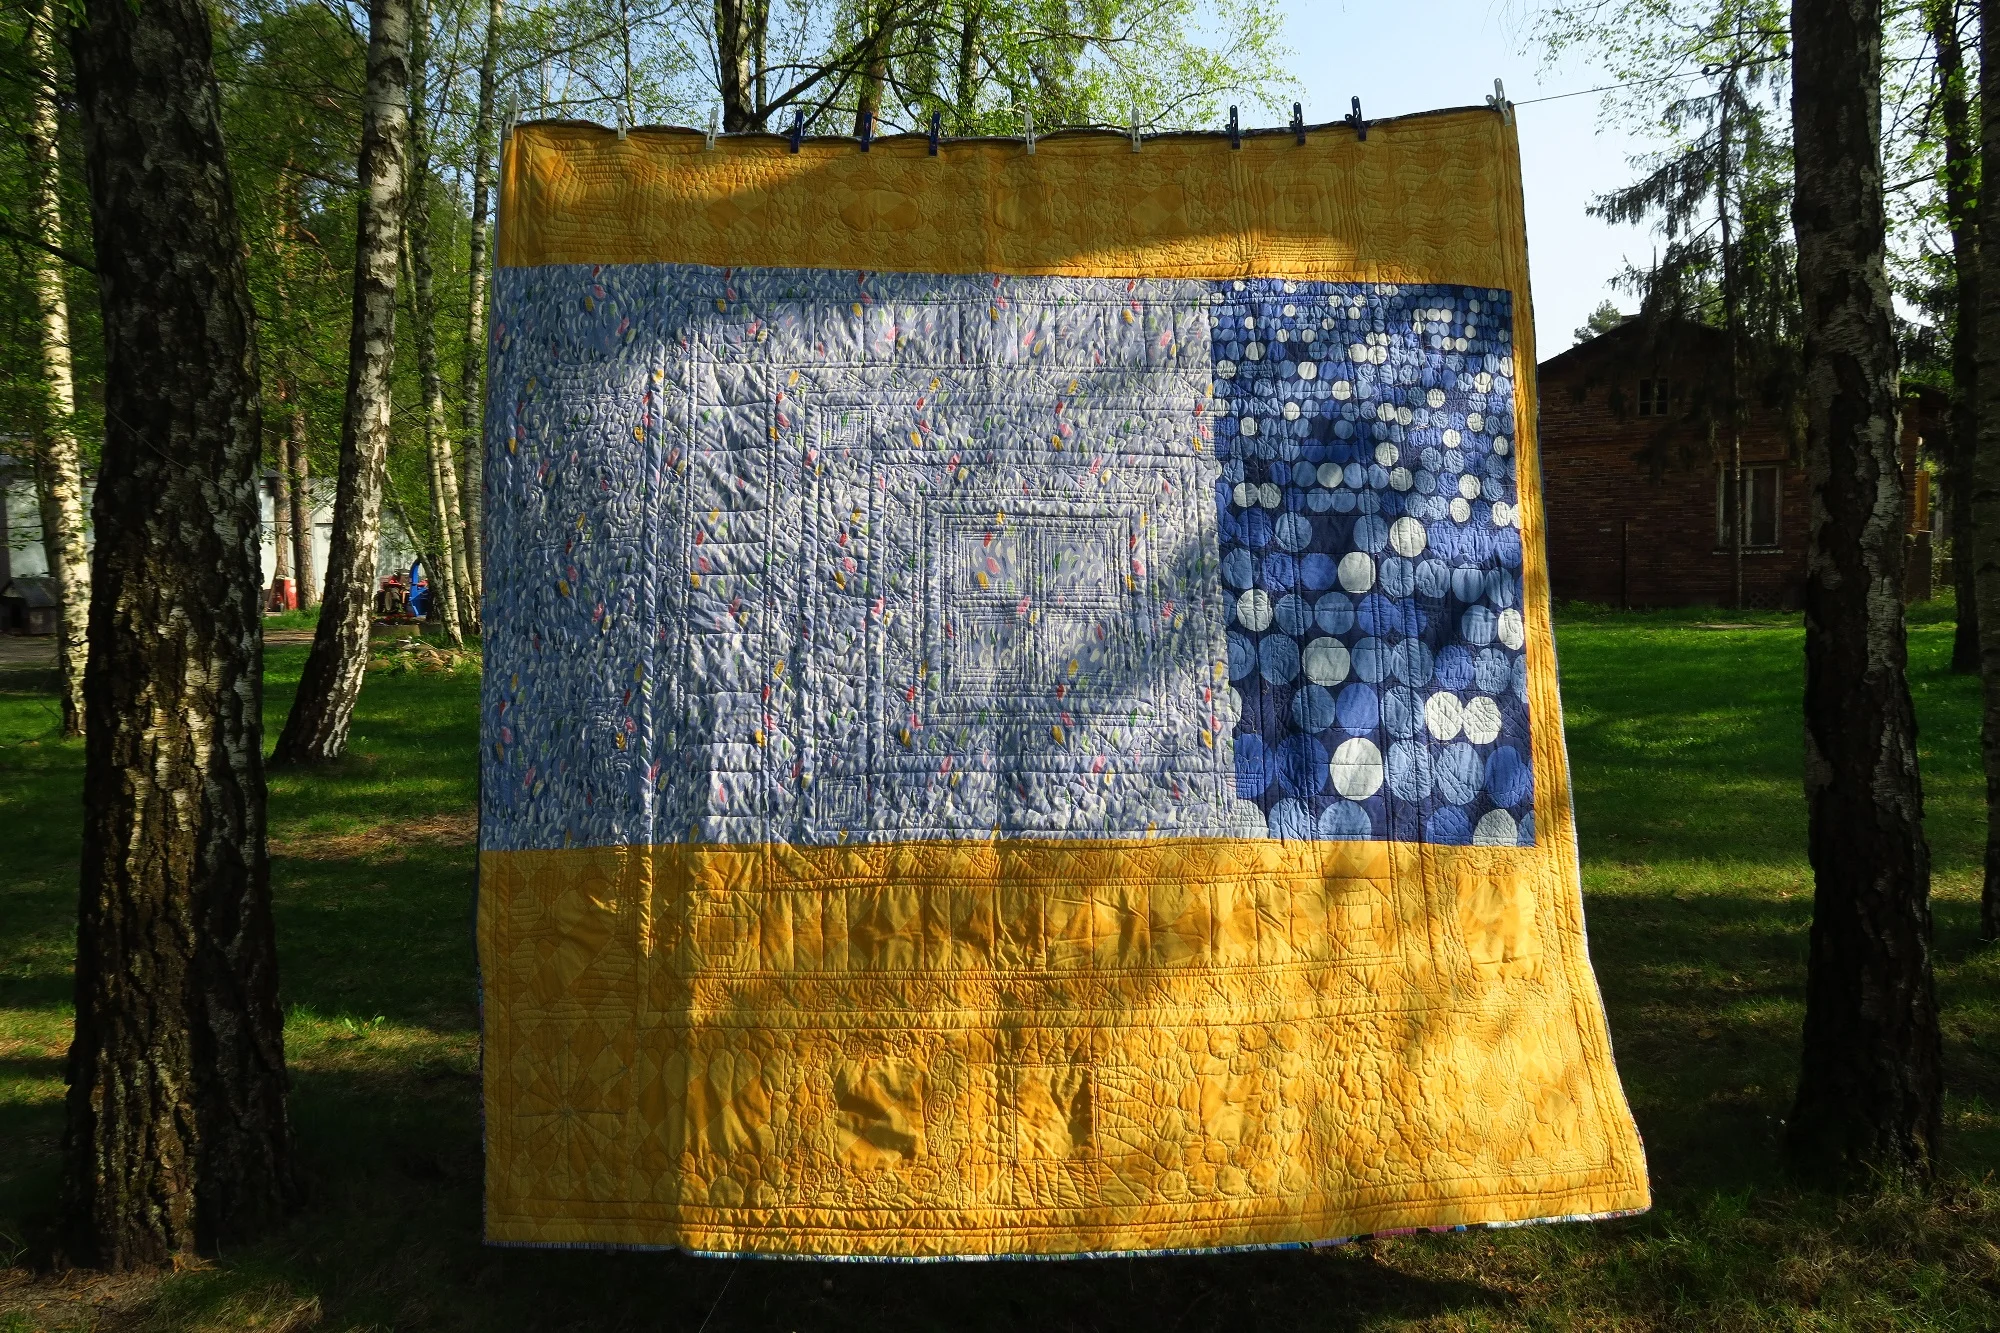
I suppose in many ways you can see the quilting better from the back.
Of course these are all upcycled materials!
But I mentioned that already once, didn't I?
From this angle you can see the texture very well.
Anytime the quilting was less than perfect, I just told myself I was doing "primitive" quilting! And why not? If improv piecing can be "anything", then why can't irregularly spaced, wobbly, and imperfect quilting be "primitive"? We should start a movement!
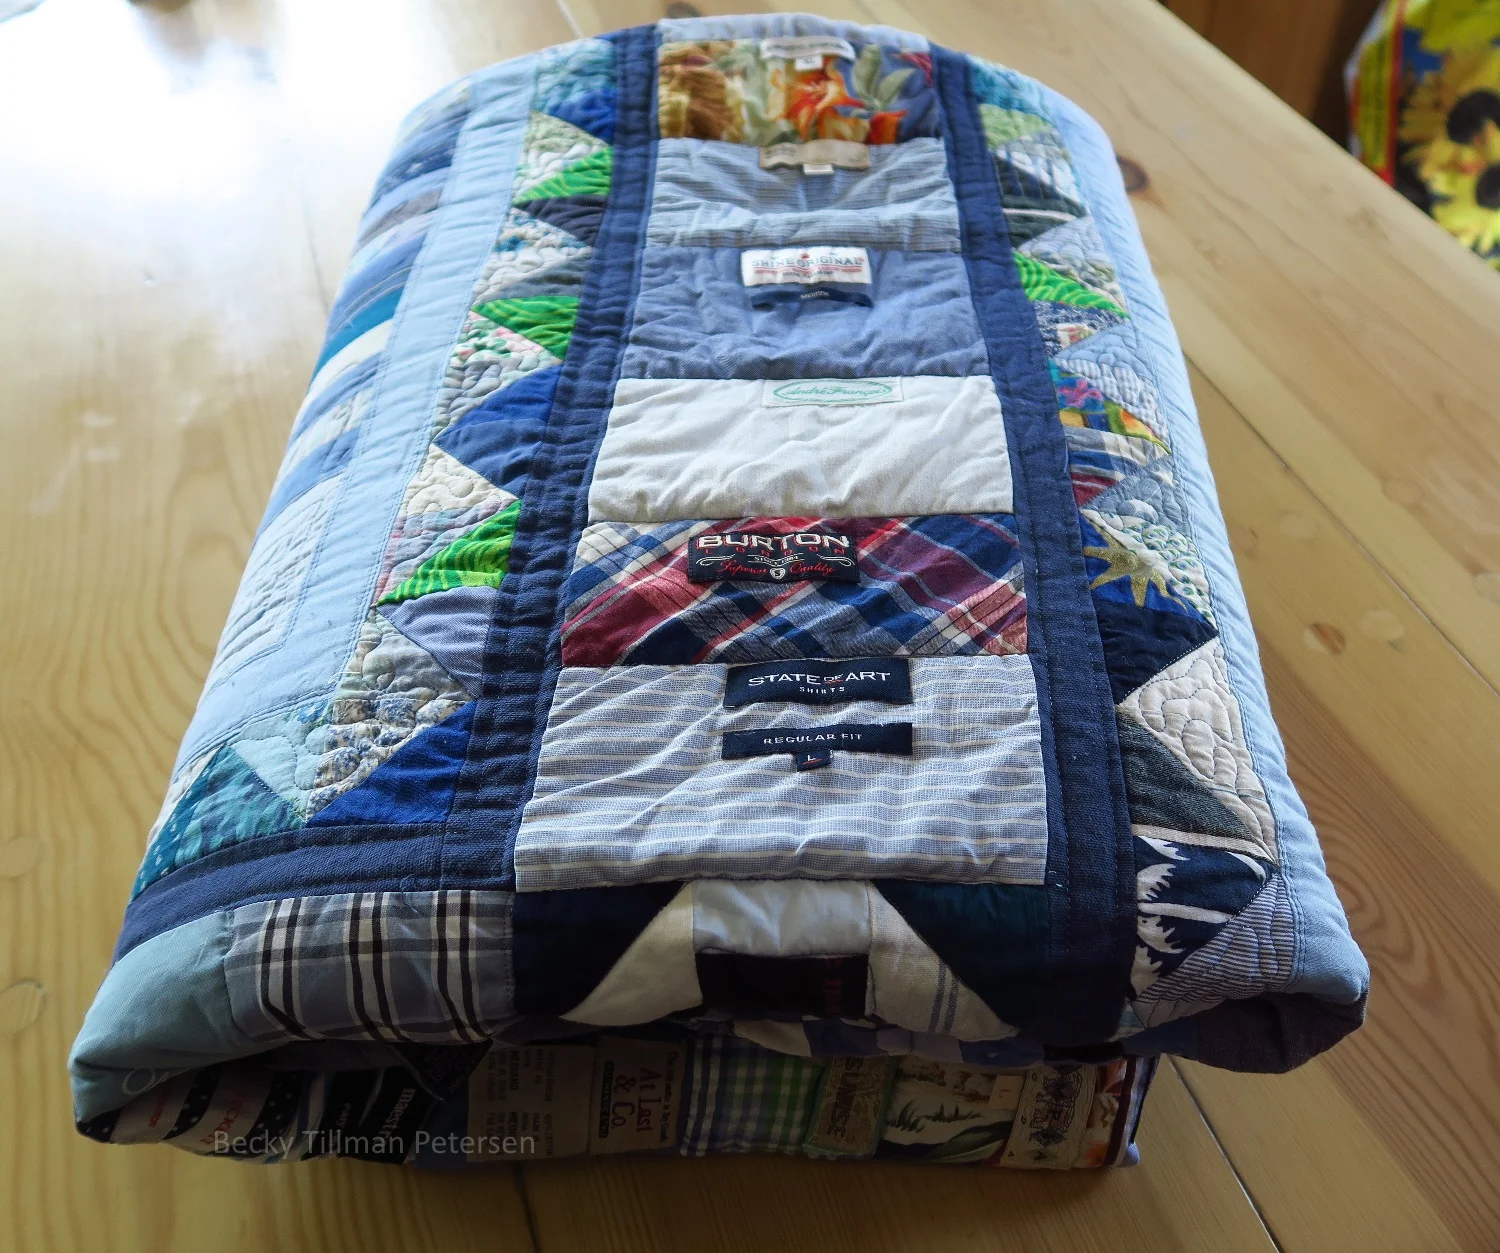
And the quilt roll, of course!
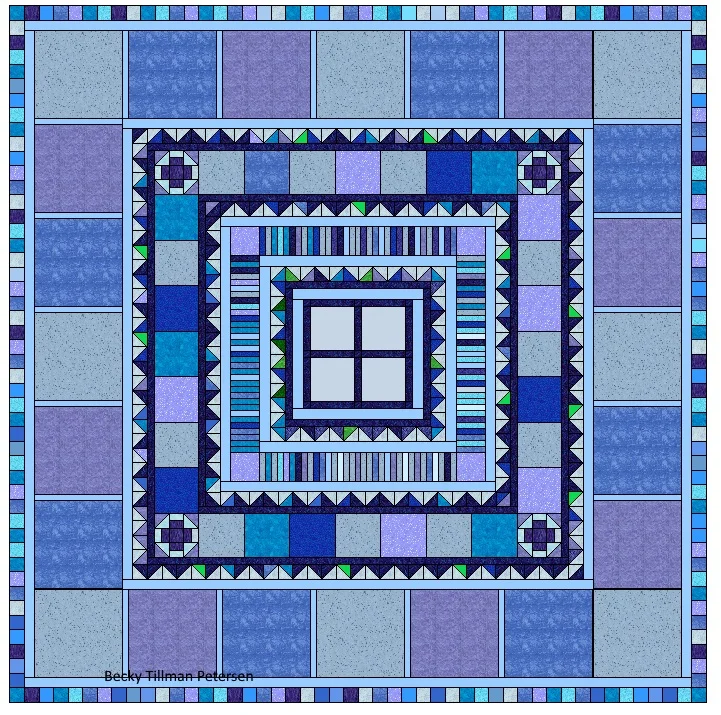
Summary
This quilt finished at 96"x96" and here's the rough layout I ended up working from. The labels row obviously didn't look like this and the outer row just shows empty squares where I had pieced blocks - but I worked from this. A person could just make up this without it being pieced, and it might be pretty impressive!
Of all the quilts I've made in this series so far, this one tested my ingenuity and creativity the most. And yes, I am very happy with the end result!
So where am I with this project?
The first 19 quilts are completely finished. I also finished two more tops - Shadowed Crumbs and Circling the Wagons - which I showed you not long ago.
I still can't fit all my blues into two plastic boxes, though I am getting closer. In case you are wondering, I did find more blues after I did the original 19 quilt tops and decided to keep going until I can get those two boxes closed easily!
But WAIT------!
You can keep track of it all in one place here!
I created one page where all these upcycled blues quilts are together with all applicable patterns at the click of a picture.
I do have 3 or 4 more tops finished that I've not shown you yet and one in the works - plus a puff/biscuit quilt. Then I have material set aside for still two more. Then, maybe I can fit the blues into the boxes.
Wow. I knew I had a lot, but still - this whole project has morphed into something way beyond what I had thought when I pulled out all those blues last November and told myself, "This can't be - I have to do something about all these!"
And now you know what's been going on in my part of the world! (at least with regards to quilting!)
Don't forget to check out what my sis has in the store - if you need something for your next project!