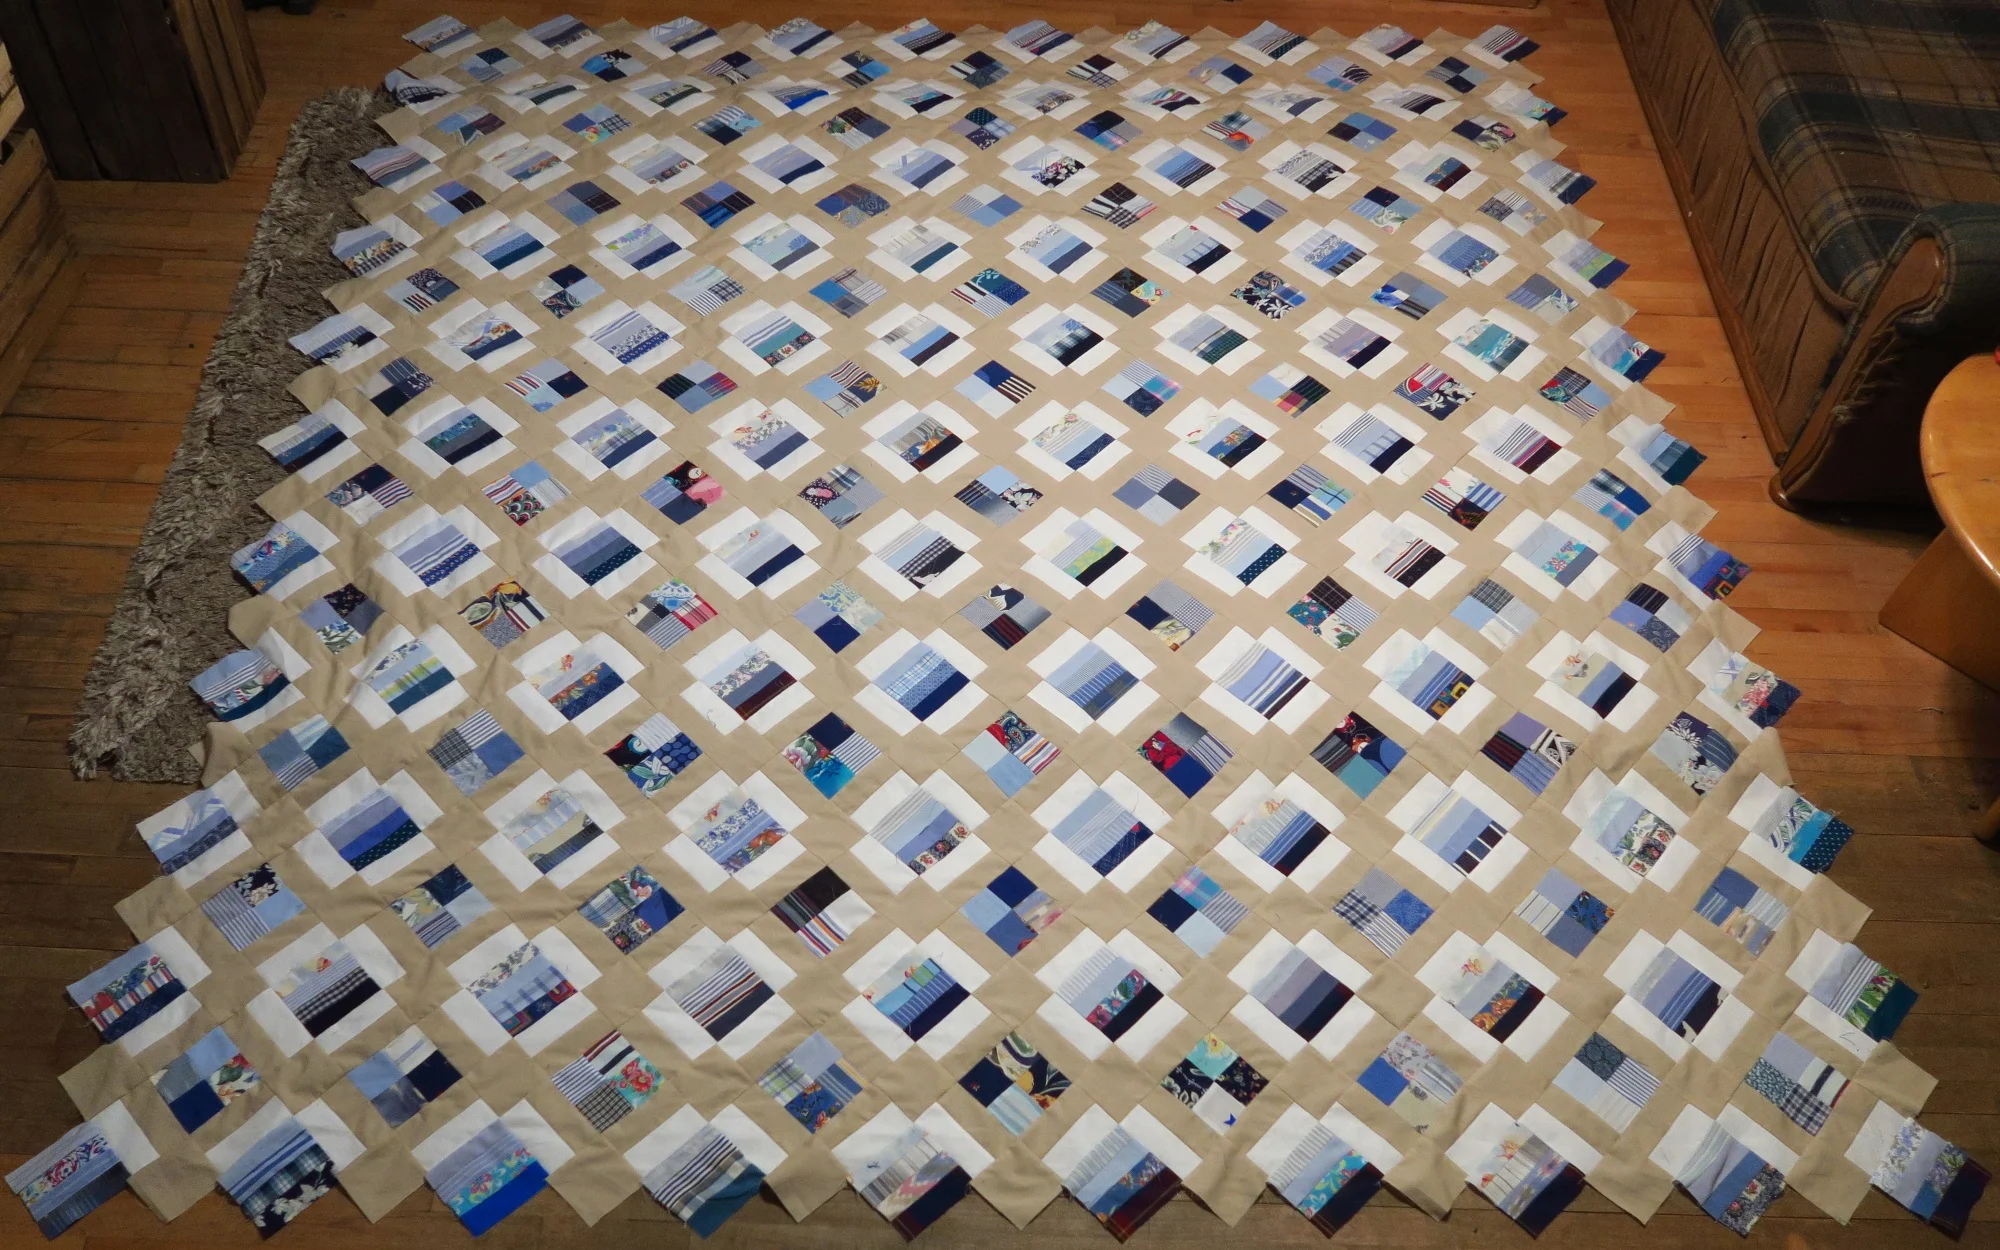
"Shuttered Scraps" - upcycled blues #47 top finished
Did I mention that I’m like a horse returning to the barn after being out on a run with his master with this upcycled blues project?
So, so close to finishing! I’m having a hard time stopping sewing to write up these blog posts.
I had some more rail fence strips and some 2.5” squares that I wanted to use up - this is what I came up.
The colors?
Well, when we were building a house here in Poland at the same time as a friend, my friend mentioned that she was going to put tan shutters on her white siding - and I thought it wouldn’t look that good (maybe it was white shutters on tan siding - don’t remember for sure!). She assured me that no, it would look great. After that, I started noticing other houses with this look. And she was right - it looked very classy!
So, this is my idea - to combine the tan and white with the sashing with my blues. The end result makes that white look like shutters surrounding the rail fence blocks. Thus the name.


There are no borders on this ultra simple quilt.
The quilt is made up of 2 blocks - a simple 4 patch made up of 2.5” squares and a rail fence block, made up of 4 - 1.5”x4.5” rails. The sashing is simply a two toned sashing strip with cornerstones which are the sand color.
It took me literally one whole day to put it together! I mean, of course, I stopped to eat and do a couple other things, and I started after breakfast. I still needed to make a few more of the sashing strips and do a lot of pressing before starting to really get going.
I made you a slide presentation - I’ll put the times on it so you can get an idea of putting this together. The morning I spent making more sashing strips and putting rows together (but not on to the top yet). You can see by the posted times that obviously I had done work in the morning that I reaped the benefit of in the afternoon/evening.


Of course I had to do some trimming after that last step, but I was all done by 9 pm!
Oh and one of the reasons I took so many pictures was to keep checking for mistakes. It is super easy with this sashing to get them turned wrong! So, the pictures were for me. I needed to stop and check them on the computer to make sure I didn’t have them flipped before going on. It is easier to notice these kinds of things when the picture is BIG as on my computer screen.
I hope you enjoyed my little slide show for you! I know that some of you think I have elves helping me. Let me assure you, those elves didn’t help me that day!
I’ve updated the picture on the upcycled blues page and put the pattern up there and the free patterns page.

You could easily substitute ANY block that is 4.5” before being sewn into the top in the place of these blocks.
And that’s one of the things I’ve been doing!
Have a great day wherever you are reading this!
WAIT!
I guess I should tell you.
Drum roll…. This quilt marks the end of the (blues) 2.5” squares unless I cut more!!!! - Am not planning on doing so.
I had about 3 left after making these 4 patches! (I cut those leftover squares up for the sashing the next blues quilt I am currently making - so I’m at ZERO 2.5” squares - unless I find more, of course.)
Milestones for finishing up the “upcycled blues series”
Use up pockets - at least most of them
Use up 2.5” strips and misc. squares.

Now I think you can understand…I am really and truly “getting there”!
Be sure to check out what my sis has for you over in the store!

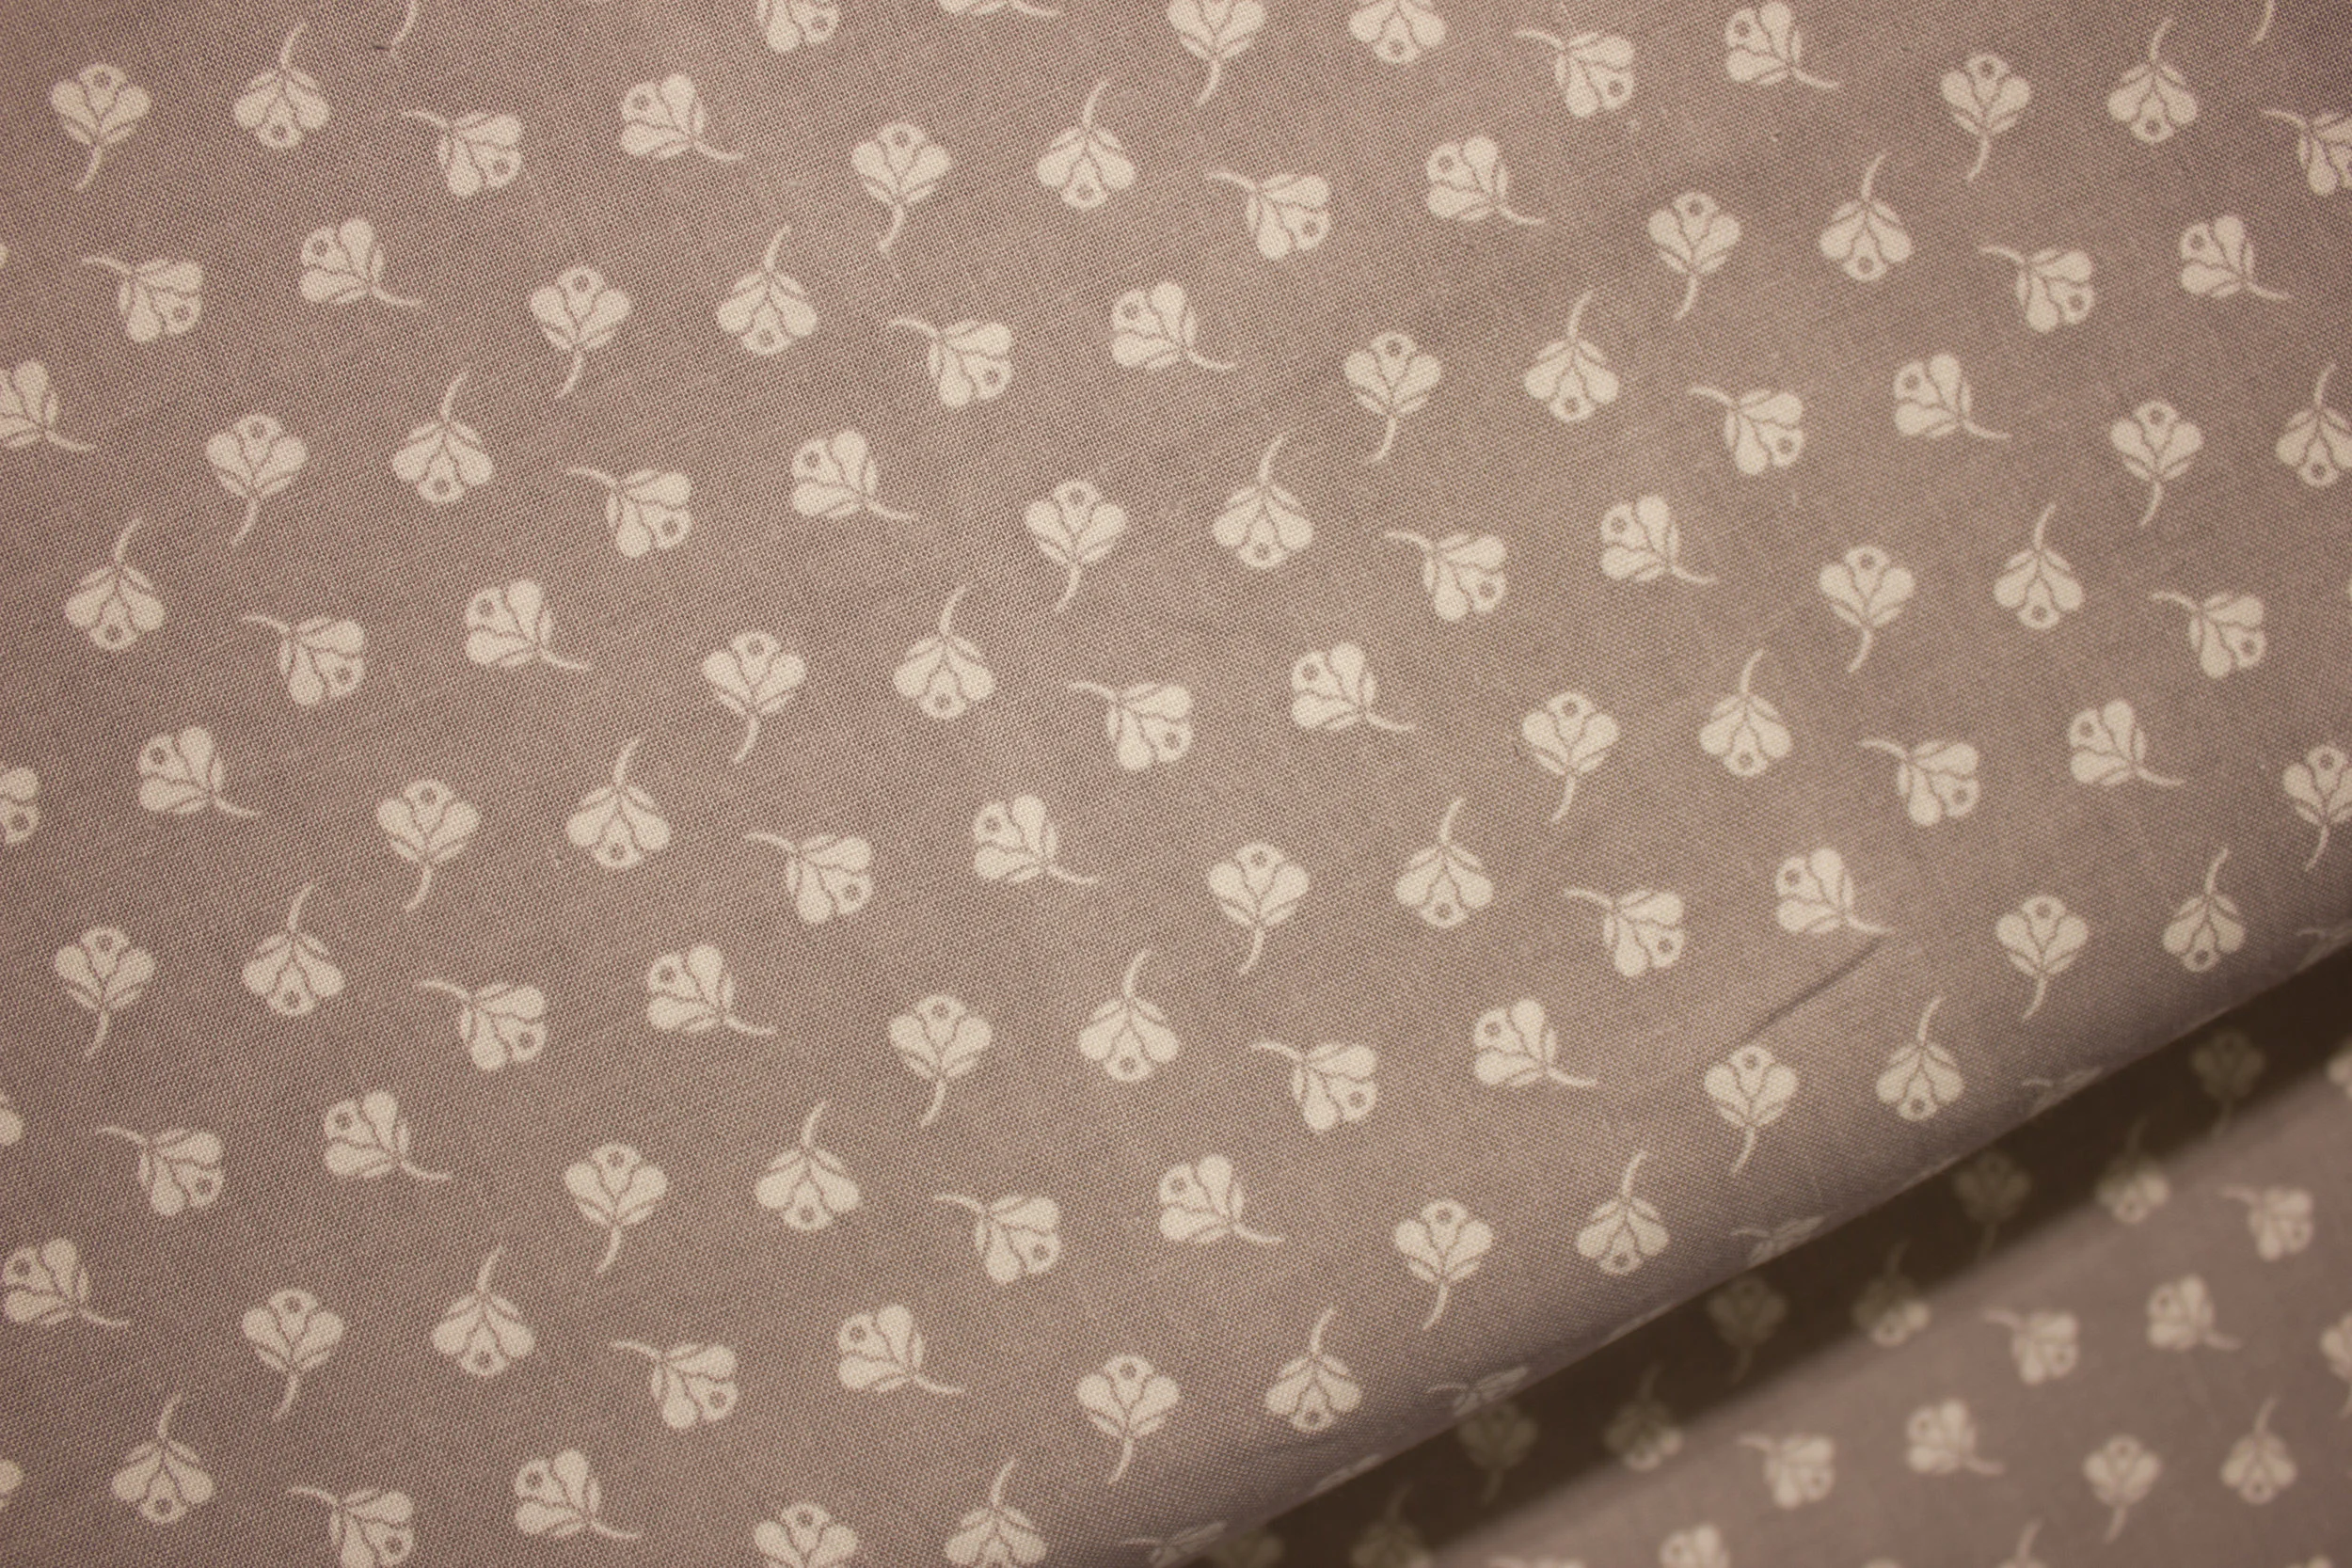

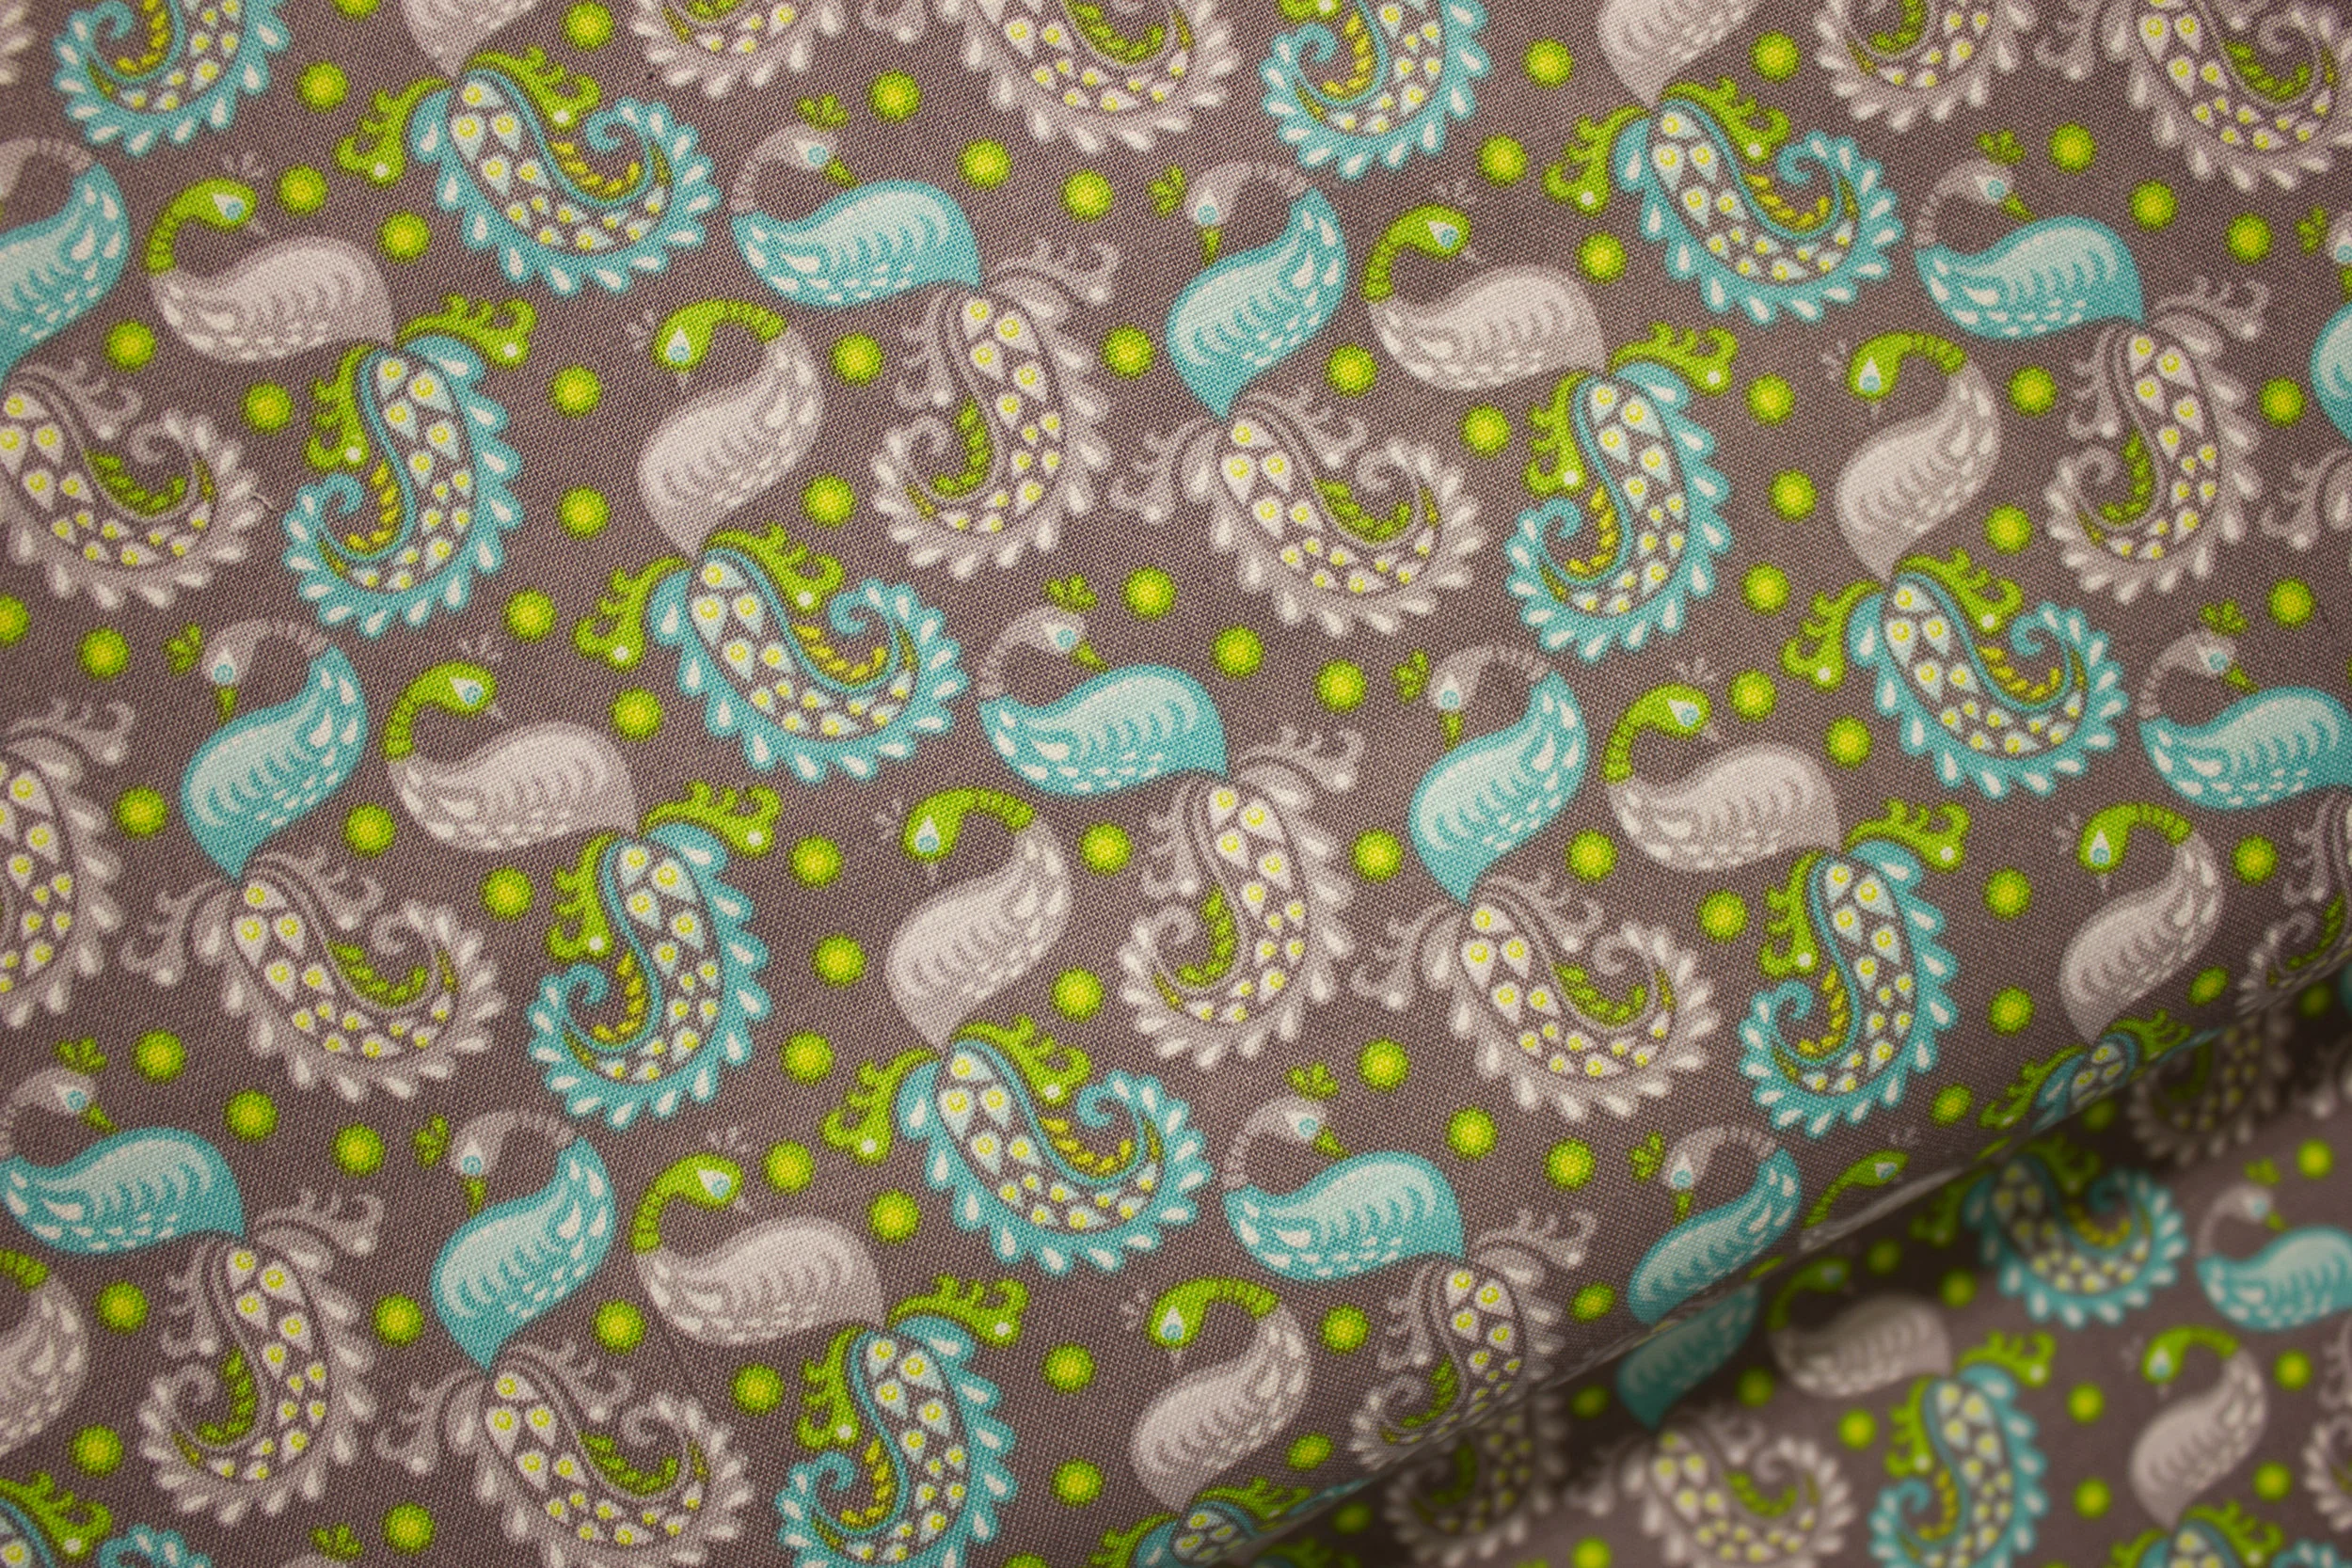

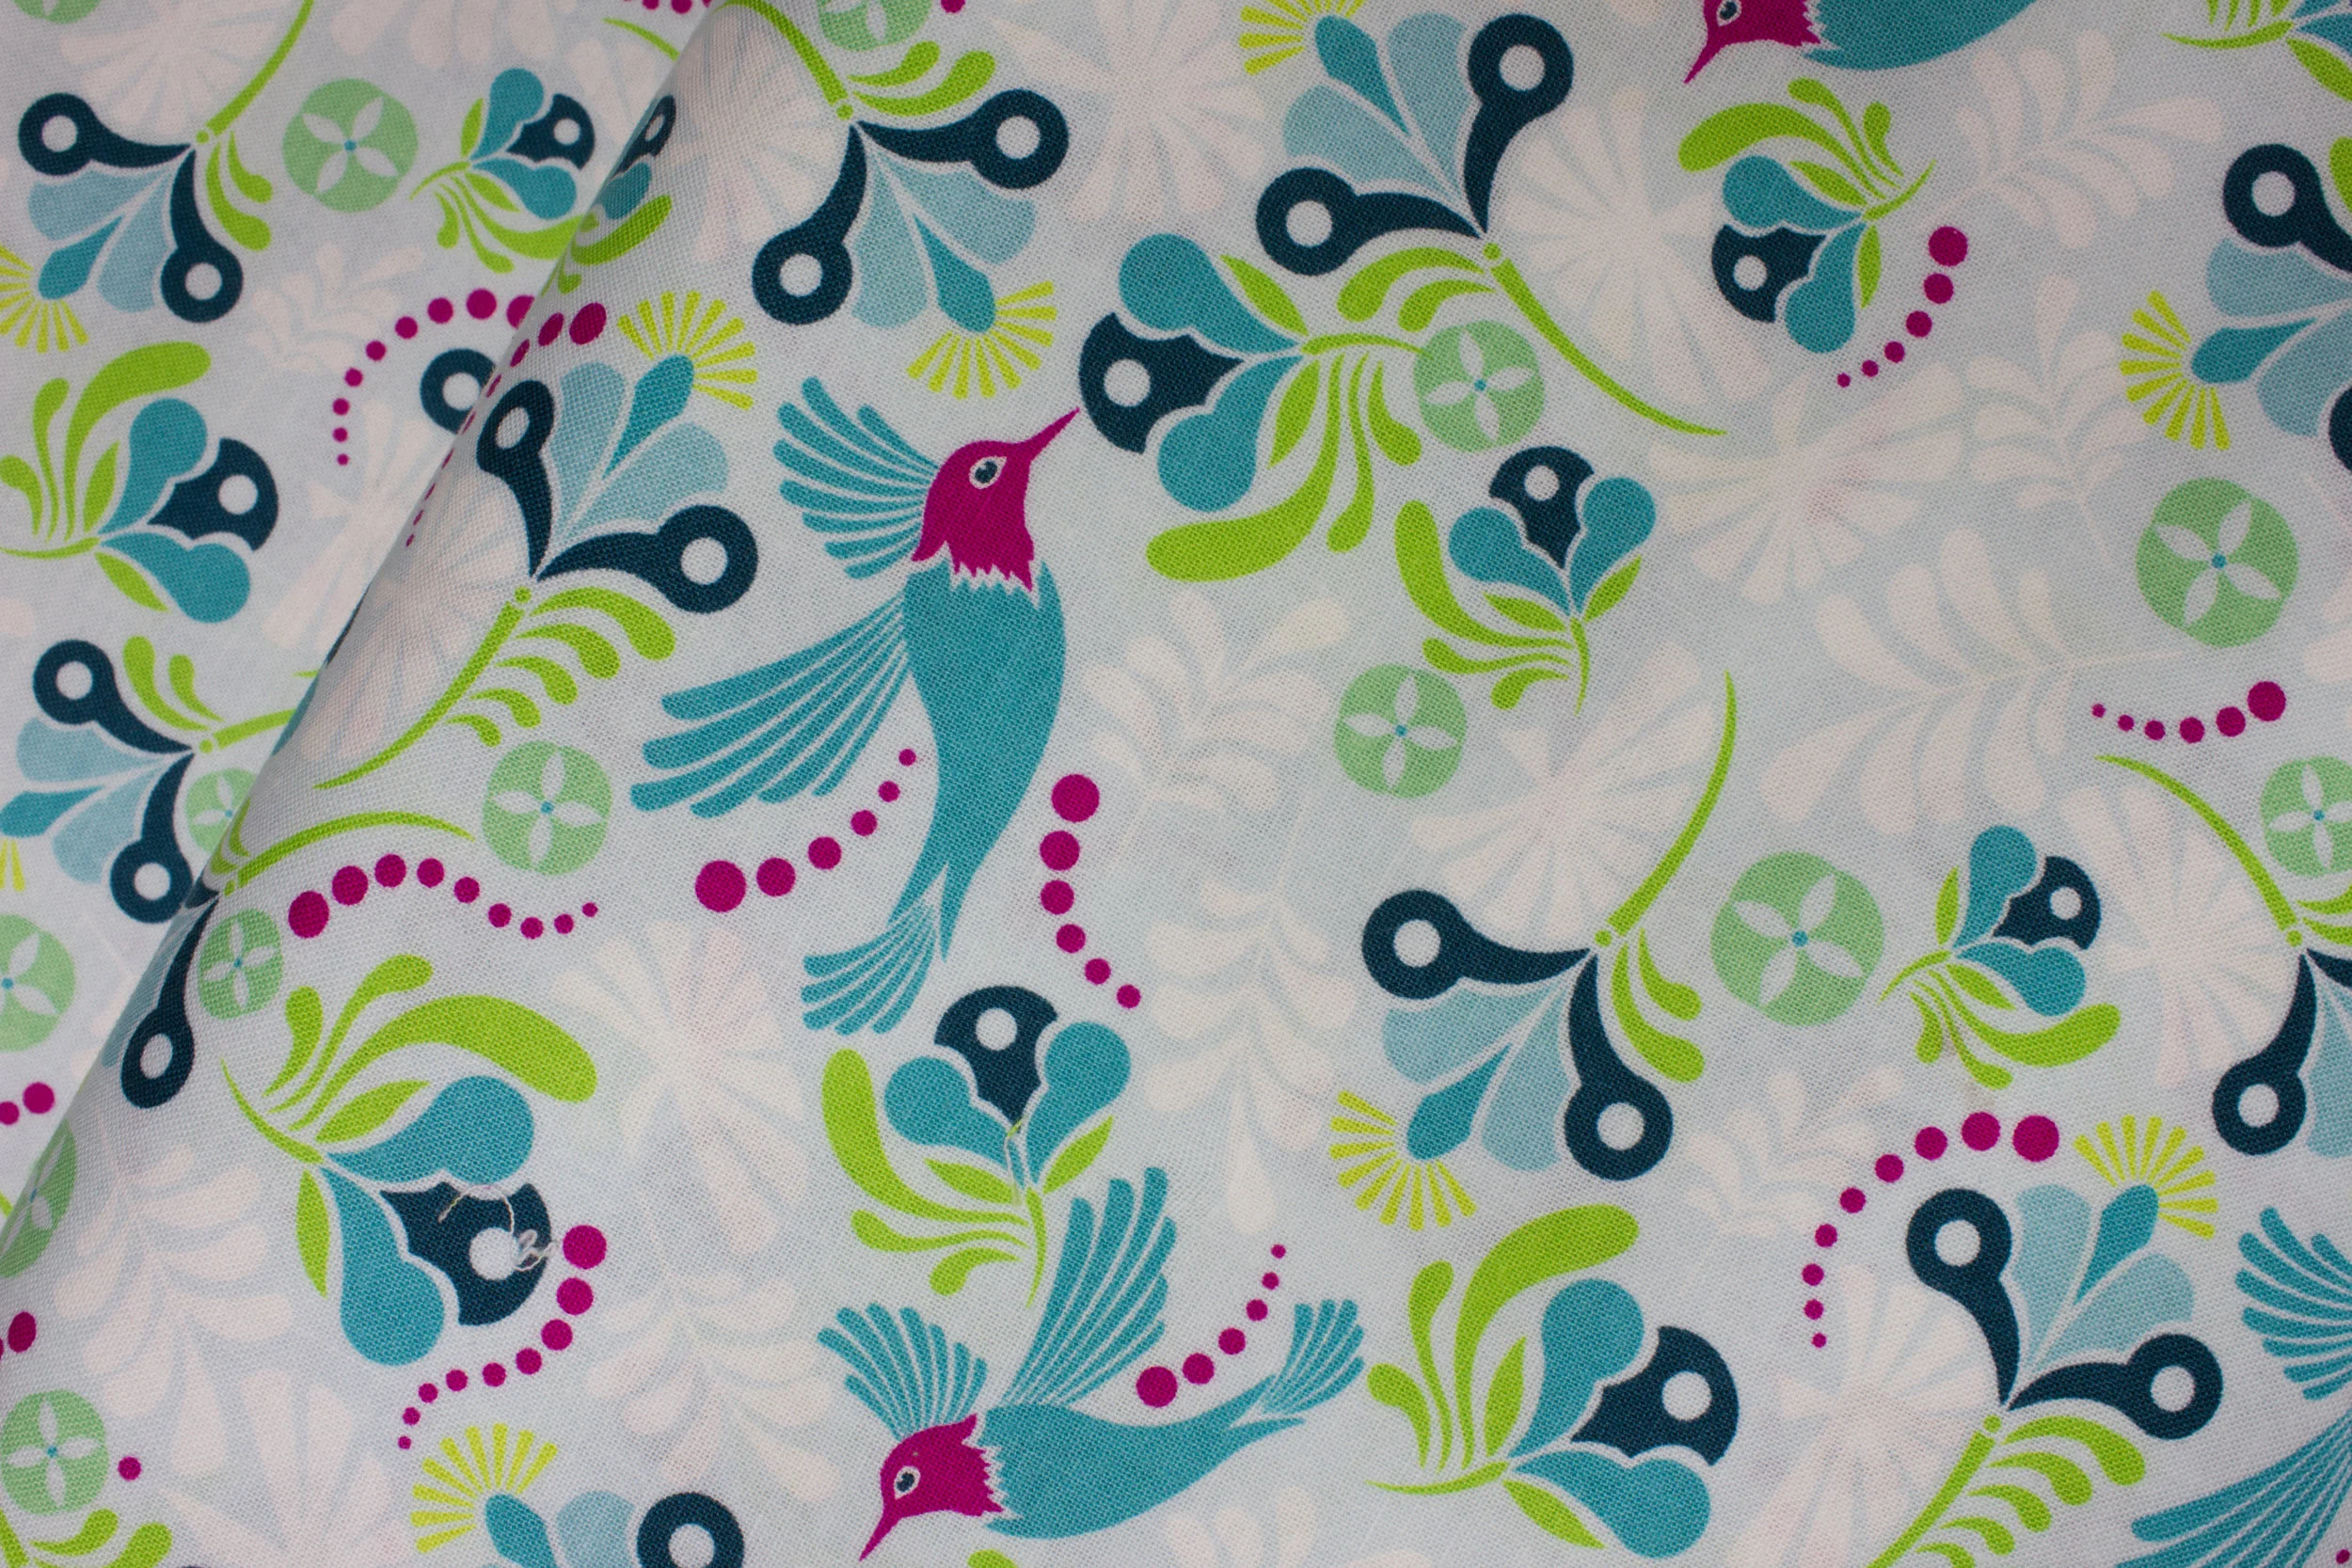
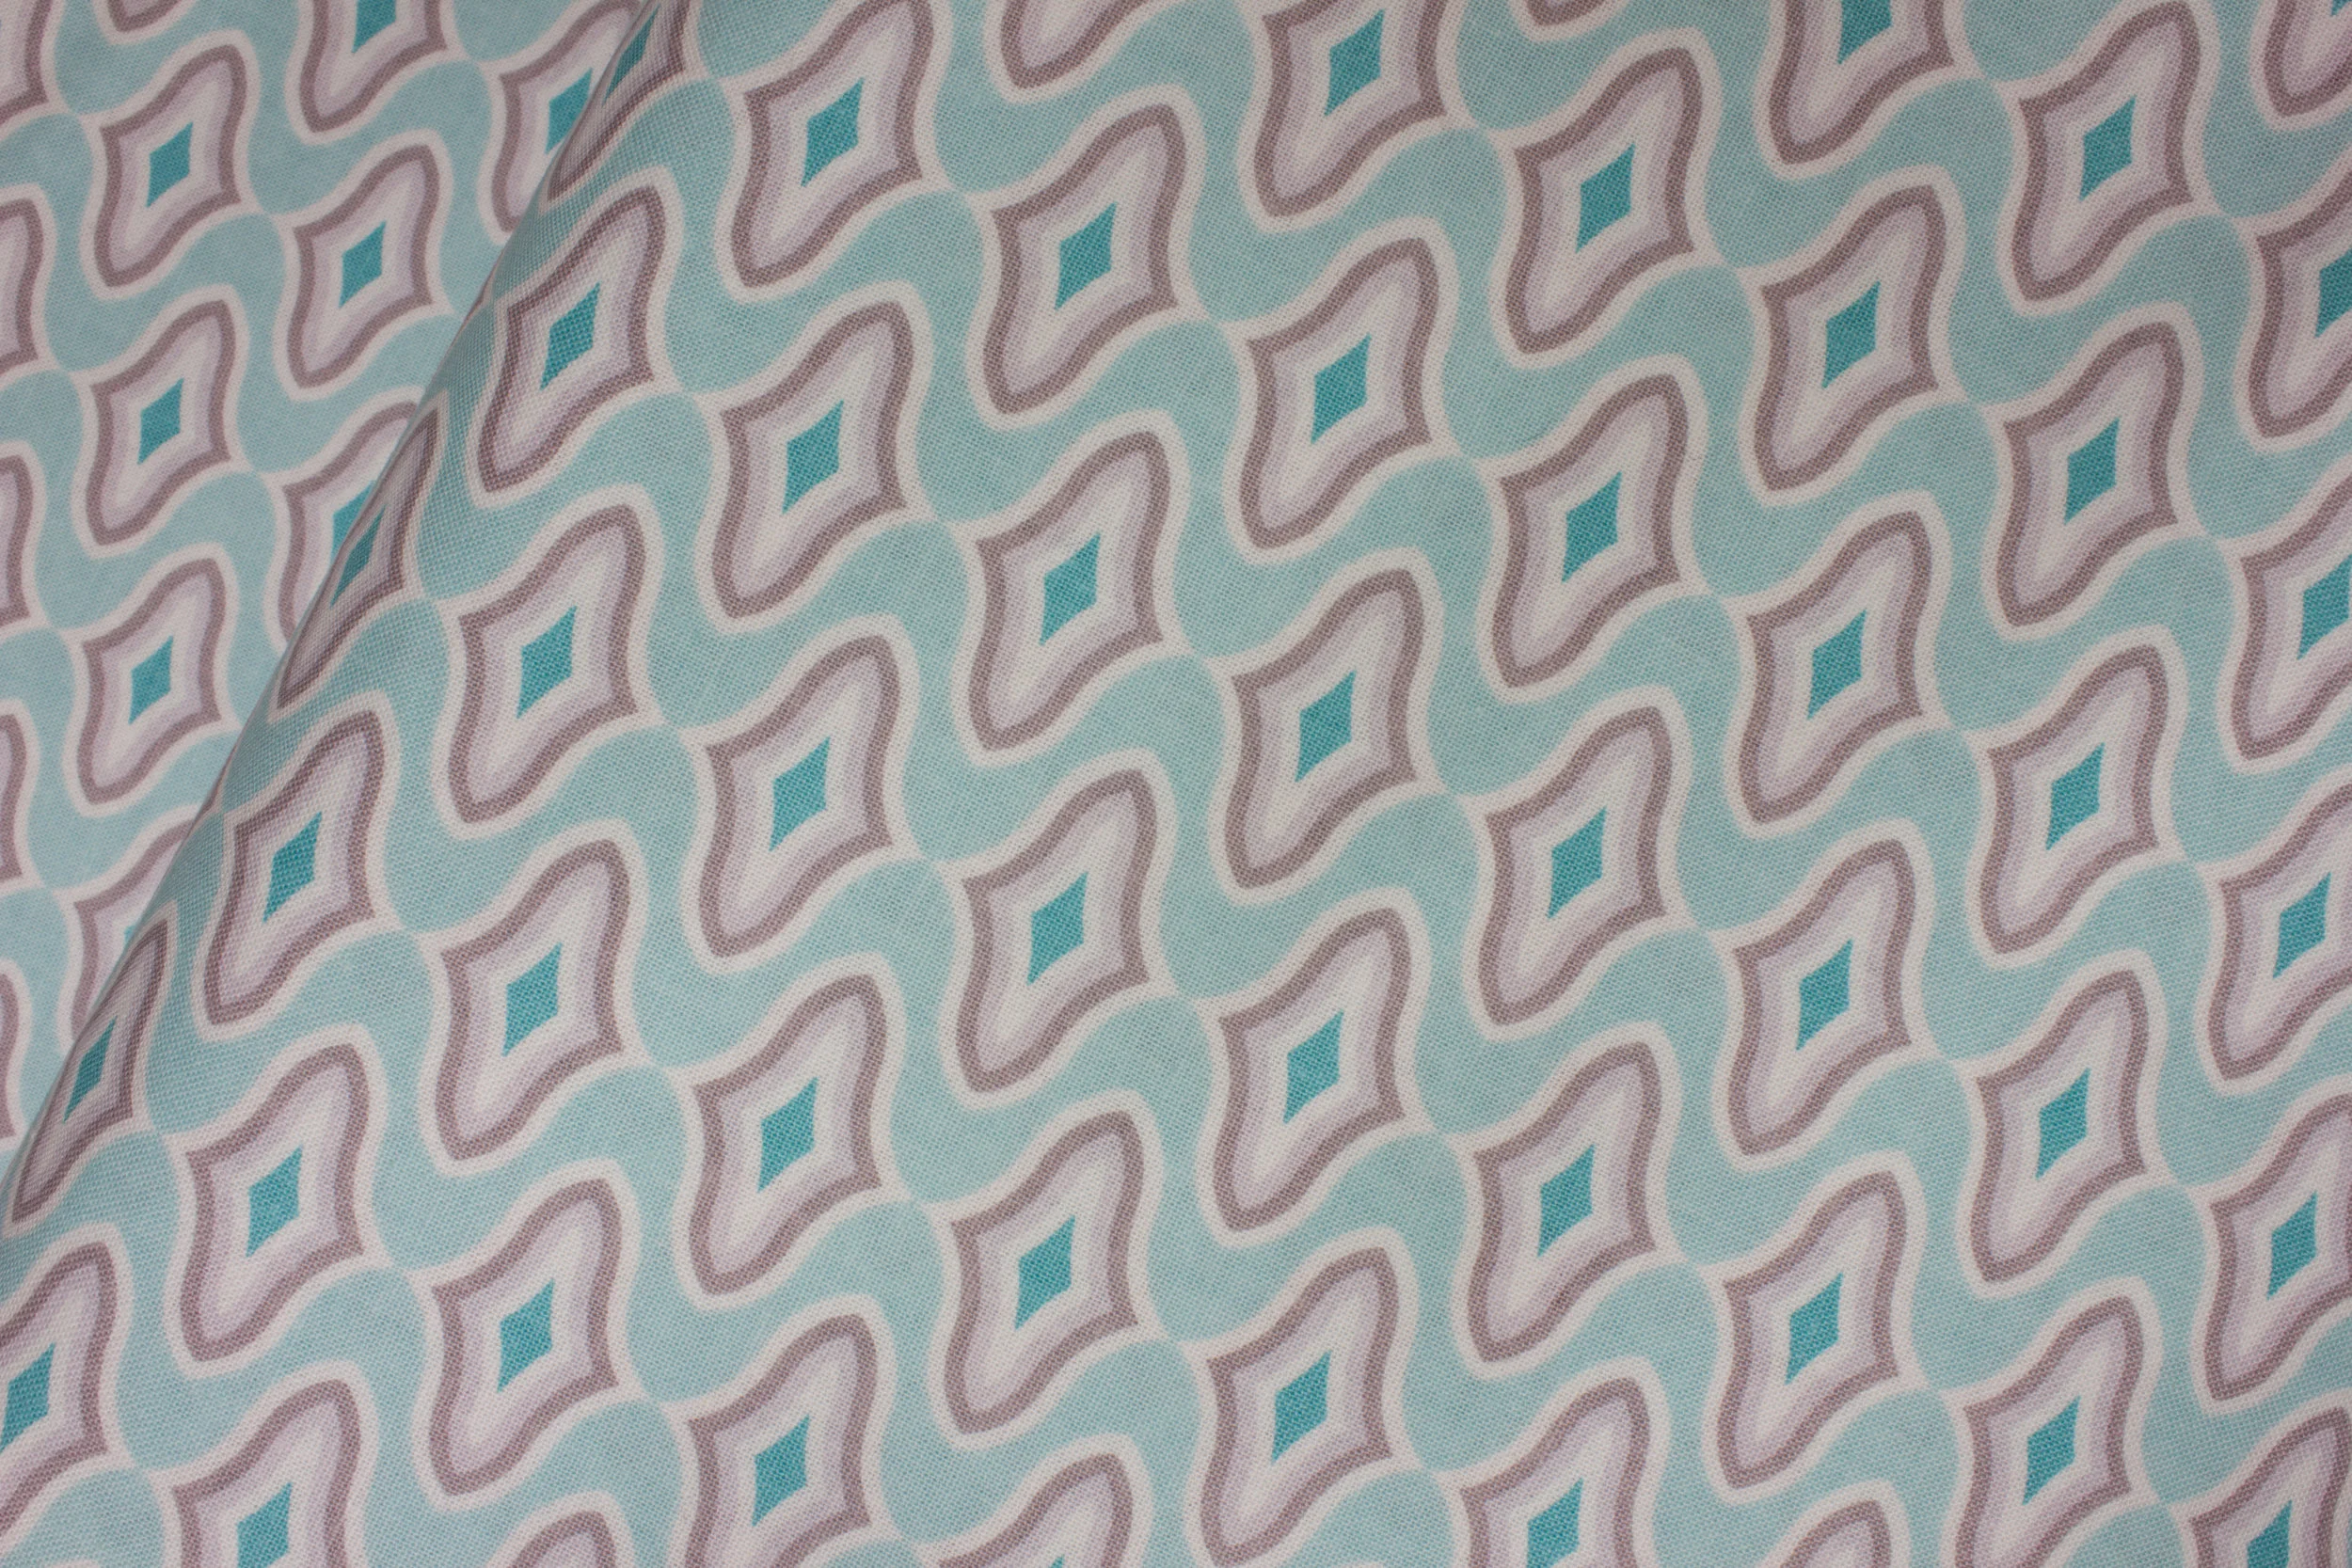

Colors may vary slightly from what is portrayed. Screens vary as well as our eyes sometimes see things differently, but we've made every attempt to have the color be accurately portrayed.
Price is by the Yard.
100% cotton
41/43" wide
Local quilt shop quality fabric
For Riley Blake
Flit and Bloom
by Patty Young
Pinks, Gray, Lime Green, and Turquoise Triangles with White Flowers