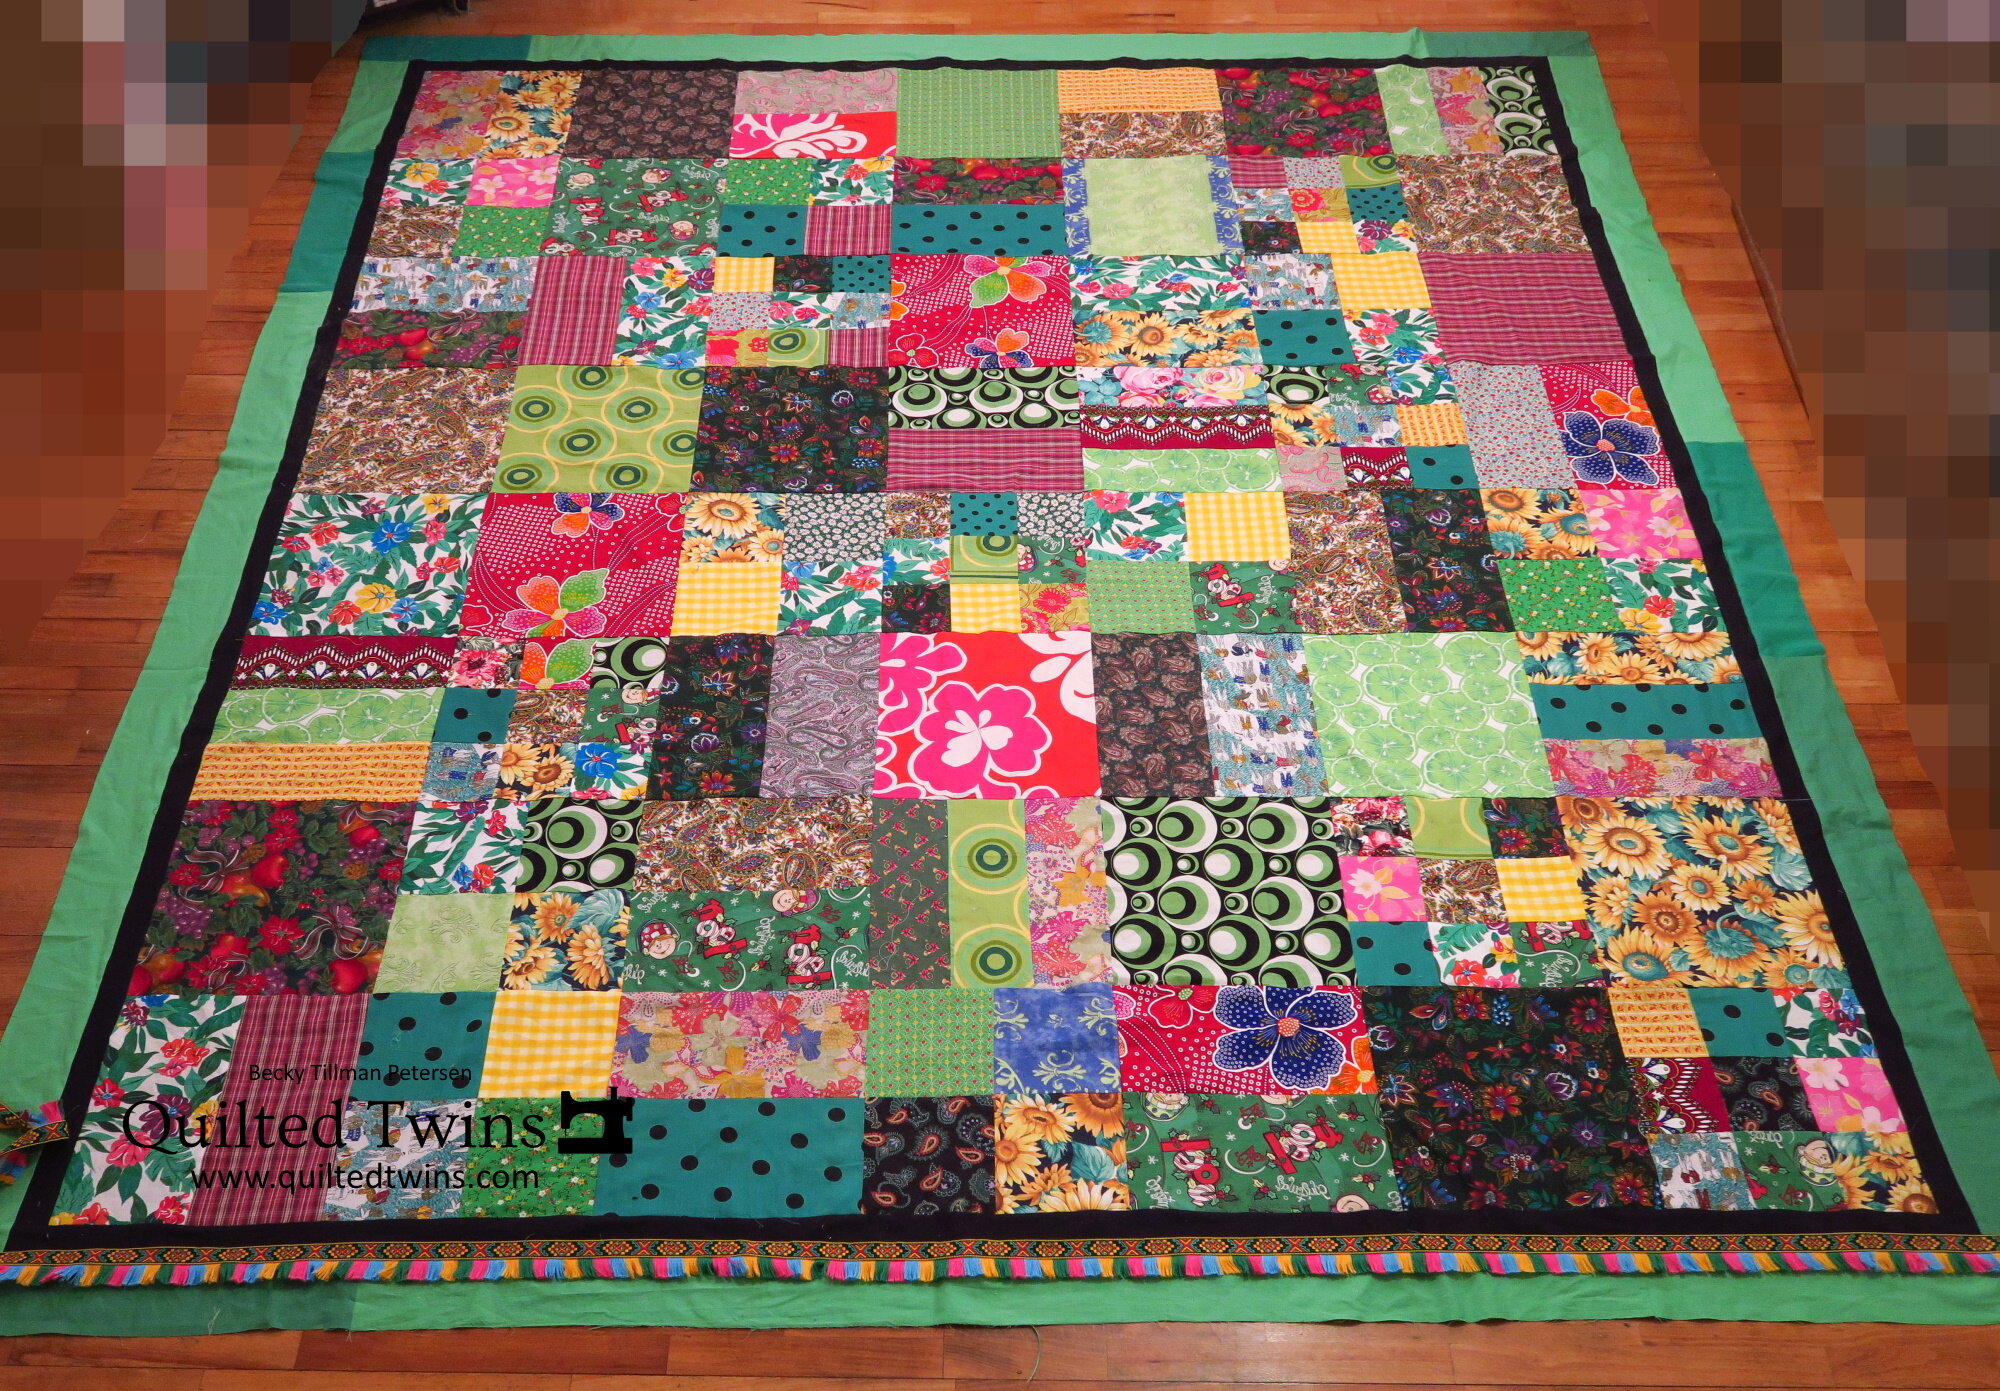
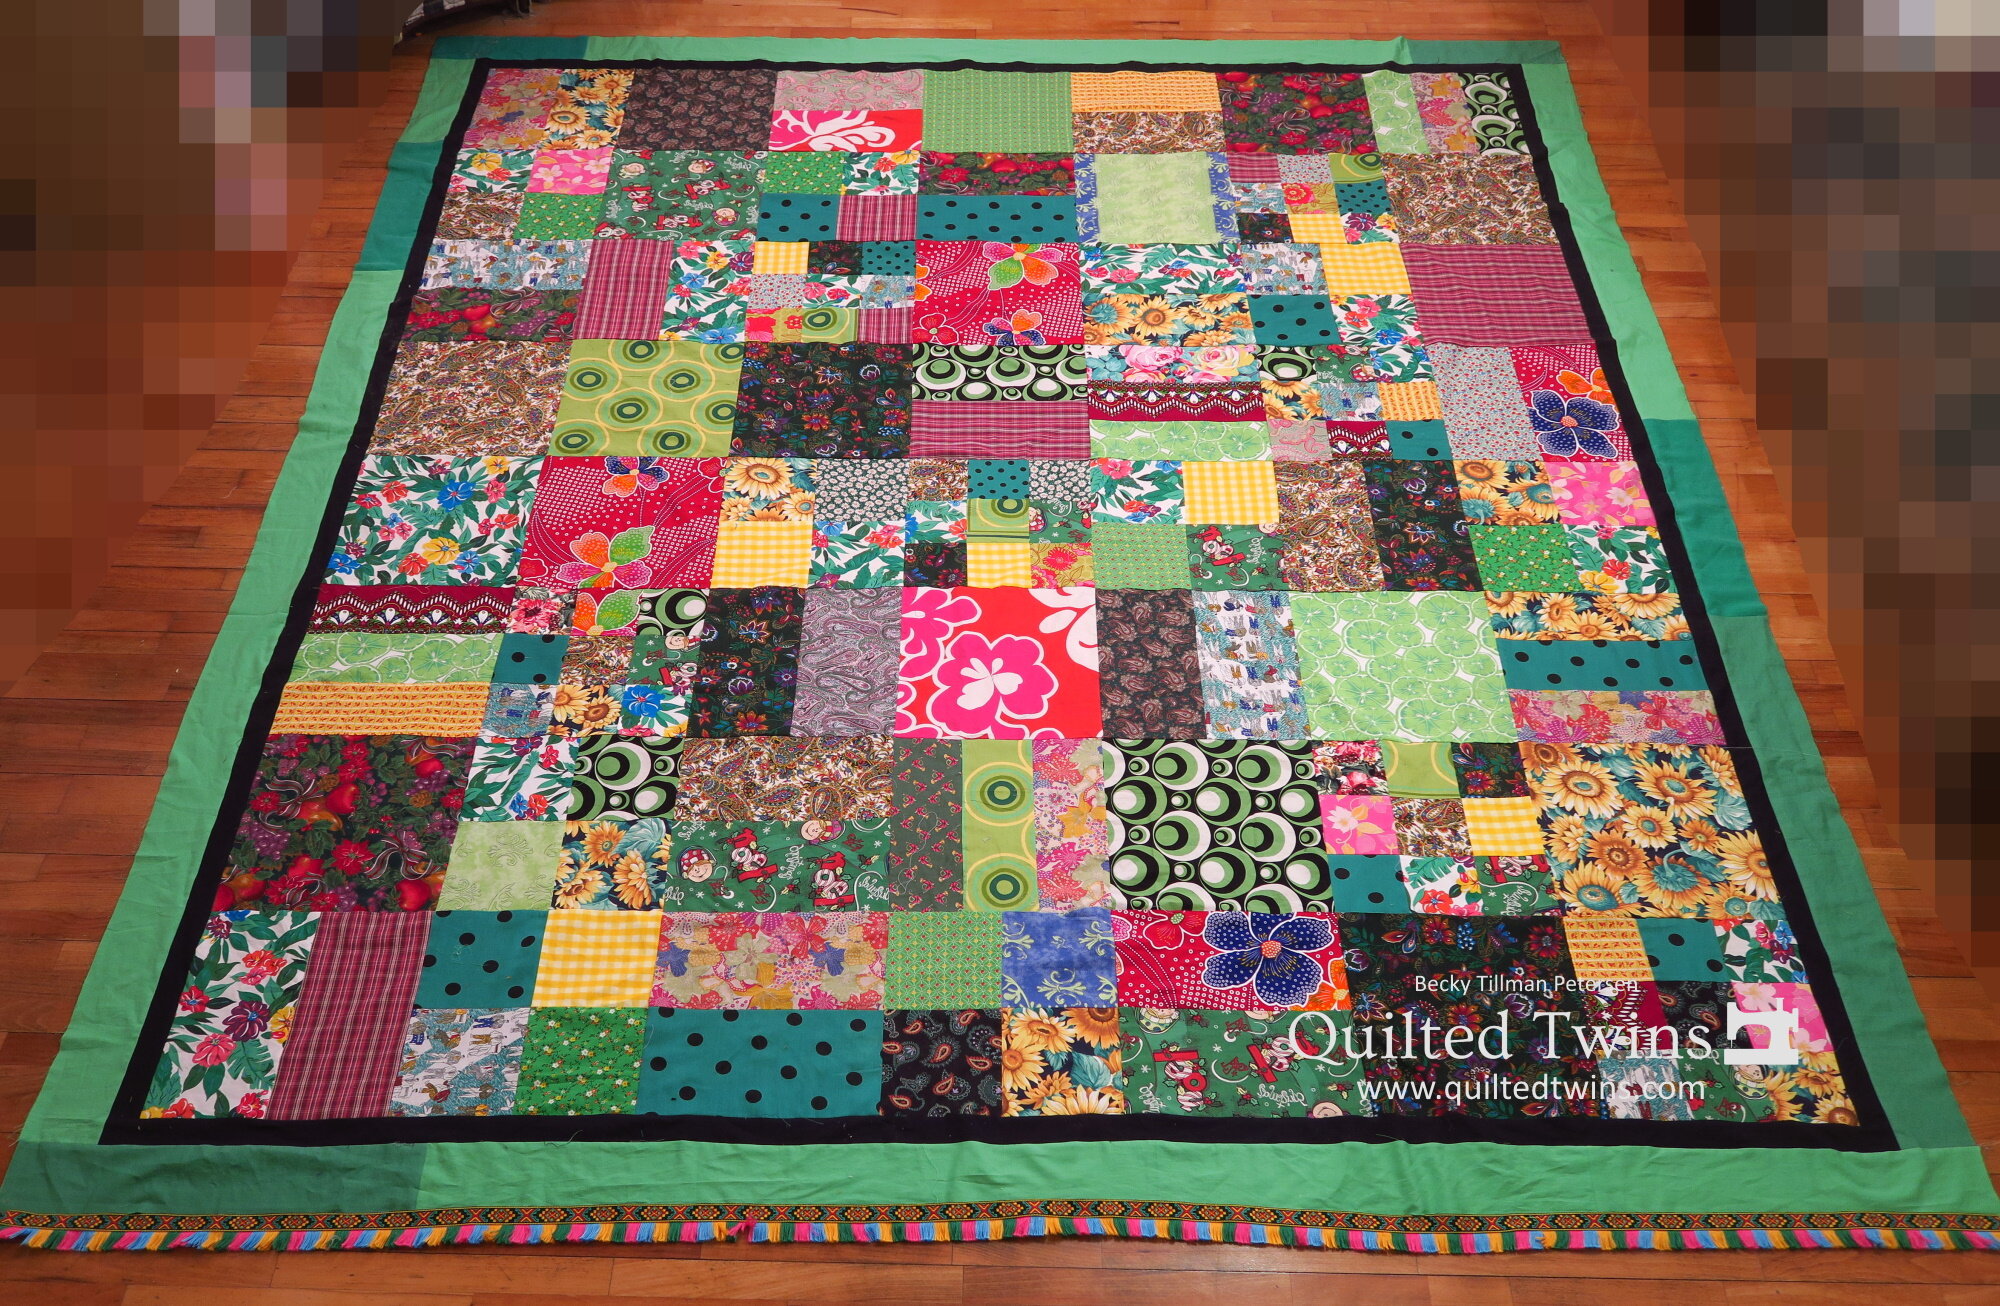
"BOHO Surprise" - UP Greens #15 top finished
This top is definitely not my normal style! It’s so far out of my comfort zone, that I’m surprised I made it!
This top is 94”x 106”. My outer border reflects the last of the green that I have that is solid and a more or less grassy green. The width of my border was determined literally, by how much I had. I had wanted it a full 4” finished width, however I could only get a 3.5” finished width. :)
I am still uncertain as to my own feelings about it. But I started to make it, and as usual, I try to finish something if I am in the middle of making it. Later, when I finish, if I despise it, I’ll find another home for it. If it is absolutely awful, I’ll even delete it from the series, and you will never see it mentioned again.
But this one needs its own explanation!
In my 2+ boxes of greens leftover - actually I have 3 boxes - but they are not all full - I had some very busy prints. These are fabrics that have a lot of greens in them but not only green - they are actually multi colored and could go into several different boxes.
I’ve been debating about how to use them.
I was perusing our local auction site and checking out the beautiful ribbons that you can buy on line. I found myself fascinated by this ribbon with fringe. I had actually seen it a few weeks ago and put it in the back of my head, but didn’t buy any.
Then, last week, I decided to “just get it and support the local economy”! LOL
So I ordered 12 meters (think yards) of it so that it would be enough to go around the edging of a big quilt like I enjoy making. I didn’t know yet how to use it.
But I decided, upon reflection after getting it, to let this one be the “reason” for this BOHO quilt top. I am going to incorporate this NEW ribbon around the edge after I finish it. It will be the only new element to this quilt besides the thread and batting, of course!
So, in a way I feel like I’m cheating with this one, but then…I’m making the rules here, so I can “break” one of my own, can’t I?
Of course I can!
I’m still calling this my UP Greens series and I’ll still say this one was made from all upcycleds and I won’t keep adding the exception clause. You will have to forgive me.
I’m asking for that now.
I used the colors in this ribbon/tape to gather fabrics from my UP greens boxes that I hoped would go at least sorta with the colors found in it. I hoped that by doing that, maybe it would create a possibility of a cohesive unit.
I spent some time on the internet looking up the definition of BOHO or Bohemian decorating style or Bohemian quilts.
Lest you wonder - I don’t consider this one a “fine quilt”. It is super quick and easy. But that’s okay. I was able to use up a lot these wild fabrics and put them together. I’m letting them fight with each other. That’s supposed to be part of the charm of this style.
Of course now that I have the top together, I see all kinds of places I could have improved it. However, I did keep moving things around and reorganizing for probably half an hour. Then I decided, “Enough is enough!’ and stacked them up and took them to the machine. Of course, now that they are sewn together, I see lots of places I could have improved. I will call it part of the charm of this style!
I do see one row where I may switch two blocks for 2 other blocks. I’ll probably do that today but won’t take updated pictures until I finish it. The whole thing is so busy…it’s hard to notice any one thing.
To make a summary of how I made this quickly - I chose all the fabrics I could find from my greens that more or less coordinated with the trim I bought.
Then, after I decided that I would make my blocks 12.5” x 12.5”, I cut as many as I could into 12.5” squares - but no more than 2 of any one fabric. I ended up with 19 of those. Then I went to work trying to find big enough pieces to make 6.5” squares and 6.5” x 12.5” strips so that I could make either a 2 piece rail fence from those or a 4 patch. Once I couldn’t get that size, I cut 3.5”x12.5” pieces and planned on some 3 strip rail fence blocks. Then lastly, I planned on a few 9 patches made from 3.5” squares. All in all I needed 72 blocks, so I just kept cutting from those fabrics til it worked out.
After choosing my greens and before cutting, I did head to my upcycled reds and pinks to add a bit of spice (and I added the yellow gingham which was part of some curtains I had). I more or less left the blue out except for a tiny bit if it was already in other fabrics.
I didn’t have a real plan as to the top itself. I didn’t do anything like “every other block would be a square and fit in the rest in there. It wasn’t that organized. I had 19 - 12.5” squares, 16 - 2 piece rail fence using 6.5”x 12.5” pieces, etc. Towards the end, I mostly had the smaller pieces left, so I could make either the 4 patches or the 9 patches.
I know that the fabrics fight with each other. In this quilt - it doesn’t bother me too much. I think it’s going to work as well as I could get this one to work with using such easy blocks and wild prints!
I’m not sure if you have seen the Gypsy Wife quilt pattern by Jen Kingwell, but it more or less inspired this idea - maybe a bit “less” than “more” but it is kind of reminiscent of a quilt that is so crazy it’s fun. (But what REALLY inspired this quilt is that fringe tape I bought.)
When I googled “BOHO” quilts, there really isn’t much out there - at least not when I typed it in. I got some duvet covers and comforters, but not actual quilts. At least with my searches (which may vary because I’m in Europe).
According to what I saw about the BOHO style, it involves “not much white”, bold colors, seeming clashing fabrics/designs, retro style and a slightly worn look. Oh, and fringe and pompoms. Sounds perfect for what I’m doing!
But I have a question for you.
Where would YOU put the fringe/tape? I’ll put it on after I quilt and bind it!
Should I put it next to the black border or out the outside, so it is hanging over the edge of the quilt?
I’m conflicted. I don’t know what to do. I had originally thought I’d do it around the edge so the fringe is actually hanging off the green border, but now I’m looking at how it looks next to the black and I really like that.
Let me know what you think! I’d appreciate your input!
And thanks for coming along with me on this journey!
Have a great day wherever you are reading this! Stay safe!
Be sure to check out what my sis has for you in the store here!
Here’s one of the beauties we have!


