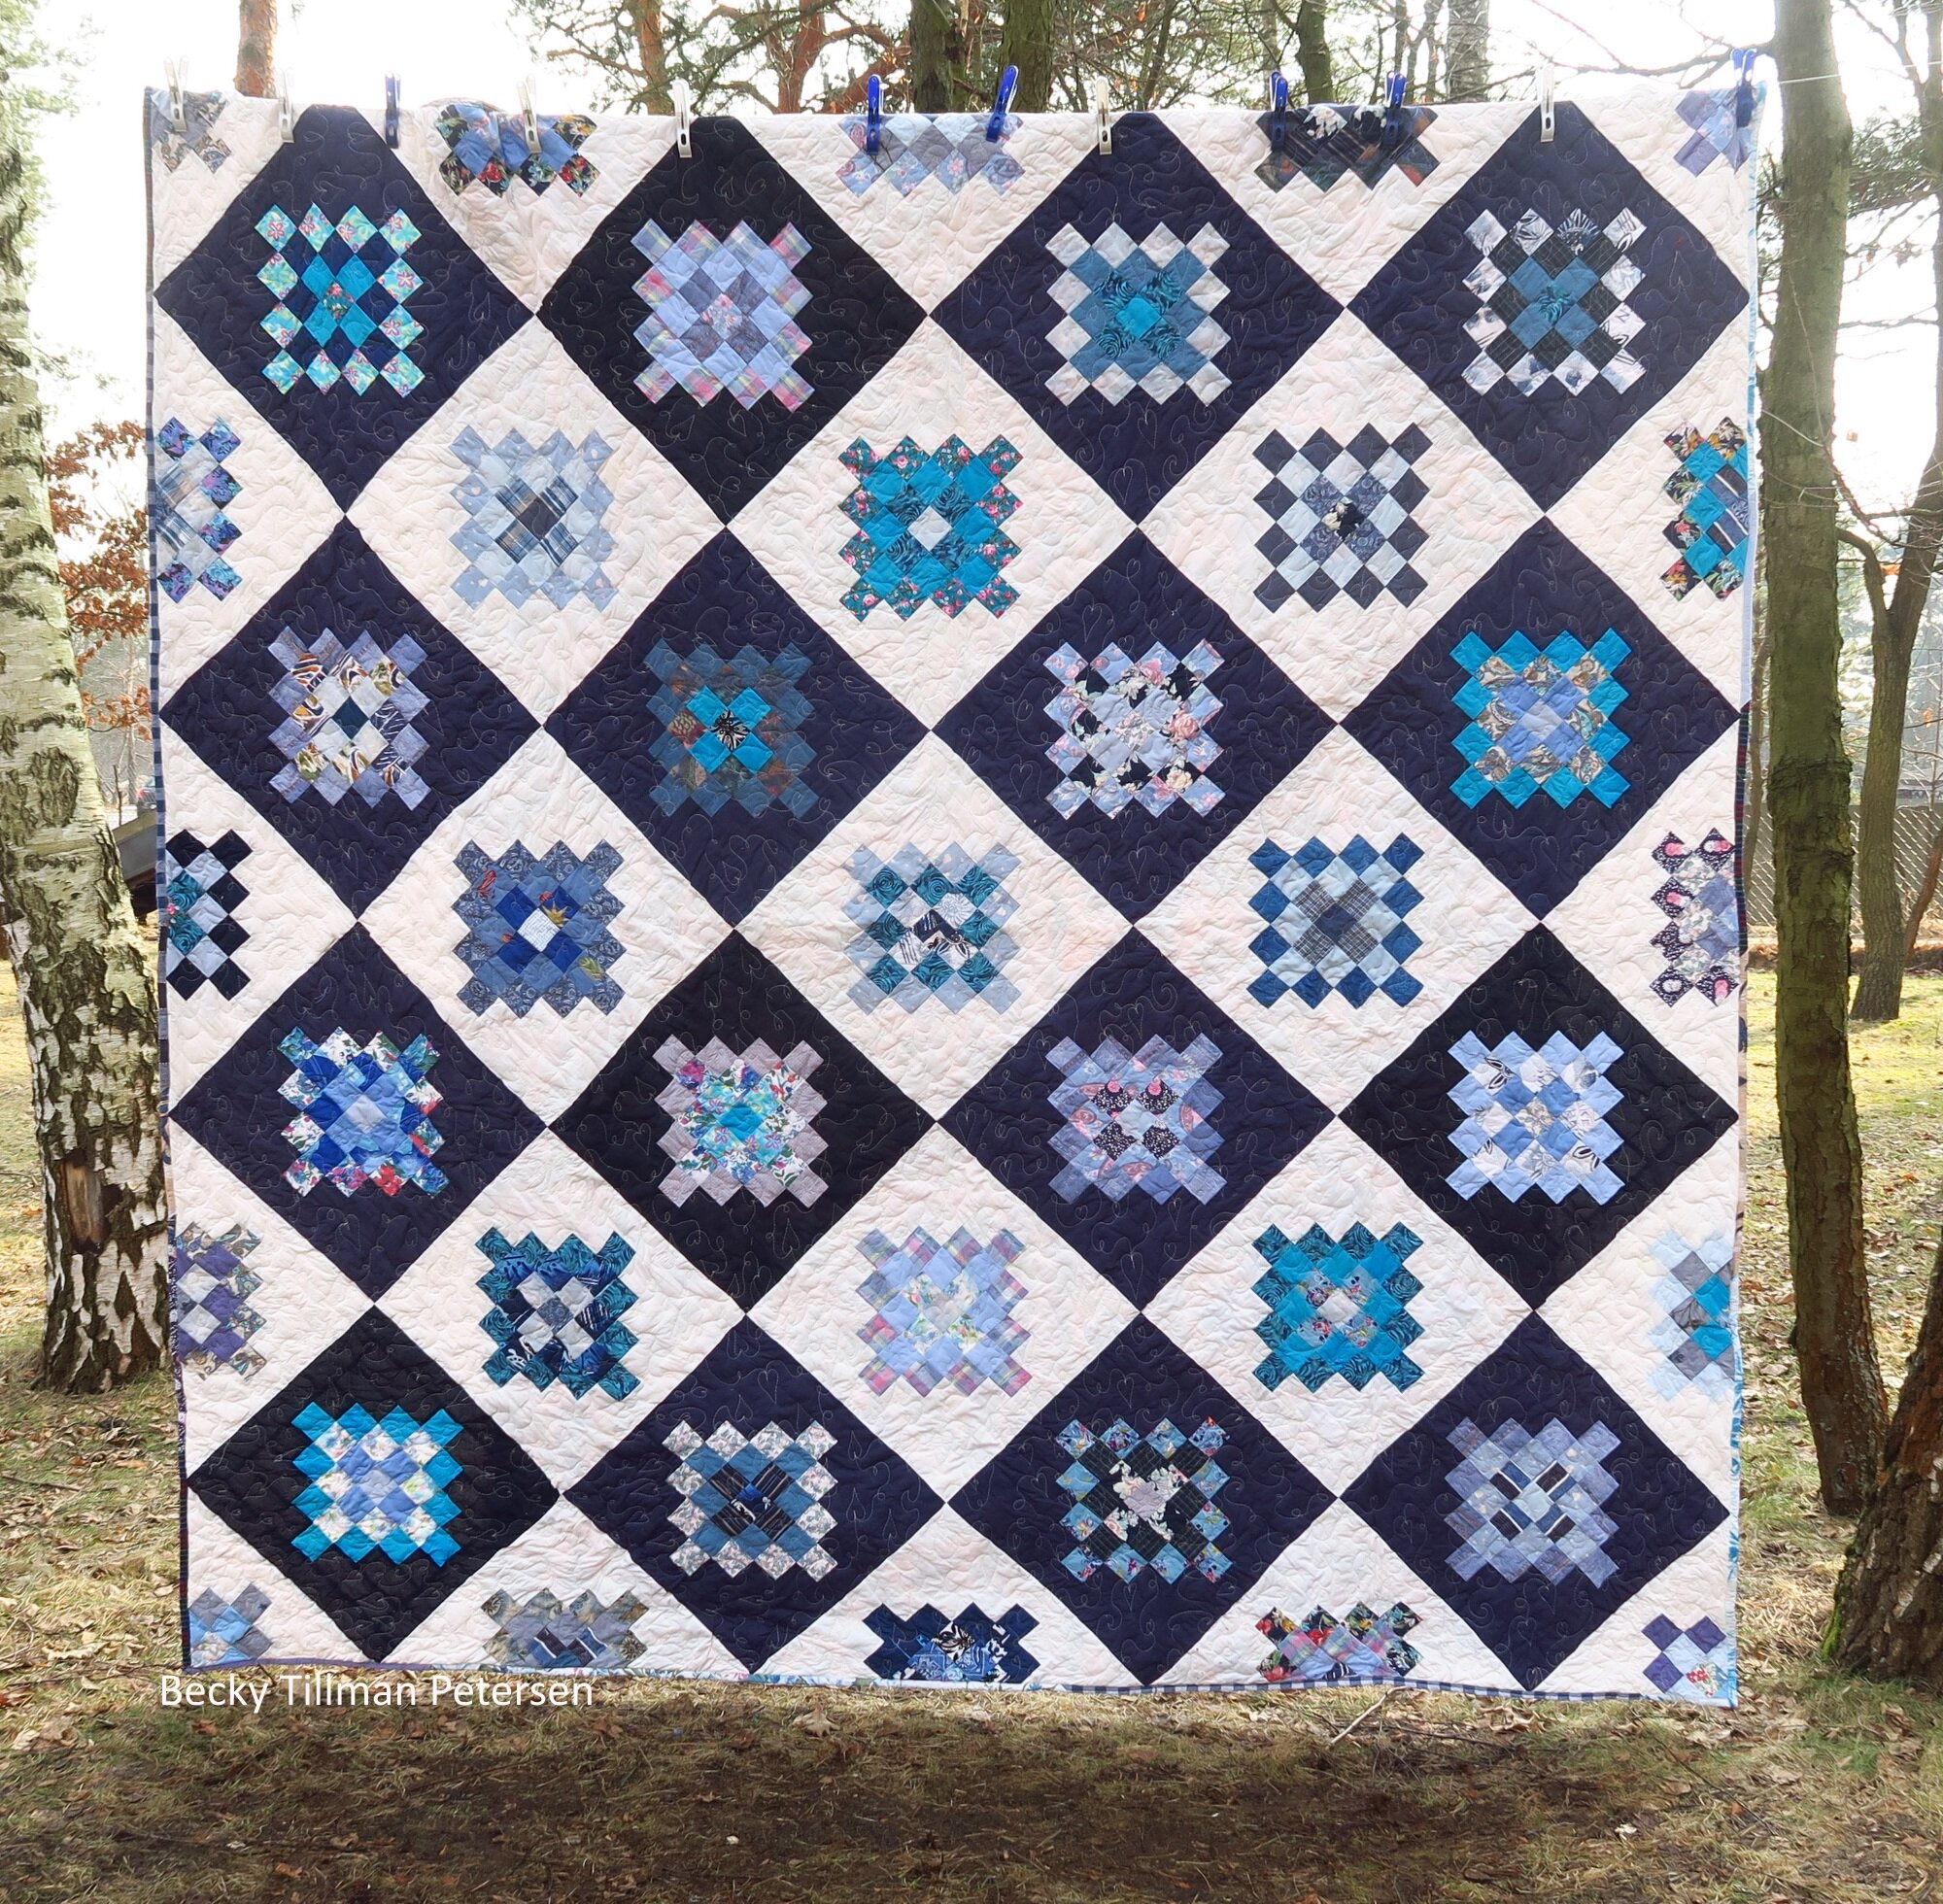
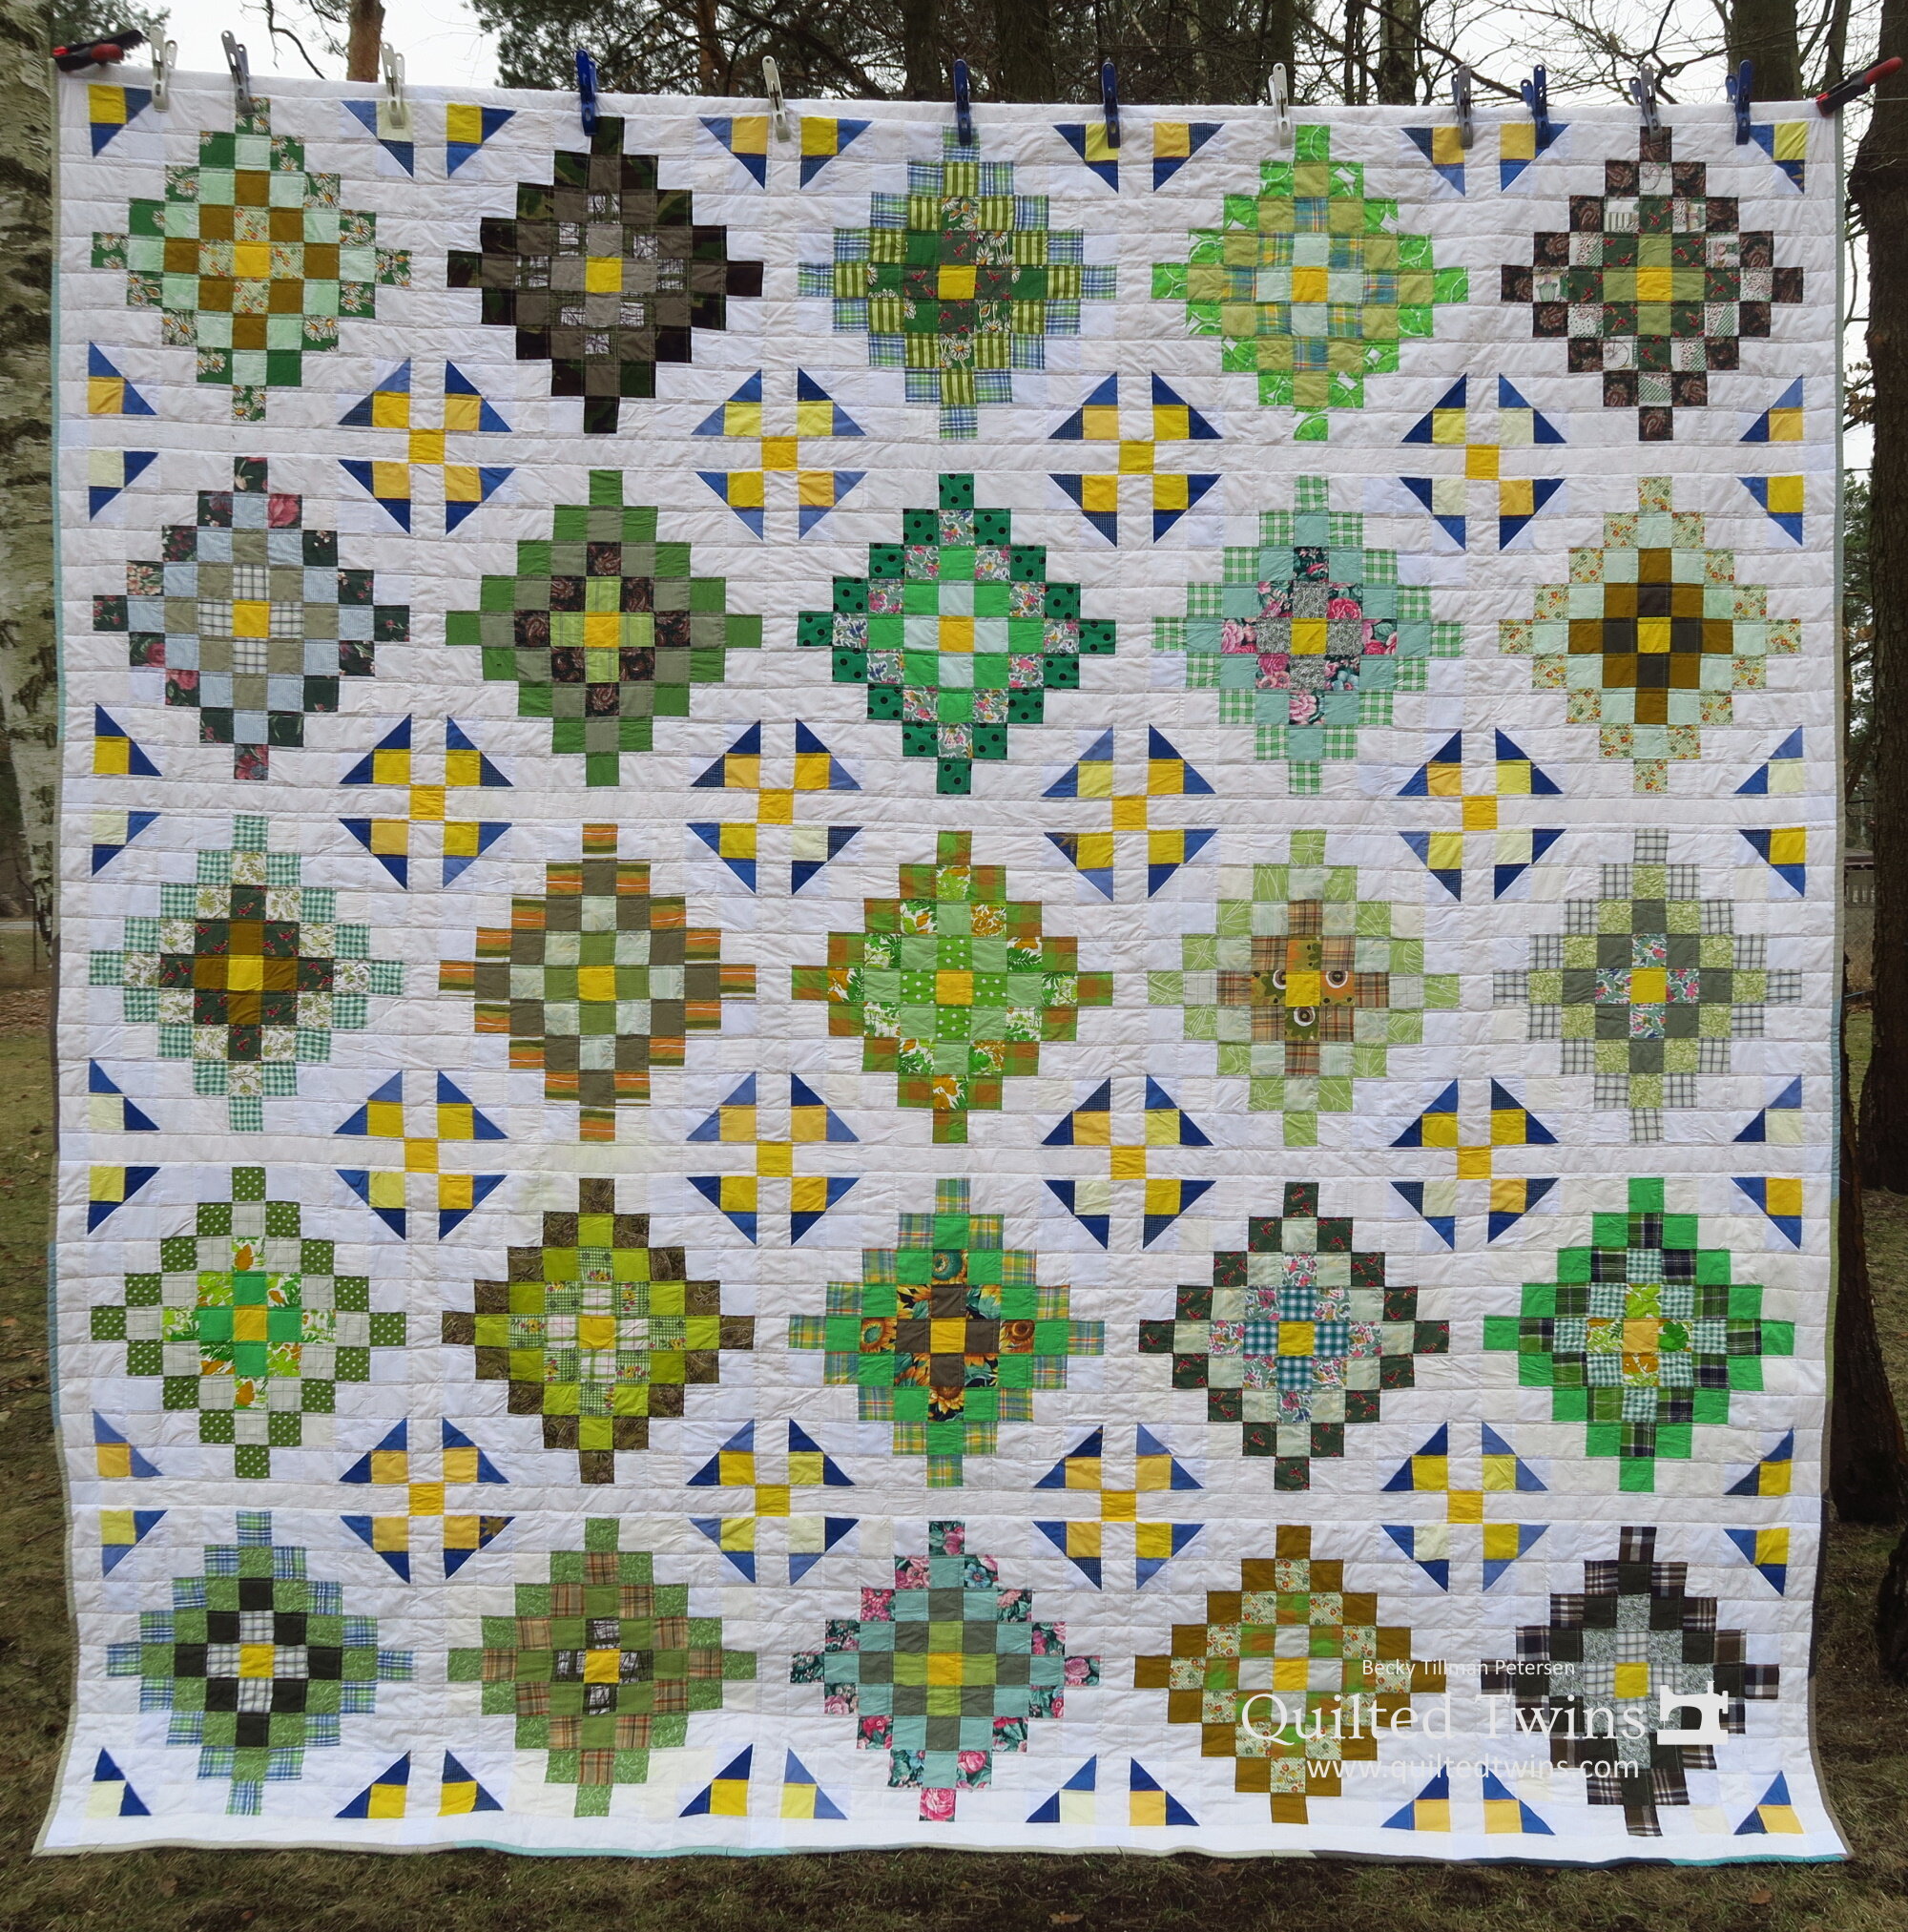
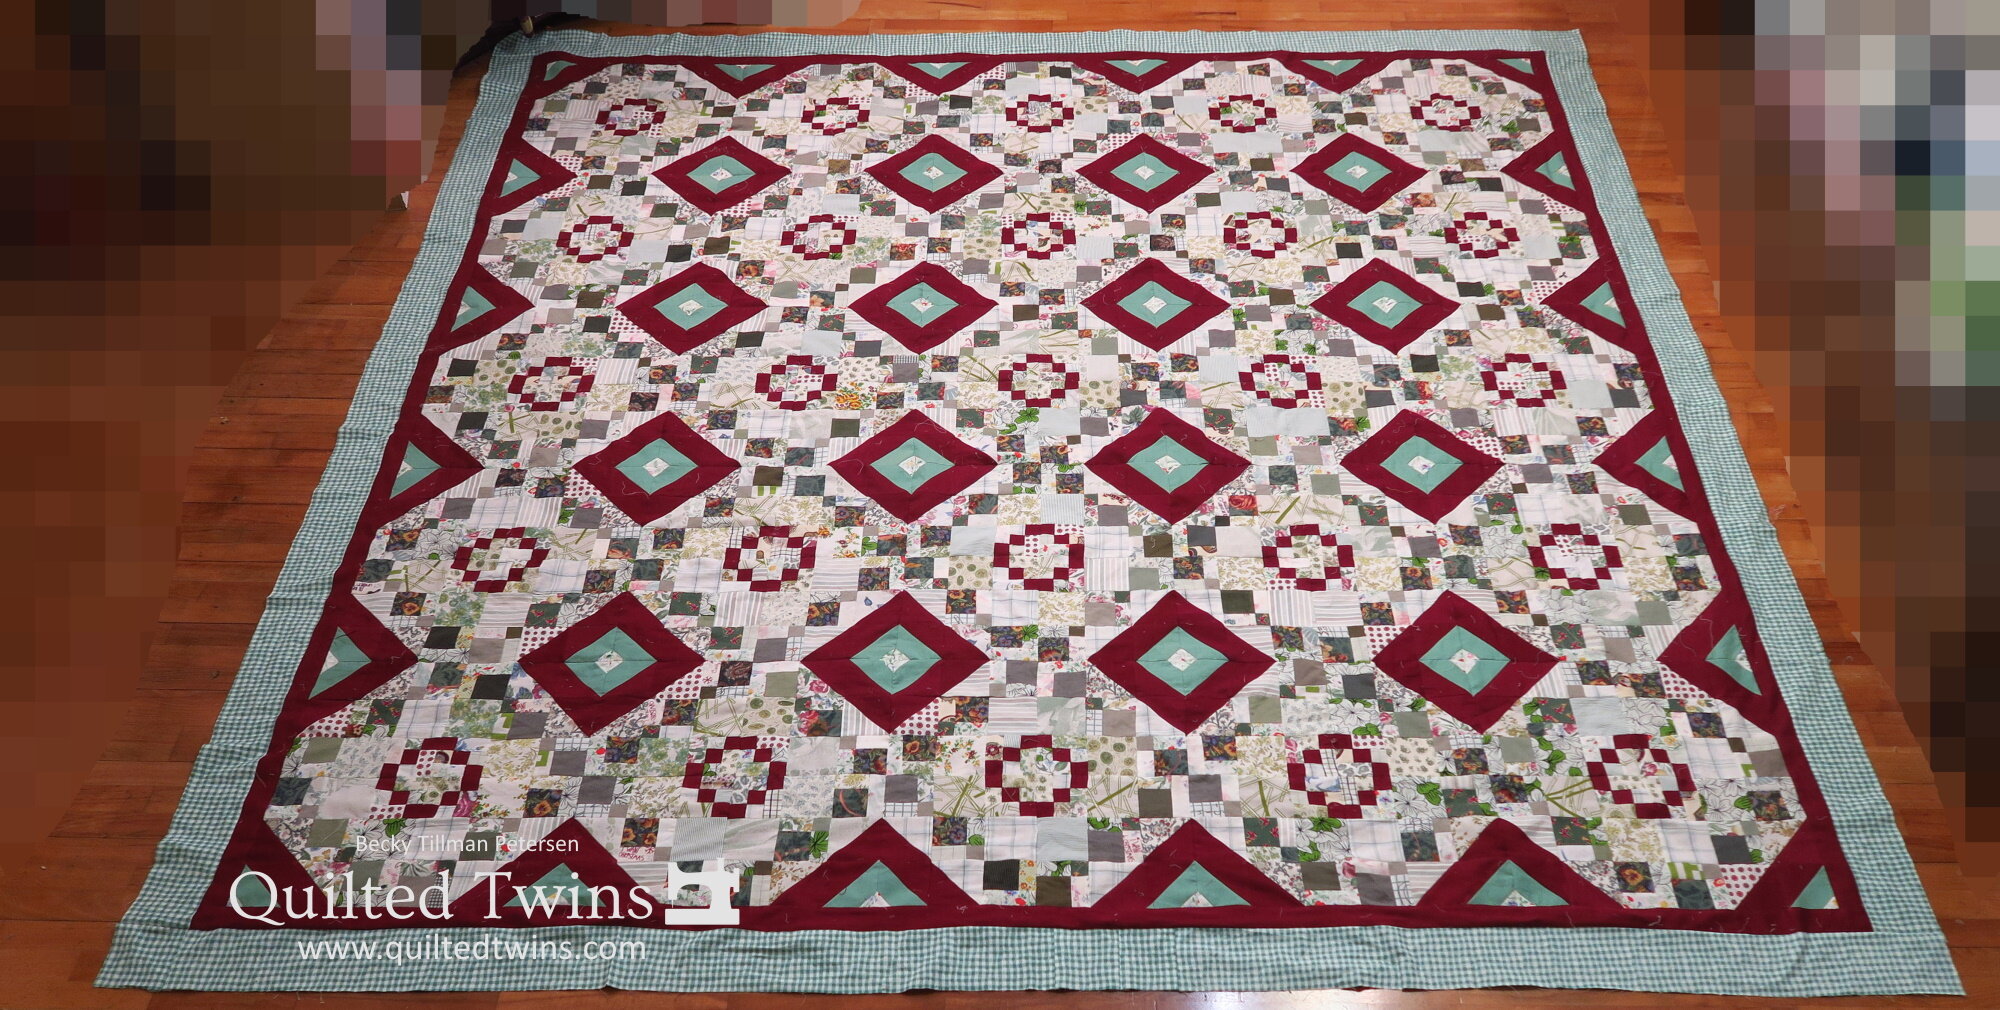
"Jumbo Granny Squares"
This quilt is number 12 in my series of Upcycled Greens that I’ve been working on in the last few months. If you’ve been reading here at all lately, you are aware of this series. If not, just go back and look at the last couple months of blog posts. You can find the overview here.
I’ve recently finished 3 of the tops I have had made and prepared backings for all the rest of the tops that are currently finished. I’m also working on two more tops at the moment. So hopefully, you will continue to see progress from this series and I will continue to see those boxes of greens go down and down and be able to get all my pieces into two pretty big plastic boxes. When I am at that point, I will think I can stop the series. Until I can do that, however, I will keep on going. I’m not there yet…even with the next two tops almost done.
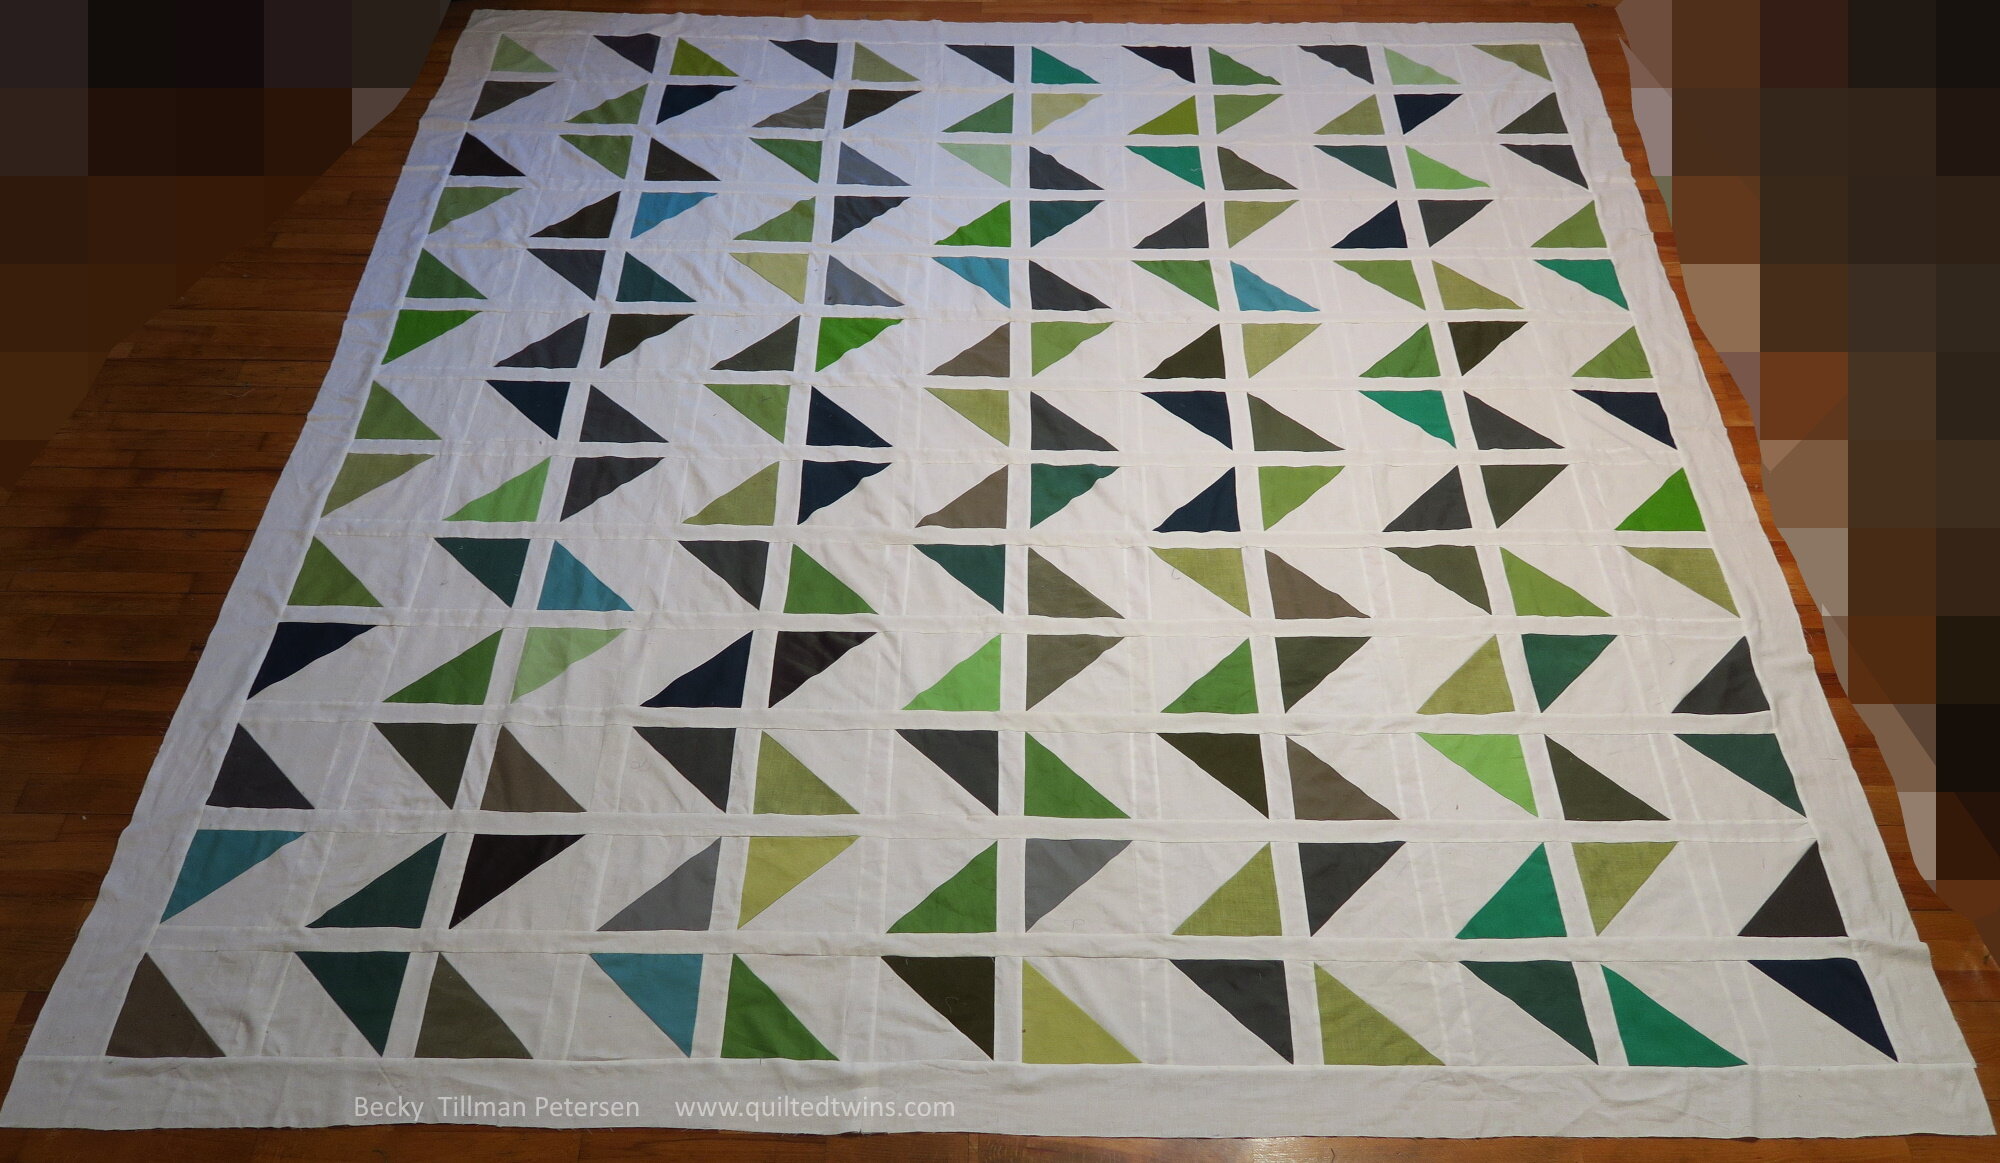
Anyway, the Granny Square block to me is a great scrap buster. It is a wonderful way to use up various pieces that you really don’t have a lot of but still want to have something look like you’ve planned it from the beginning.

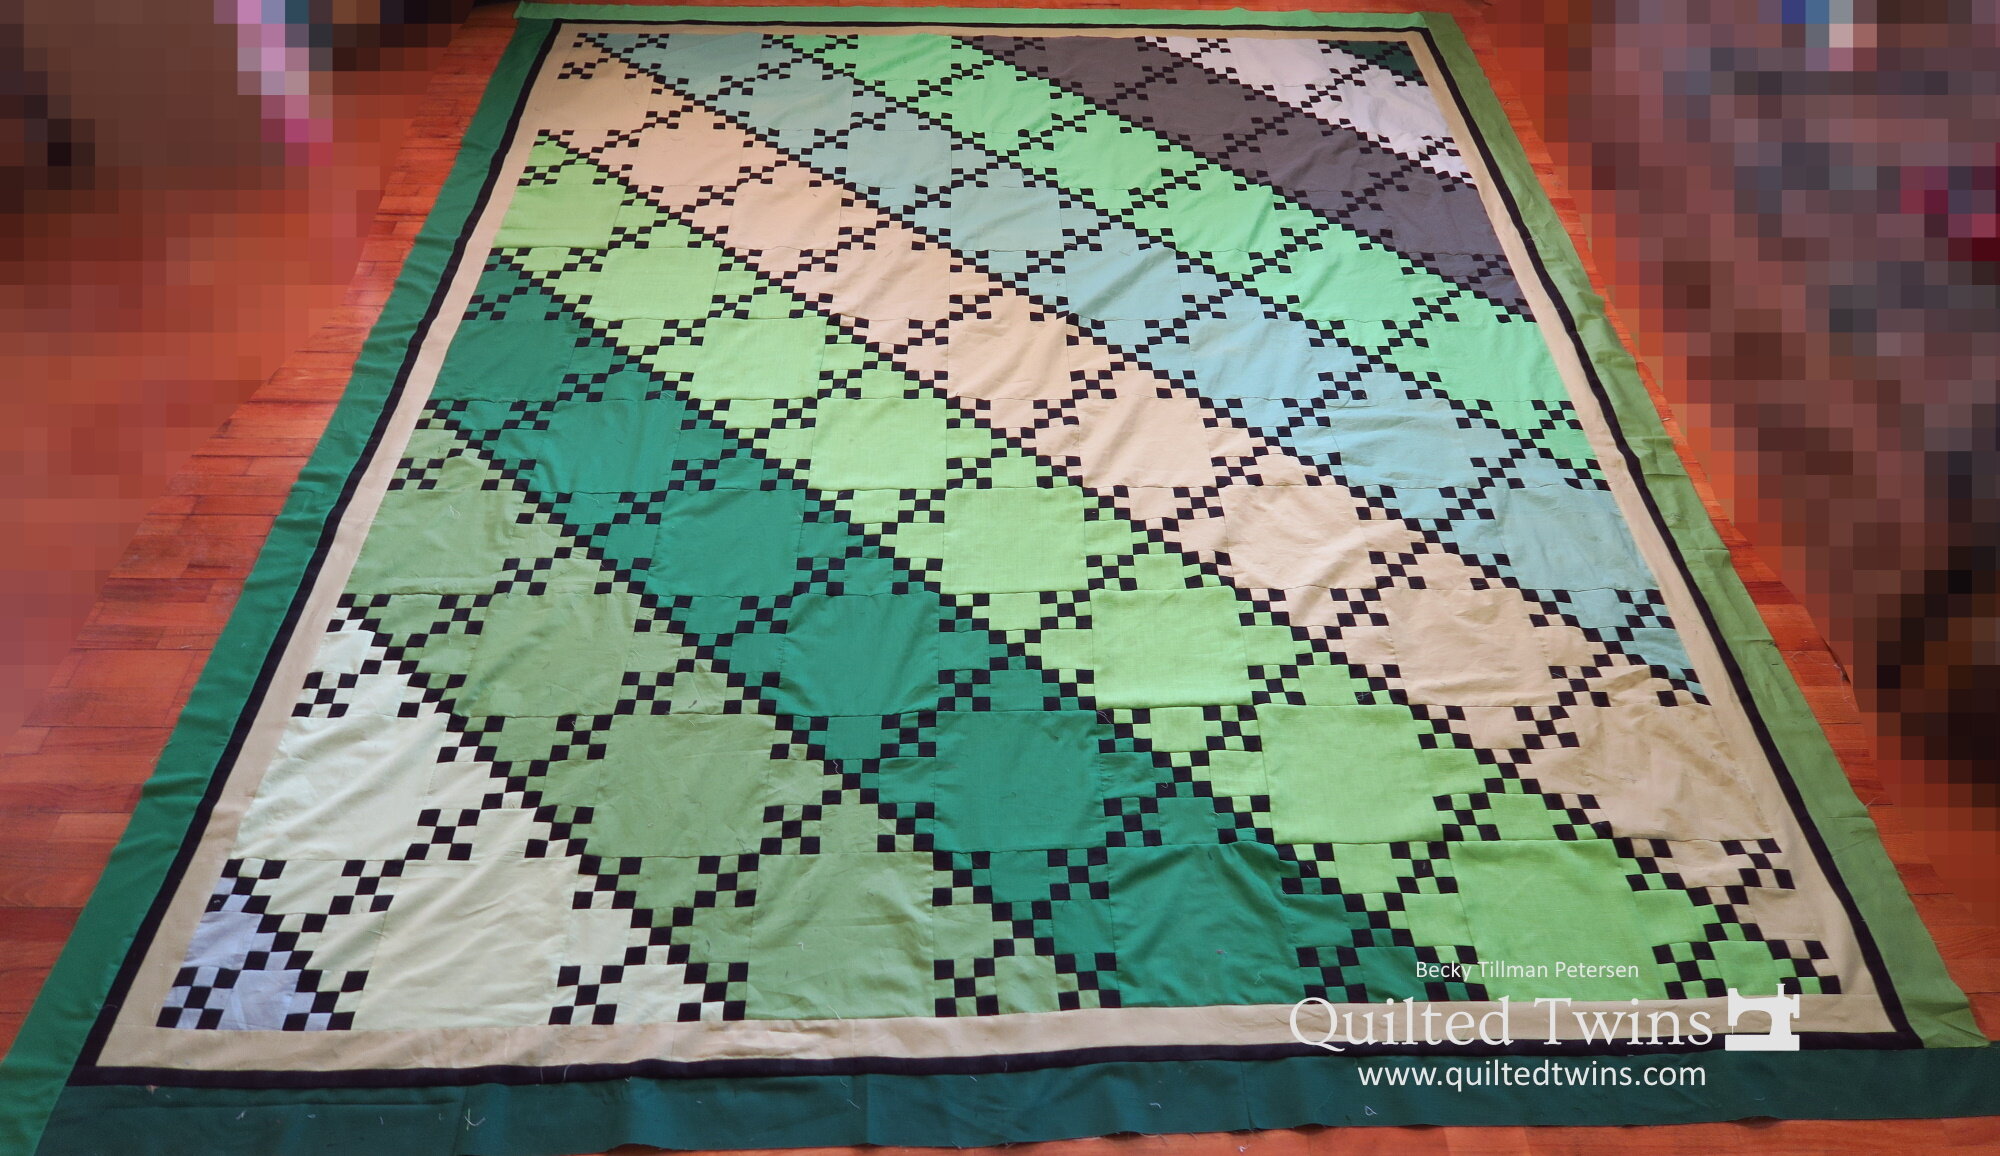
The single block looks like this: It is quite large - 18” finished, in fact! That’s why I called it Jumbo Granny Squares! I’d actually never made a quilt block using Granny Squares with them finishing this large.
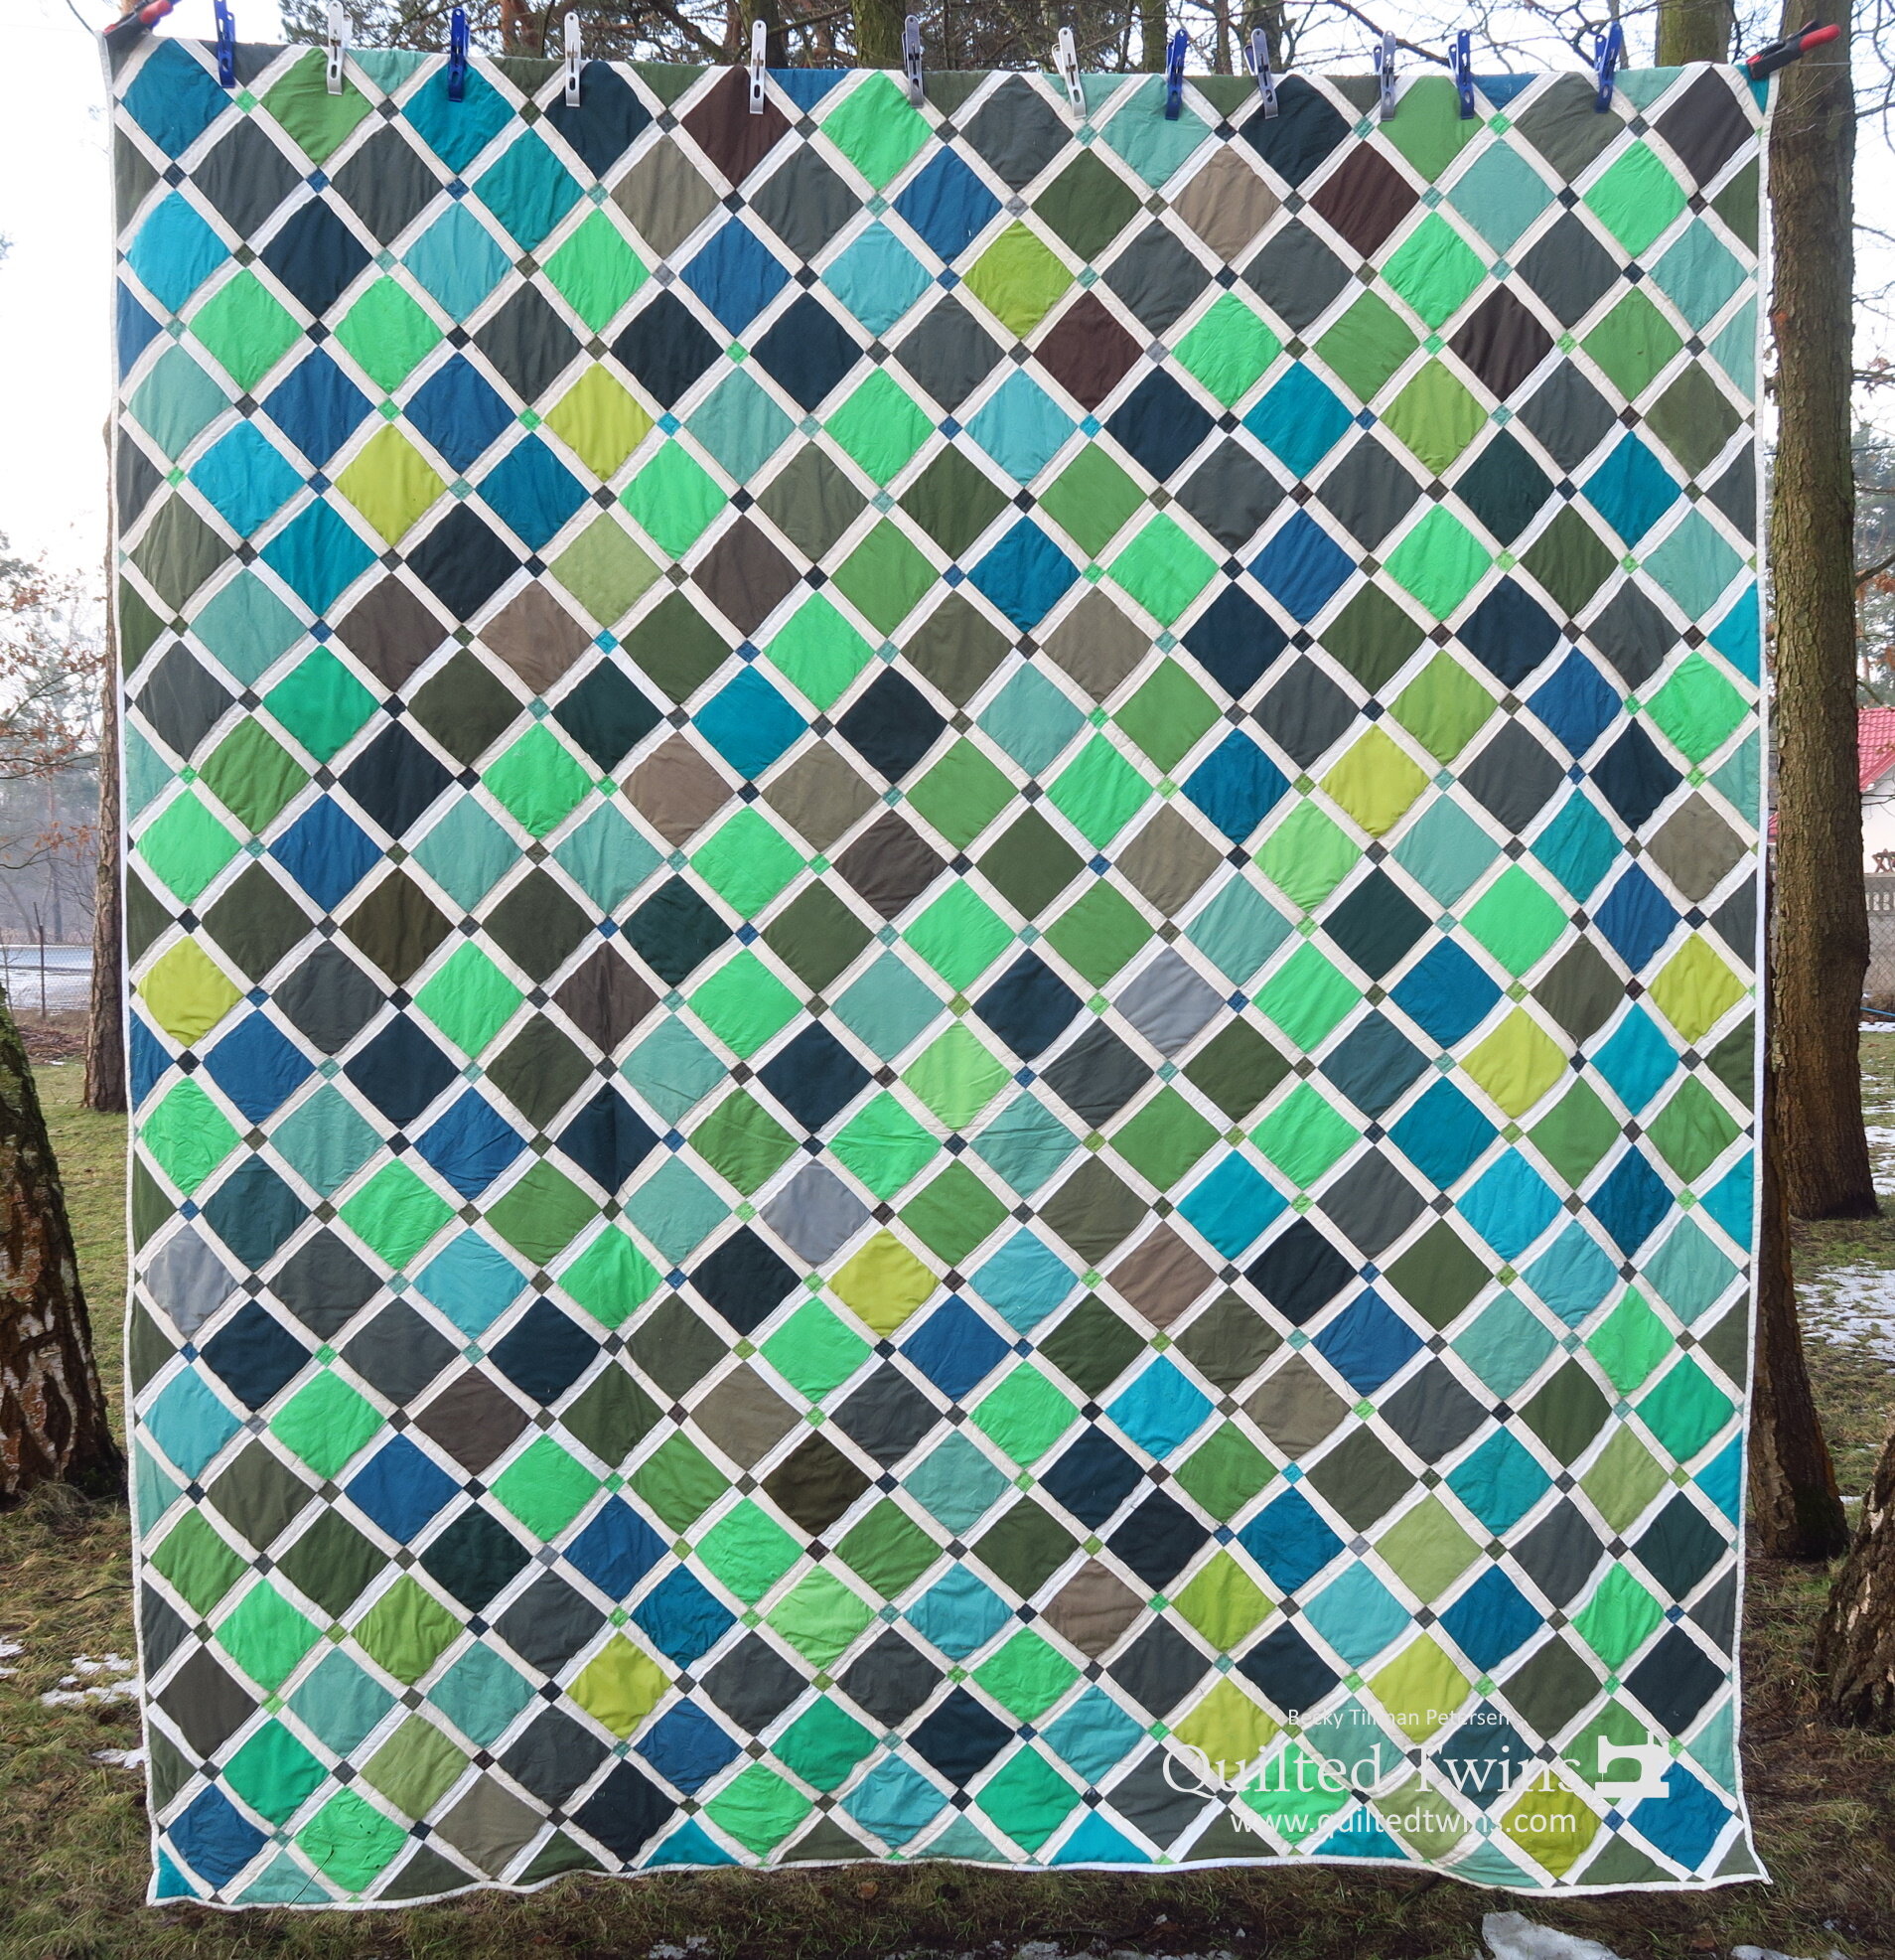
I used that batting that I used in the last quilt I featured so it ended up being a heavy quilt. of course, it’s a big one as well. It finished at 4.1 kg or 9.03 lbs. So, that’s substantial. It’s also 102” x102” - at least it was as a top. I actually haven’t measured it now that it is finished being quilted and washed.

I actually took pictures three times today, starting in the morning. I was able to get some with the strong sunshine and shadows created. I loved the look of those photos, but for the final photo showing the various blocks, this one shown above turned out the best, I believe. It was taken later in the day with the sun behind some heavy clouds.

Here you can see the heavy shadows.

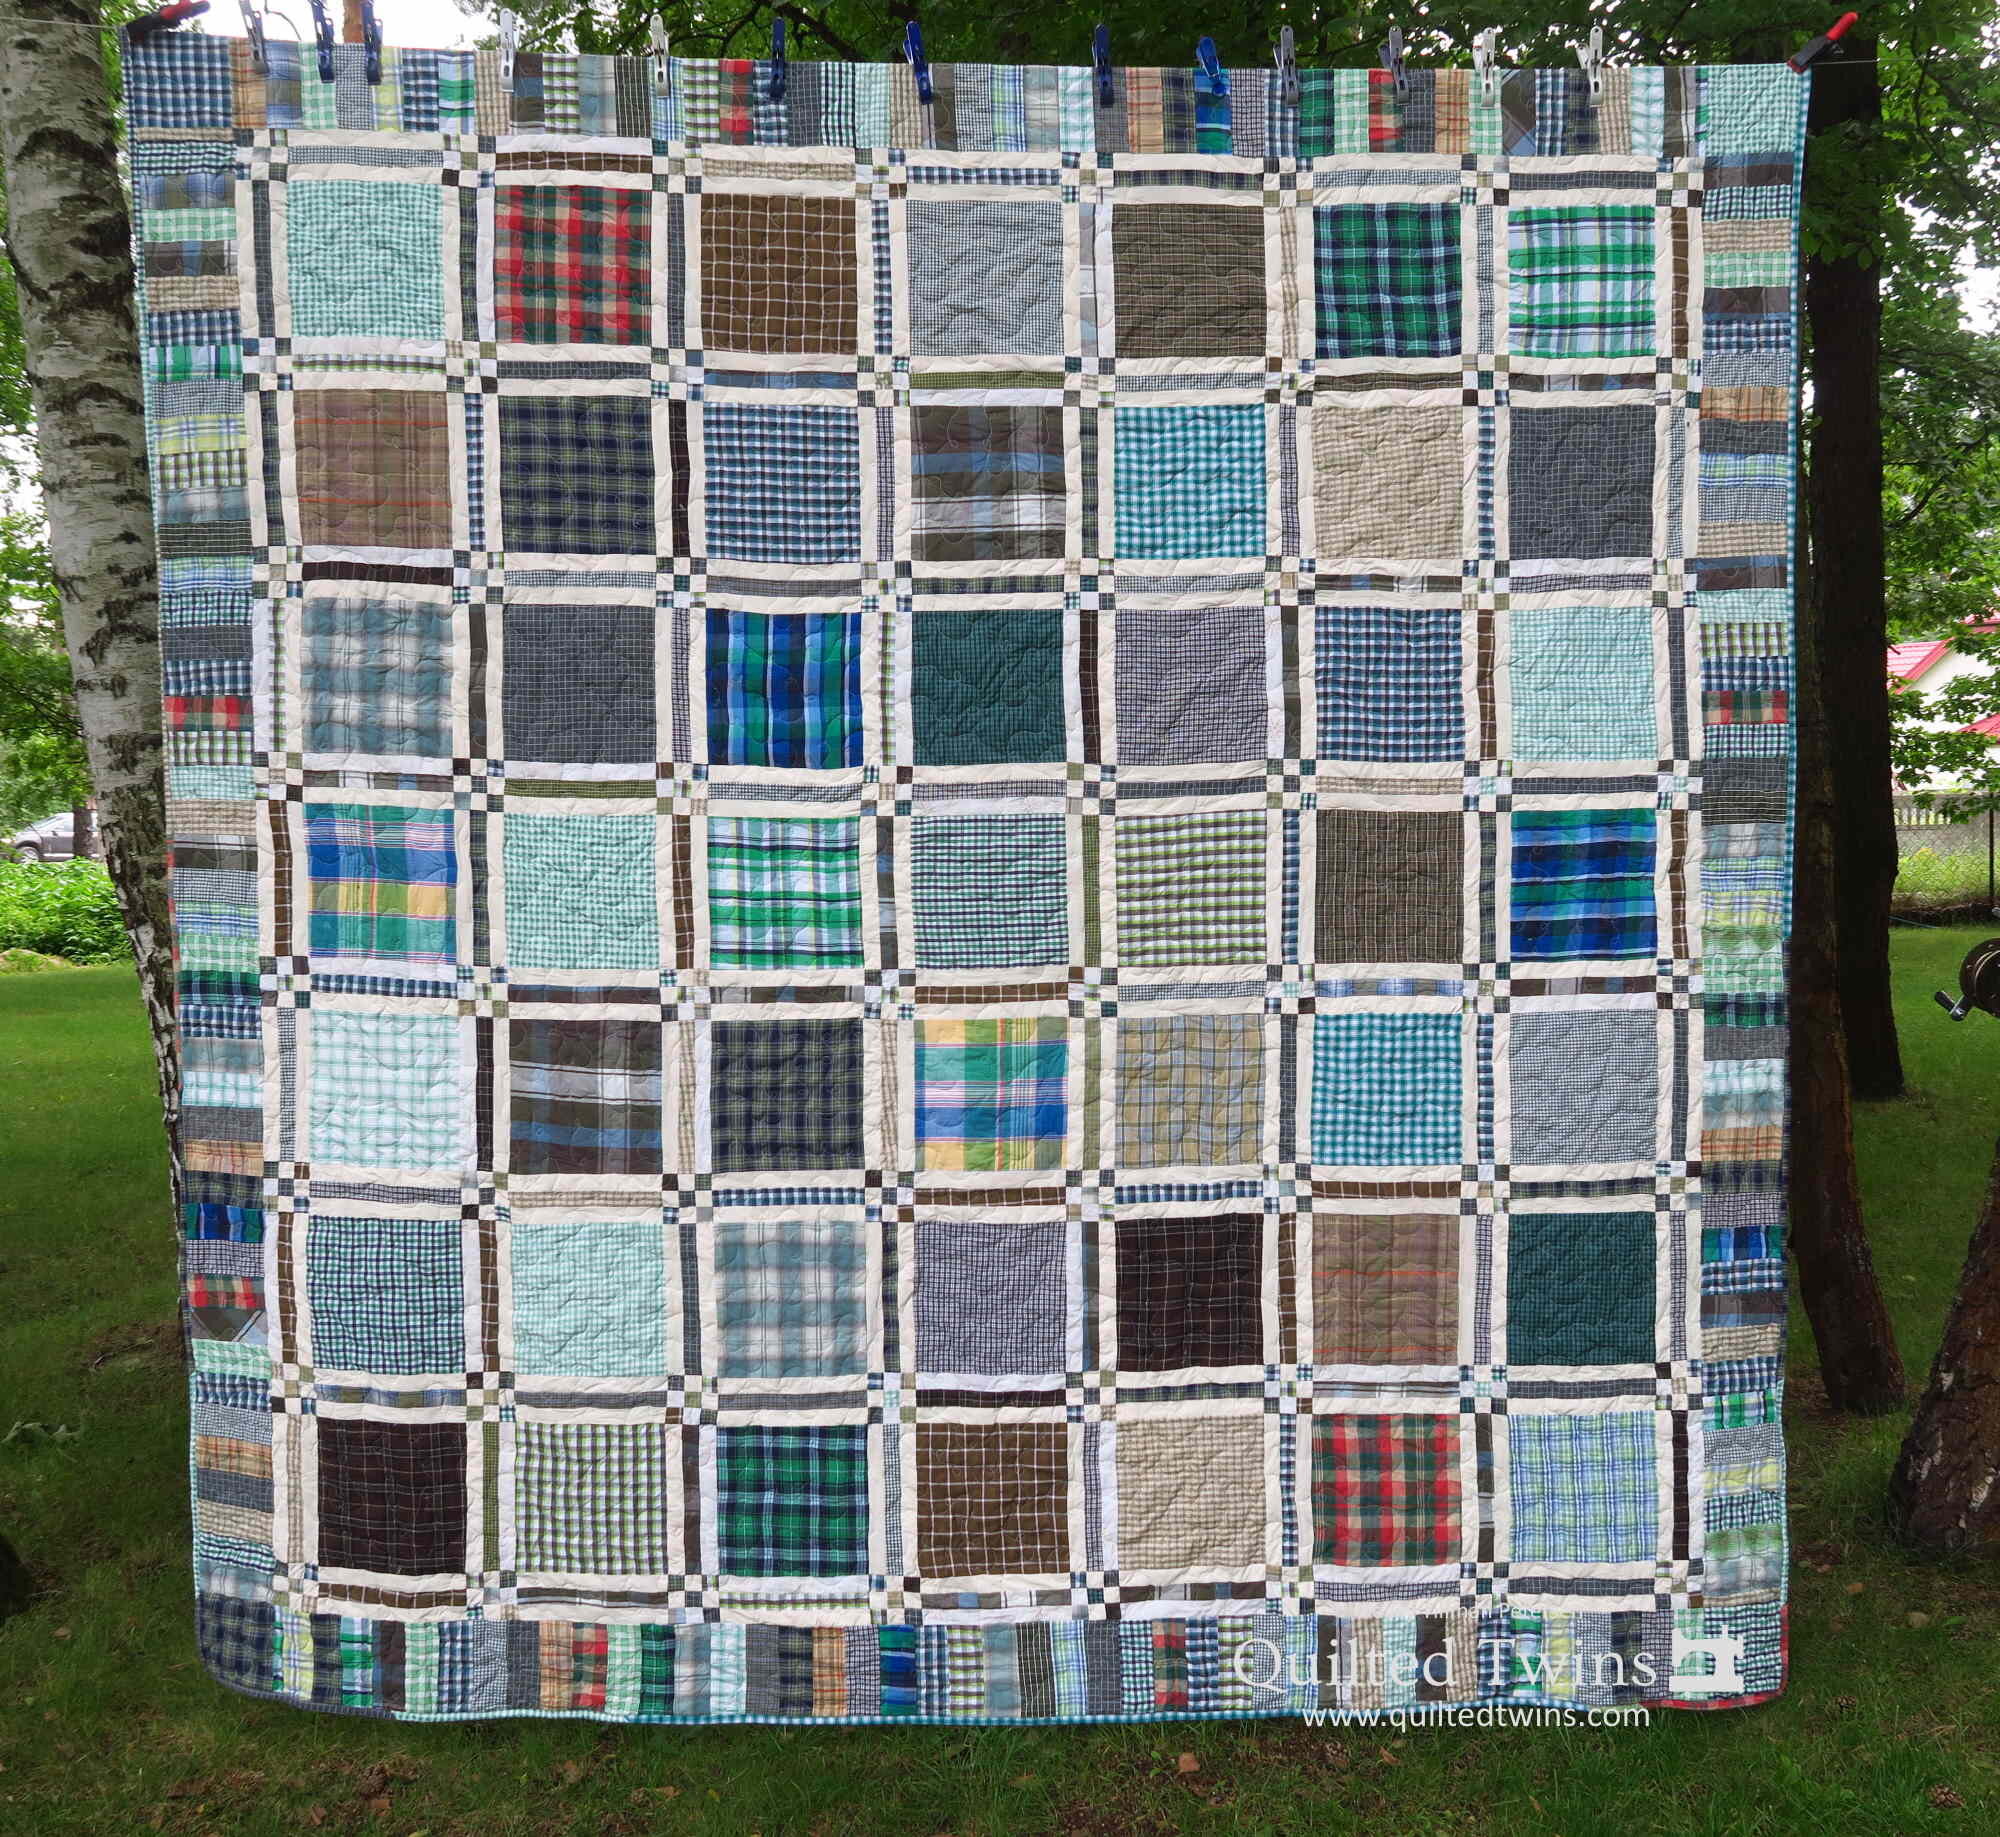
The backing
I simply straight line quilted it. There were a couple of reasons for this but the main one was I used that quite heavy batting again - knowing I would straight line quilt it, and I used a backing fabric that was made from a very tightly woven duvet cover - which also works better when straight line quilting as opposed to free motion quilting.
To me there is just something magical about granny squares.
I’m not sure why I like them - maybe it was because in the 6th grade when I first learned to crochet, I made granny square blocks - so maybe they have all these warm fuzzy feelings associated with the design.
Who knows why one associates something so cut/dry as a quilt block with feelings???
I don’t.

A bit of a close up!


Here’s the block!

I used a variety of whites and just off whites. Whatever I have. I didn’t stress about the fact that the whites were a variety of shades. You can see I actually made a little mistake in one of the rounds of color but since the blocks are the same shades almost, it works.

Here you can see the quilting very well. I straight line quilted it beside the seamline. I didn’t even attempt a stitch in the ditch.
IMO, if you don’t press your seams open, there isn’t much of a ditch to sew in anyway. When I learned to garment sew and stitched in the ditch, we slightly stretched our seamline apart so we had a nice ditch to sew into so that stitching disappeared completely once released.
When you are quilting a supposed stitch in the ditch (SITD) but your seams are pressed to one side, you can’t possibly pull them apart to create a place to let the stitches disappear. The best you can do is go very closely to the edge where the two pieces of fabric join together and hope you get it in that join line.
But it’s not really a ditch - at least not much of one - unless they are pressed open.
At least those are my thoughts about it. And I’m sticking to it. :)
And that’s not even addressing what some say about the possibility of cutting your stitched threads if you SITD over the top of them. Not sure I buy that logic- makes me wonder what kind of needle people are using - I hear you - but I’ve not really seen that sewing on top of one thread with another actually breaks the one that is sewn on top of - if that were true, embroidery designs would be one big mess.
But it doesn’t change my mind about what I said about not having a ditch in the first place unless you press your seams open. And I don’t usually.
I will say that while garment sewing, I never had a shoulder seam fall apart because I stitched a facing in the ditch, thereby somehow ‘cutting threads’ I was sewing on top of. I’m not actually sure who came up with that idea, but I raised my eyebrows a bit when I heard it the first time. (If you have been taught that - I’m not here to dissuade you anyway, because back to the original point - you probably don’t have a ditch to stitch in since most of us -80%+?- press our seams to the side.)
I digress…sorry about that.
Closeups of the fabrics and quilting. Super simple.


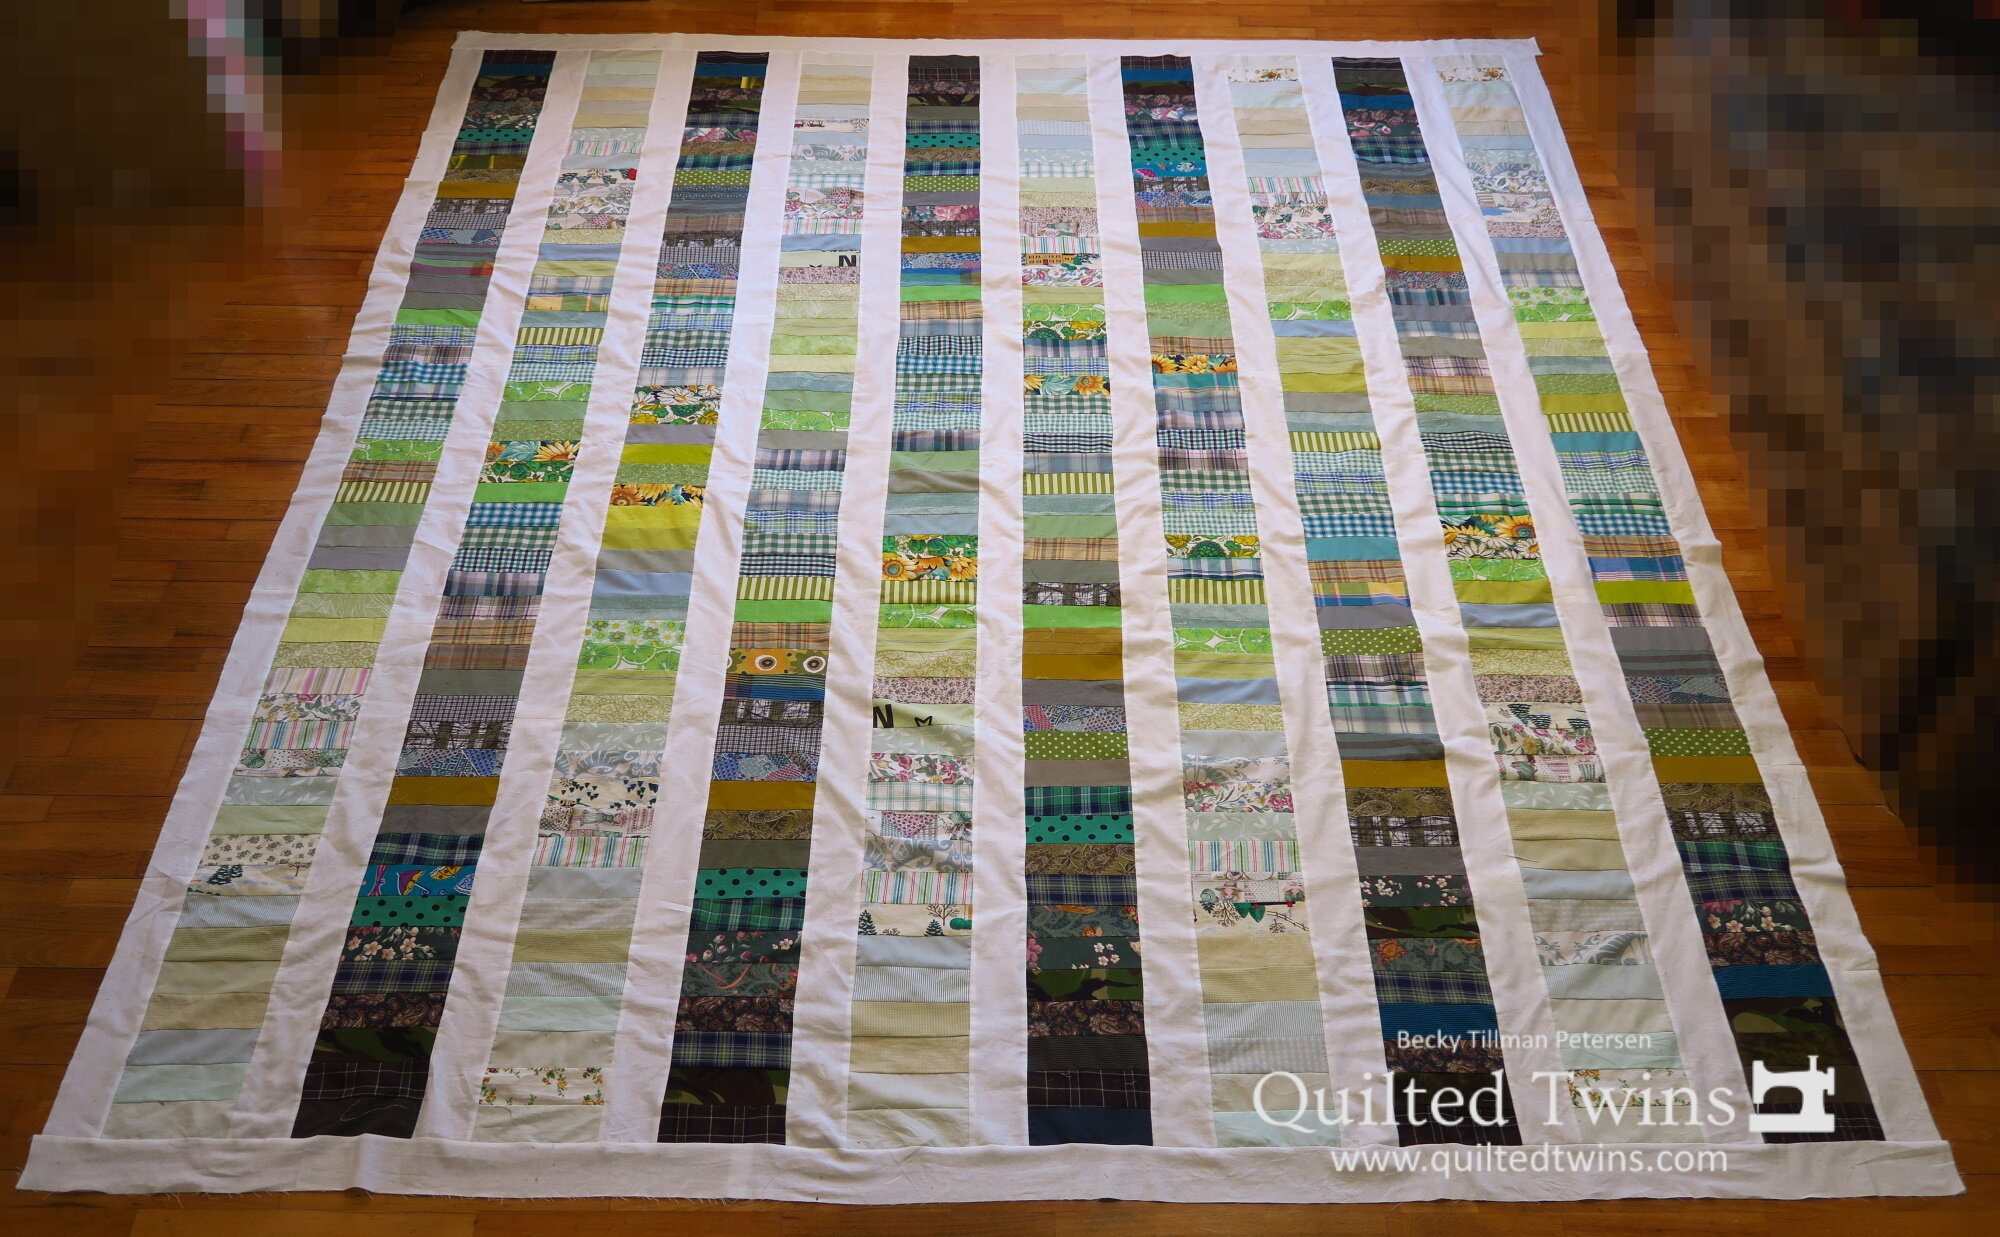
The quilt roll:
This is a large quilt - a big queen. I’m not sure what a small king size would be, but at 102”x102”, it might possibly even work on a king size mattress. If you wanted to use this pattern and make it bigger without adding more blocks which I wouldn’t do since they are 18” big (!) you could easily add a piano key border or just a couple of borders to make it the size you wish.
I’ve worked on the pattern and it is here. It isn’t really very difficult as you can see from my close up shots. It is basically just one block - and sashing and cornerstones.
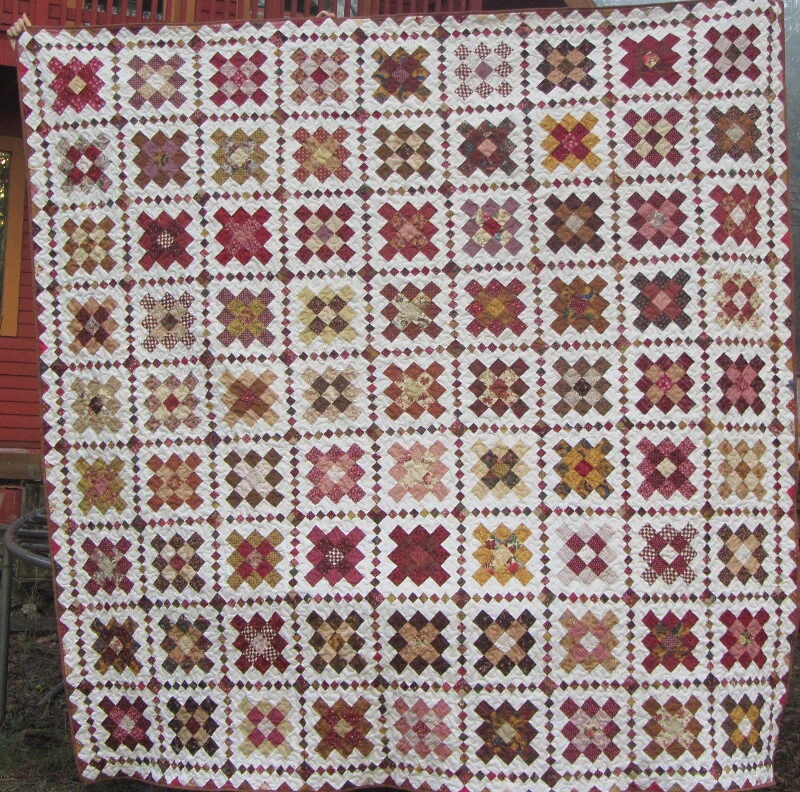
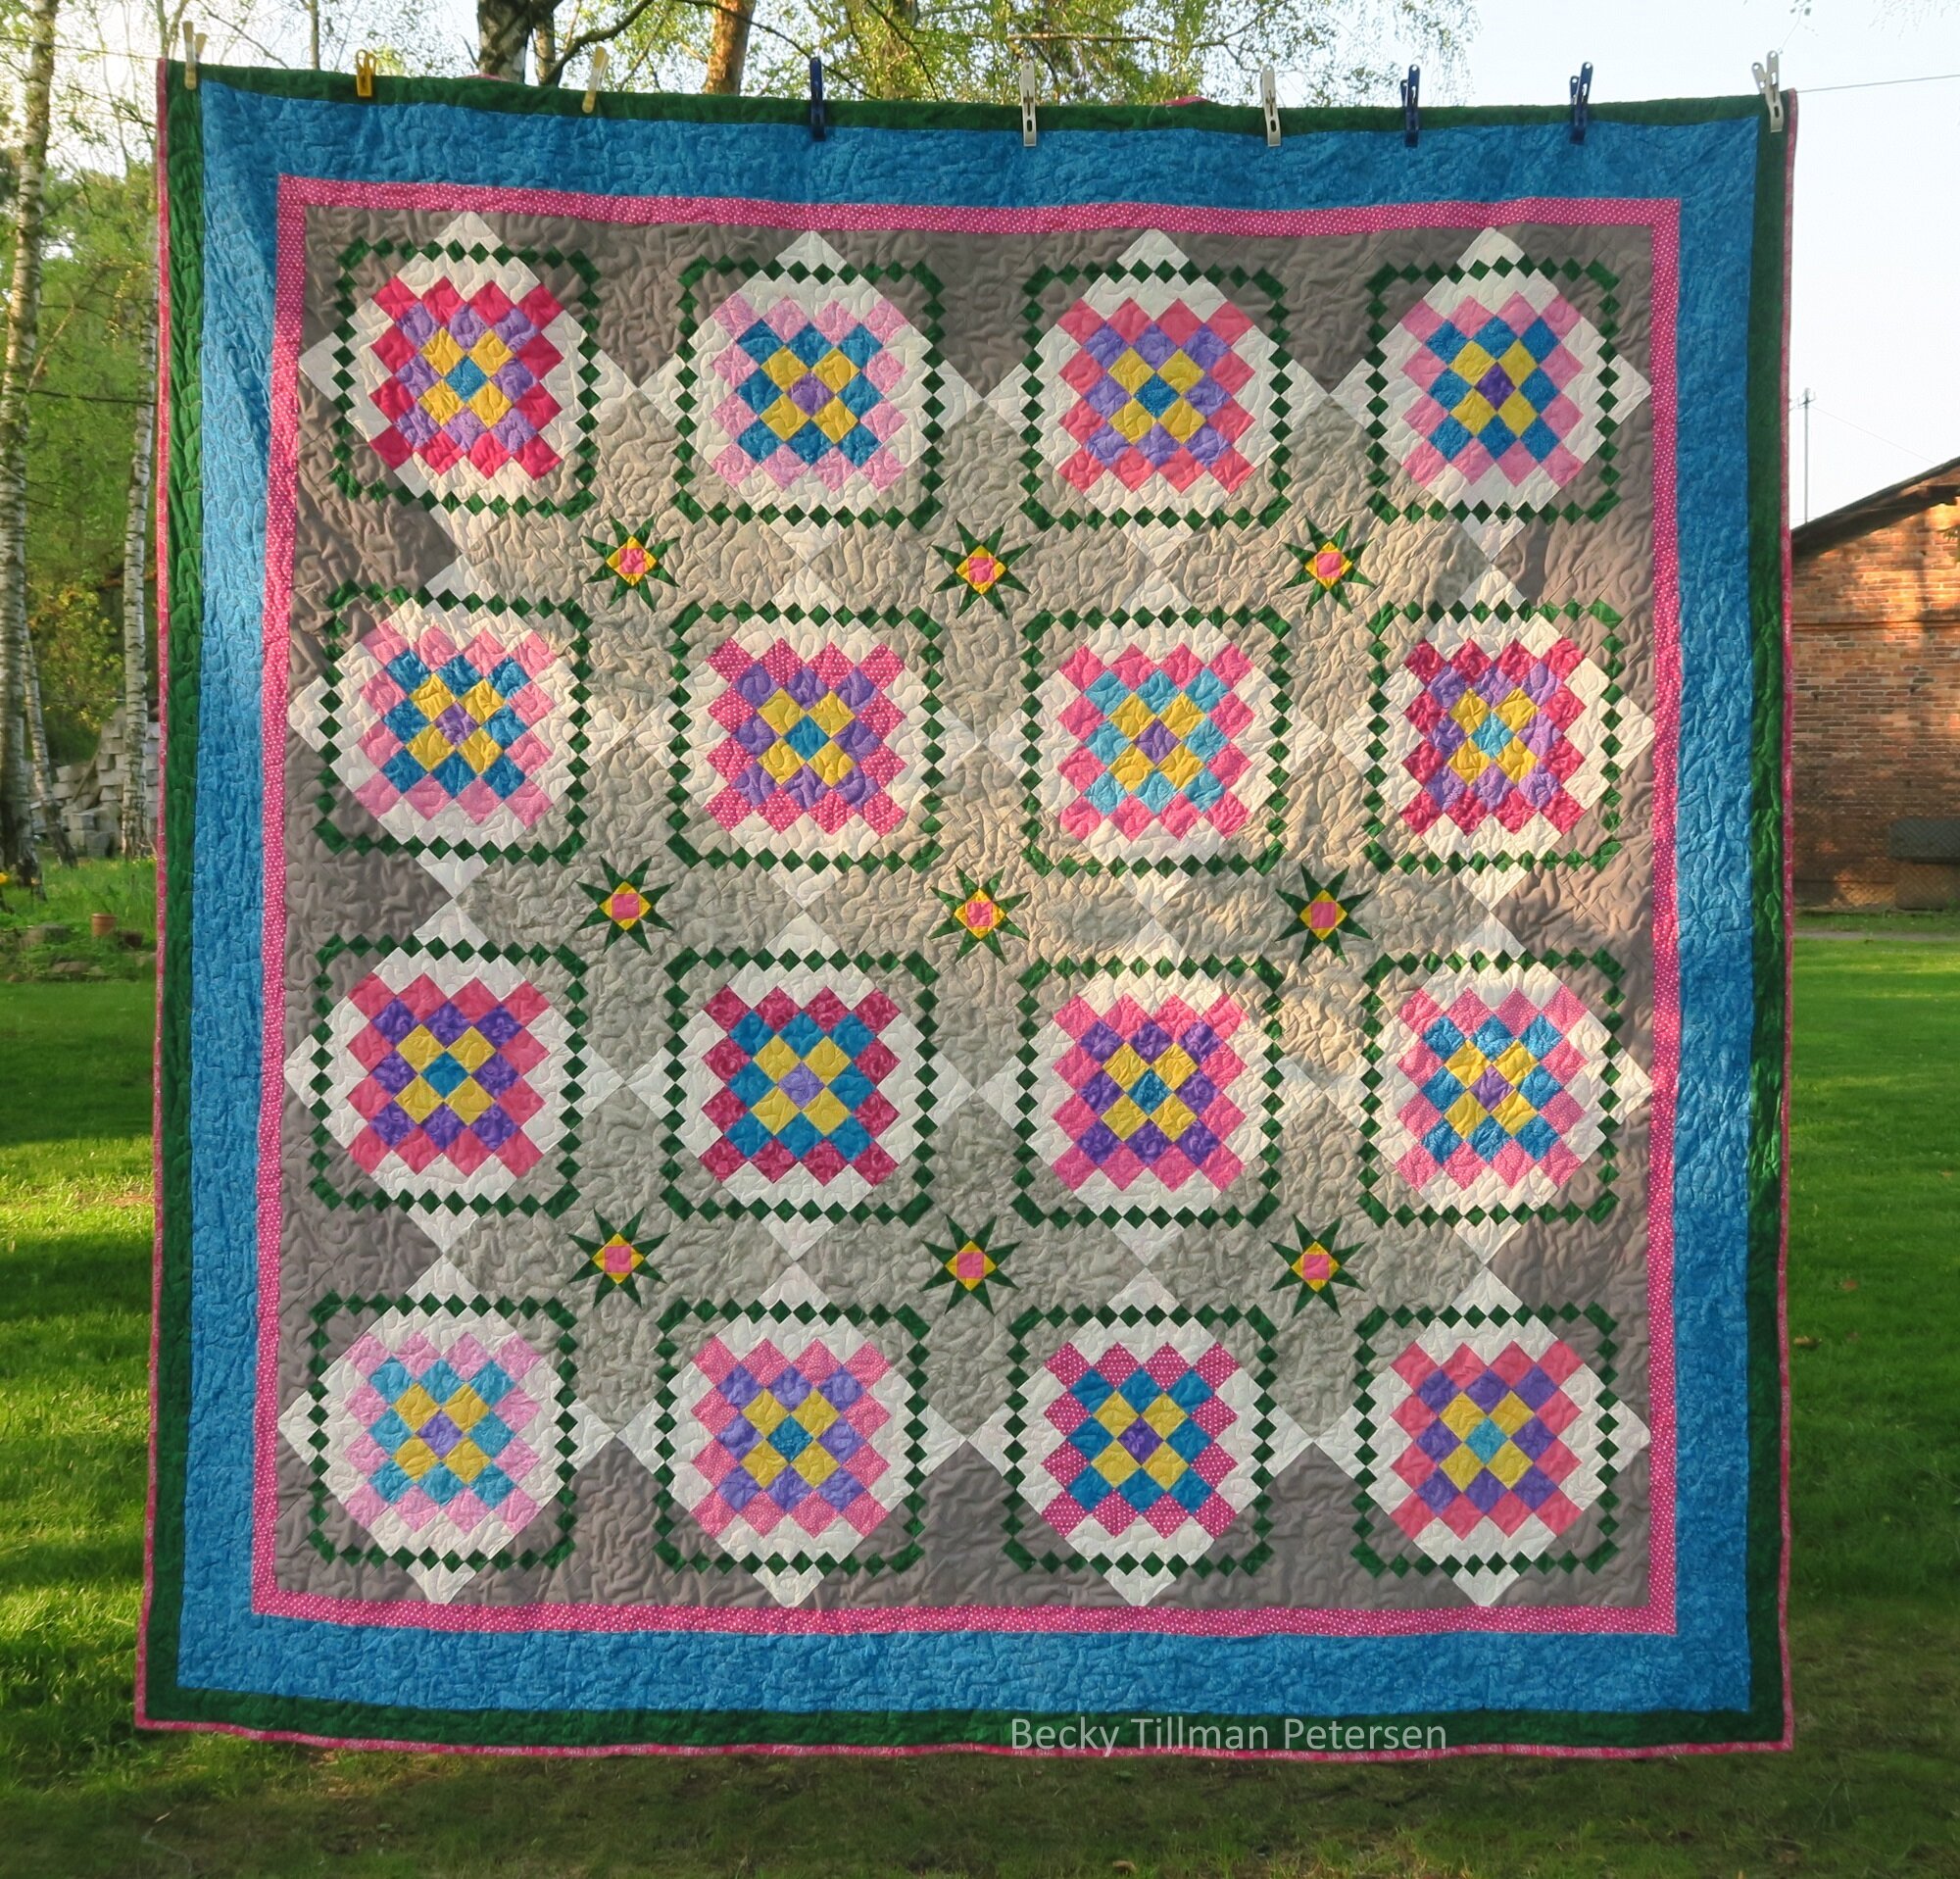
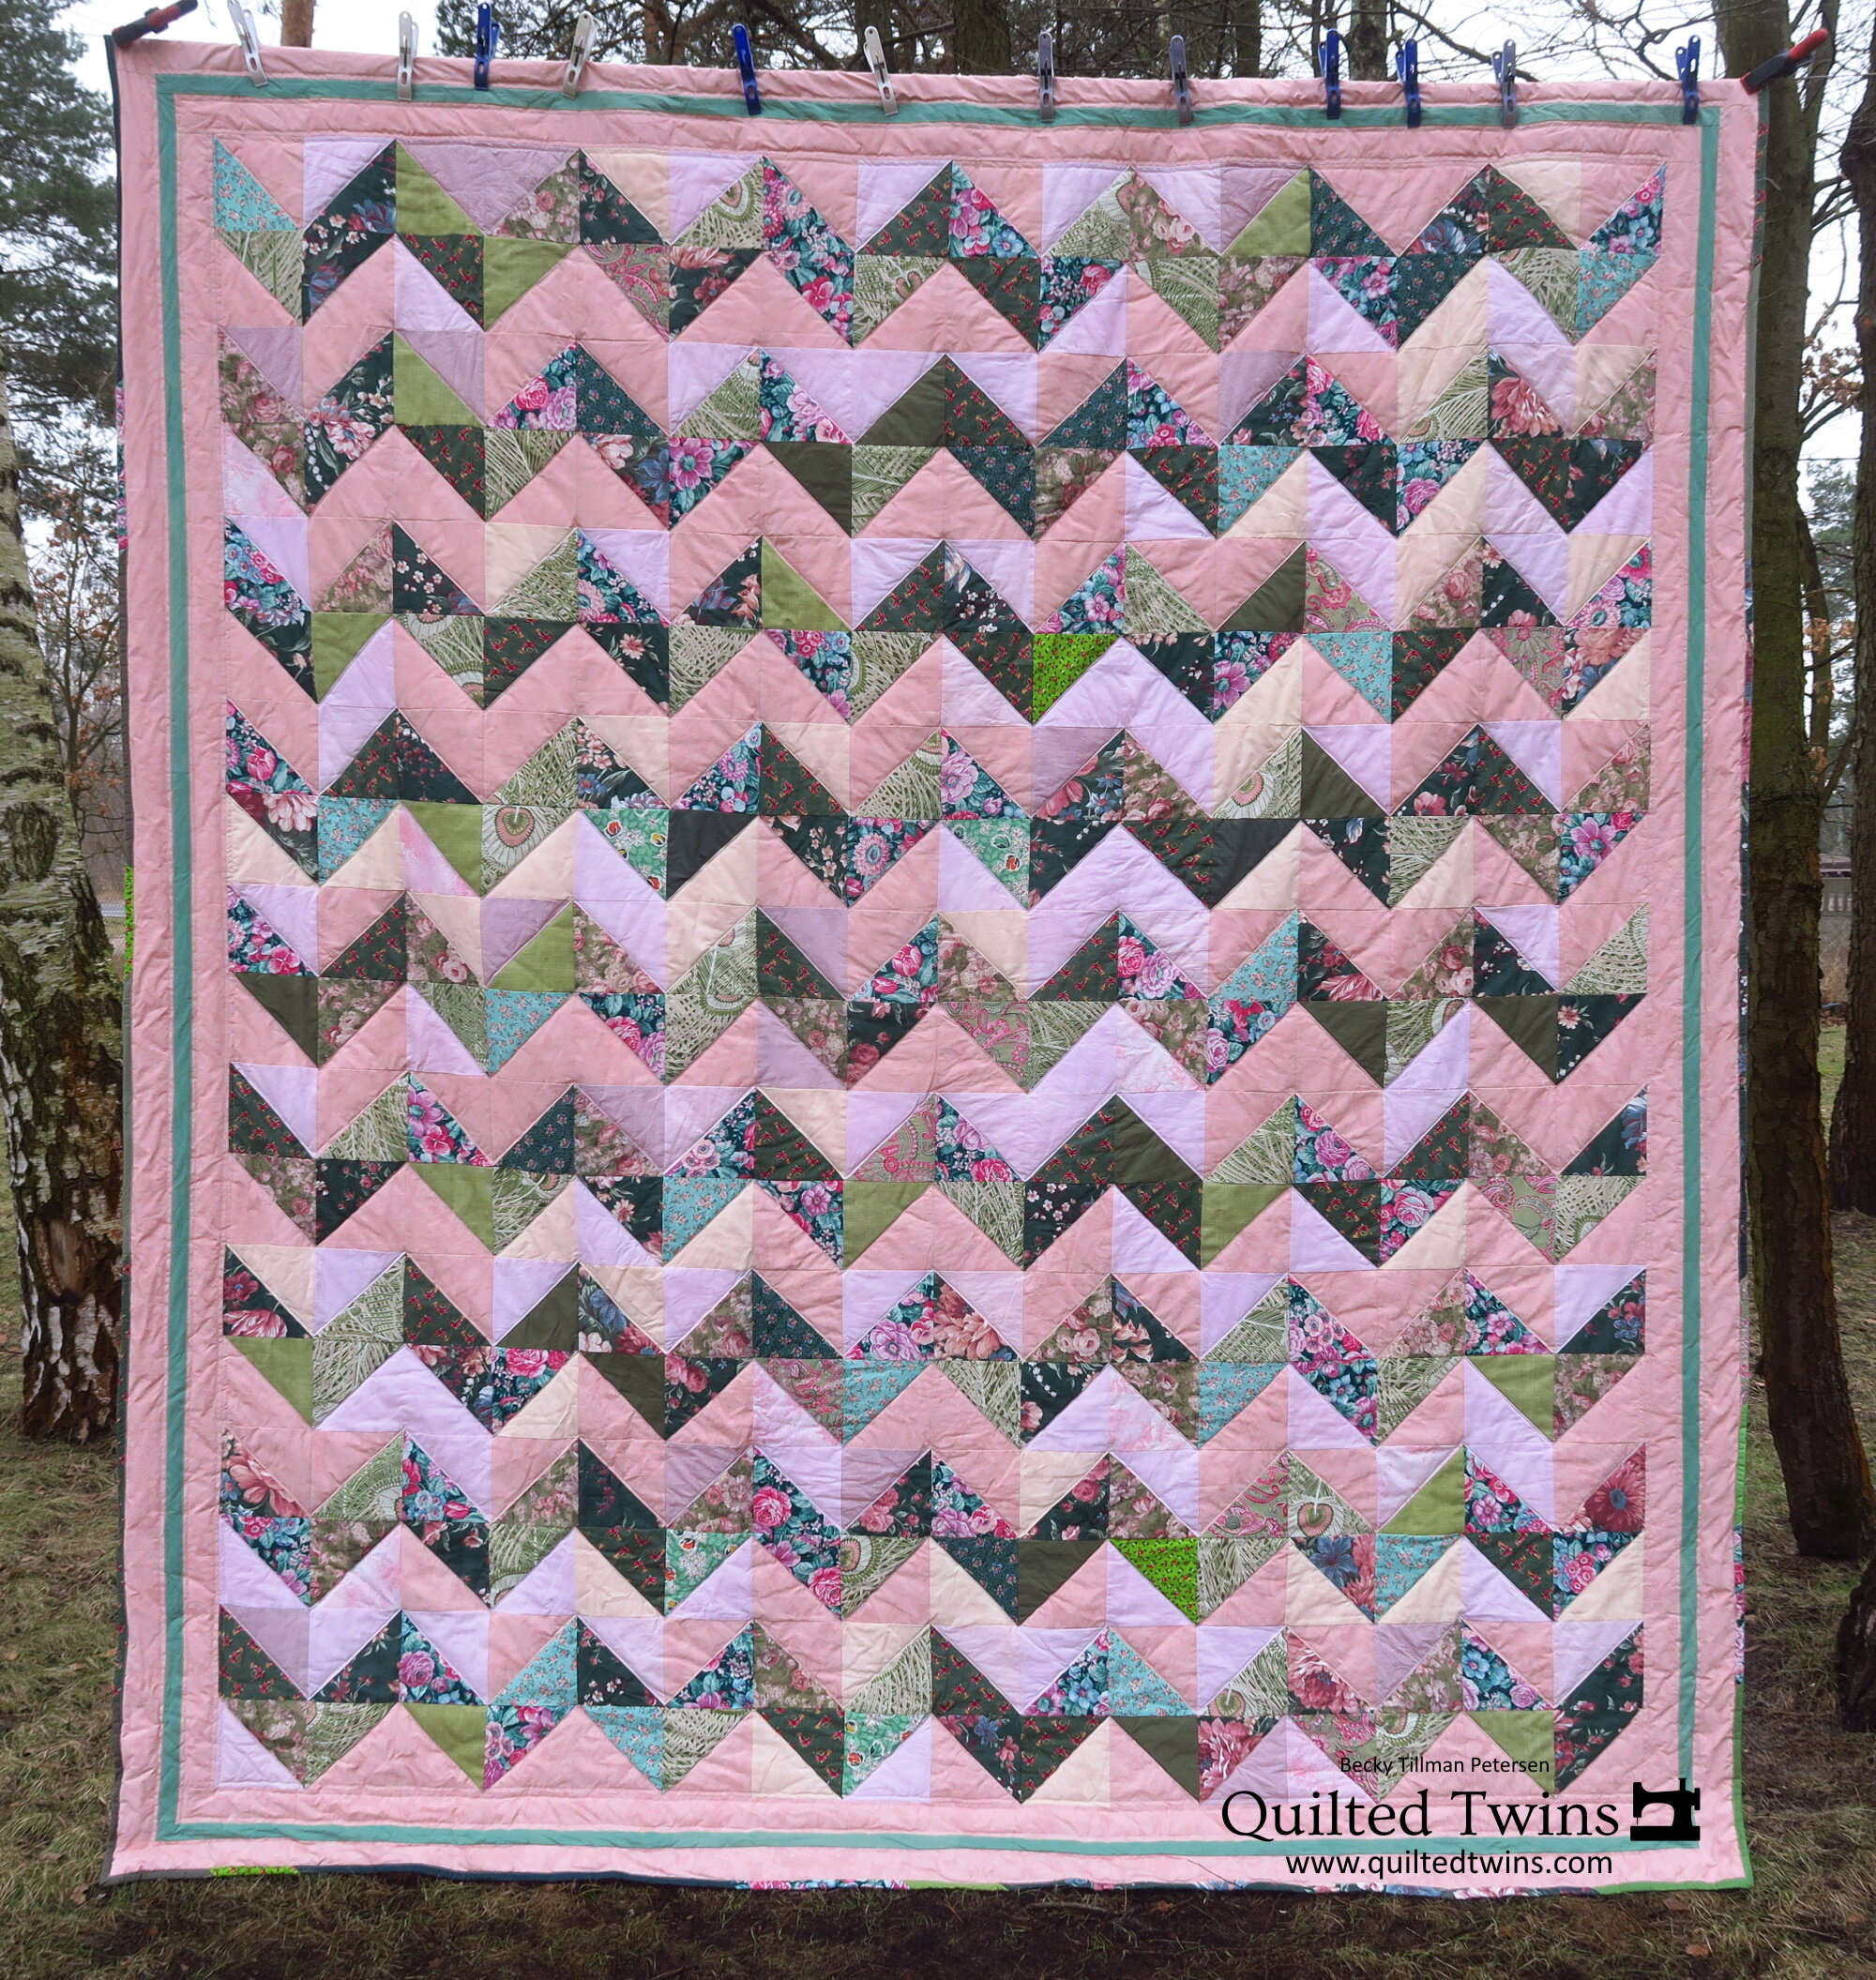
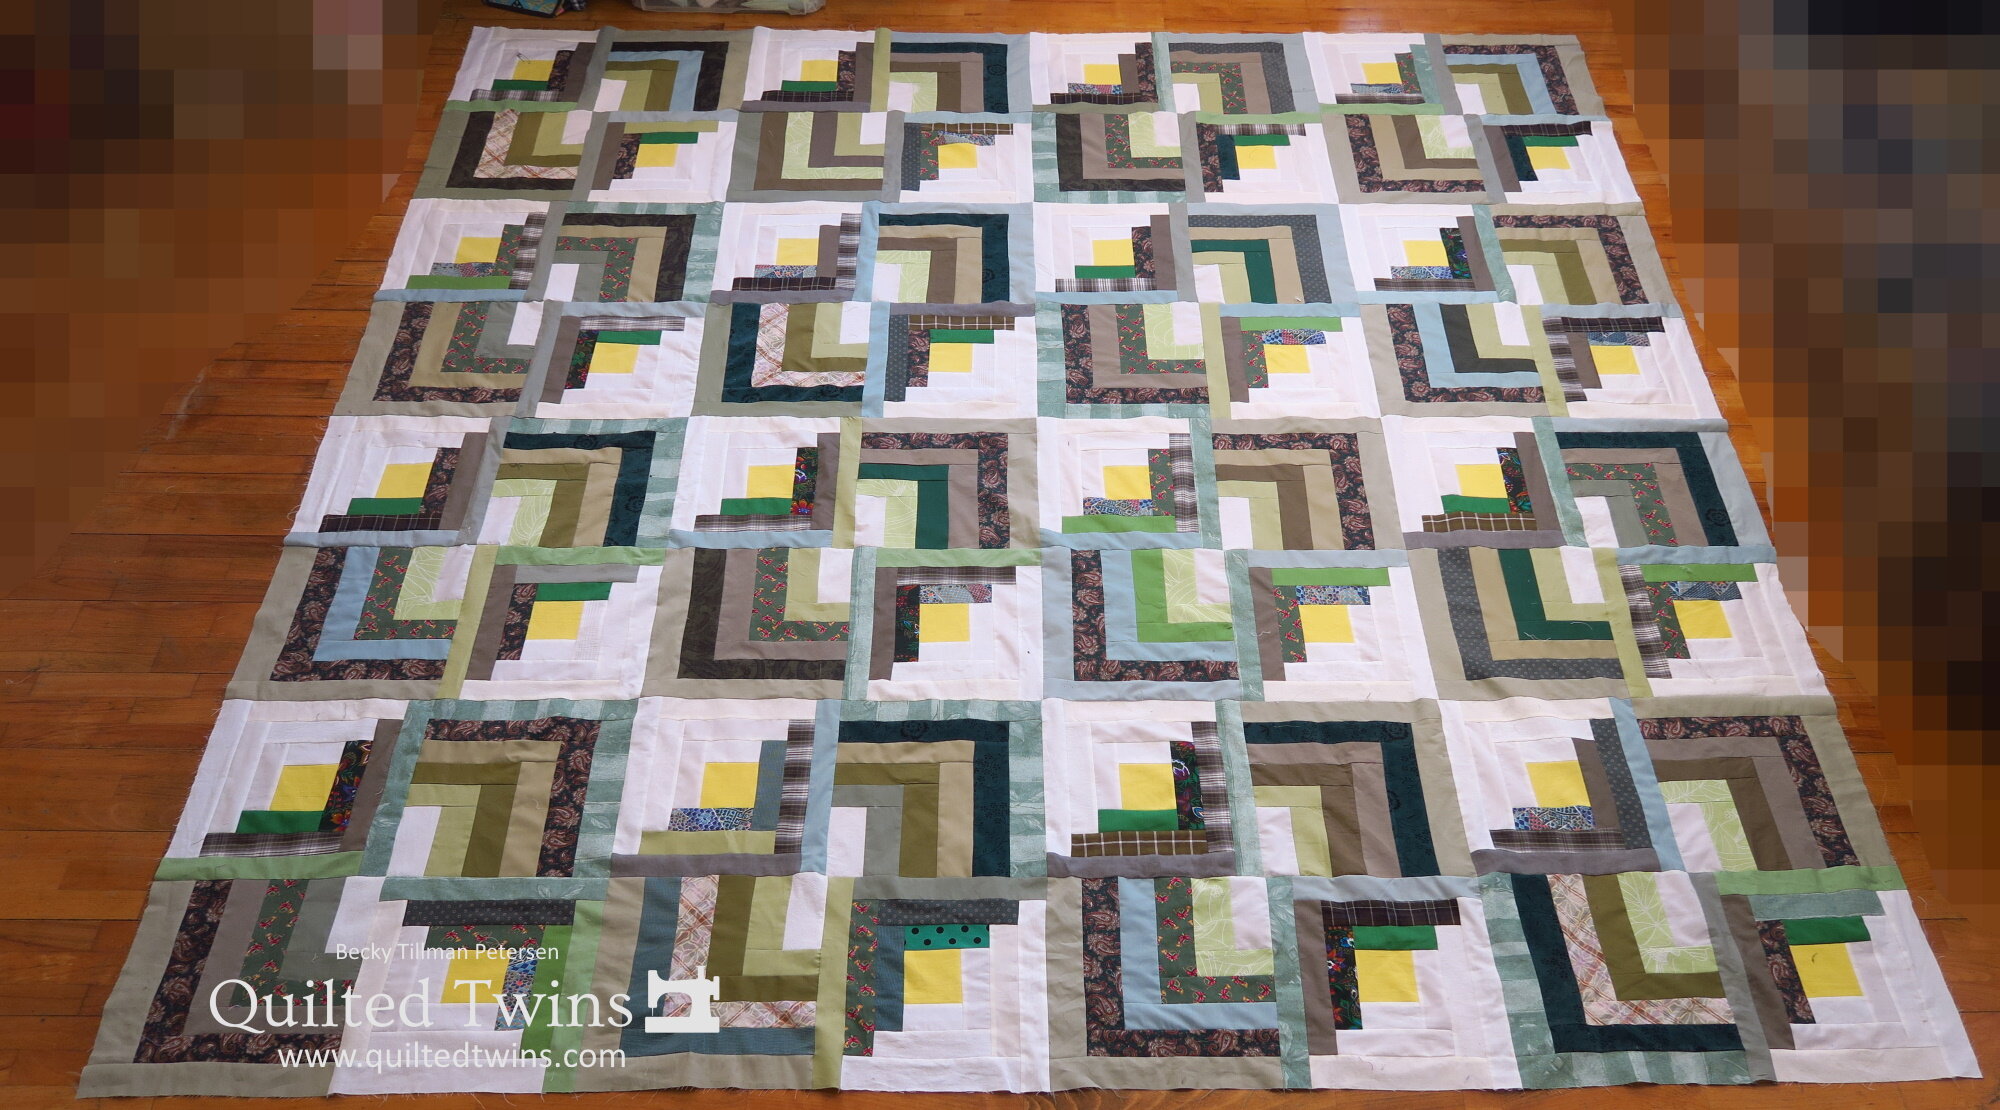
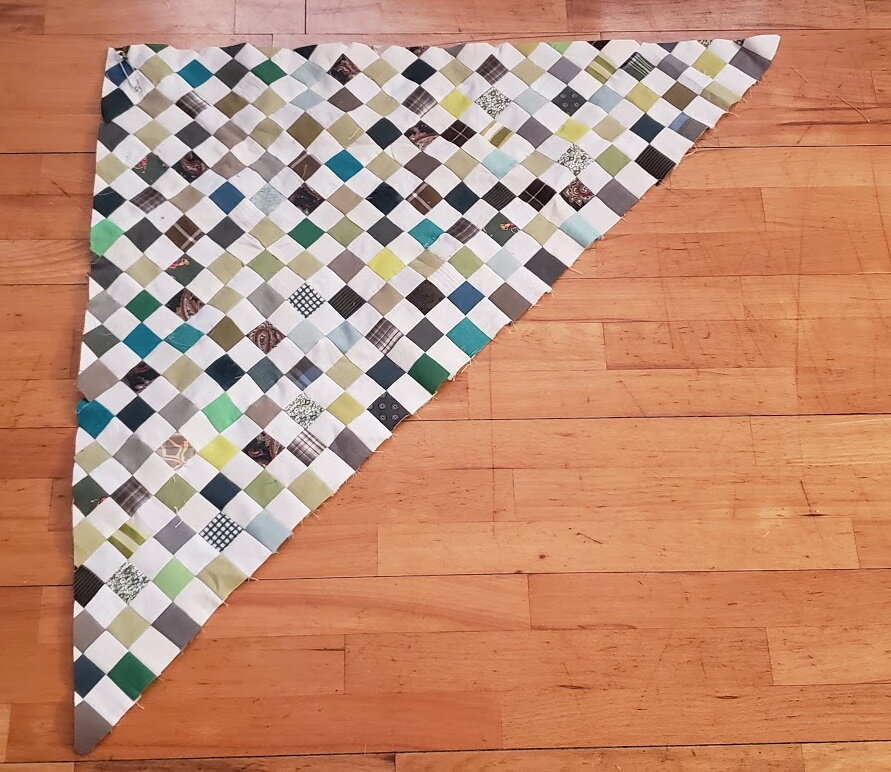
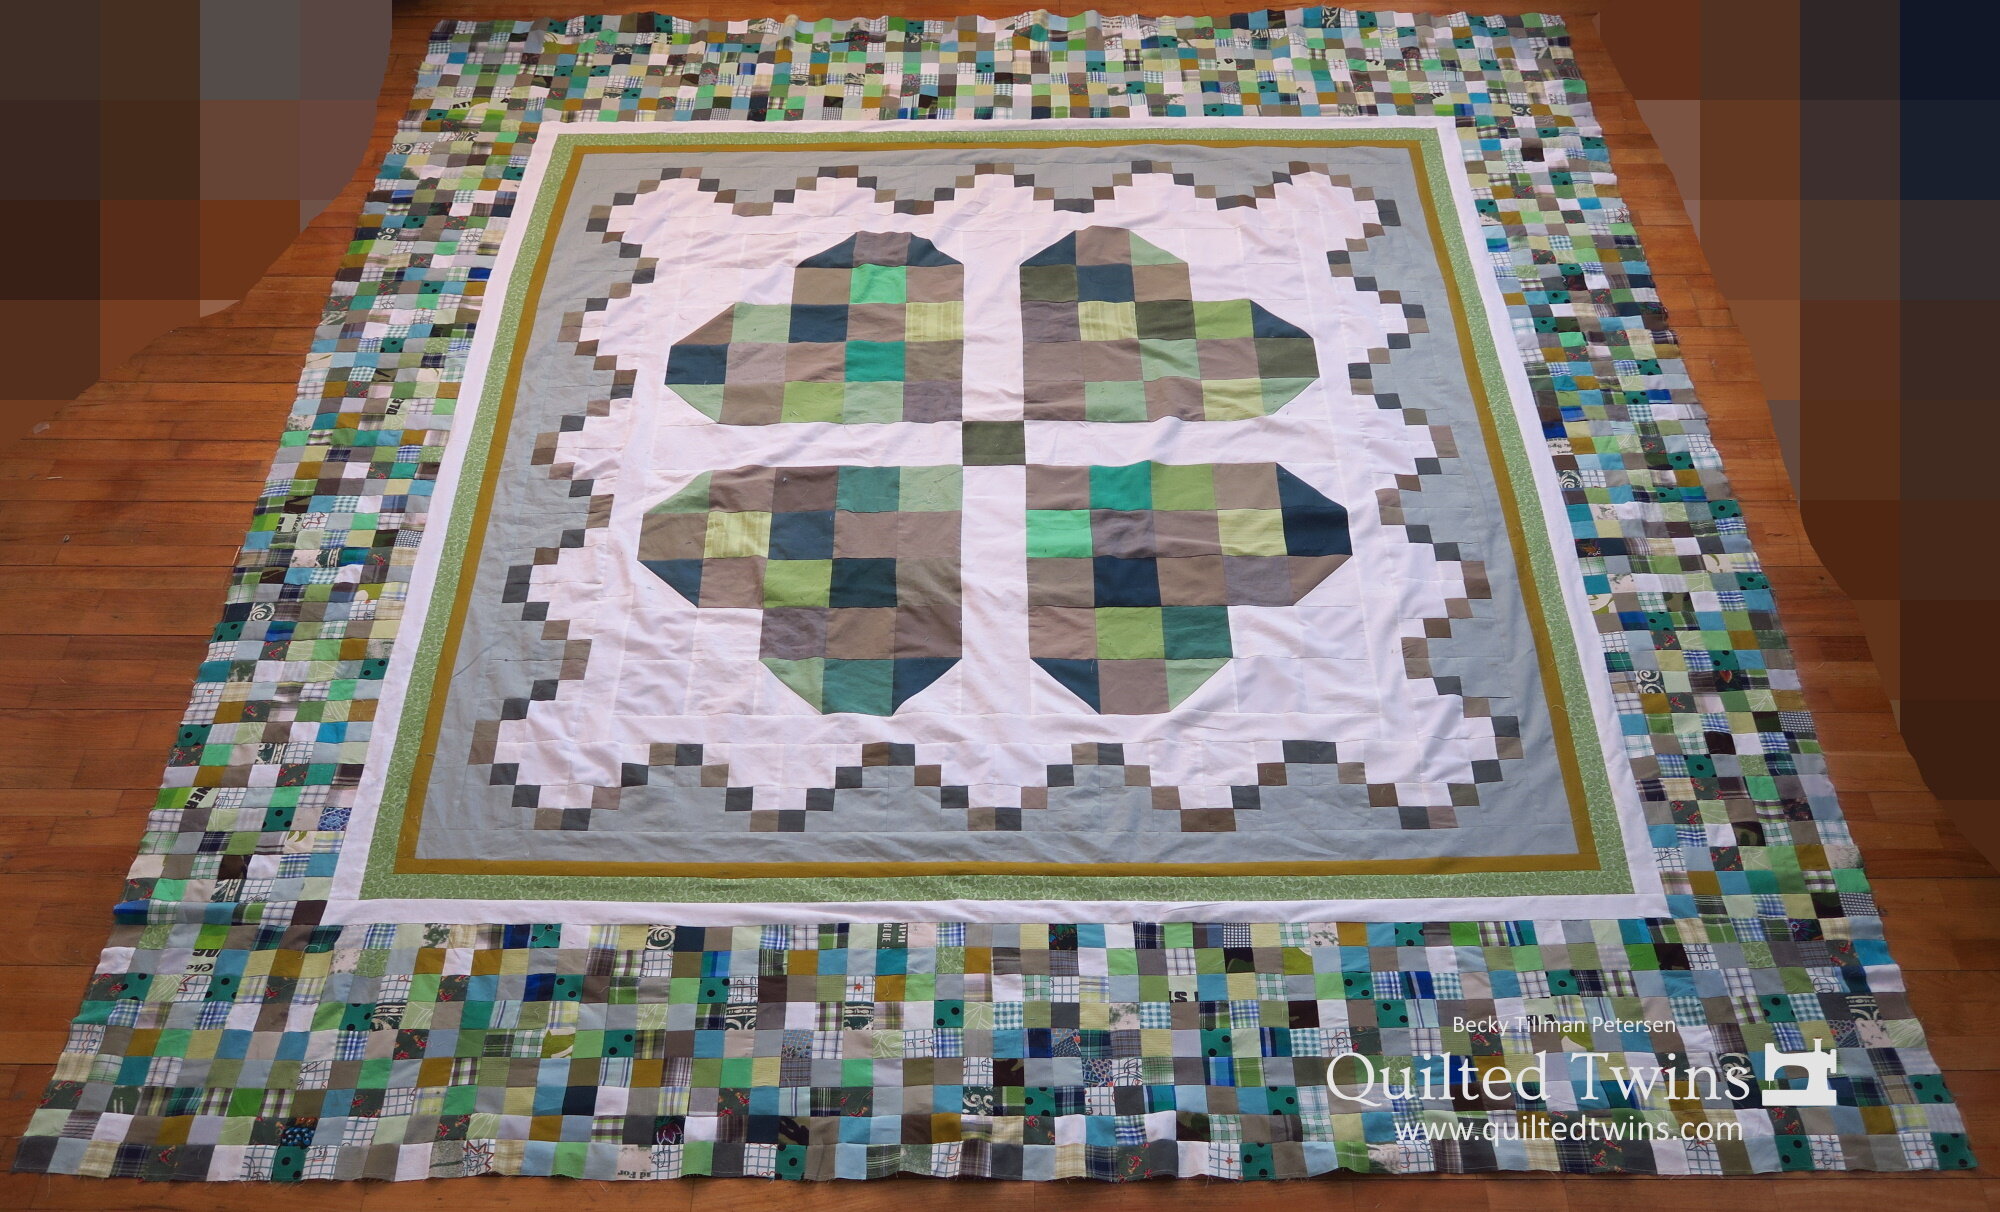
Granny Squares - I’ve not made a BUNCH of quilts using them, but I’ve made a few. Here they are. The second two are my own designs so if you click on the picture, you will get the pattern.
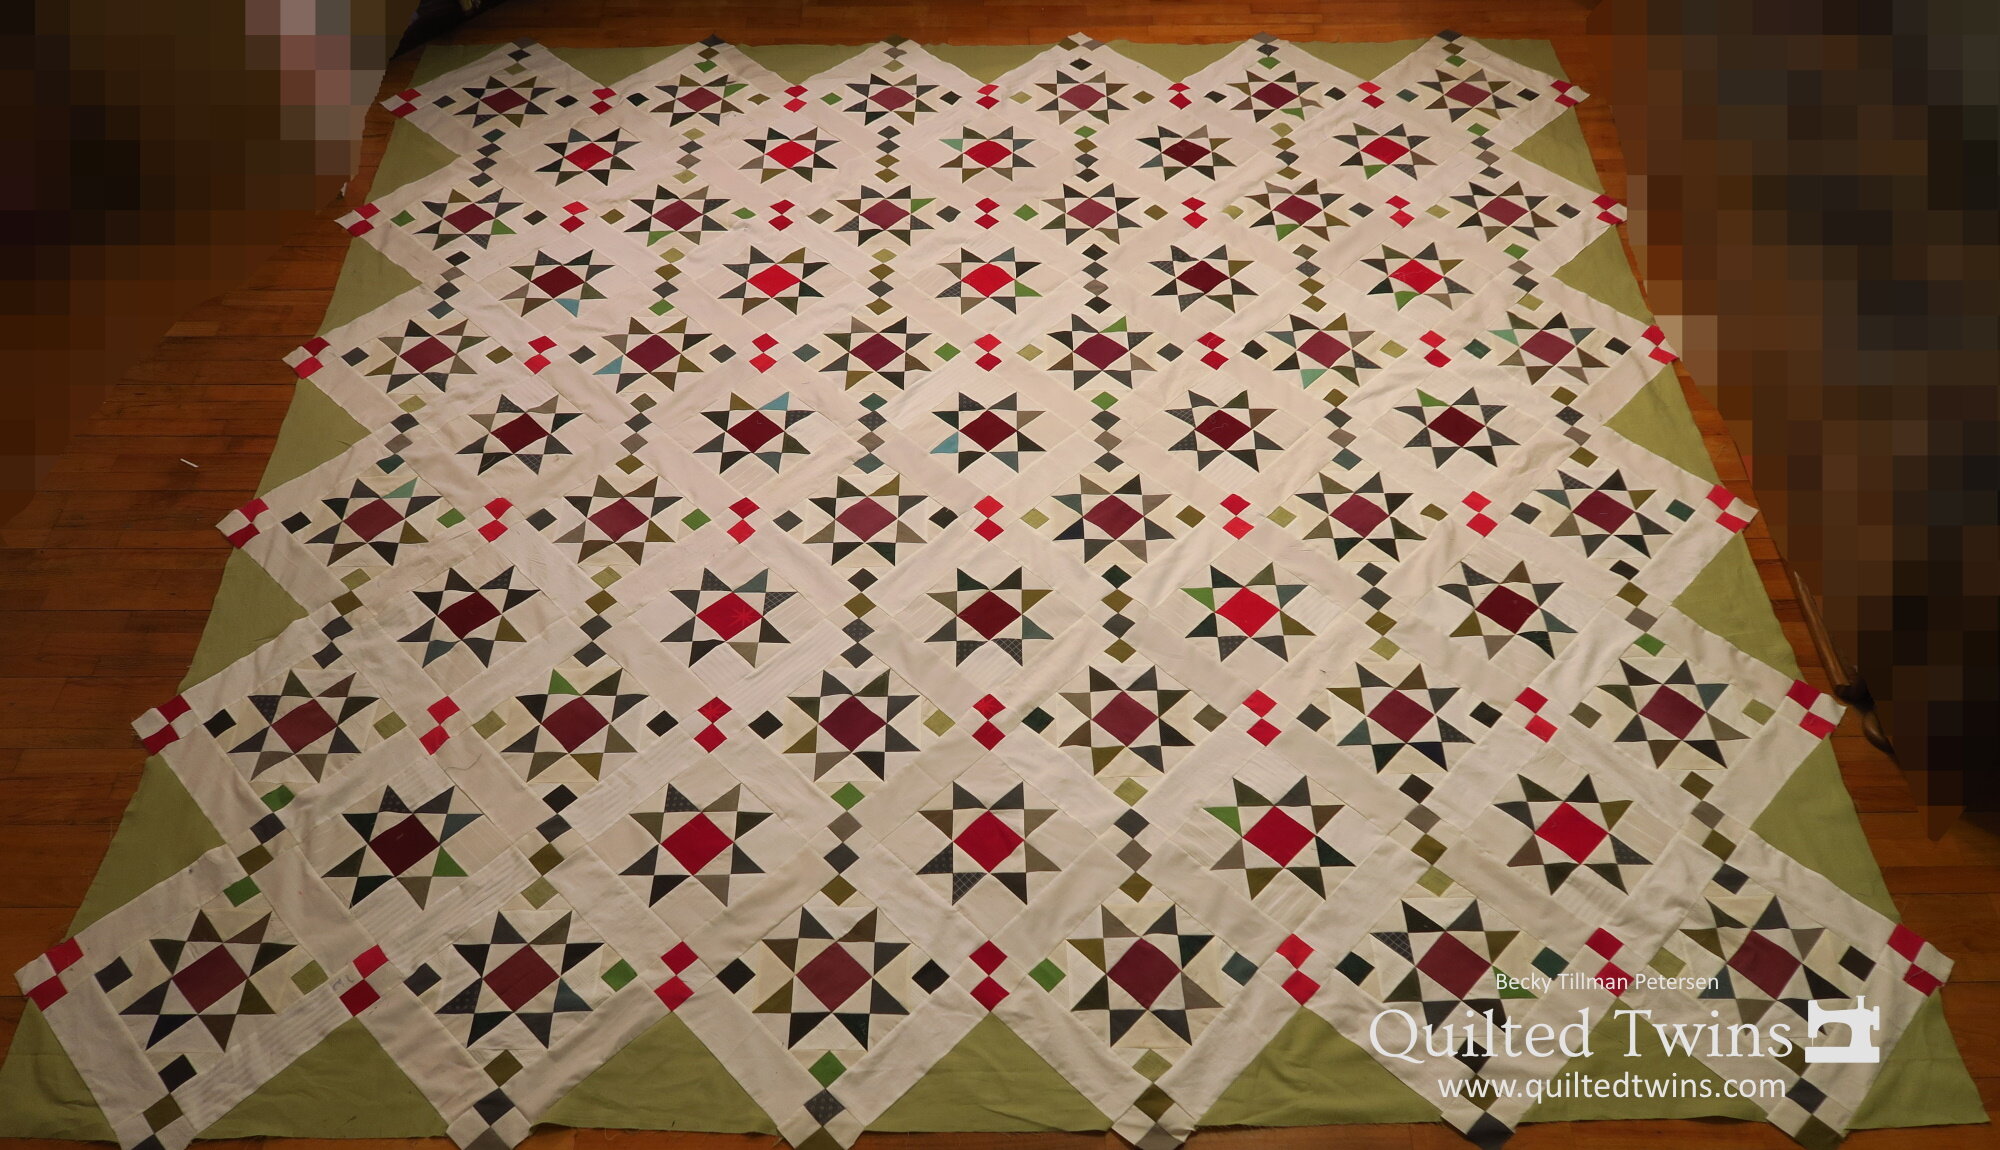
So from the beginning of the series, let’s review once again with updated photos.
Here’s the series to date.
And there you go. Thanks for coming along on my journey with me! I do appreciate you all!
Have a great day wherever you are reading this! Stay safe!
Be sure to check out what my sis has for you in the store here!
Here’s one of the beauties we have!
