“Granny Squares - Simply!” Half Yard bundle (10 pc) idea #1
I can come up with theoretical ideas by sitting at the computer. It’s a different matter, however, to get out the fabric, the sewing machine, and MAKING the idea I’ve come up.
So many people have asked “What can I do with a half yard bundle pack?”
Well, I do have some ideas. And the ideas I’m going for is when I’m trying to use up almost all of all of the fabrics - not just half of the pieces. It is very hard to use it all up - but I’m trying to find designs that will work with various bundles - at least giving you ideas!
Now for this one, I used a 20 pc. fat quarter bundle I’ve had sitting in my sewing room for literally years now. (Back when Craftsy was original open under that name!) Now…because this is a 20 piece fat quarter bundle pack, this idea would also be just fine for a 10 piece half yard bundle pack. So there. :) The only thing is, you would not have quite the variety of prints, though this particular bundle pretty much stuck with only a few color schemes.
Here’s the first one.
By the way, these ideas will not be coming fast and furiously. I have to actually first think of them and then look around and find some fabric or a bundle pack to make them up with in order to show you that it actually DOES work. I’ll try to remember to show you how much I had left over, as well.
Oh - you will also need a single fabric that we will call a constant - or background. Add that. Most of the time I tend to use white or off white. I decided be BOLD this time. :)
Enjoy.
With this bold blue, it almost seems like you could dig down with your fingernails and lift these blocks off the background. It’s kind of cool that way.
These blocks trim to 11 1/2” which means they will finish in the quilt at 11”. I had such fun making them. I really do enjoy granny square blocks. I think you know that by now. I’m not sure why - but there is something terrifically satisfying about a finished granny square block. At least that is what I decided. Hindsight, being what it is, which is 20/20, I should have used the 11.75” number and cut my sashing strips to 11 3/4””. They would have fit better. I had to kind of ease almost all of the blocks into the 11 1/2” By the time I quilt it, it will all be fine, but I could have saved myself a bit of work by cutting at 11 3/4”. I hate using those odd numbers such as finish at 11 1/4”, but I should have. It would have been better.
But I did not. So, let’s move on to more photos.
I did lay out the blocks before I started. In other words, I chose out 42 blocks - putting 12 of what for the outer row, 8, 4, and 1 combinations in a pile. I put them all in a plastic shoebox and put them together at the machine. That way I would not end up with a bunch of 2.5” squares that didn’t make a new block. By planning ahead of time, I made sure I had enough to make 42 blocks.
This makes a nice sized quilt - 80”x93” - so really nice for a bed. It’s a tad bit small for a queen, IMO, as I use the number 86” as my smallest width, but would do in a pinch. It’s what they do use here in Poland.
One thing which may seem odd to most of you is that I did use cornerstones in the sashing just to help me keep things square. Because these blocks were weird sizes - well, I really needed something to help me stay even. I opted for cornerstones of the same color - because that’s the look I was going for. If I had used the extra squares as cornerstones, I would have used almost every single one up. But that’s not what I wanted.
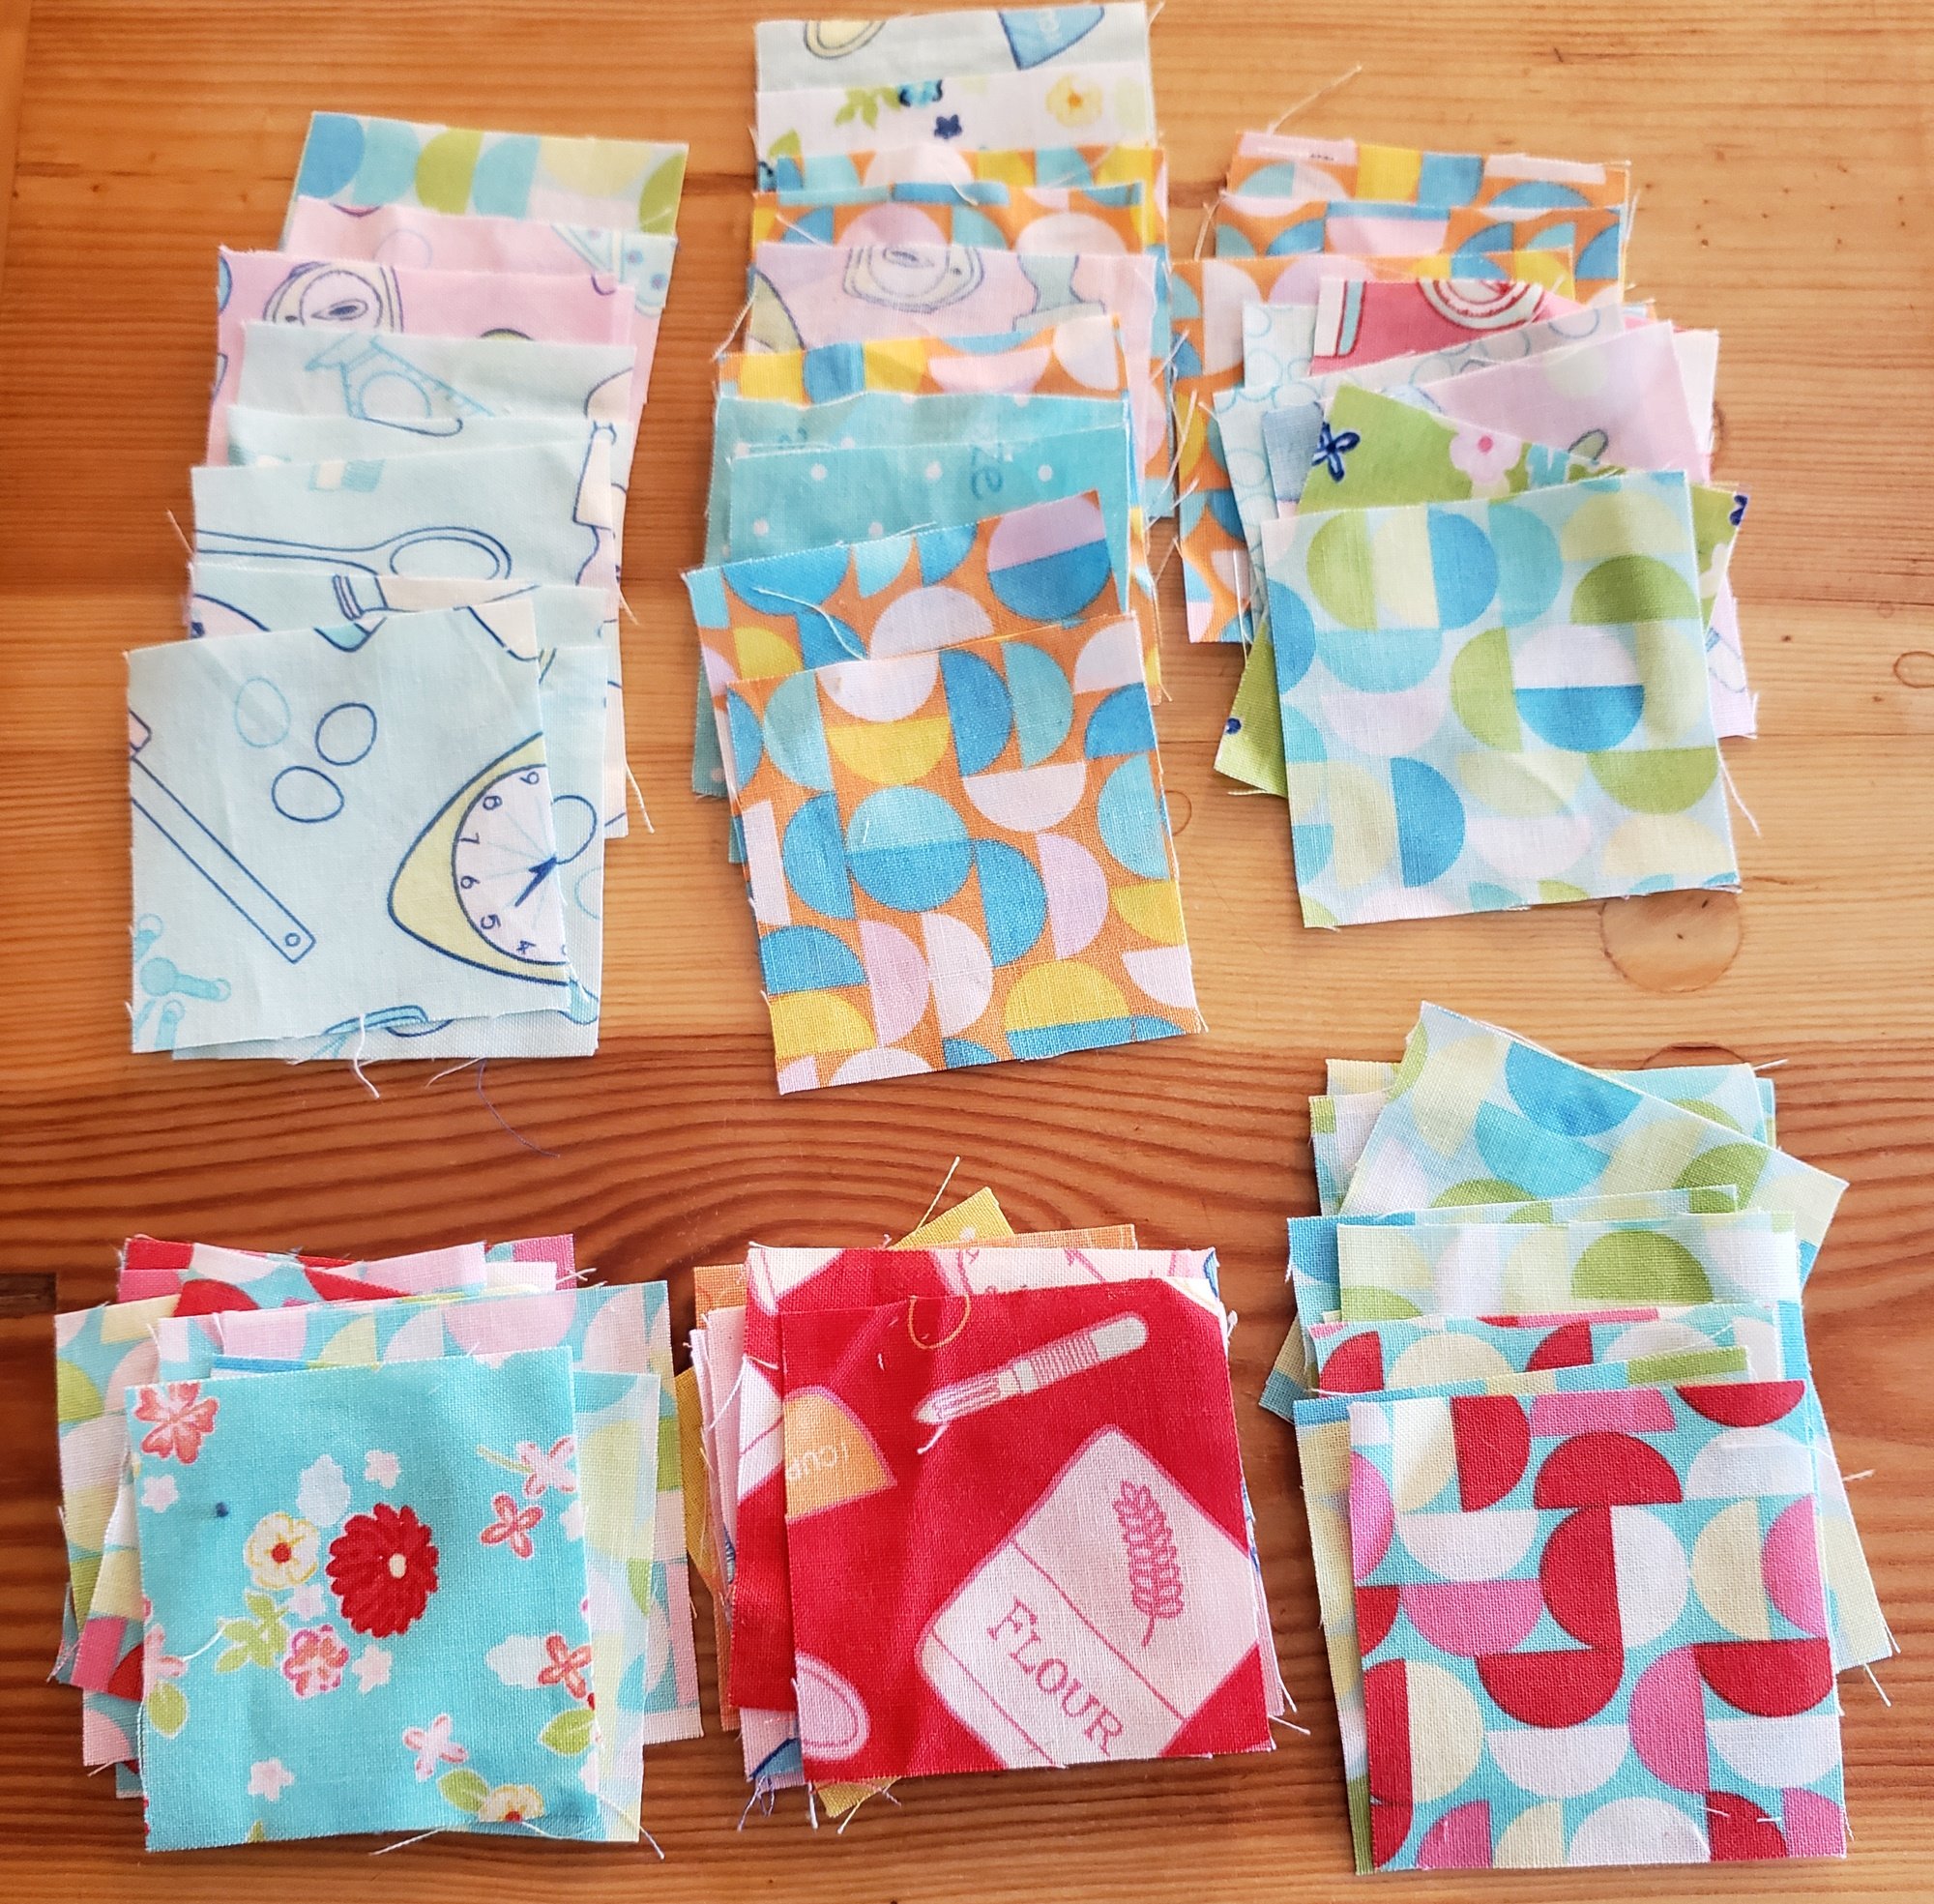
I had a tendency to avoid using well…you can kind of tell which ones are leftover and which aren’t in the photos below showing my leftovers.
Here are the squares I had leftover.
That was too many squares! I had to do something else.
I ended up using 30 wide x2 and then adding two blue strips - one to the top and bottom in order to make a strip to go through the backing.
And in the end, this lone square is all that is left. Now, I doubt I will ever be able to do better than that with any of these ideas!
And that’s it for this one. It was very fun to make. I am not sure why I enjoy making these types of blocks so much. I just do.
Thanks for coming along with me.
Have a great day wherever you are reading this!
Be sure to check out what my sis has for you in the store here!
Feel free to browse the site.


