Tiny Blocks - Rail Fence in Progress
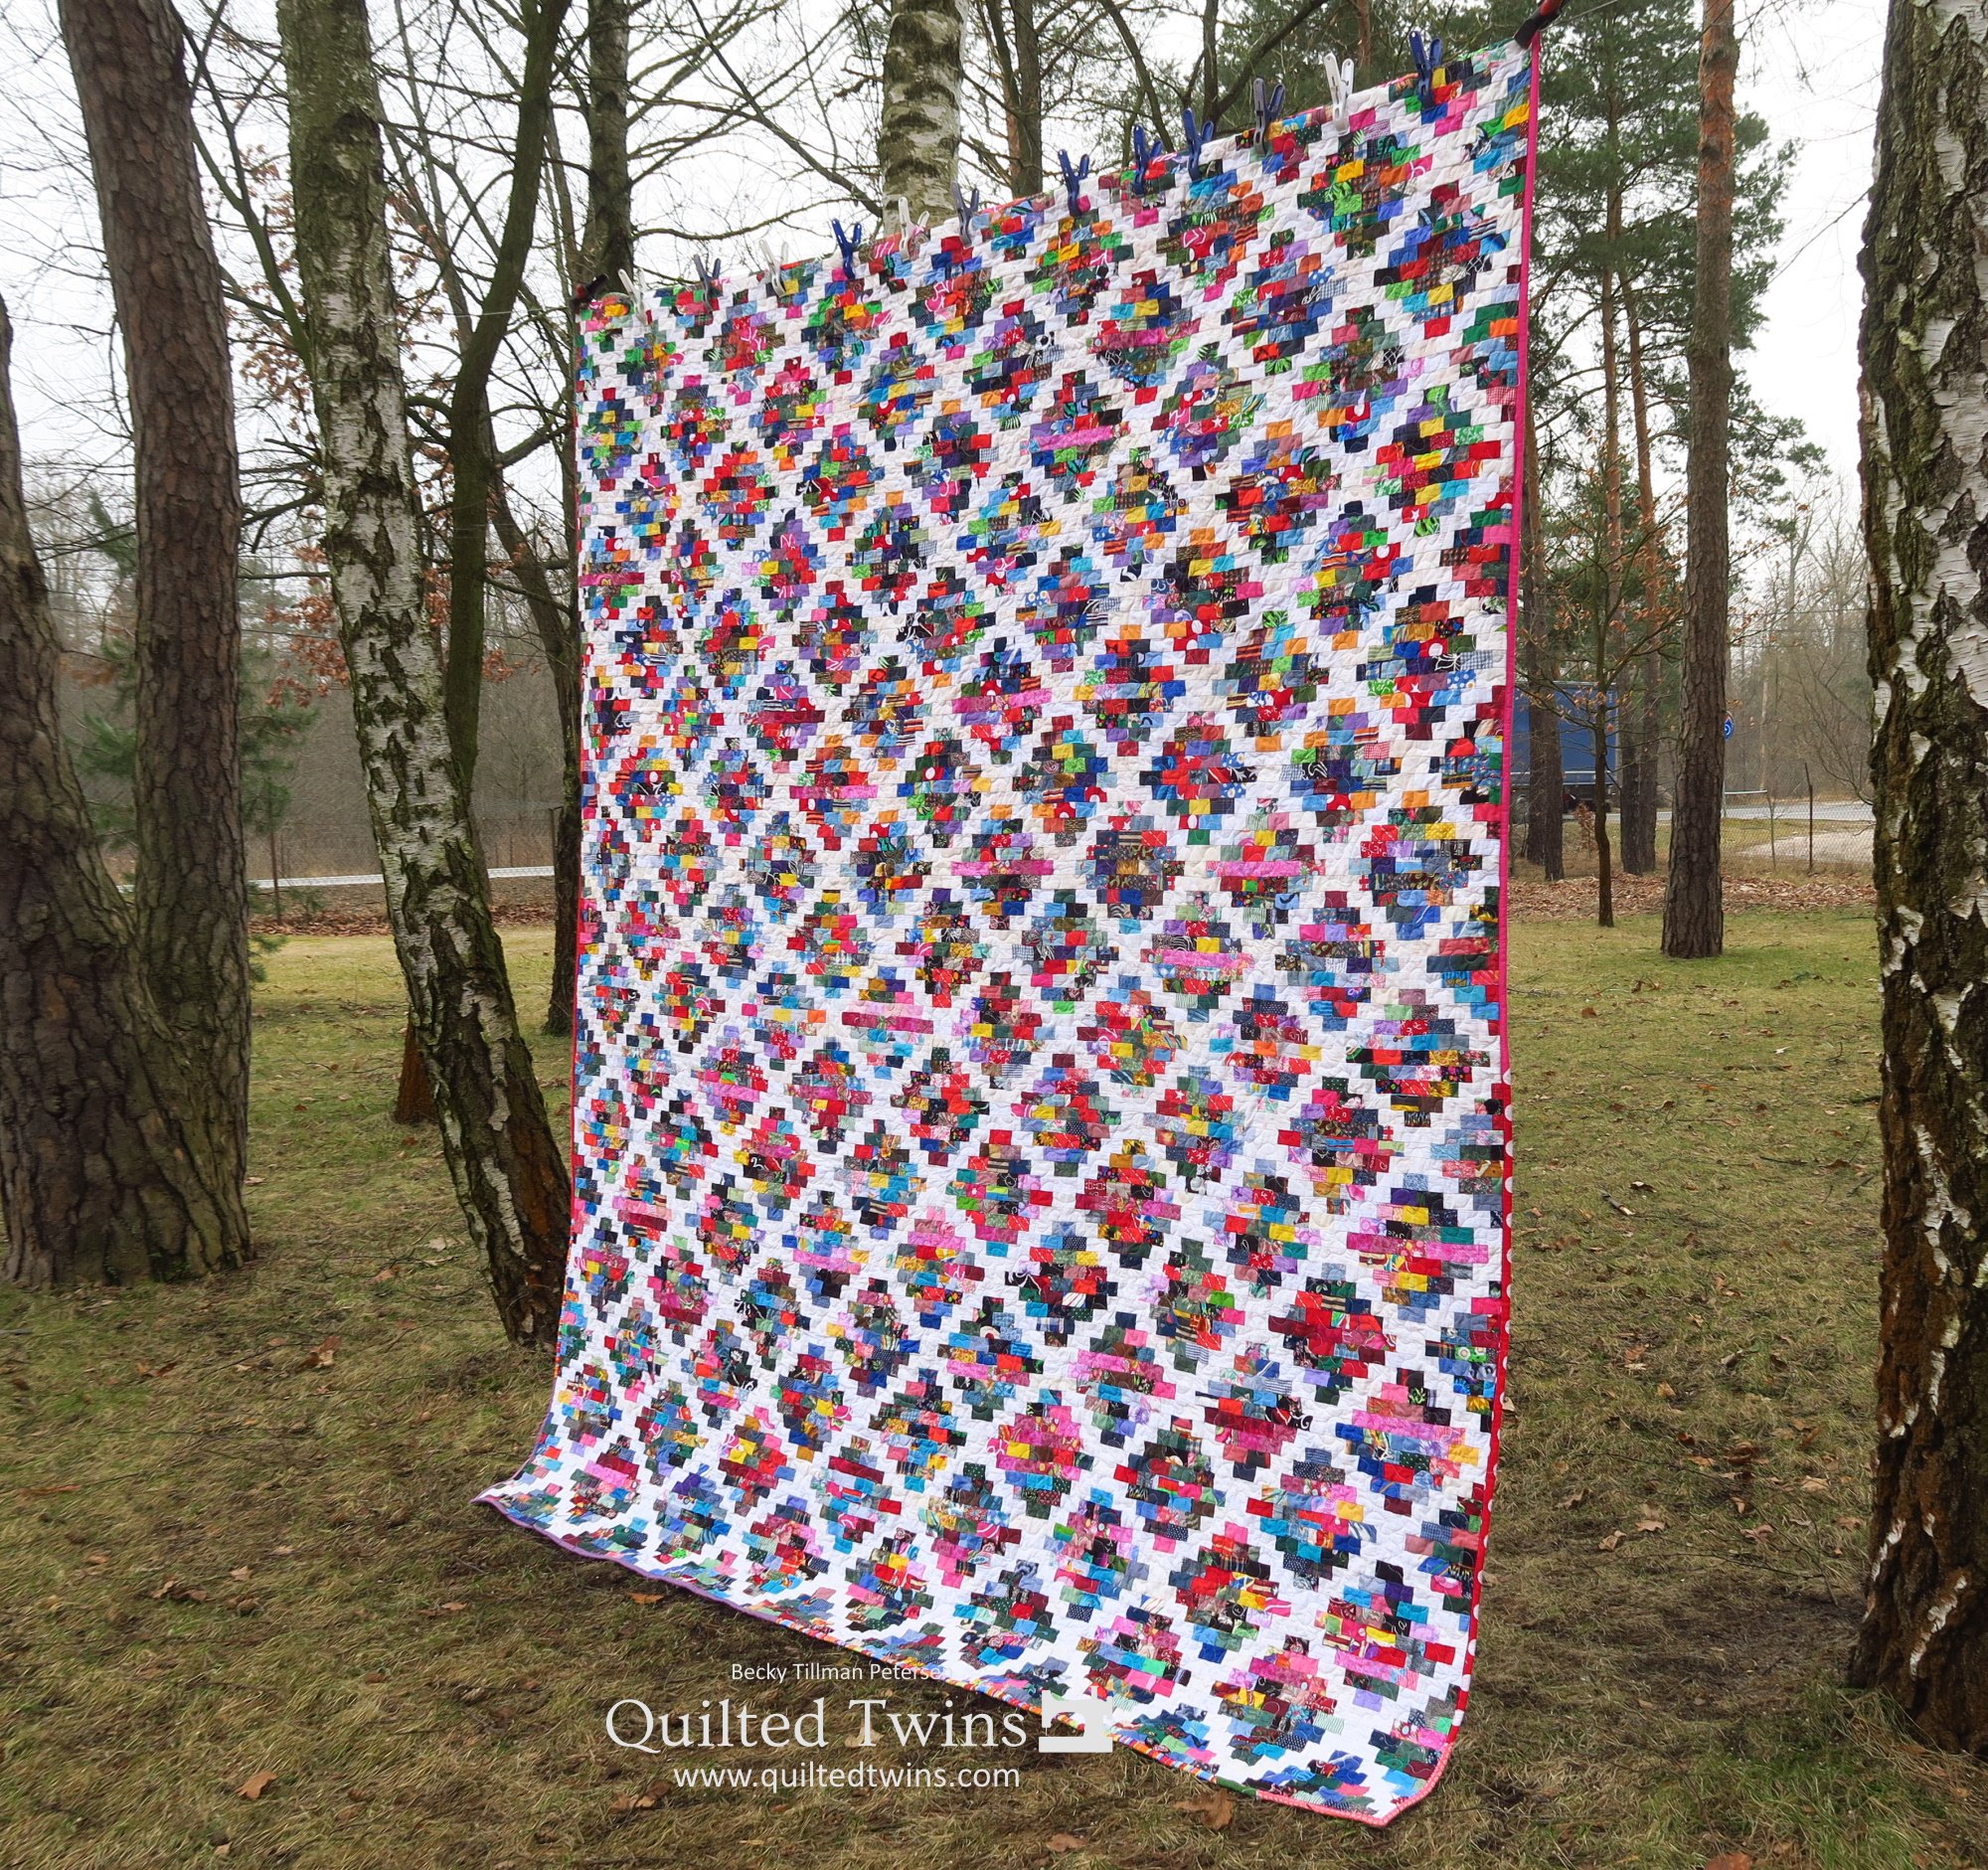
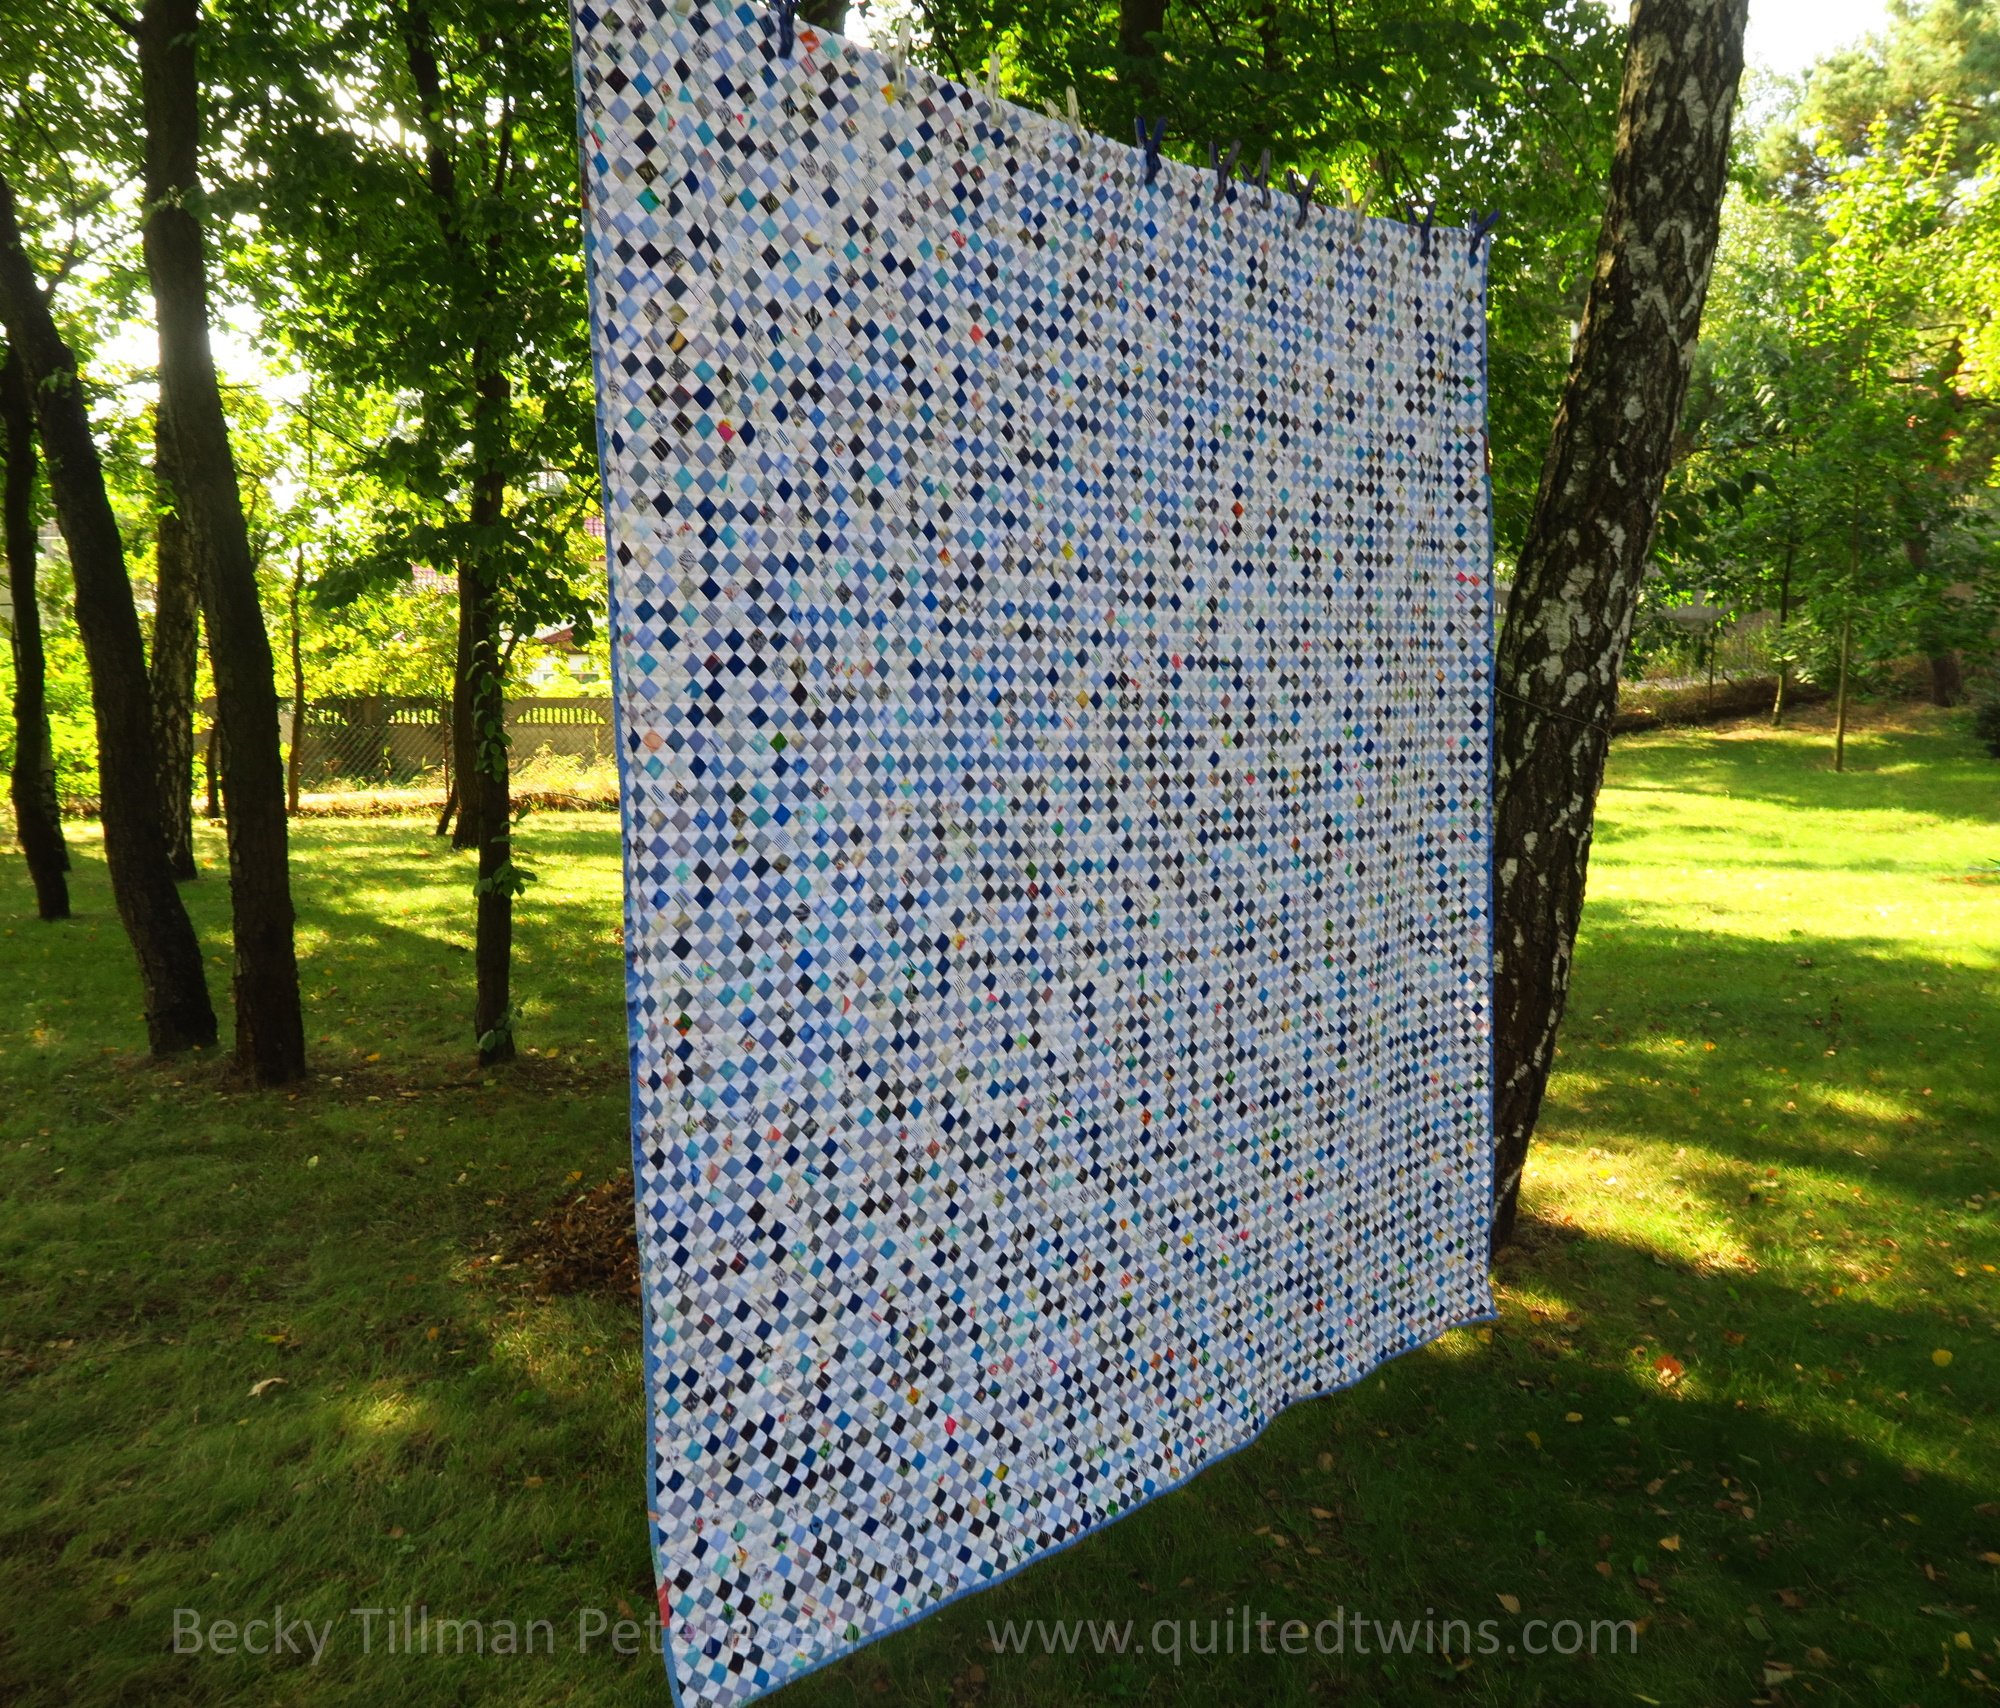
Well, here goes. A few years ago I worked on some tops that I knew were going to take weeks and weeks to make. Why? Well, because they are made with such small pieces. I shared my progress with you here on a weekly basis. Each of these featured 1.5” strips in the piecing. They also took a LOT of time.

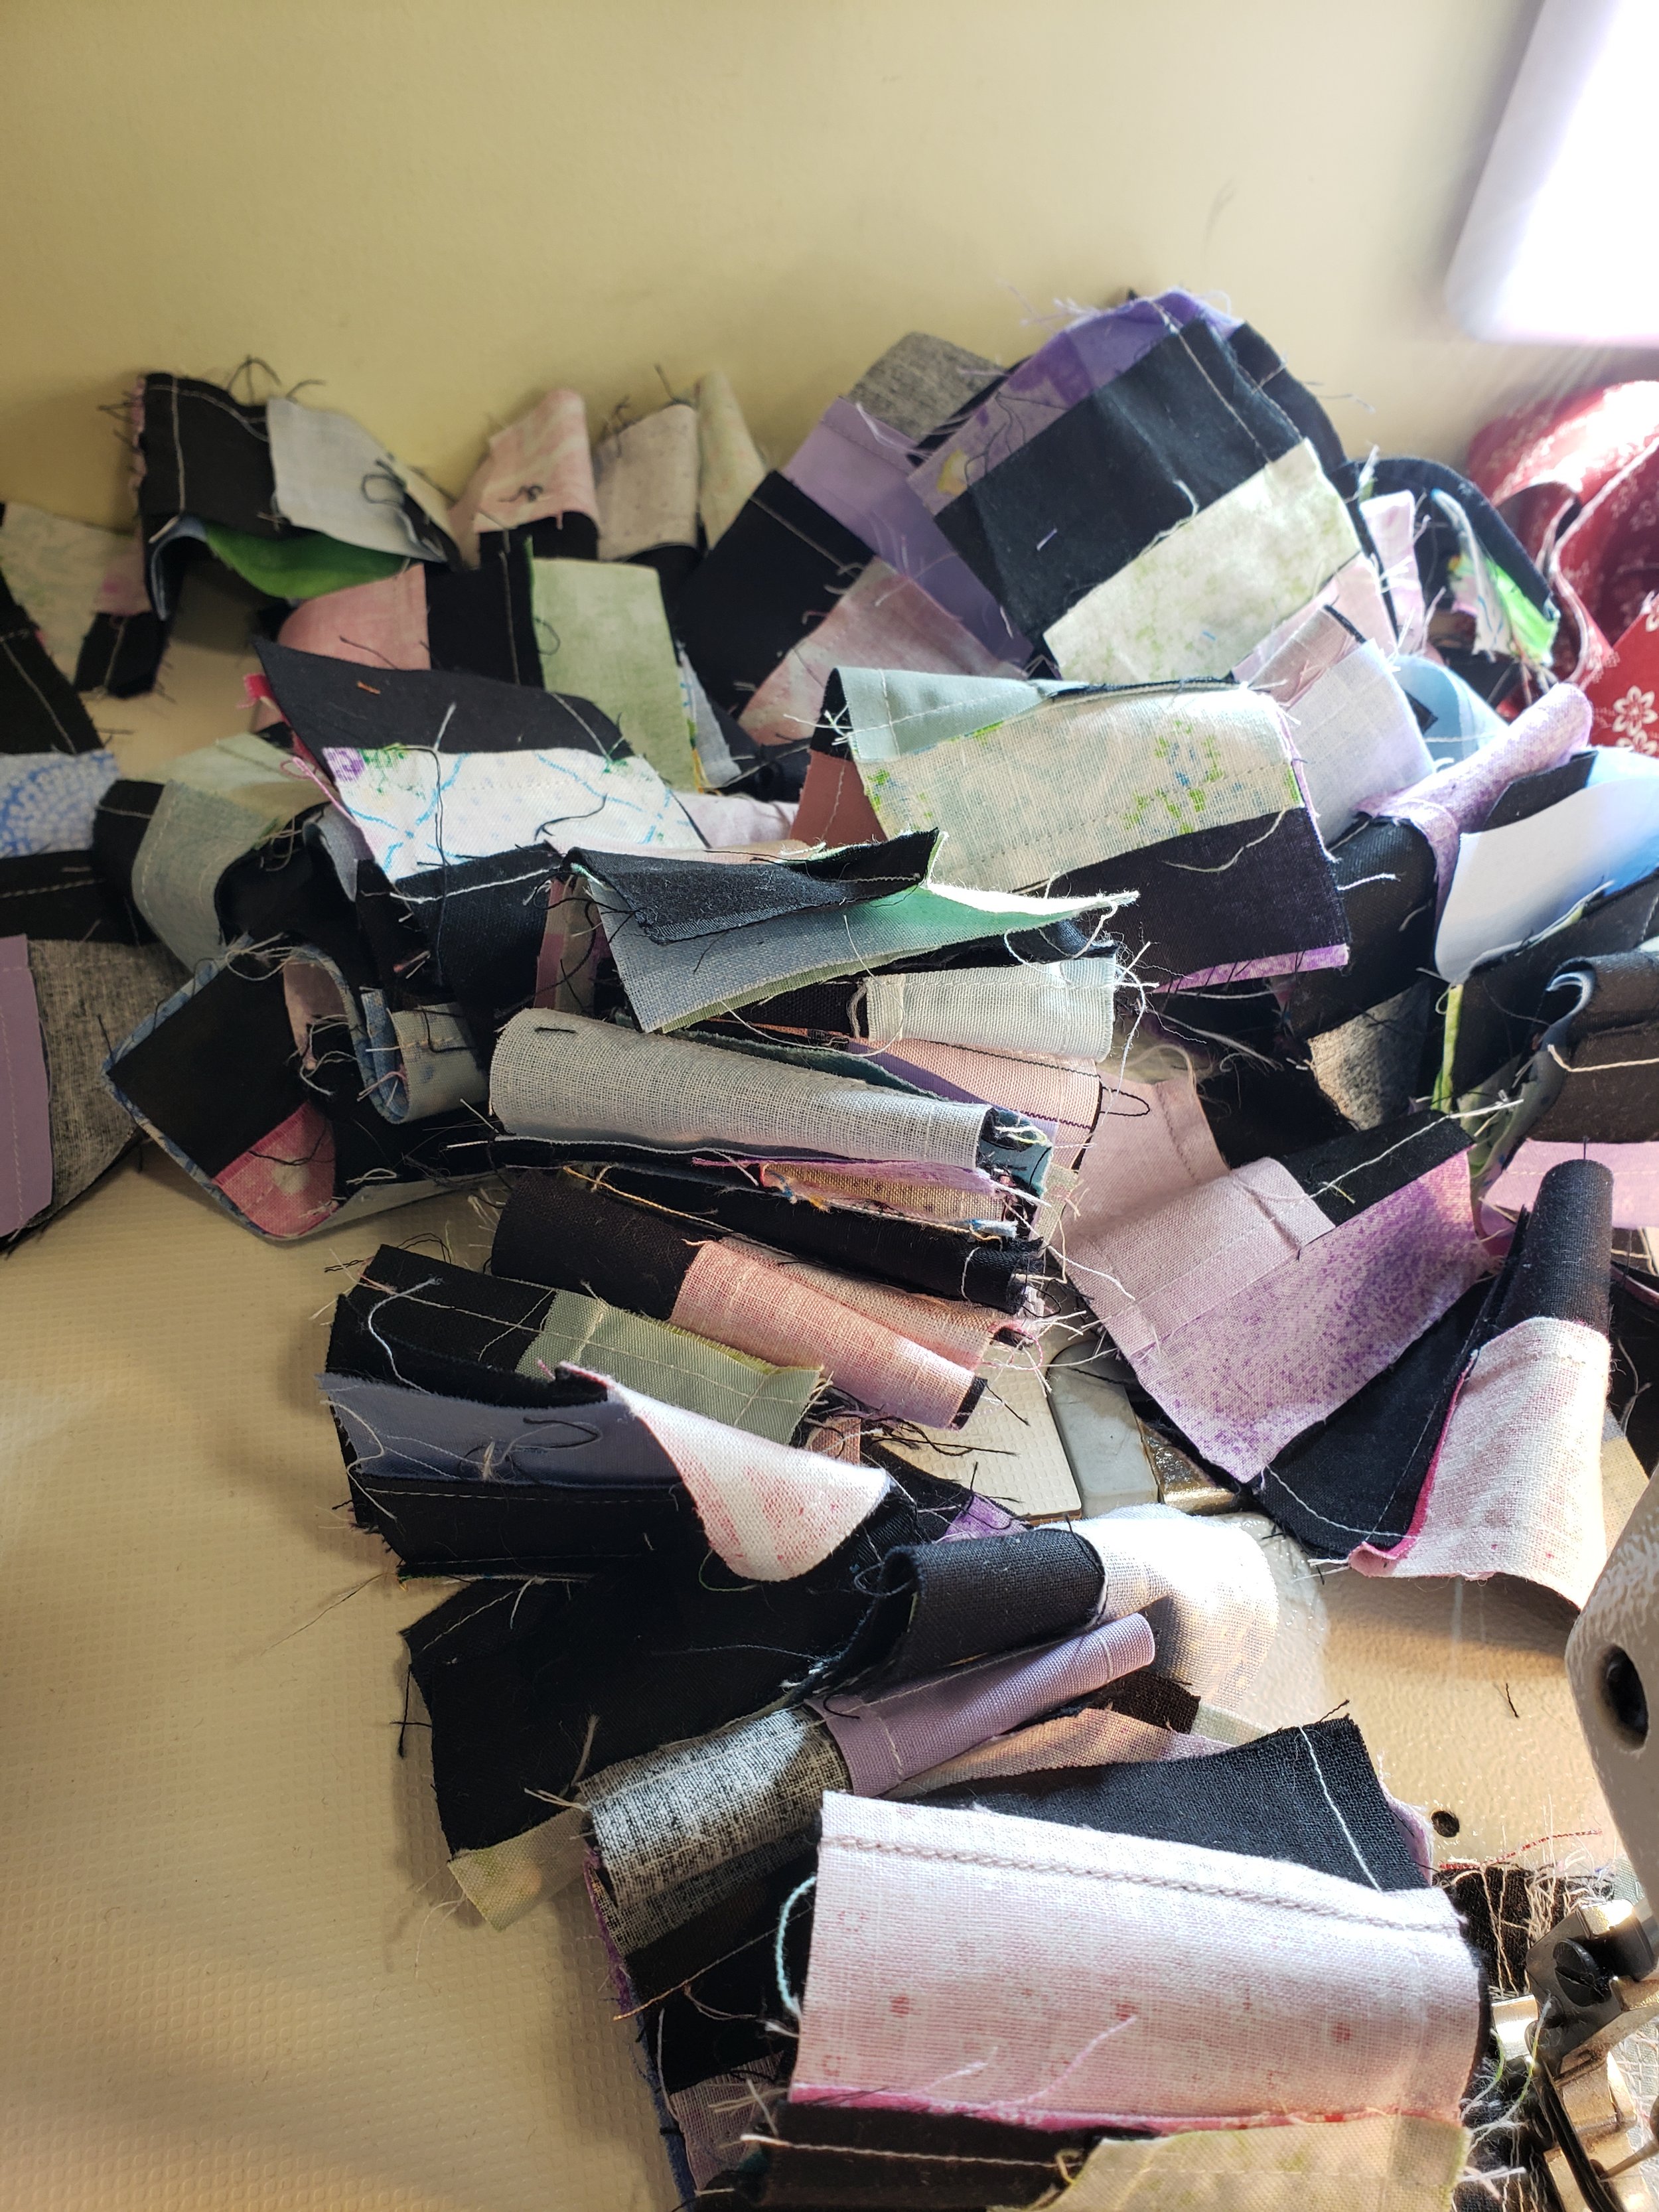
I decided I really wanted to use some of my 1.5” strips. This is a picture of the BIG bag of 1.5” strips currently located in my sewing room. it’s enormous! I do like keeping this kind of thing close so as to keep myself reminded about what I should be doing.


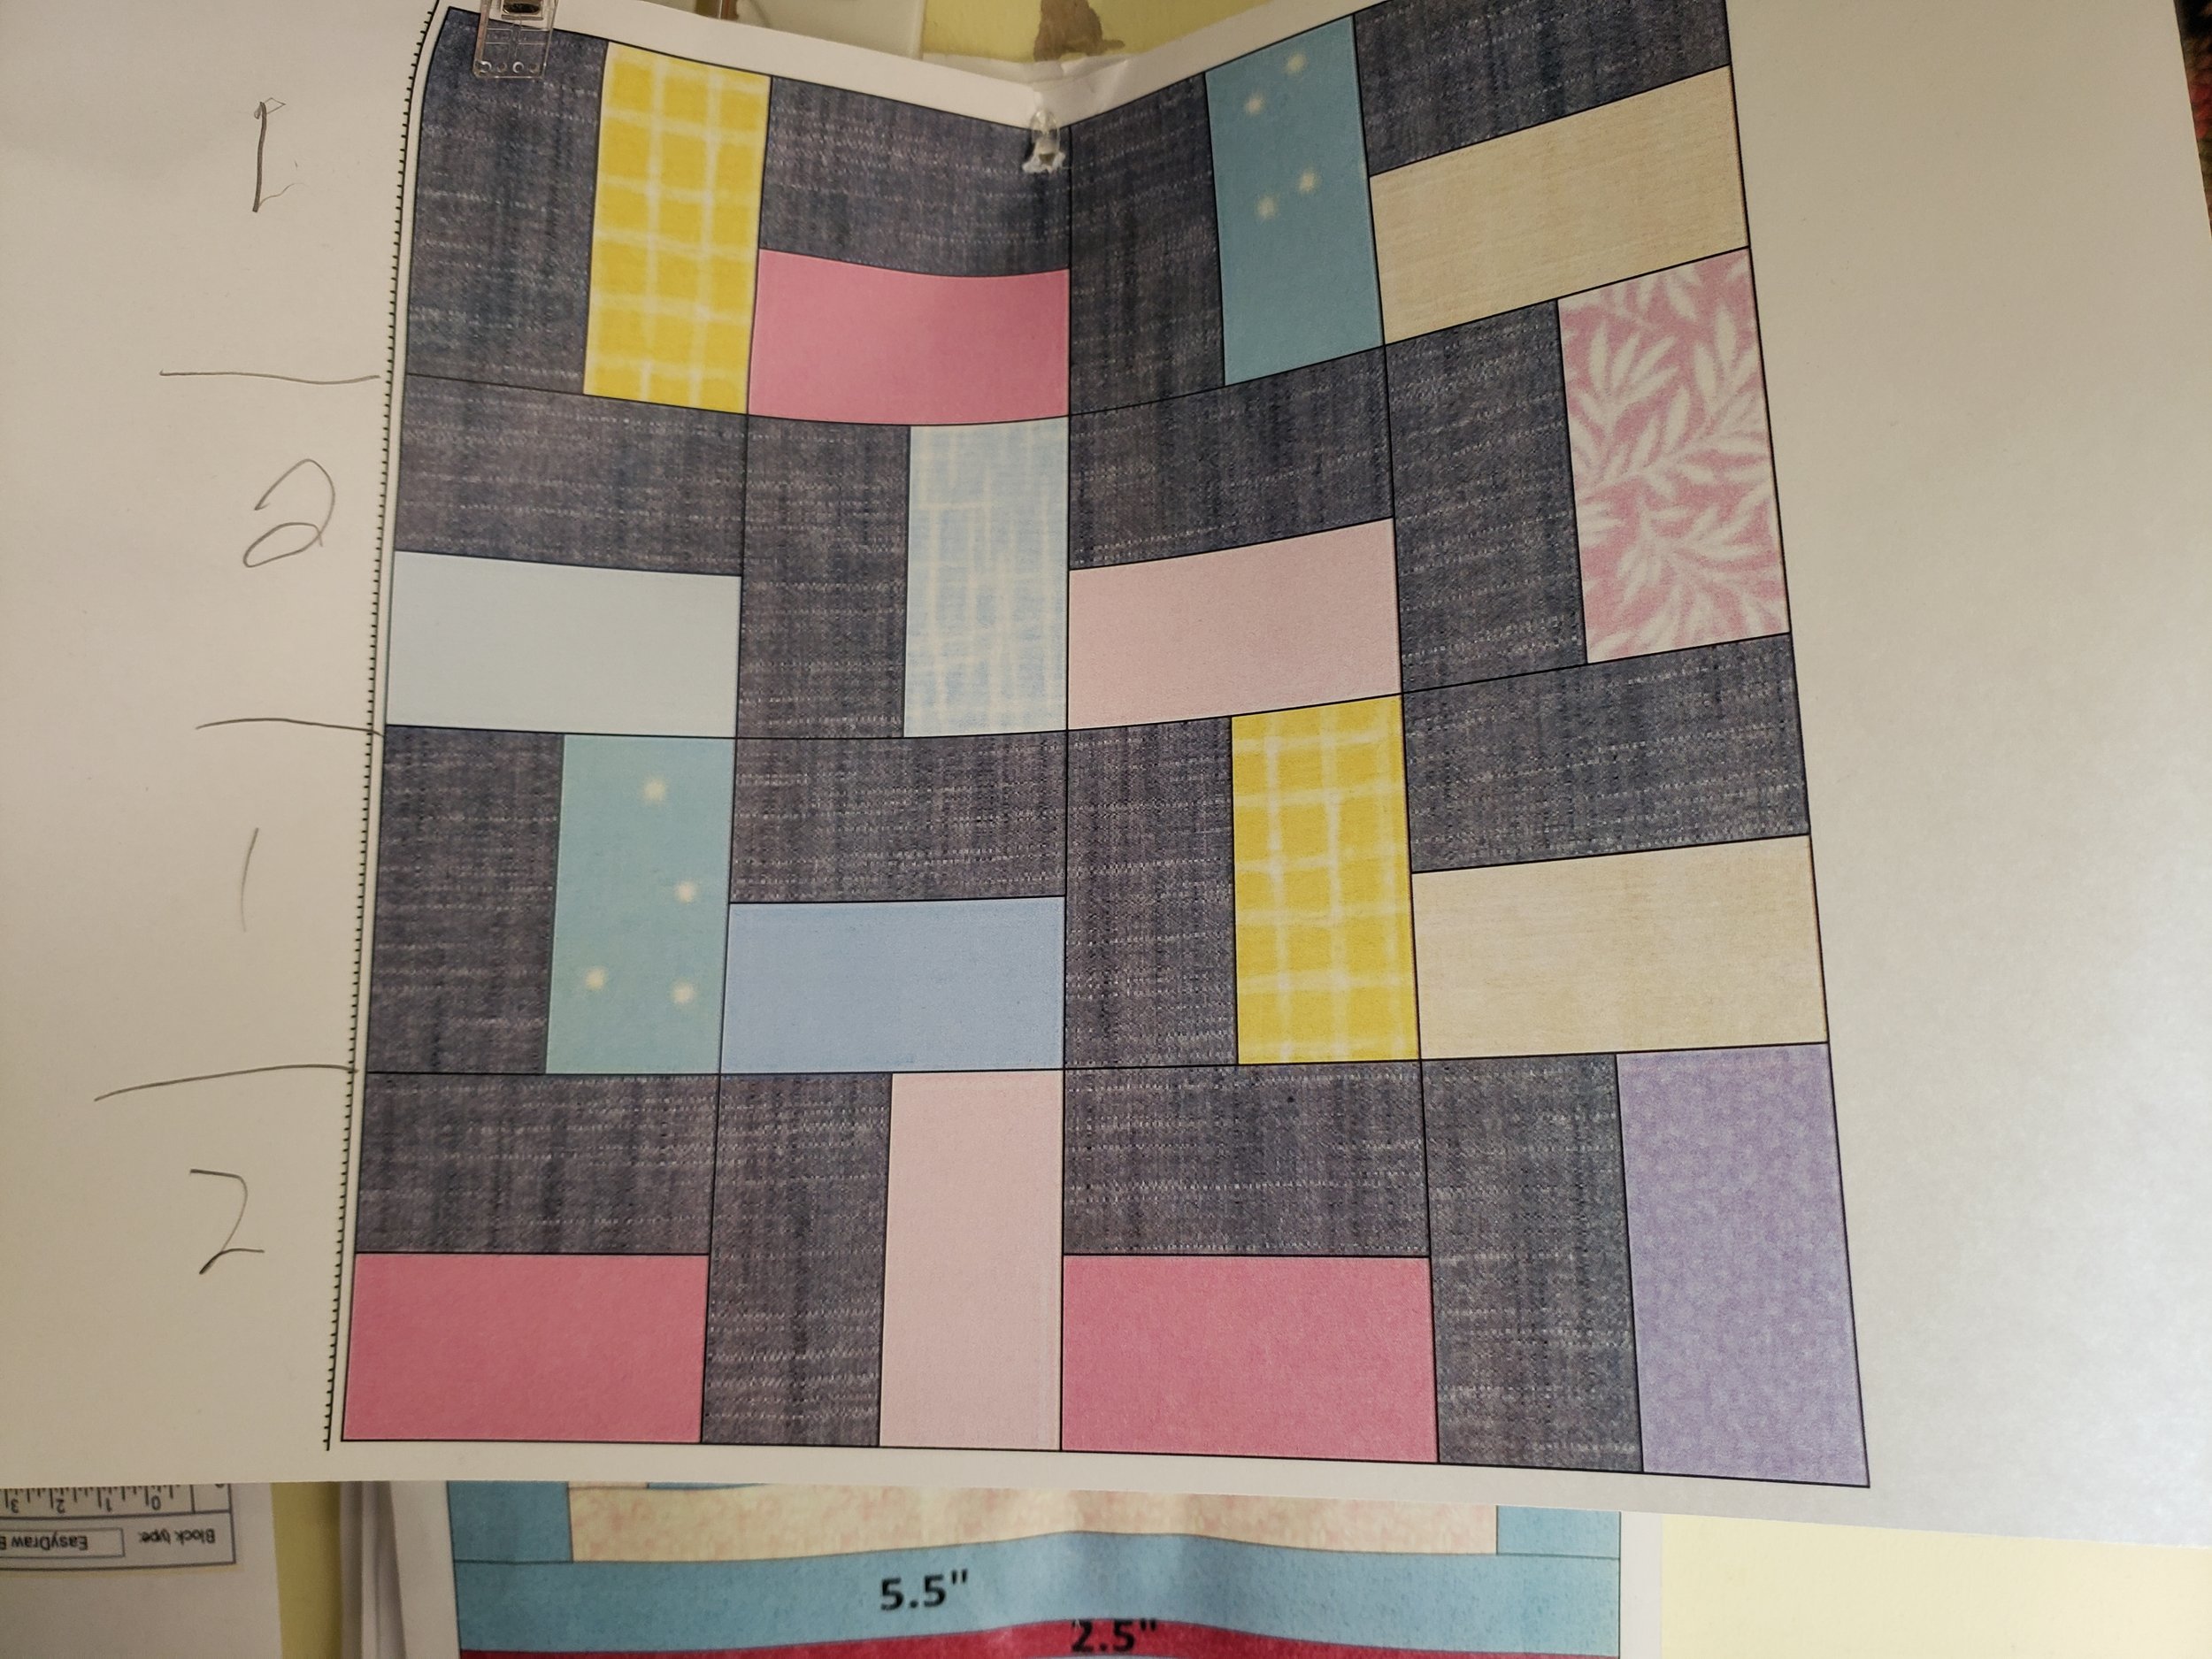
This block is 8”x8” finished. I showed the black as gray so that the lines show up. I printed this and put it by my computer.
Anyway, I’ve decided to make this rail fence block using 1.5”x2.5” strips. Each little square in the block ends up being 2” square.
The final “look” is going to be this.
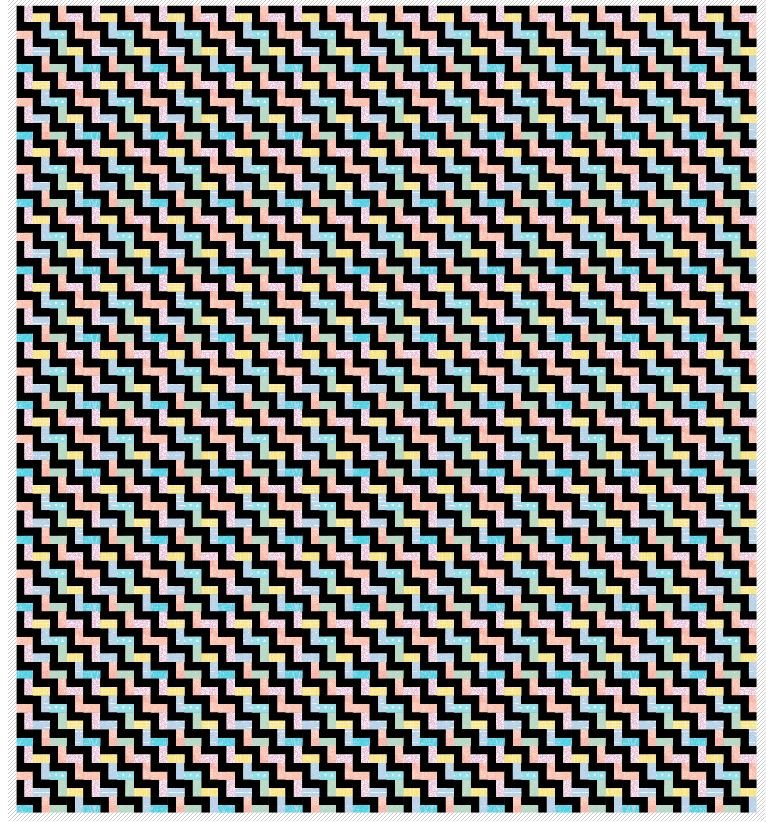
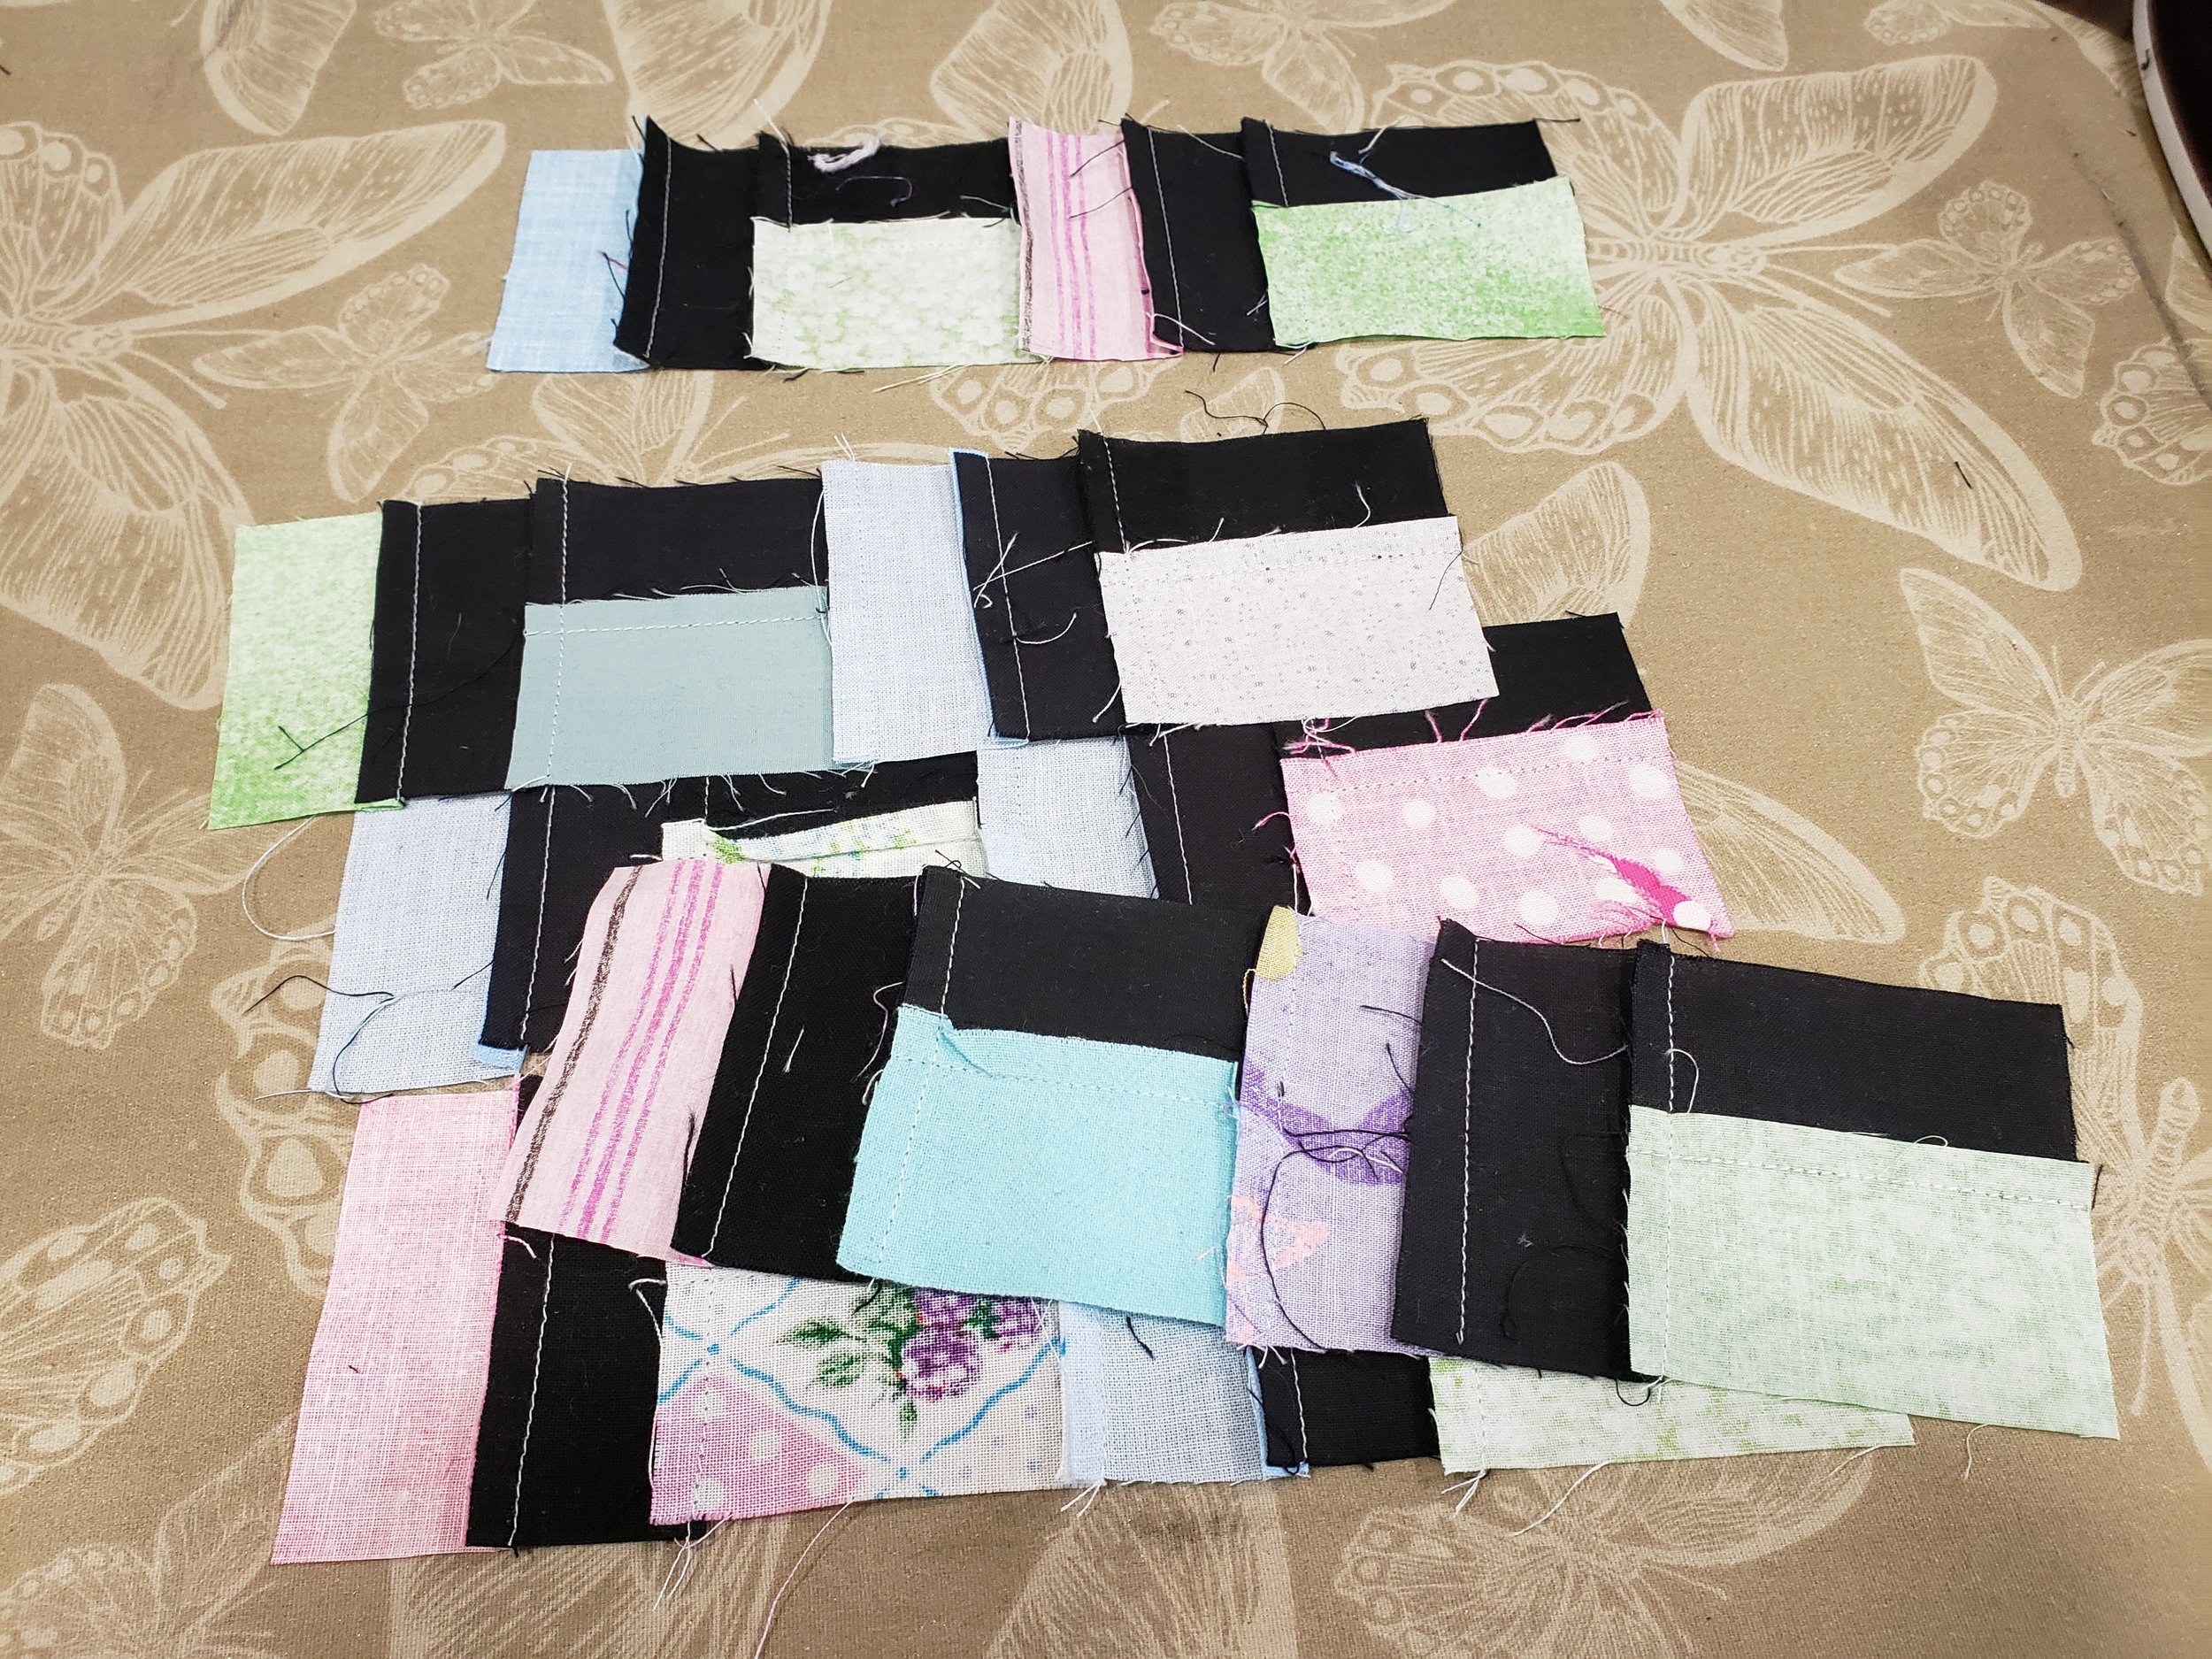
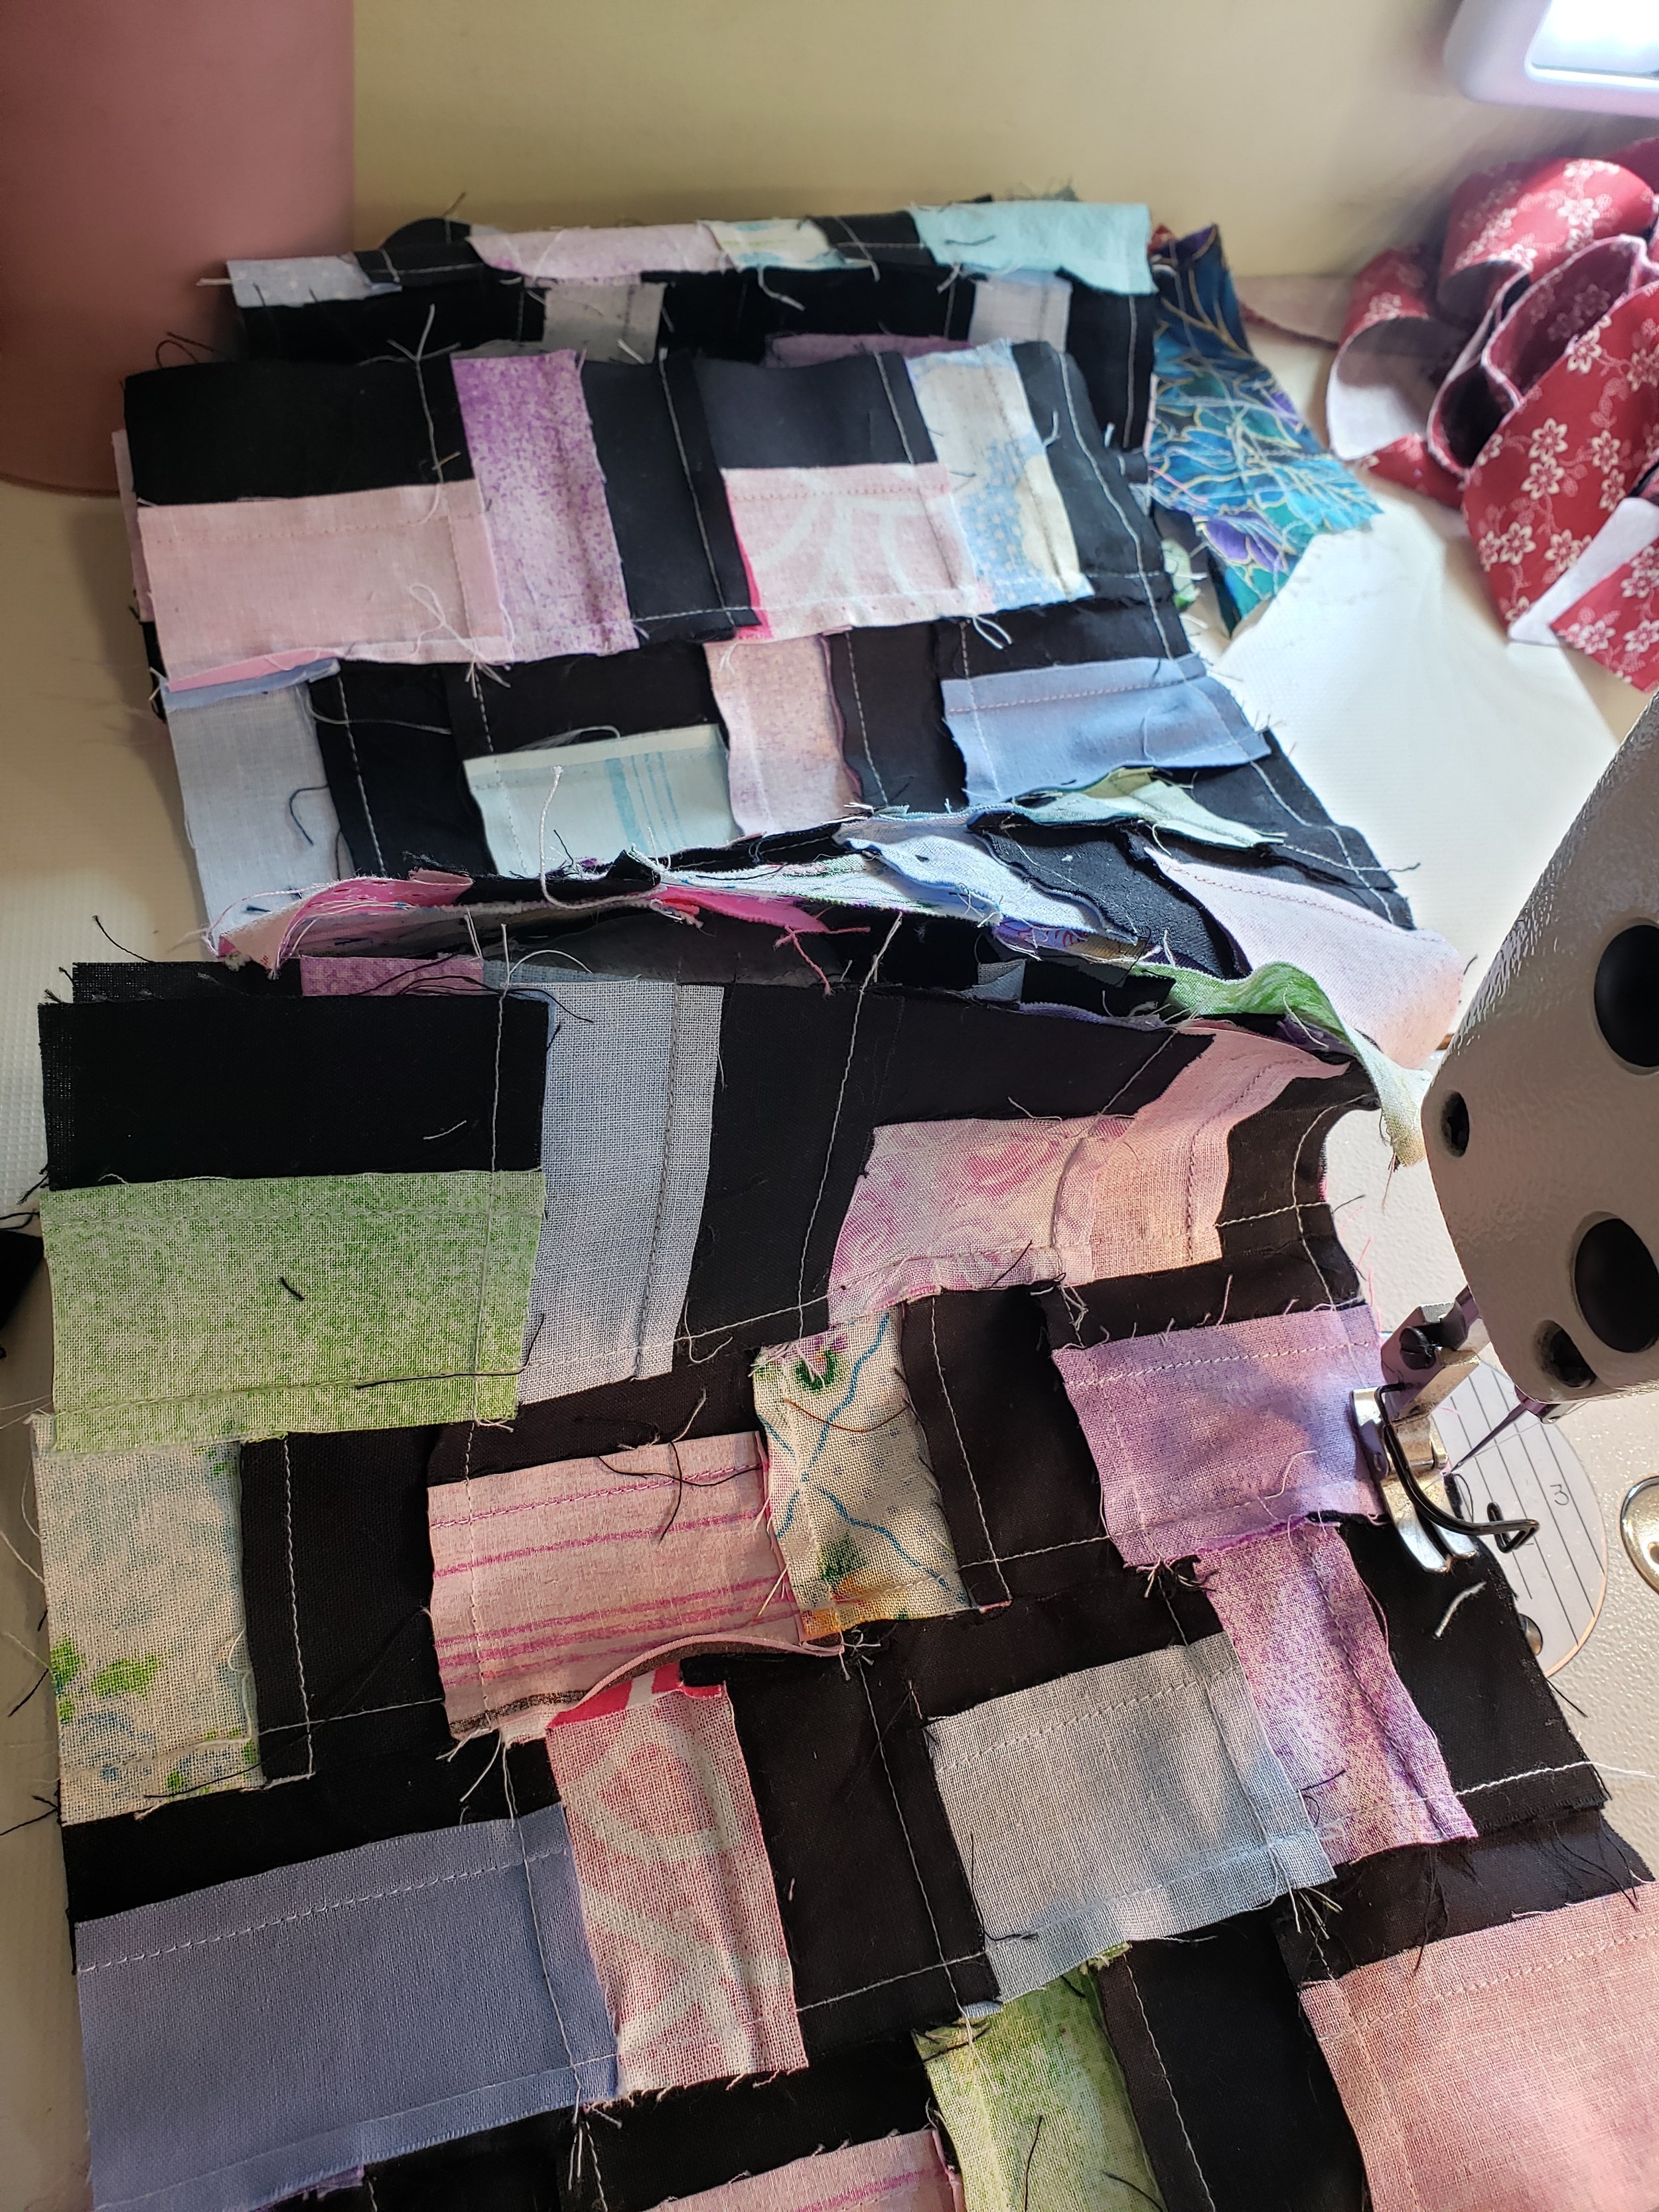
I’m going to use black as one of the rails and pastely pink, blue, green and lavenders for the other. I’m going to try to stay away from anything brown-ish. Here is what the first of my blocks look like. The layout is 11x12 so that’s a lot of piecing (132 blocks!). However, I think it will be cool.
Right now I’m digging through my bags of 1.5” strips for blacks. I have lots of the colors I’m looking for, but after 20 something blocks, I may have to head to my 2.5” bags and start cutting off 1.5” strips from my black strips in there. It’s either that or cutting from the bolt and I’d like to use from my bags. After all, that’s the point of this type of top. I may actually start putting the top together once I get about 30-40 blocks done.
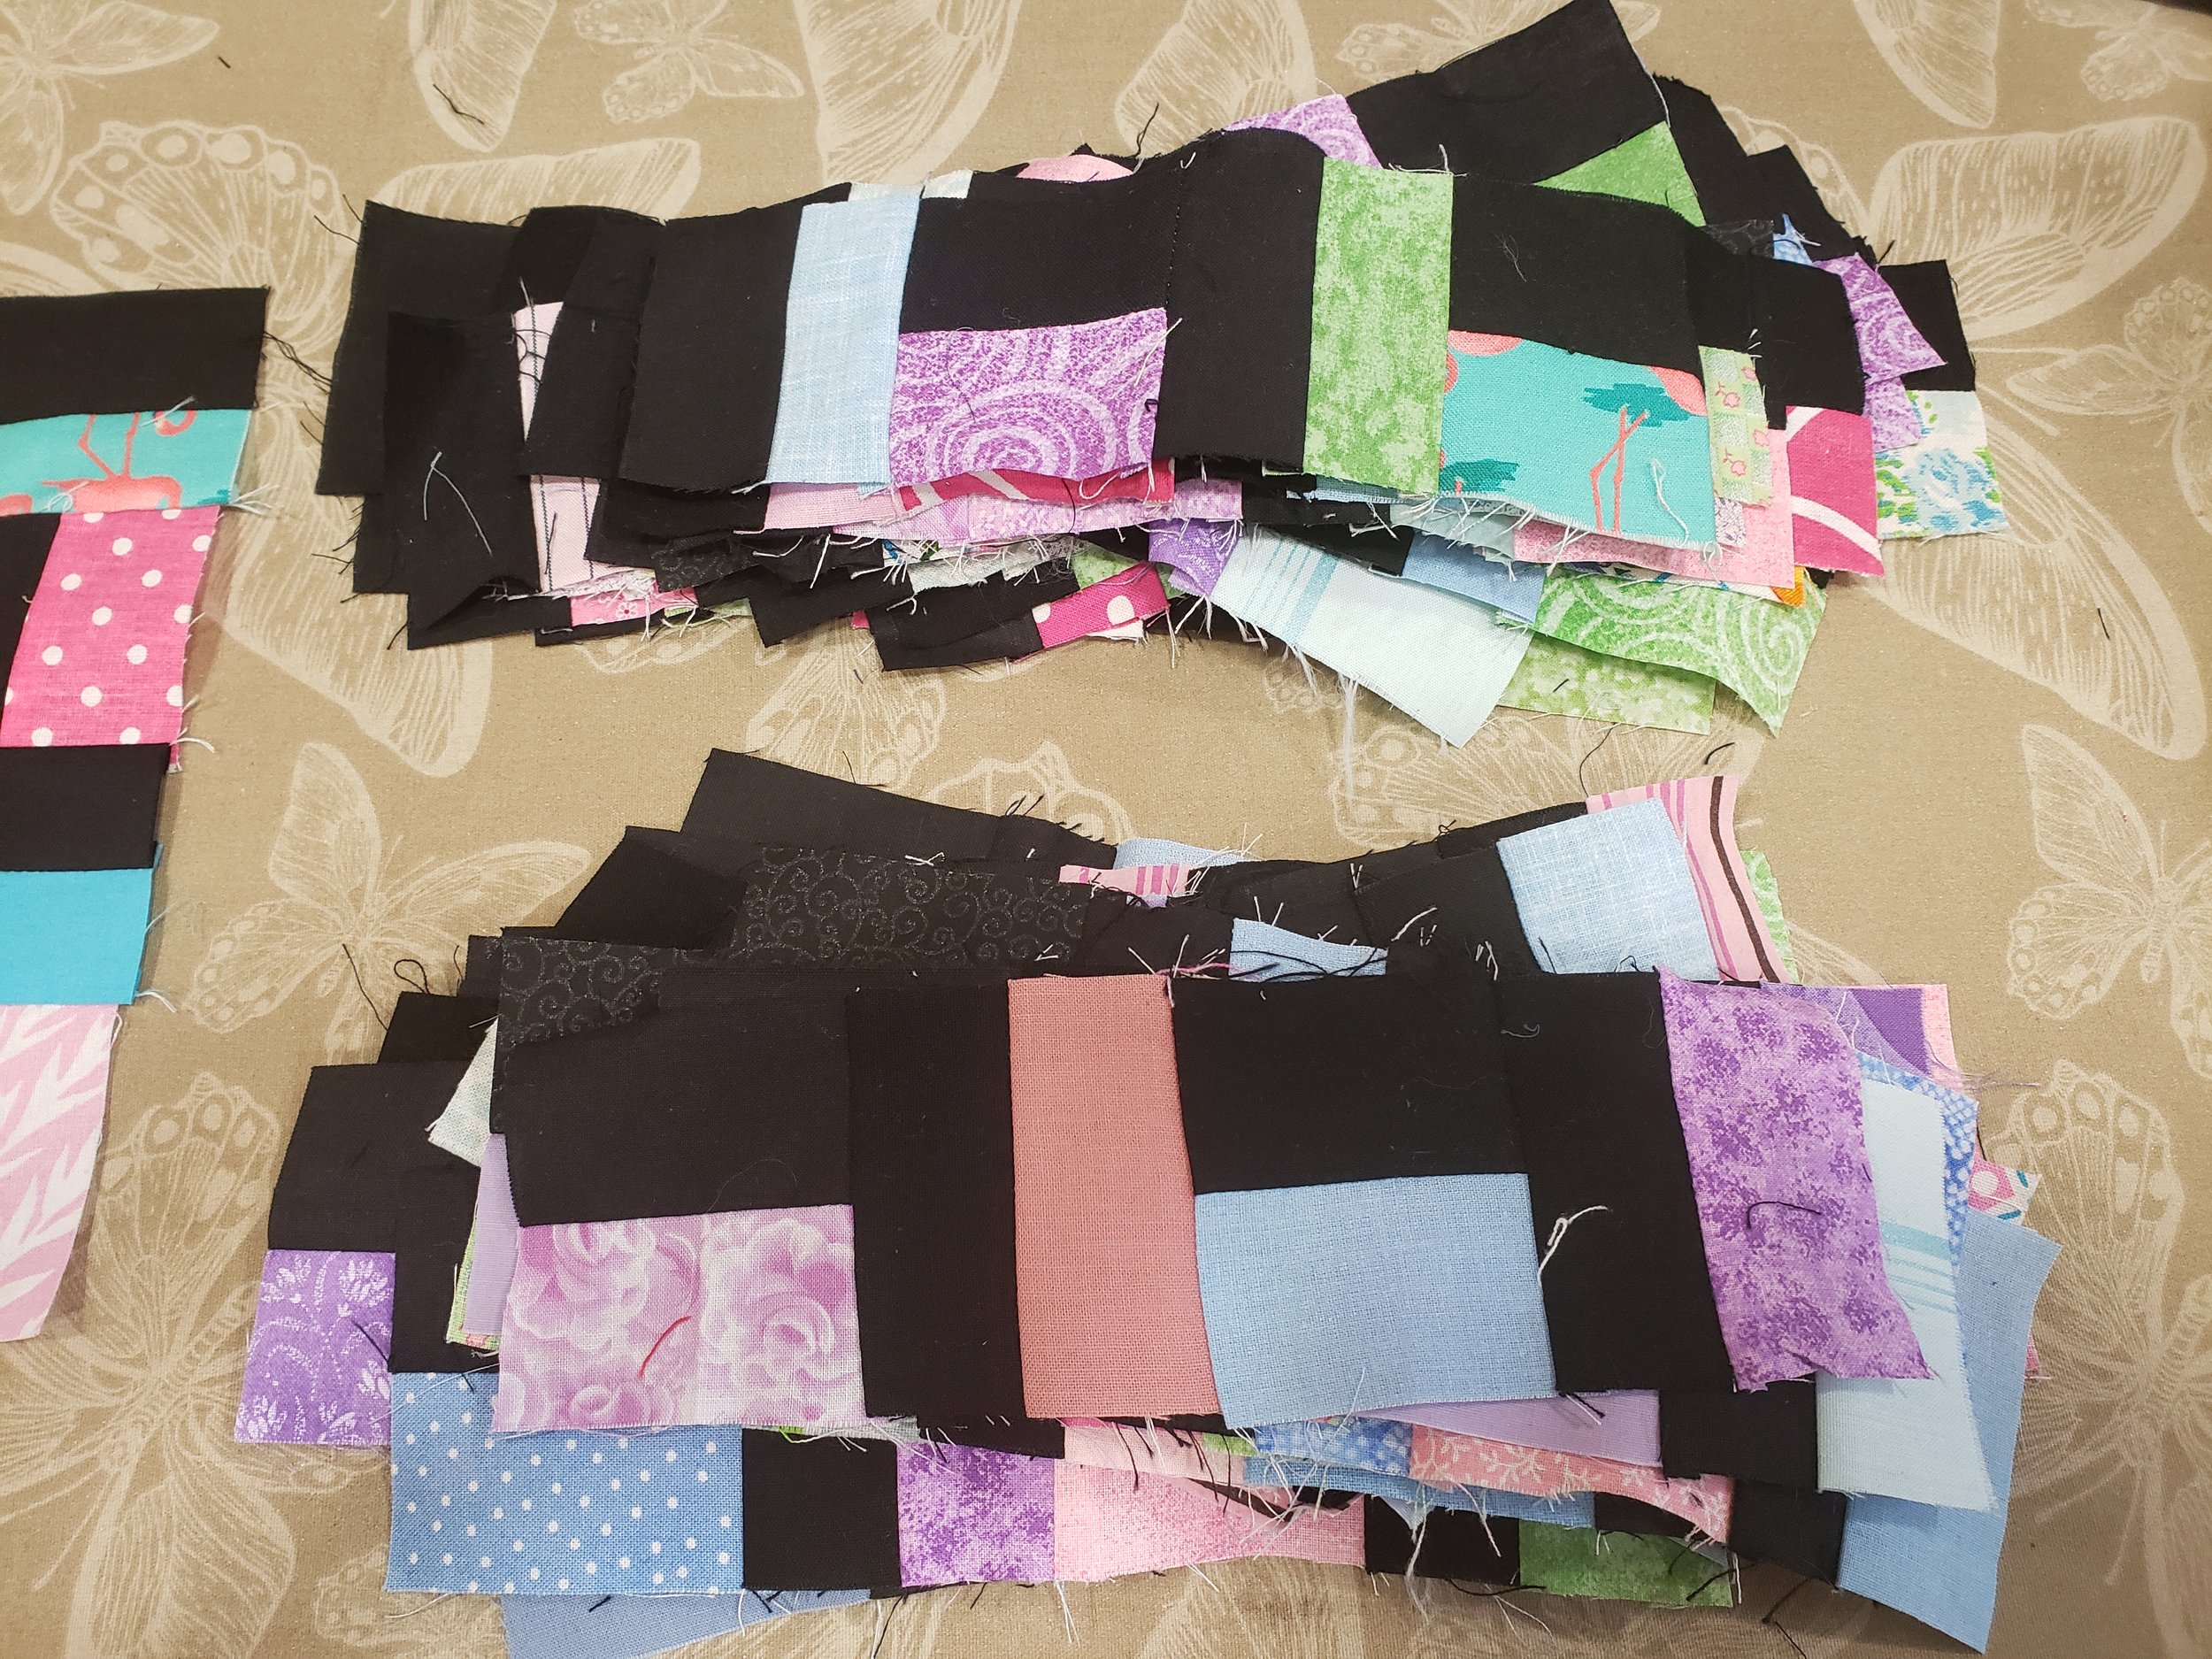
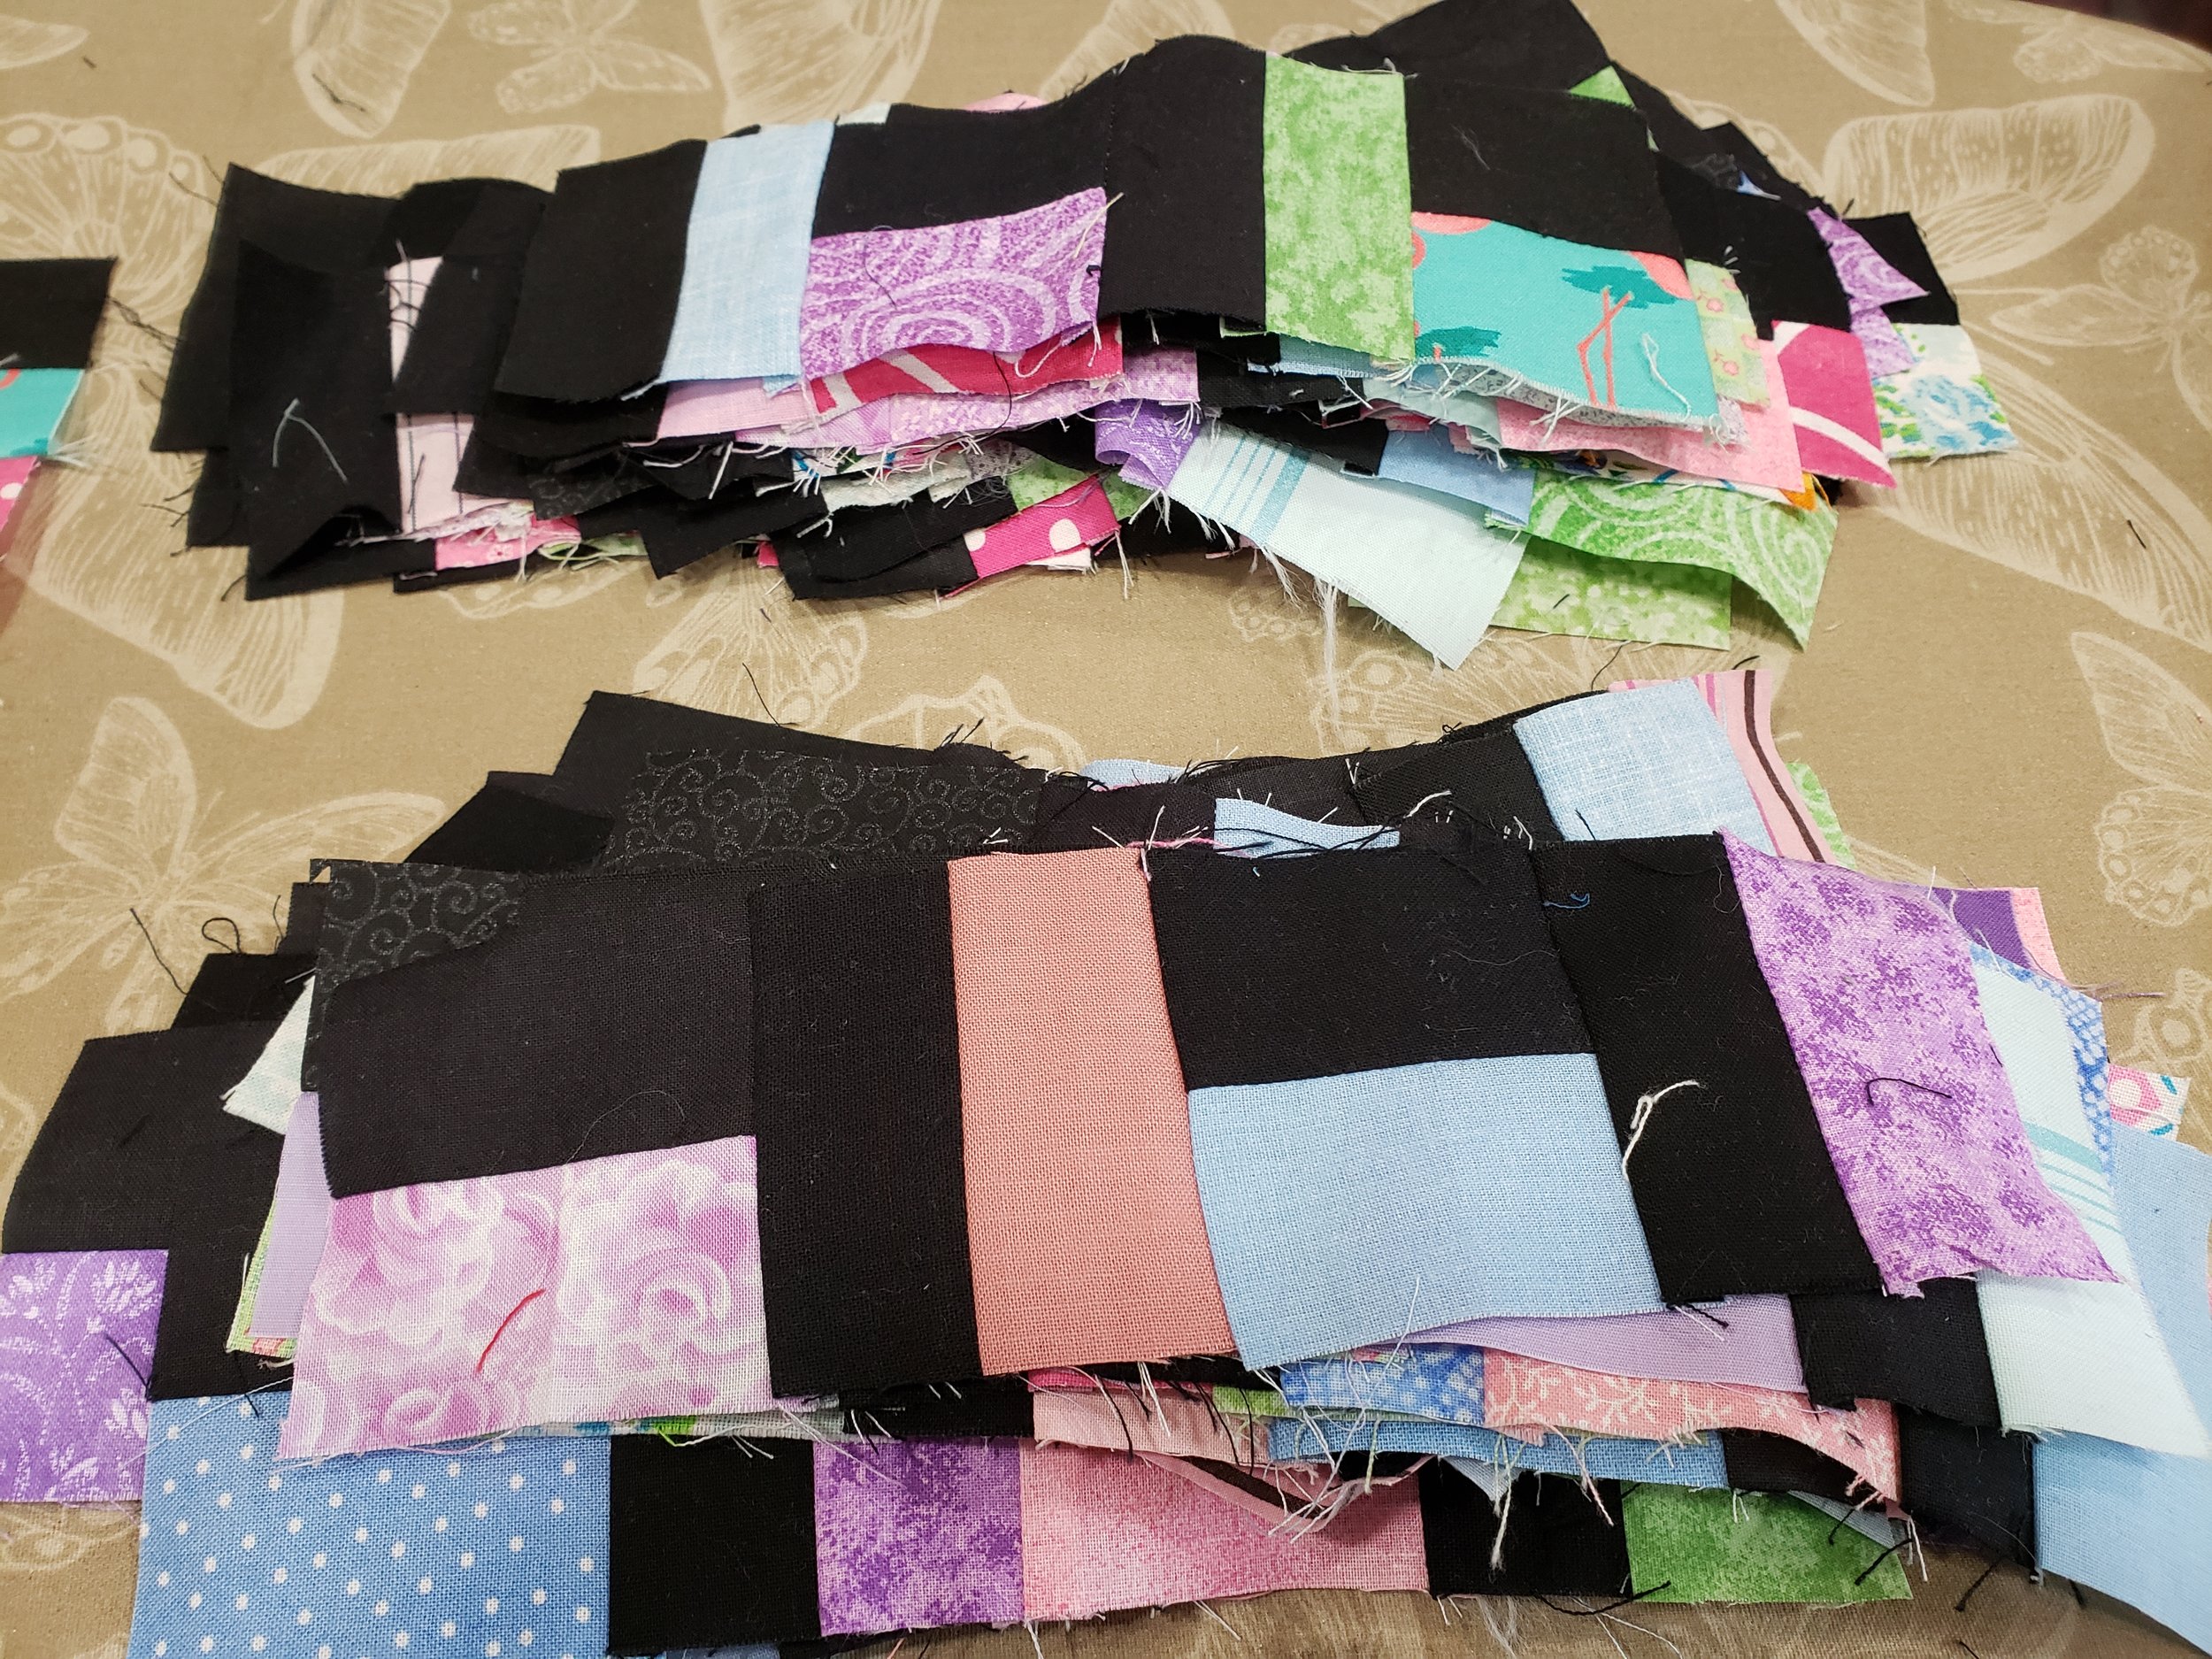
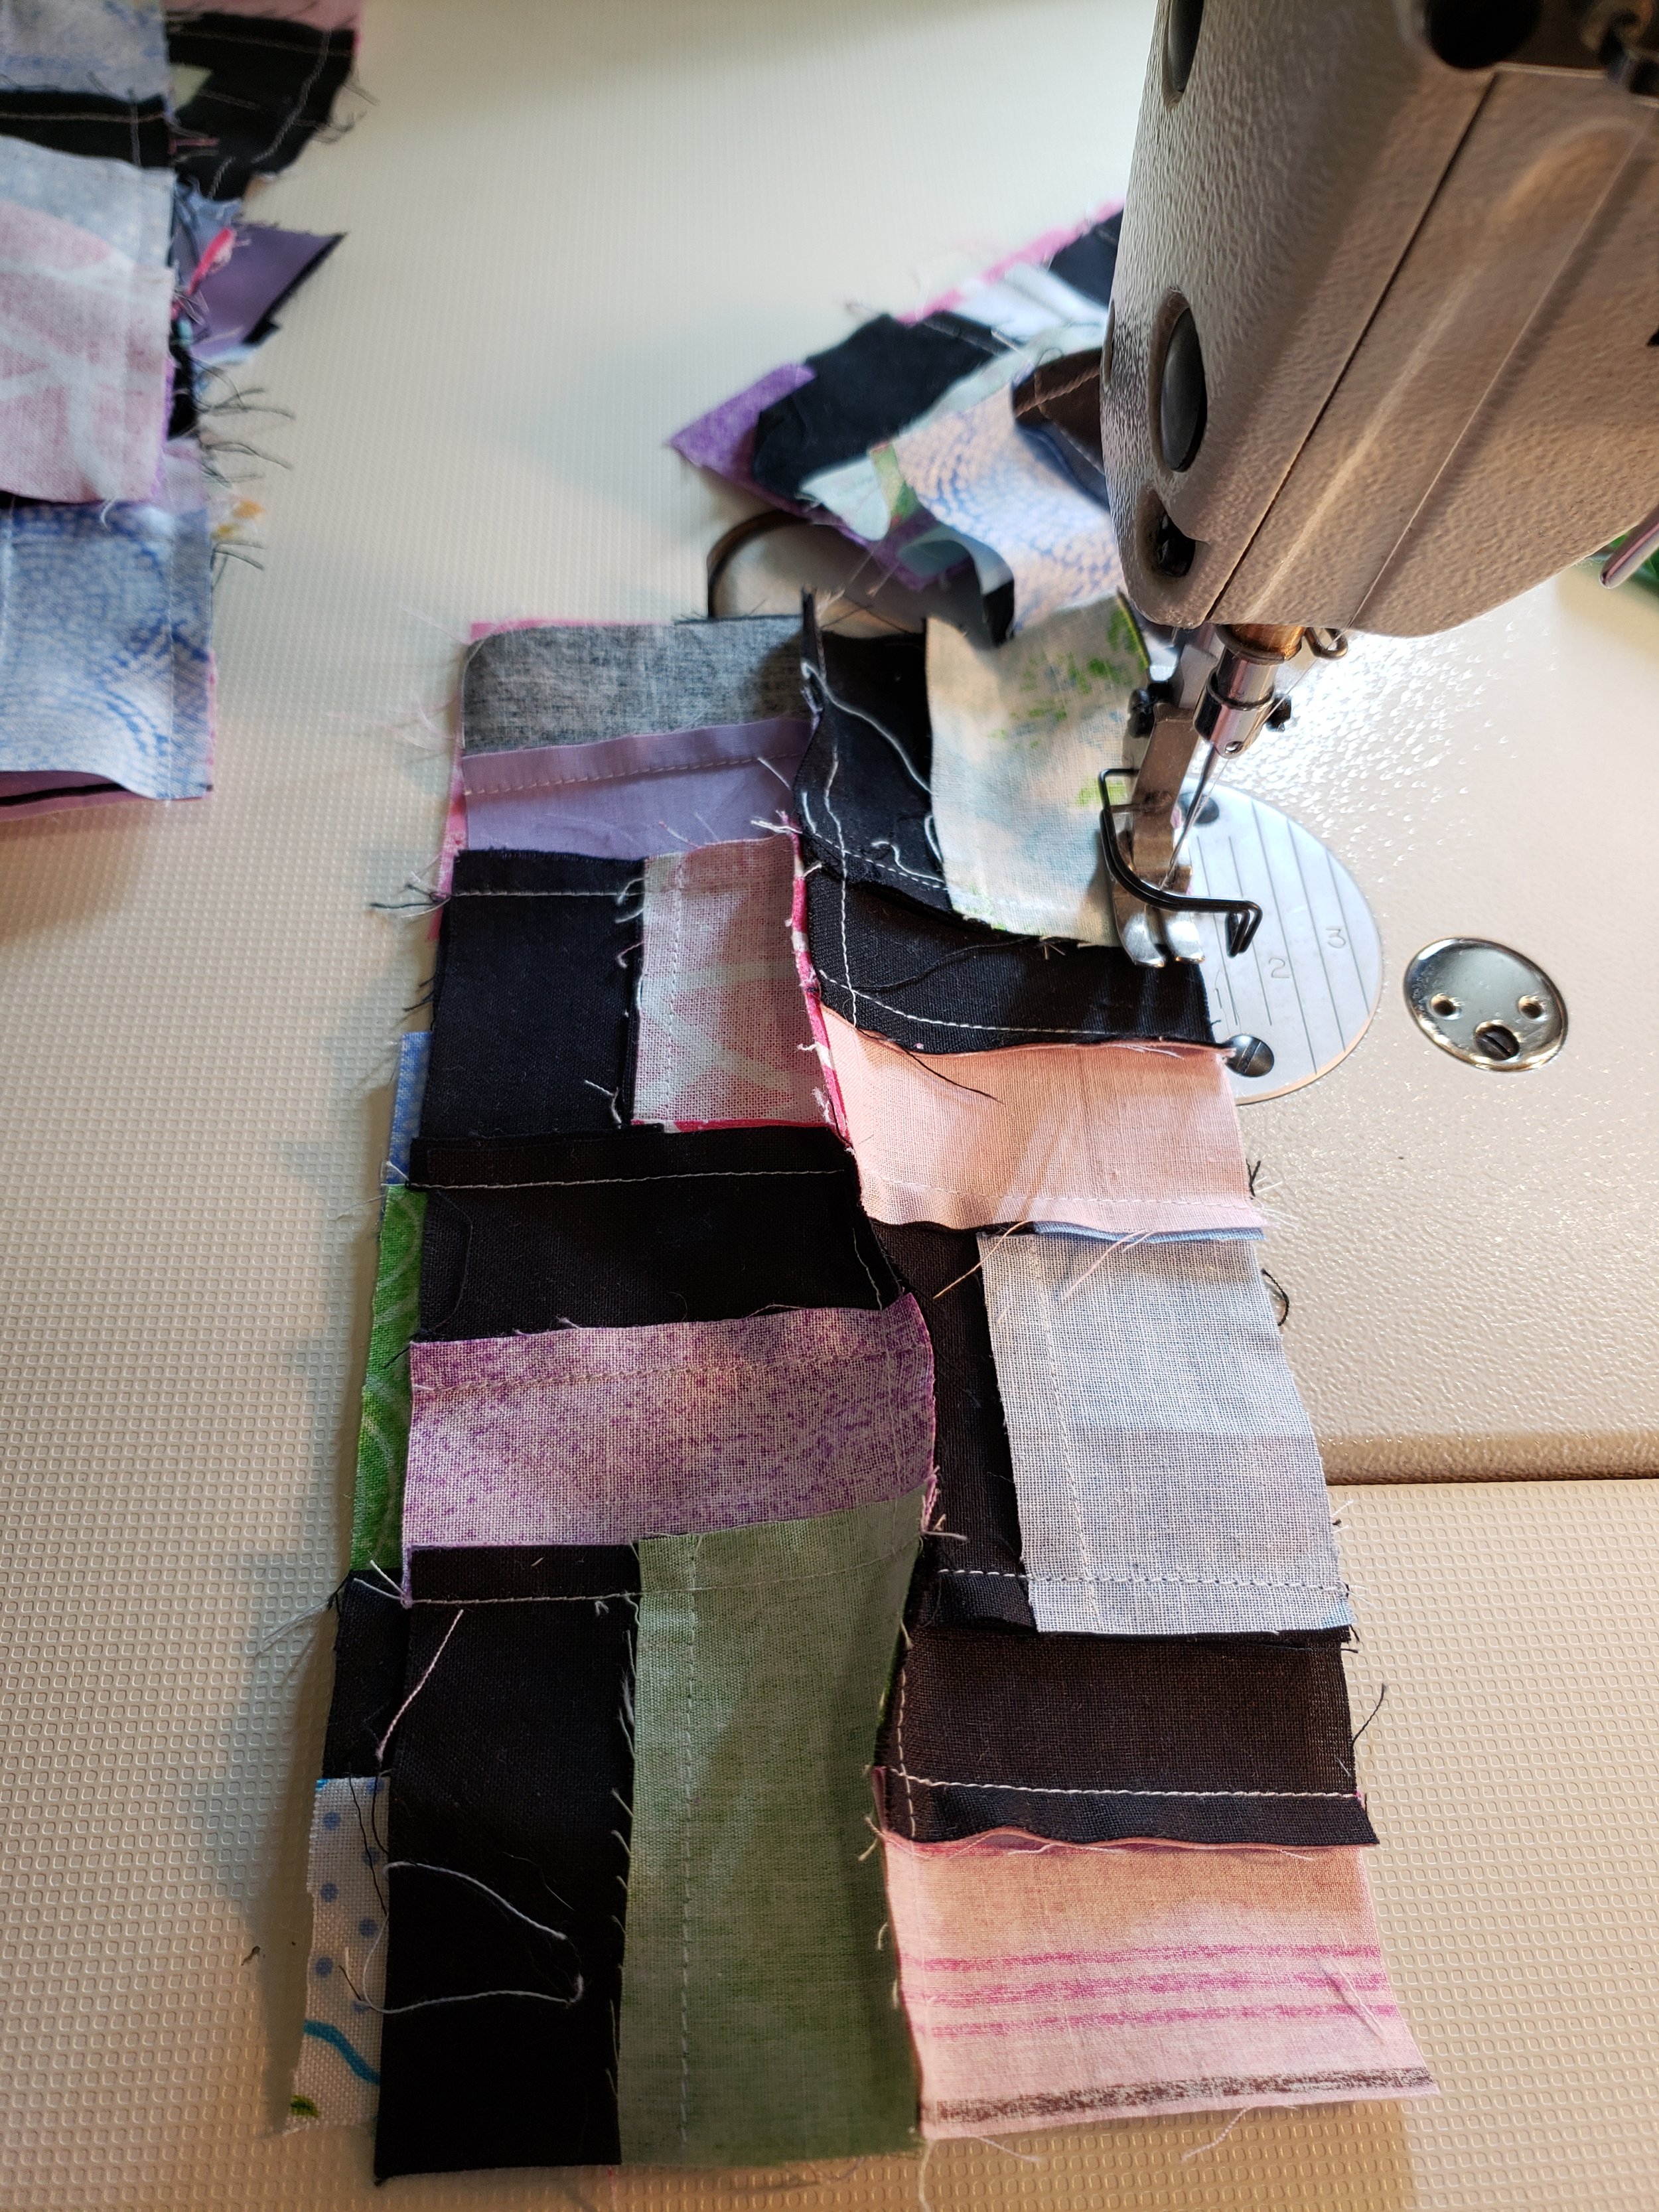
I also have a lot of strips sewn together- using black and a pastel. I’ve been sewing strips together and then sub cutting (mostly).

I’ve been putting the individual units together and throwing them into a plastic bin so that I can then make rows.
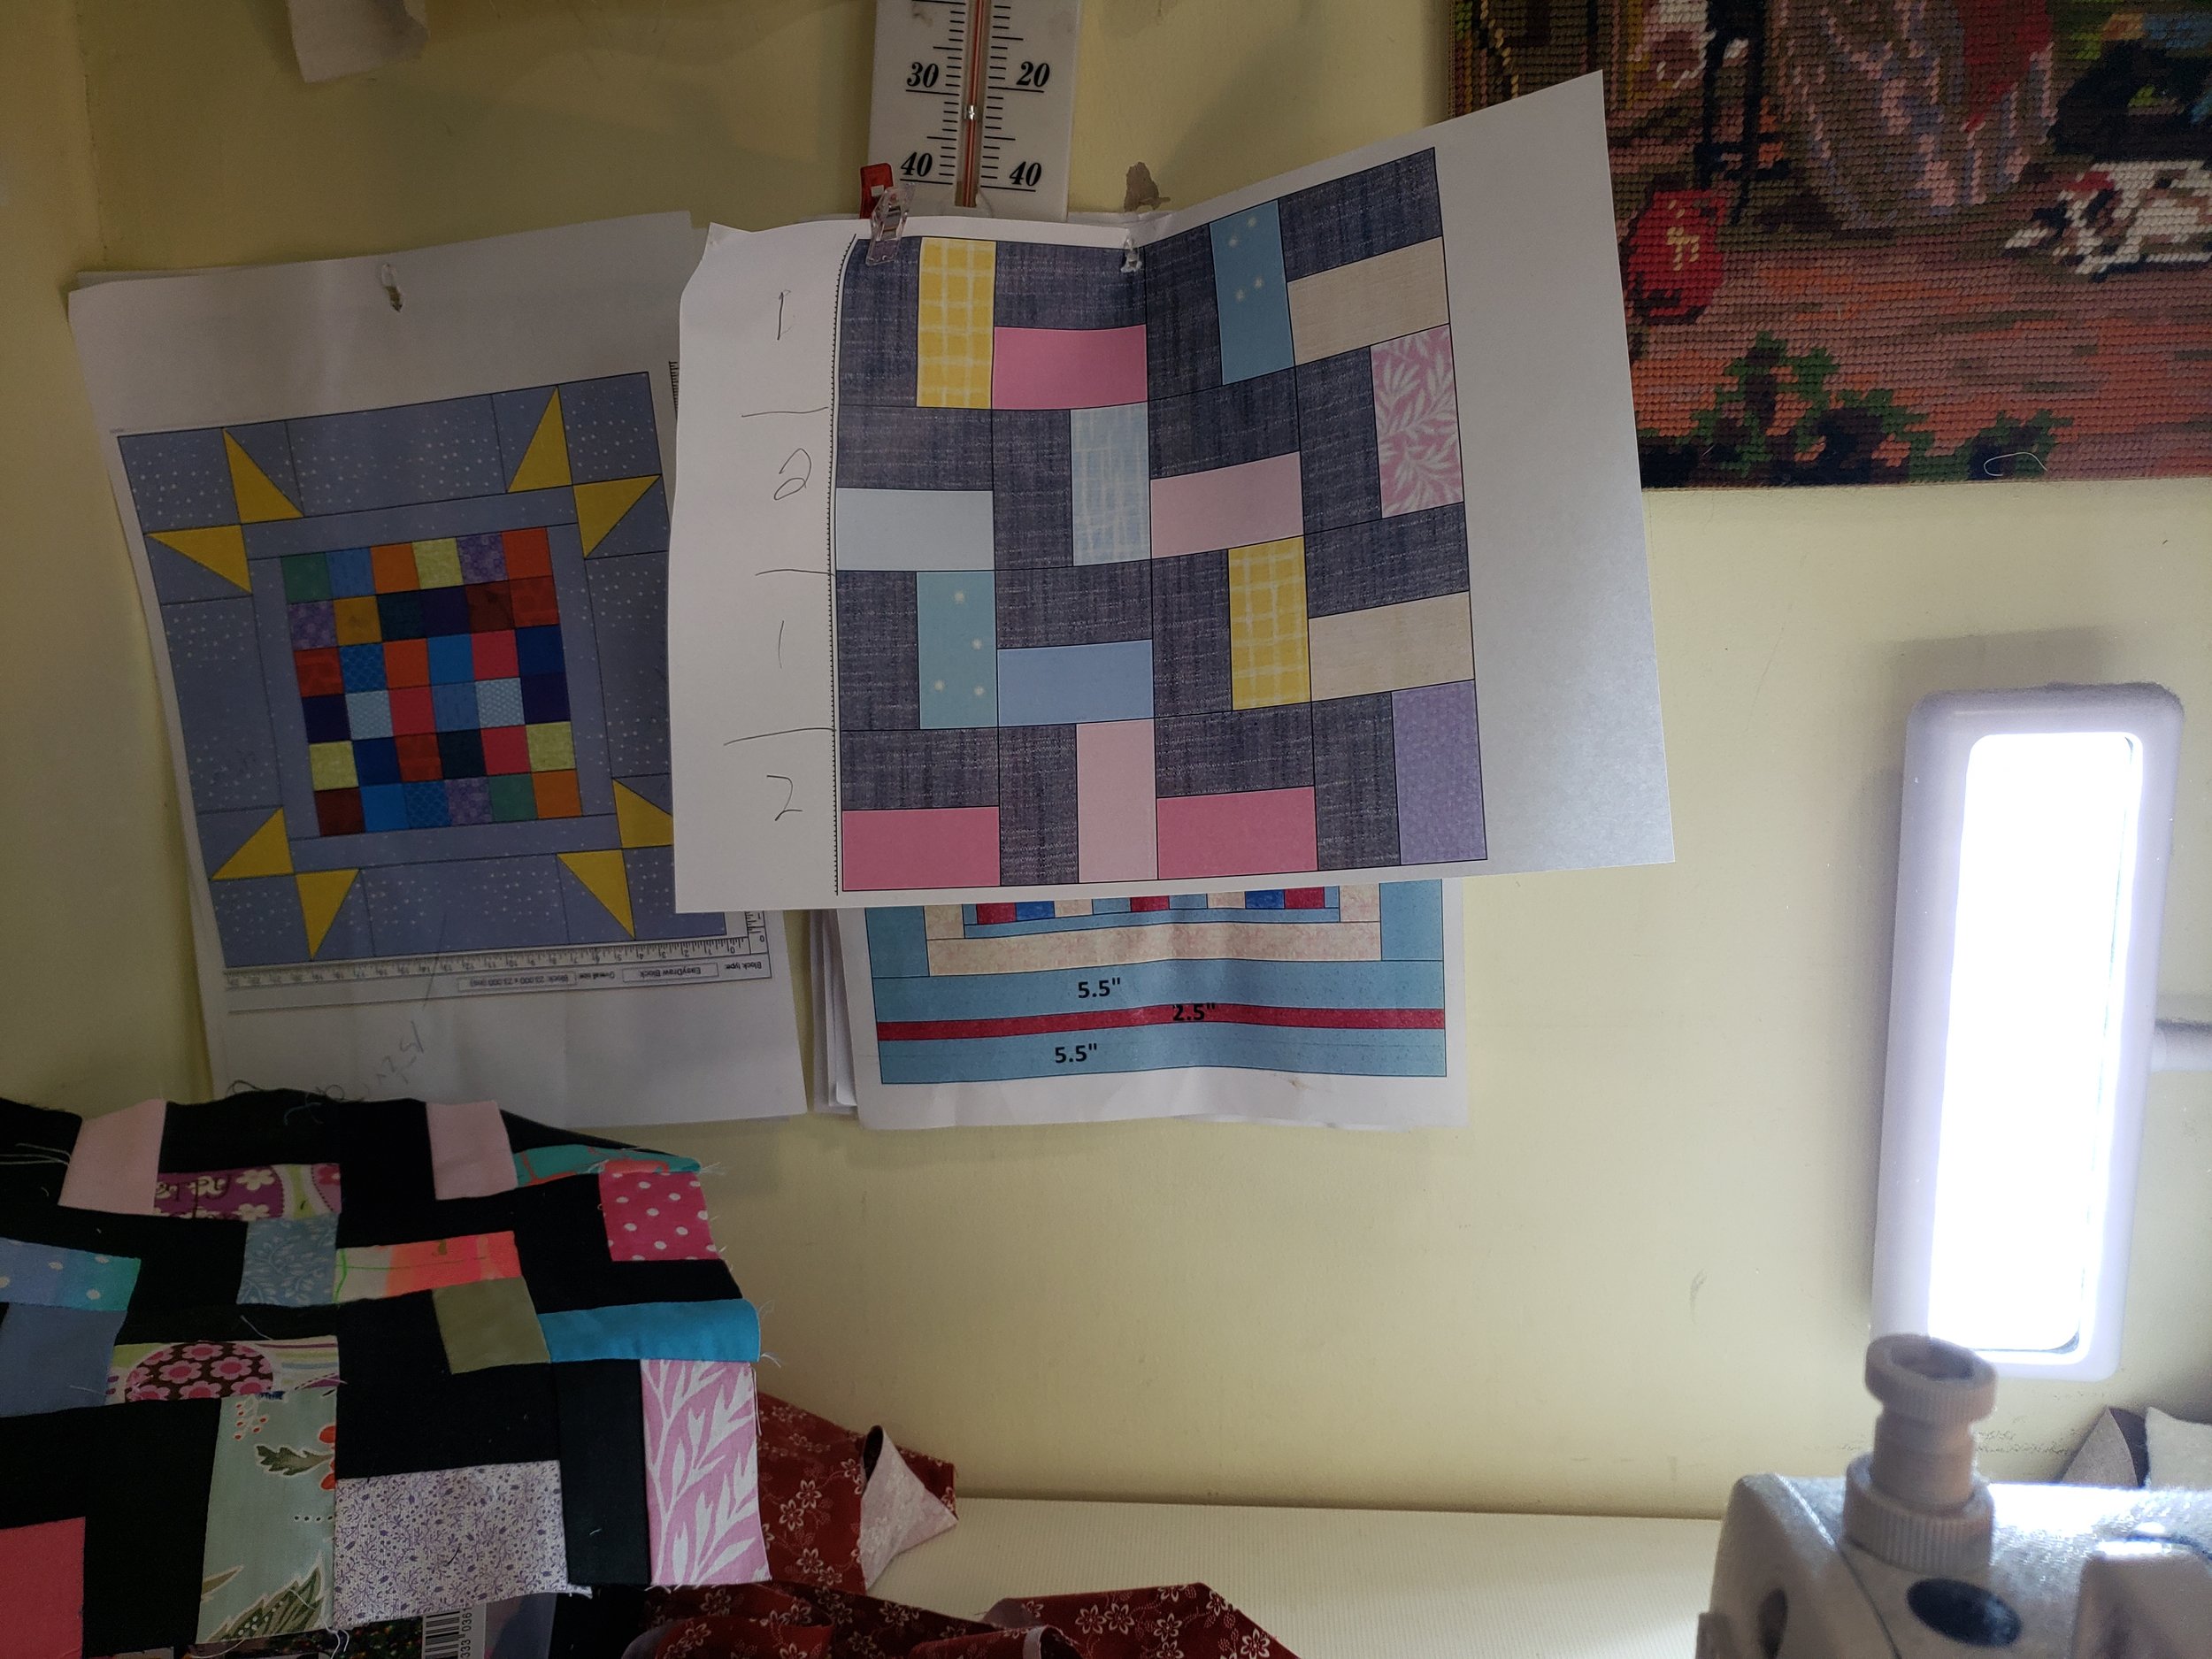
Once again, because it is easy for me to get confused, I printed out a block and put it in front of the sewing machine on the wall. I’m making a lot of each of the two rows. Then I can mix them and put them together quickly into blocks.
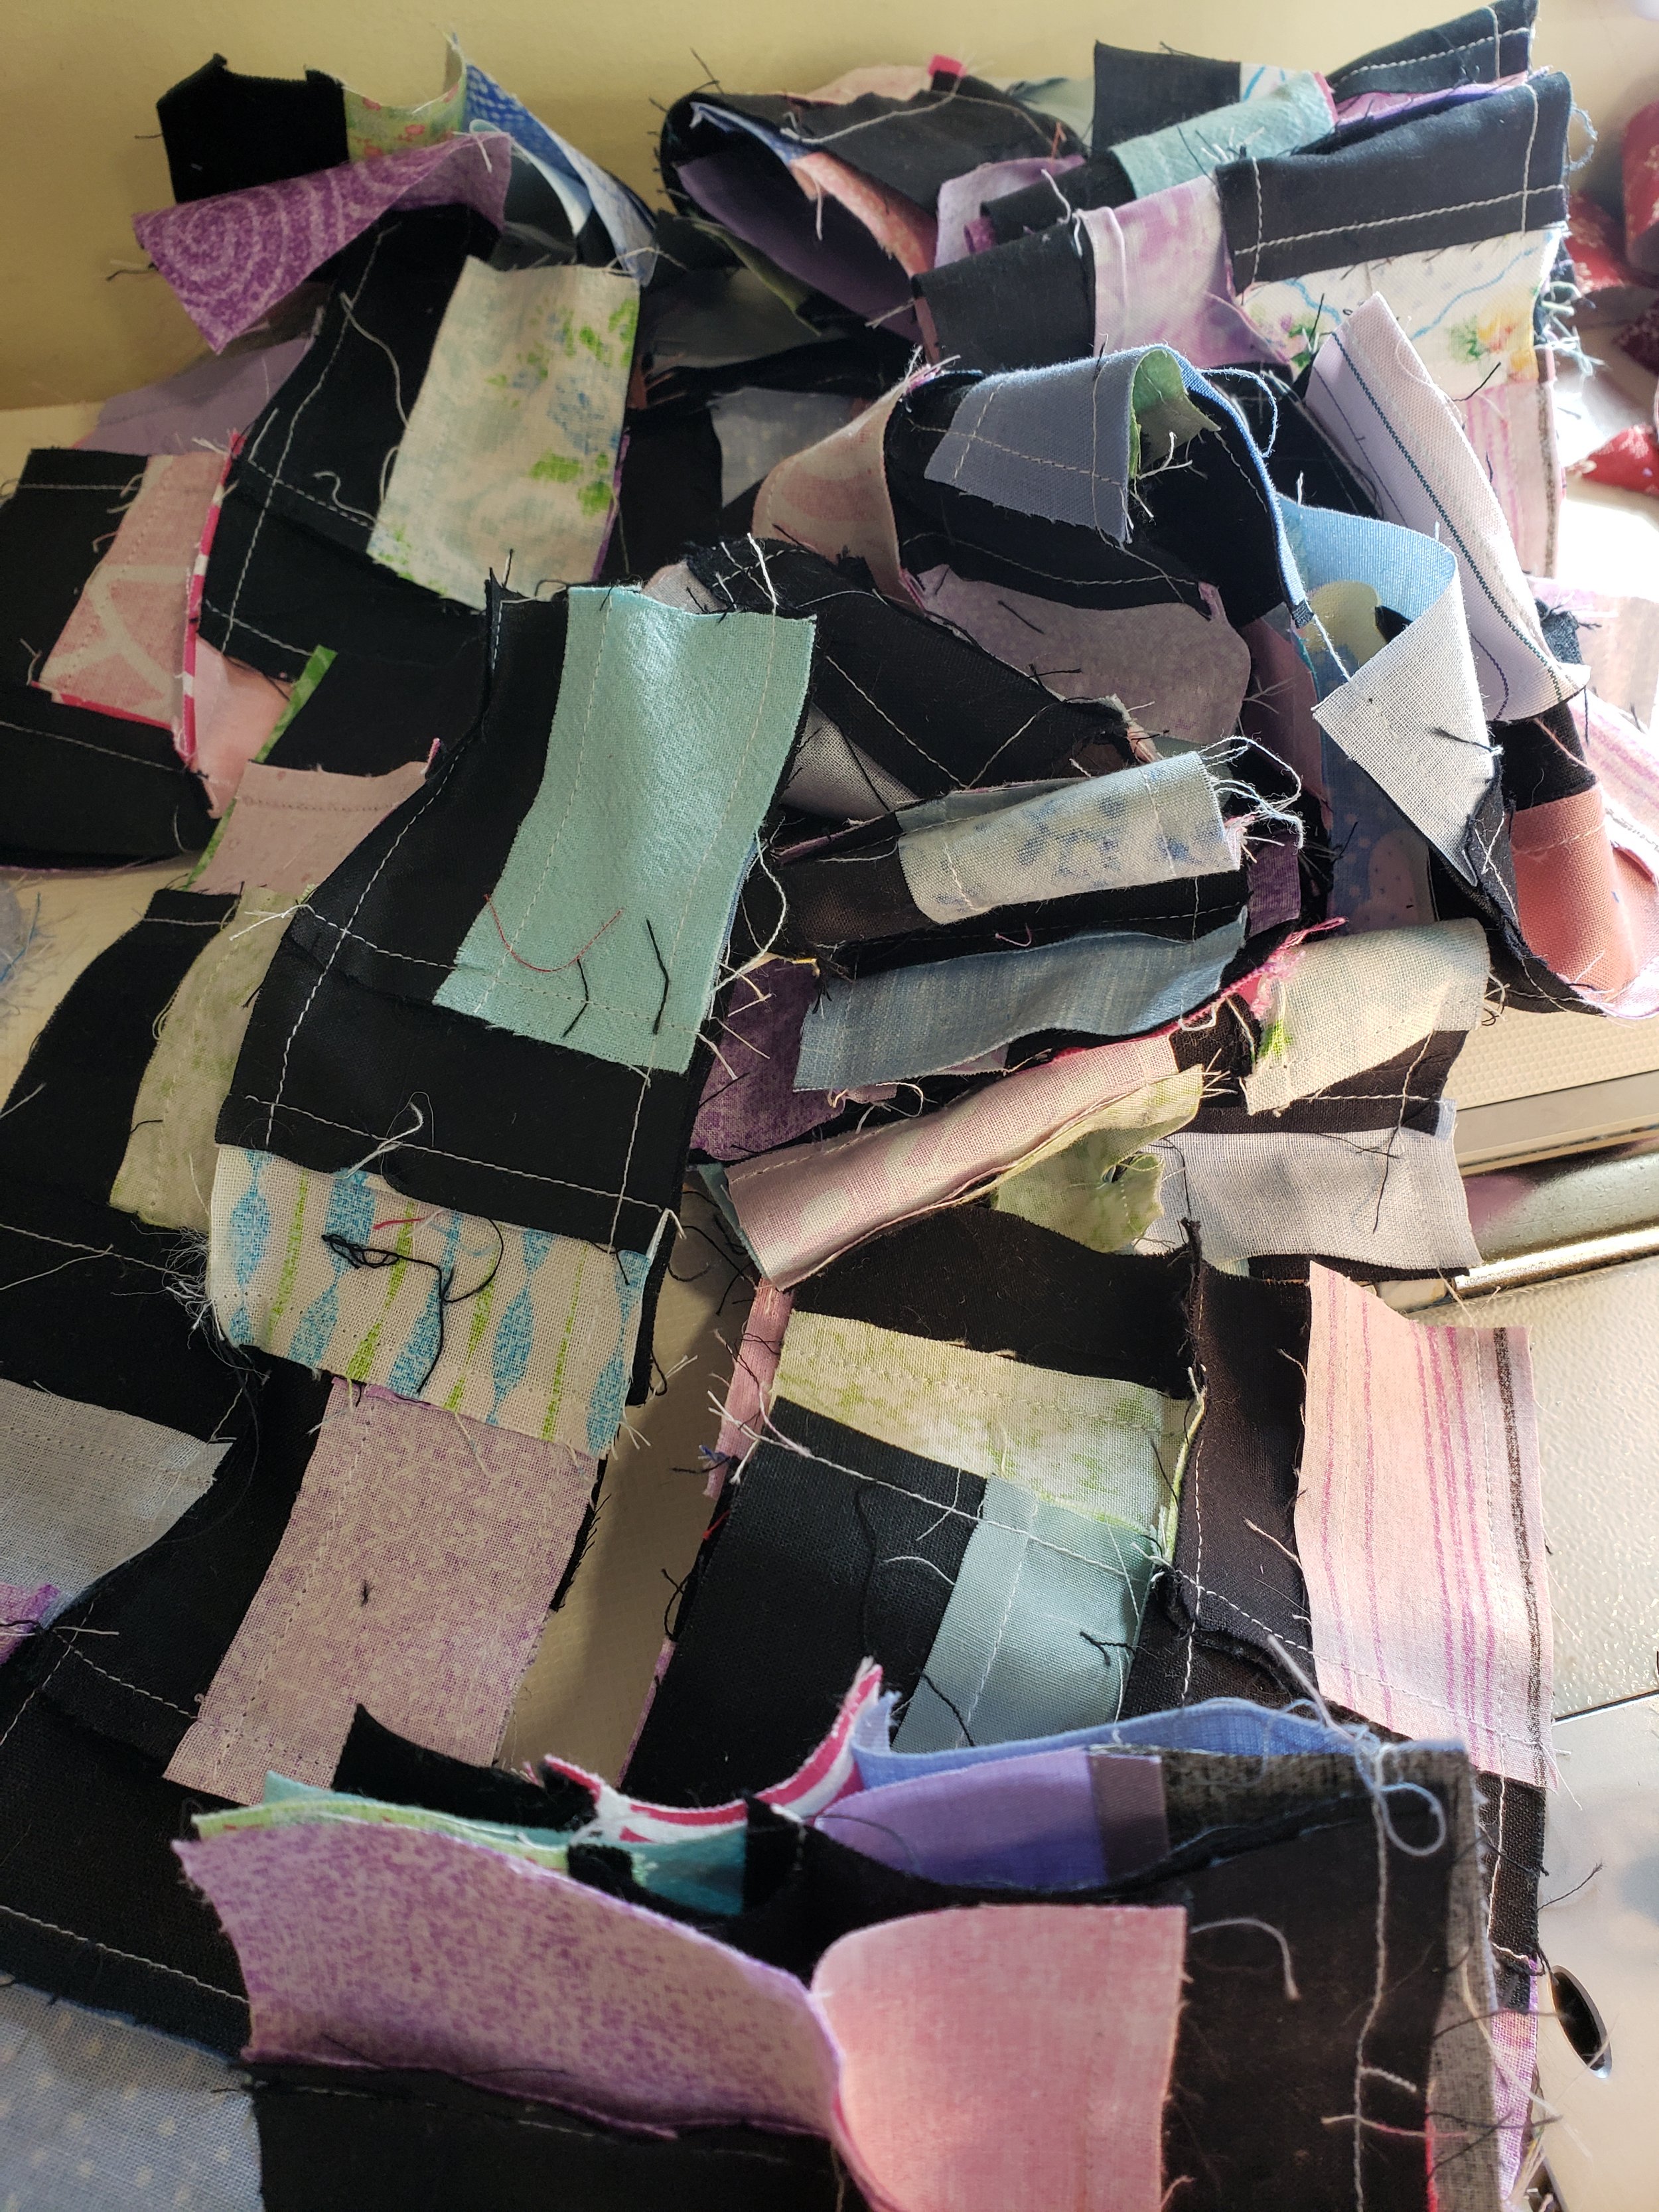
I won’t share with you weekly, but every once in a while. That way you can see it grow. I’m keeping these things in a plastic container to keep things together. As I’m trimming up scraps, I’m trimming the blacks I come across into the 1.5” strips needed. I’ve pretty much raided the 1.5” strips for the blacks - at least my bags that are available and easy to get to.
Today I’m sharing my first report - and here are the first blocks.

I wanted to have about 30 blocks ready at the moment, but I only have about 11 or so. I want this layout to be an 11x12 - so I’ll need 132 blocks so, 30-40 blocks is a great plan - but you know, this is pretty tedious stuff - so I can do it for a while - as I love the look of a small blocks project, but every time I work on one of these things, I can only do it for so long and then I just run out of oomph - which is why I try to spread it out over weeks instead of getting it all done in a week or so.
Often when I spread it out over a long period of time it means there are days when I’m just feeling like “sewing but not thinking” and I can sew for an hour or so of this type of thing.
The nice thing about using black as the main color here is that it is so strong, that I can get by with using a lot of even a little darker pink and it won’t take over the black so that the design shows up well.
After checking out that I only had 11 finished blocks, I made quite a few more from things I had already sewn together and were just waiting on me to get inspired to work on it again.


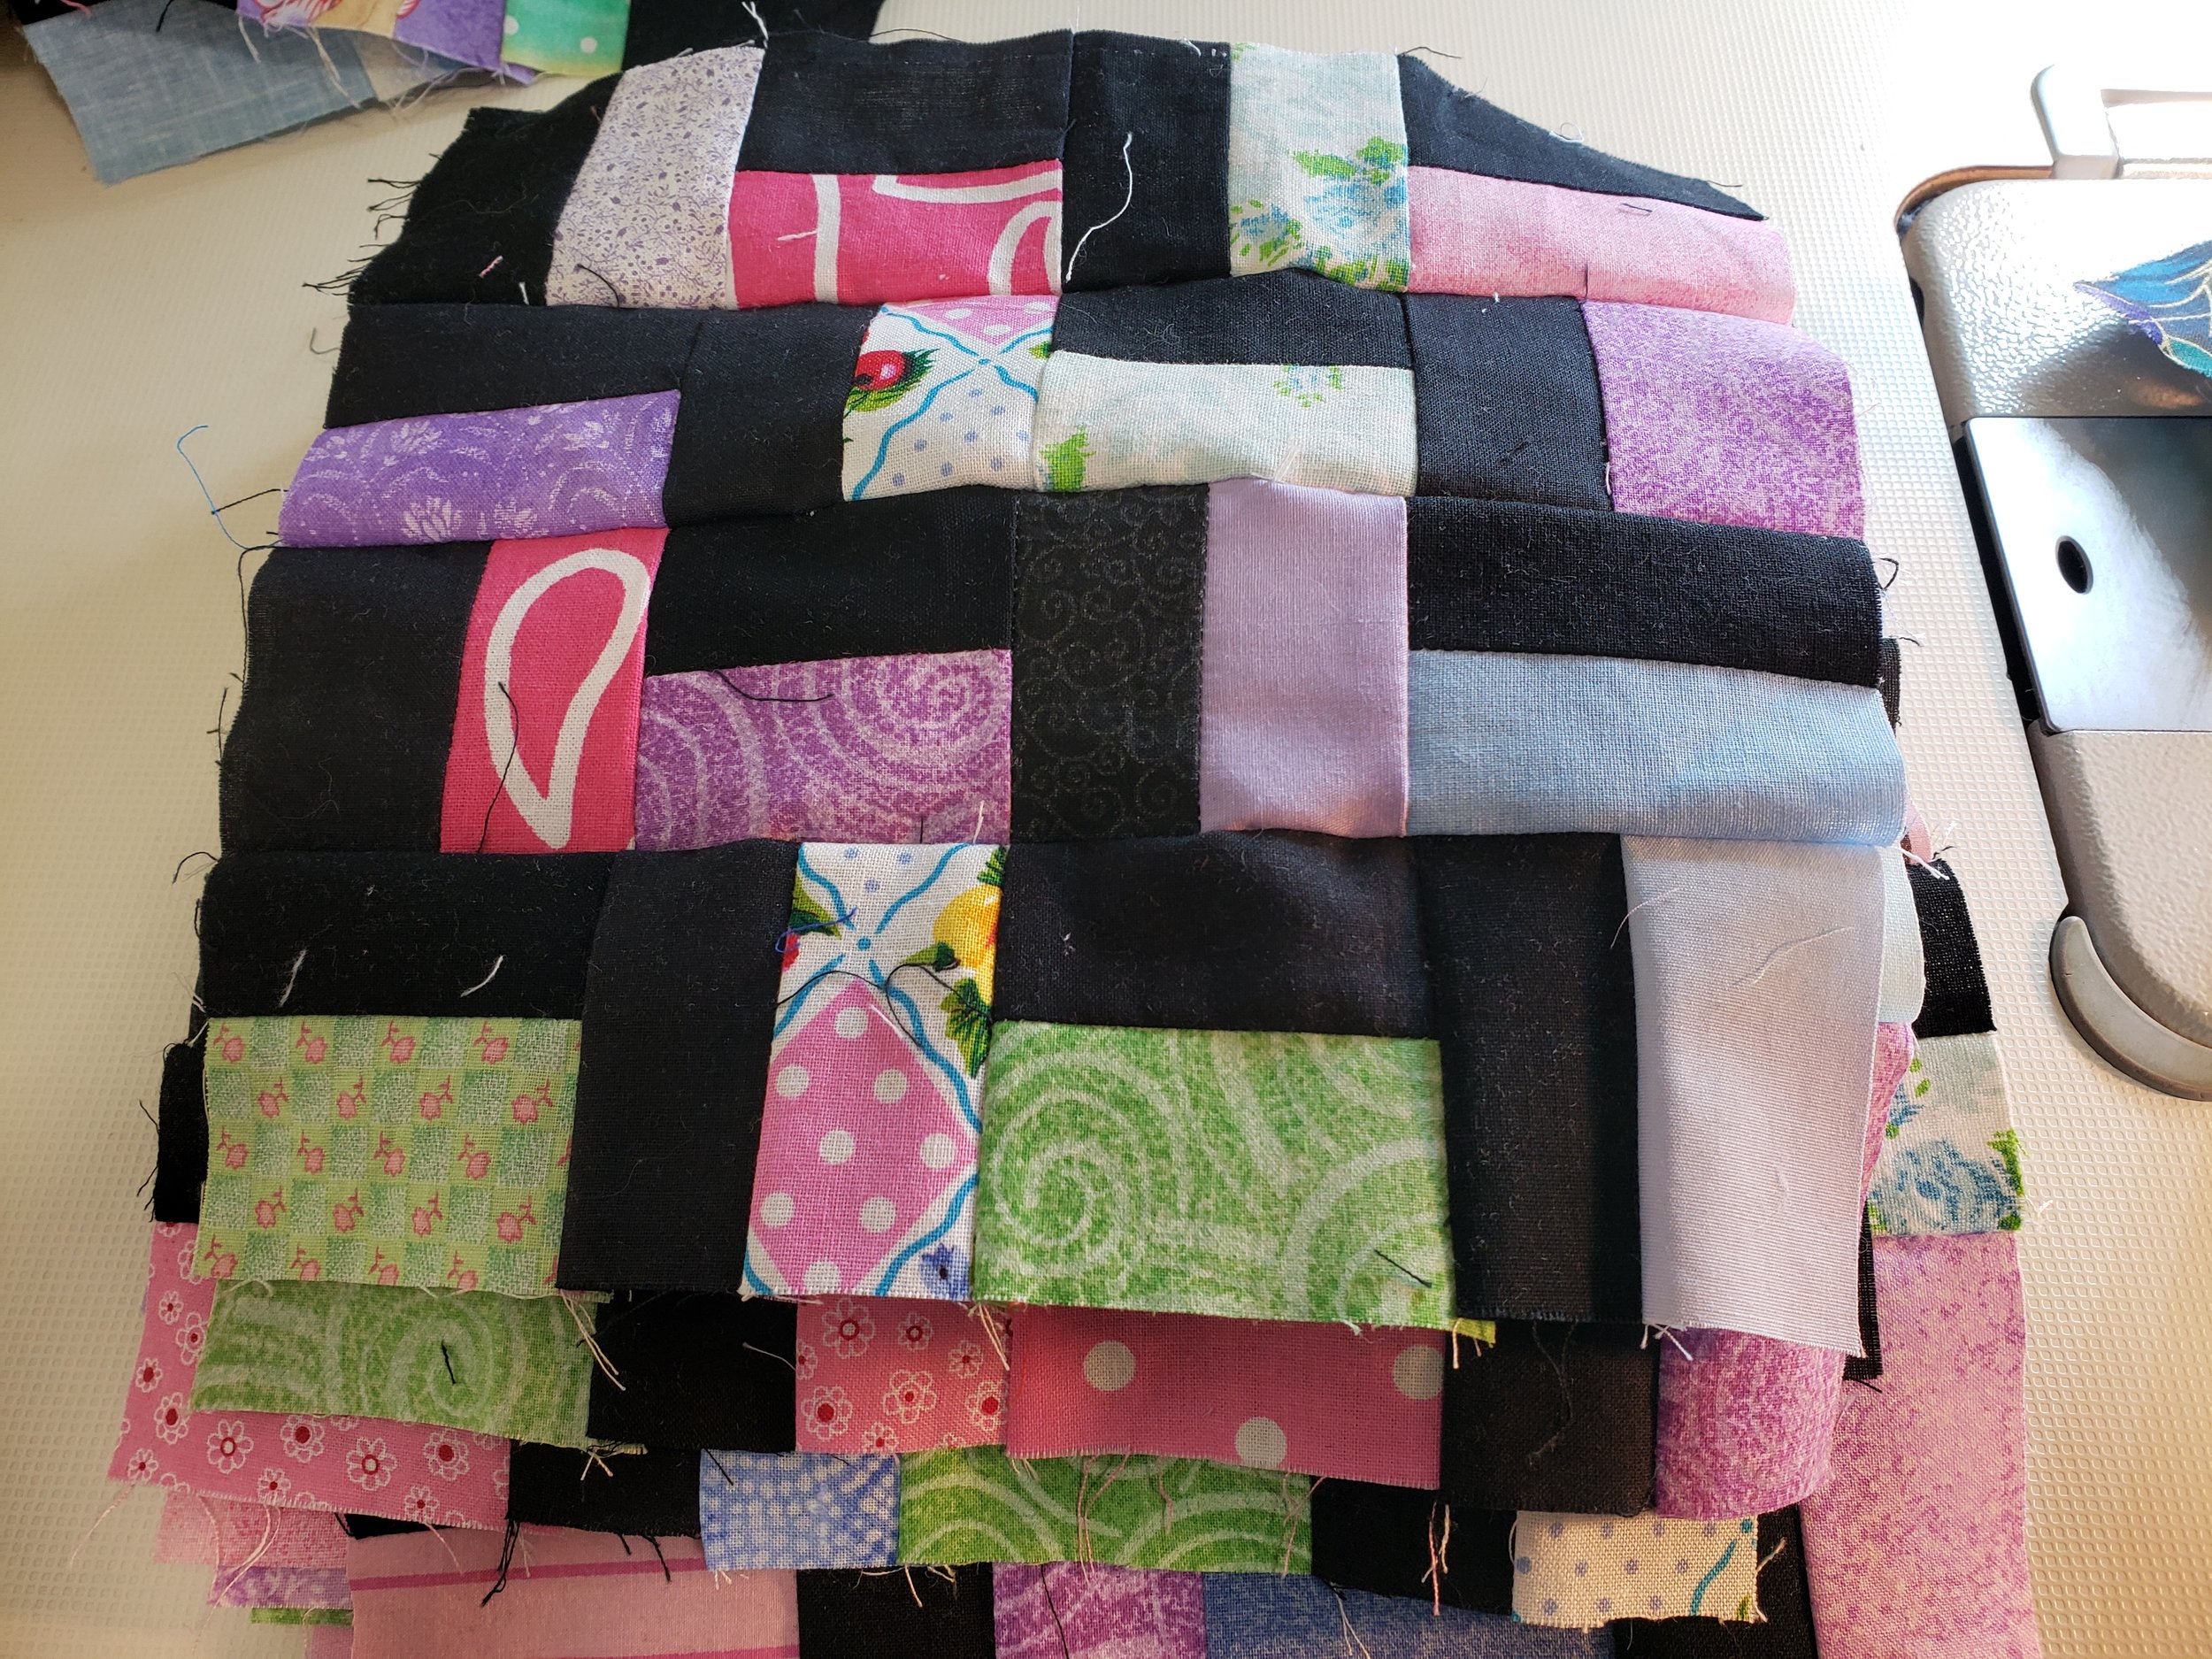
I think I have made about 27 or more total blocks - and here are the first 2 rows of 11 blocks each. I put it together to check out how it was going to look! Here it is on the ironing board.

I knew that wasn’t going to be good enough, though. I needed to get it to the living room and put it on the floor and take photos. So I did. I took it down to the living room, put it on the floor and took some photos. So cool. I loved it.

Because the blocks are 8” finished, at least with 2 rows done, I have 16” finished.
I walked to the dining room to top up my drink and as I walked back into the living room, getting ready to fold it up and put it away, this is what I saw!

This is a mistake! Was I going to fix it? Or should I write and ask you all if I should.
(GRIN).

One little tip I have - I always put a safety pin in the top left corner so I can know WHERE is the top left.
That is not even an issue. I picked it up, took it to the machine, sat down, got out my trusty ripper, pulled out the turned section and put it back in. I pressed that section. I think it took 5 minutes.
NOW!
So this is where I am at the moment.


I eventually took it back upstairs and put it all in the plastic box where I am keeping it all together.

I don’t even know how it is possible for me to have so many threads! Sigh.

I will be working on this from time to time when I get in the mood. I sometimes like to work on small things and this will fit the bill. I also like the look!
I’m not in any hurry to finish this - and I hope to finish this in the next few months.
Thanks so much for coming along with me.
Have a great day wherever you are reading!
Be sure to check out what my sis has for you in the store here!
Feel free to browse the site.