Test Pattern #49, remake, part 3
I’m working on the revision of Test Pattern #49, remember? Can you believe it’s been a month since I posted the last part? YIKES! That’s bad.
I guess I almost forgot in the middle of all the various things I’m trying to do here and there.
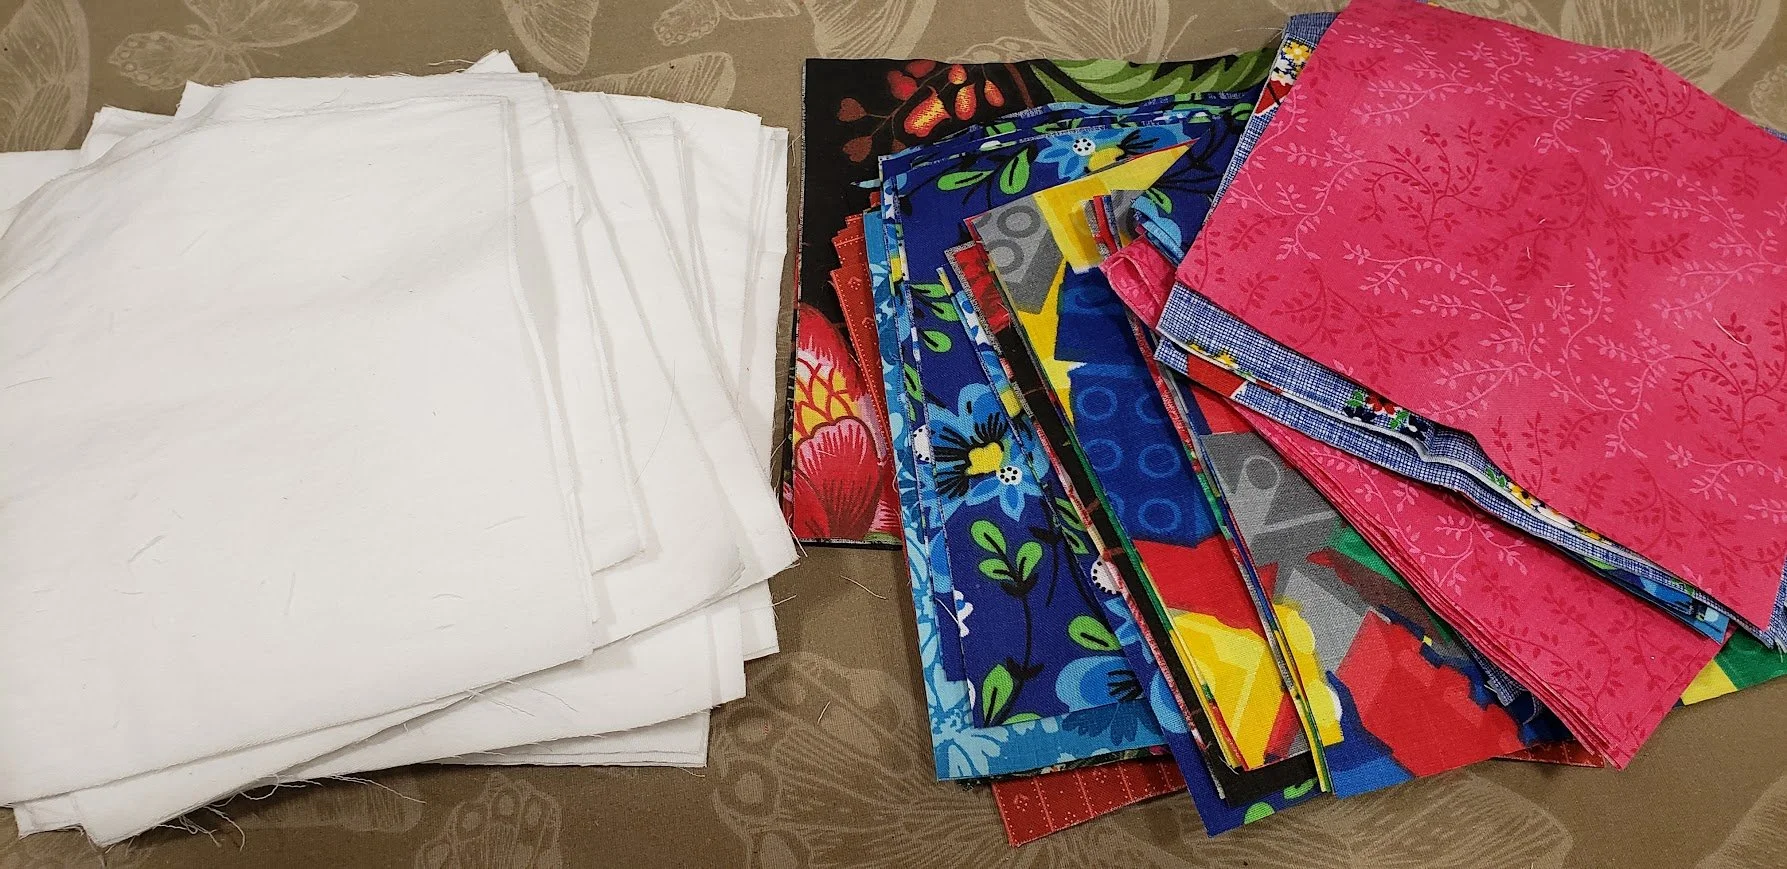
But I needed to get 128 of these half square triangles (HST) finished.
Here is what I did. First of all, I began to look around for various fabrics that I could use in this - things I wanted to cut up. However, being caught up on all my strip making means that I actually headed to my fabric shelves and searched for dark colors with almost nothing left. In some cases, I wondered why I even bothered putting the fabric back on the shelf. I also took from some of my recently trimmed off backings from my huge pile of charity quilts. (I’ve started trimming.)
So I made 128 of these 5” at this point, HST.
Here is how I did it.
I cut up the fabric into about 6” squares. I used white and then highly saturated colors.
I pressed the white squares into half diagonally.

I placed the white on top of the colorful square, right sides together, and sewed about 1/4” on each side of the pressed line.


I then cut them apart and pressed toward the darker side.


I then trimmed them down to 5”. Since I don’t own a 5” square ruler, I used a 5.5” ruler I had and did it in two steps. First I trimmed one corner (2 sides) and then I flipped the blocks and moved the ruler and using only the 5” markings, I trimmed again - the other corner (two sides). It worked like a charm (LOL - get it?) even if it wasn’t particularly fast.


Now everything has been place in my bag with the other parts.

So…now for next time (hopefully in about a week), I want to go ahead and make up the main blocks.

These blocks.

Then, I want to cut out the light gray 5” squares I need. I need 64. That should be easy enough to do. This will help me get started on the next thing I do.
While I’m cutting the very light gray, I’ll go ahead and cut 40 little 2” squares for the center of this block. It’s the cornerstone block.
And that’s enough for next time. After this, I will have more rather large steps to do and then I will be ready to put the whole thing together.
One more thing.
I wanted to show at least one of you (:)) how it is laid out. I have put the blocks here on point and with no sashing or cornerstones.

And here is the next step to show you - this one is showing the blocks and only the cornerstones. No sashing.

As you can see here - what makes this one look so wildly different from the other ones I made with this block, is this sashing block - which is this


Of course, what happens at this point is that the yellow in the sashing takes over the design and it becomes the highlight and focal point. That is what is kind of tricky about it.
Remember - I made these three quilts with all this main block - and they do look (overall) quite different. Once you know what you are looking for, it is pretty easy to see, however.

Blades of Color

Test Pattern #49

Arapaho Roads
Anyway….thanks so much for coming along with me on this journey!
Have a great day wherever you are reading this!
Be sure to check out what my sis has for you in the store here!
Feel free to browse the site.