
Day 2 - What Am I Doing Quilt?
Today I worked on that king size quilt top - that I suddenly decided I needed to make and have done by Friday—well, it might not technically be a king size. It’s 100”x104”. It’s big for over here - probably not technically a king for the states.
What did I get done today?
Well, I had to finish making decisions about the actual layout.
I went to EQ and looked and thought and looked and thought.
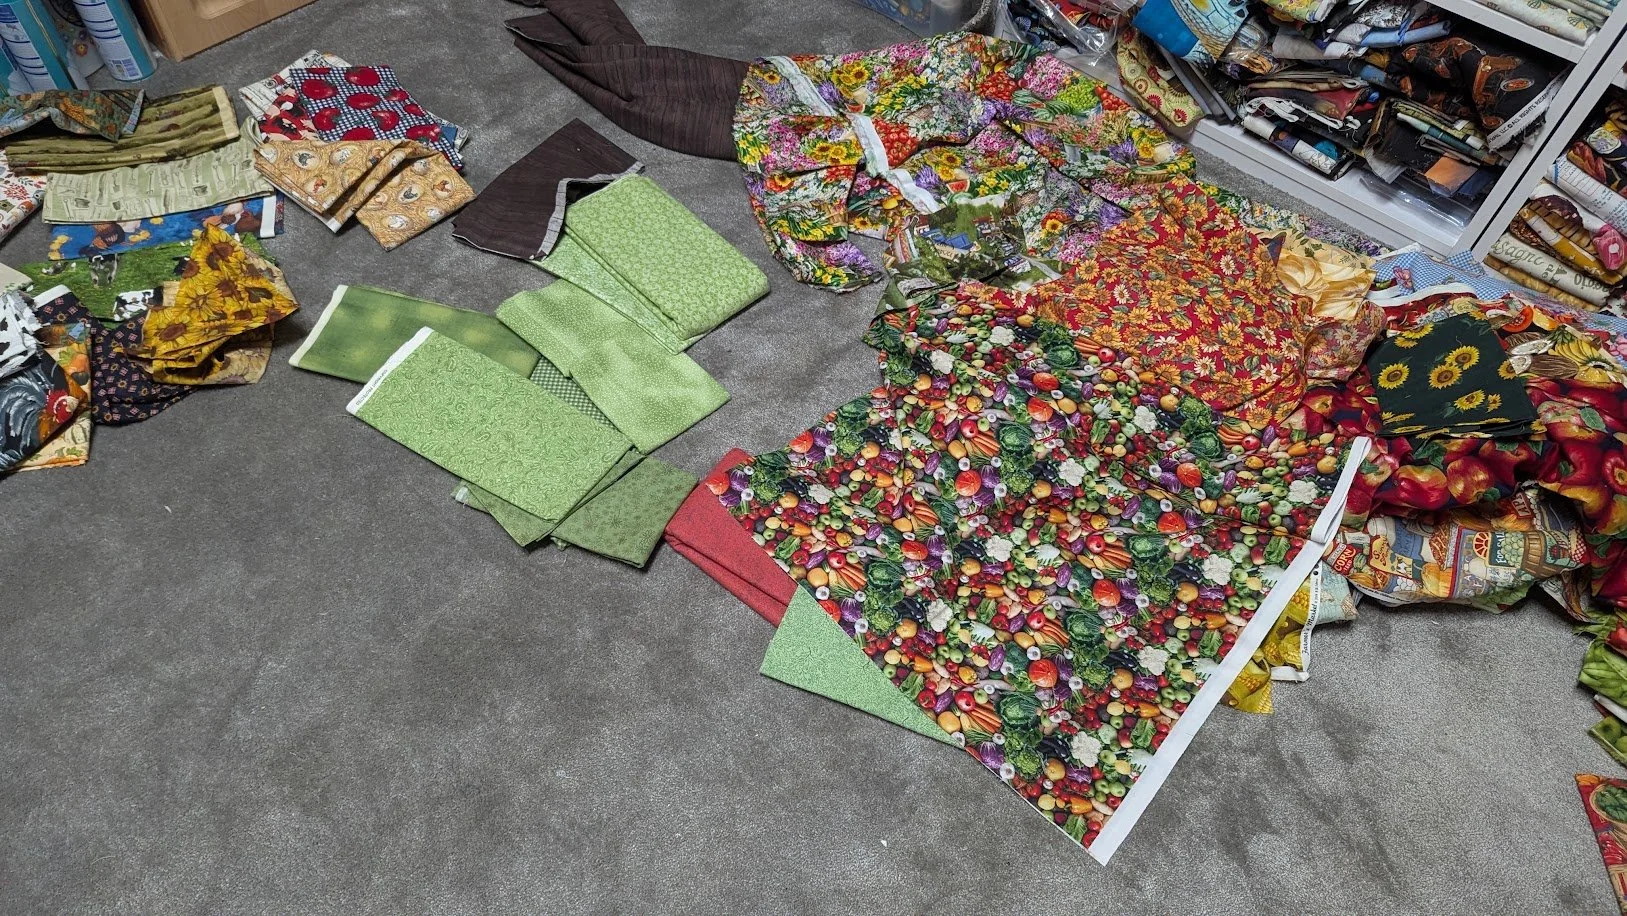
I had pulled all my fabric that could be possibilites after I finished up the layout.
I didn’t know for sure what to do after I finished the first three borders, but I figured I’d tackle it when I got there.
Let me share with you my original plan once again.
So, I did. I made decisions as needed and when I go there.
I also made some decisions about which fabric I wanted to use for the 6.5” cut squares.
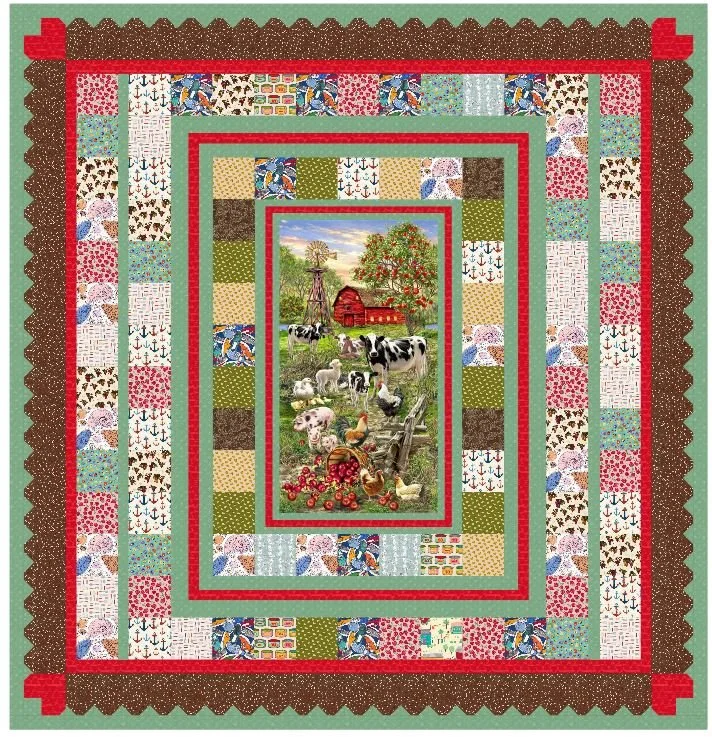
original plan
I also opted during that morning that all those squares in my original design would be “too much” and my gut said to put a plain cut 6.5” border around that panel instead of squares. I fought with myself over which fabric to use, but in the end, this rooster fabric that was called “Lancaster” from the early 2000s or late 1990s made its way into the top. It ended up being “What do I have enough of?” and “What won’t look too busy for that spot?” in combination.
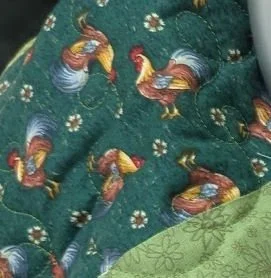
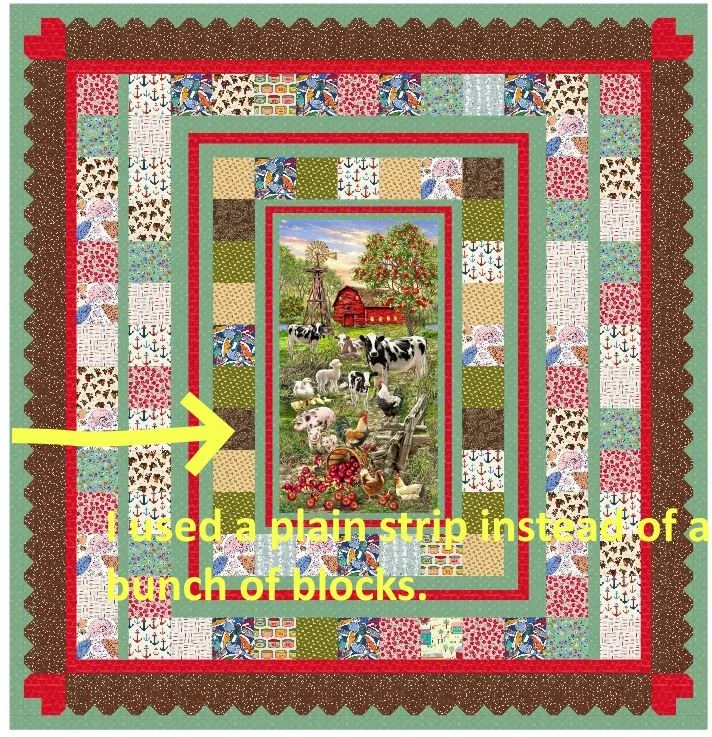
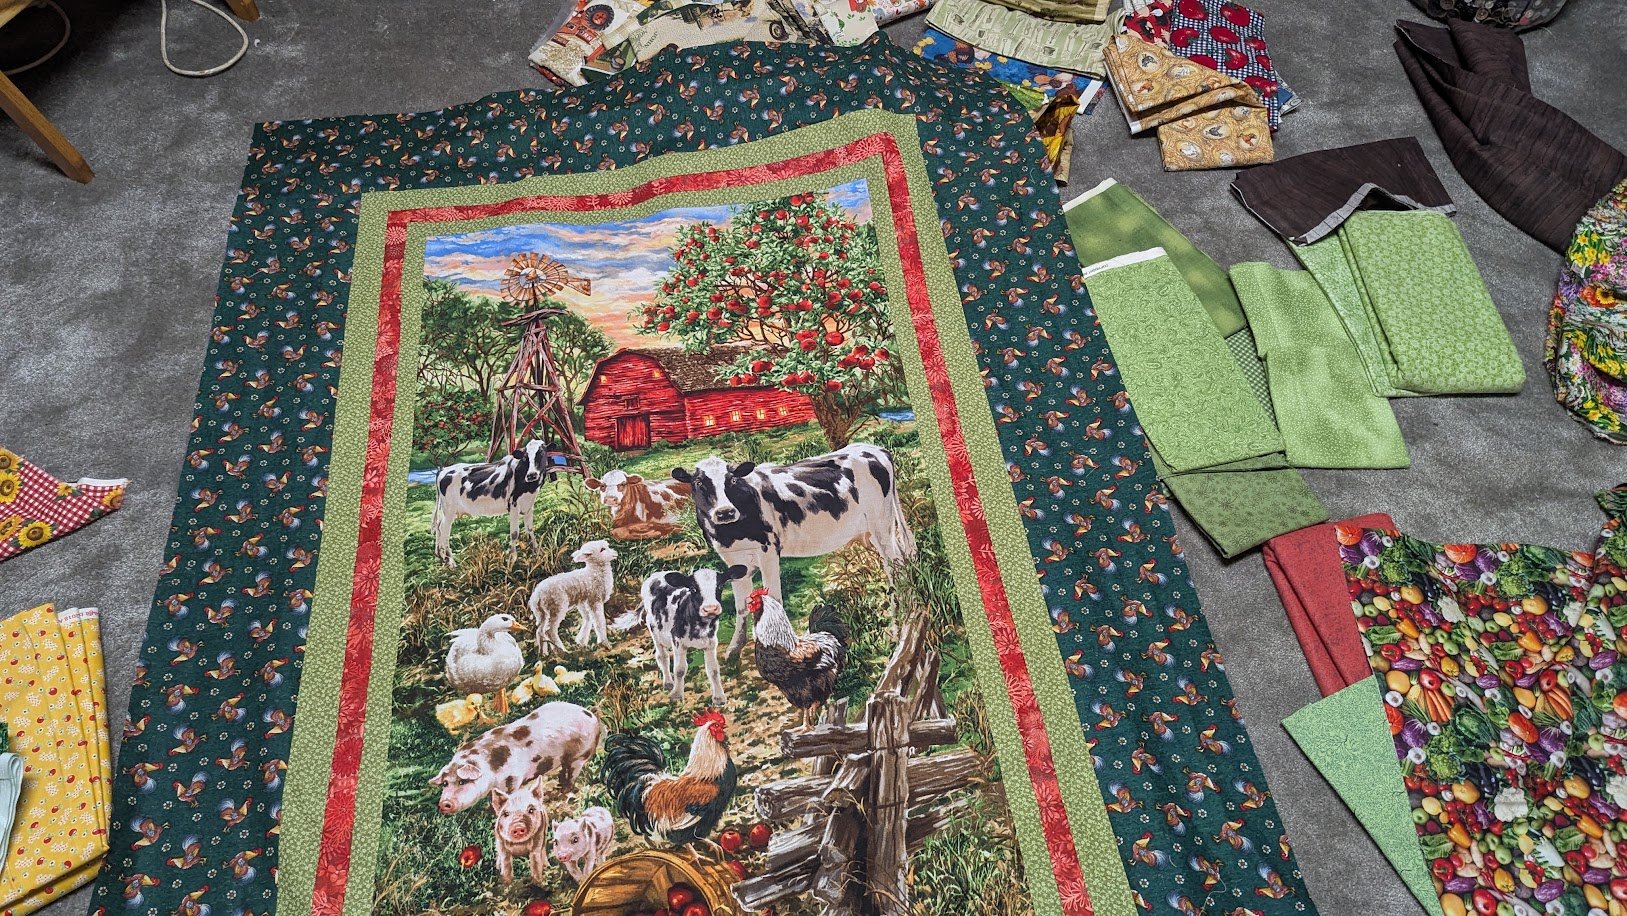
This was the only real choice I had with what I had in my stash if I wanted to not use a simple blender (I did not want to do that—as I wanted to use a farm oriented print).
So, by the time I had to stop to make lunch/dinner at about 11:45 I had the panel trimmed, the green, red, green, and deep green rooster print were done. I believe I also had the next green and next red borders done. I did not have the next green one all finished at this point. I had to stop and come down to fix dinner. I think I lacked the top green border (no photo) on that last round before squares needed to be added.
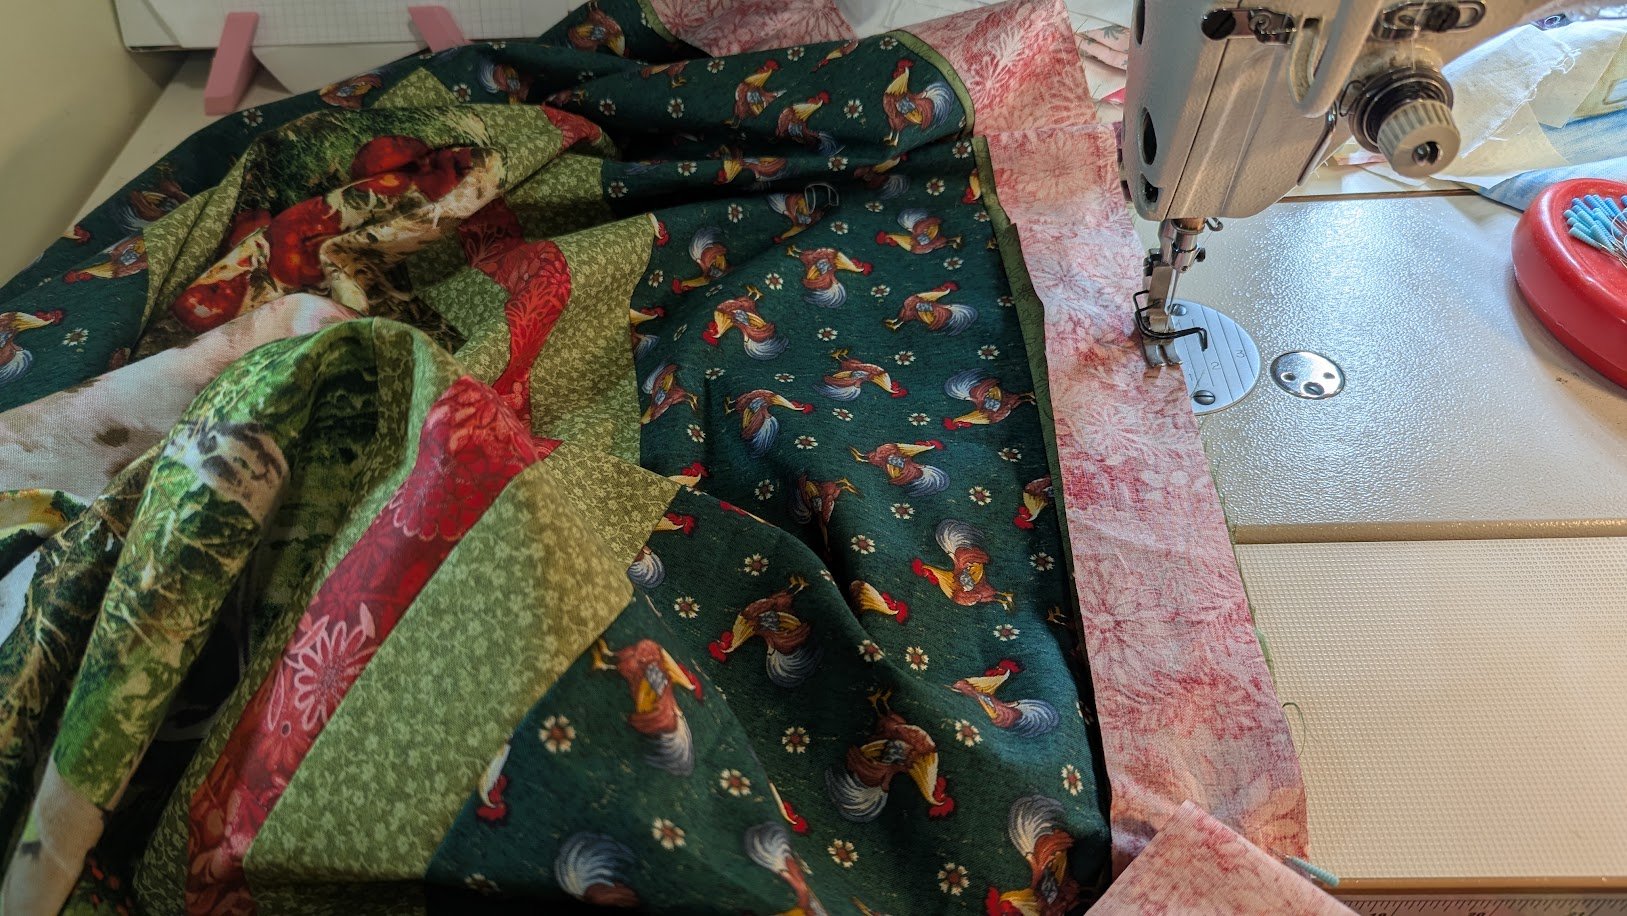
I just had to stop. Did I want to?
No, but chicken takes about an hour to cook, so I did.
As I was waiting for the chicken to cook (We had baked chicken, sweet potatoes, and grapes), I cut my 6.5” squares. I chose 14 different fabrics from off the floor in that bedroom and cut the number of blocks I needed for the next border. And that’s how fast it is to mess up all my hard work that I had done the days before in that bedroom! :) (It is all put away again, however.)
Truthfully, collectively, this many borders takes a while, especially since I did measure, pin, and press between each border. Actually, I pressed between each two sides (after the left and right sides, and then after the top and bottom, for example).
So, gradually, after I stopped to make dinner, I did get my blocks cut and sewn in to the top.
Finally, after cleaning up dinner, I was able to get back to the project.
I added the nice squares as shown.
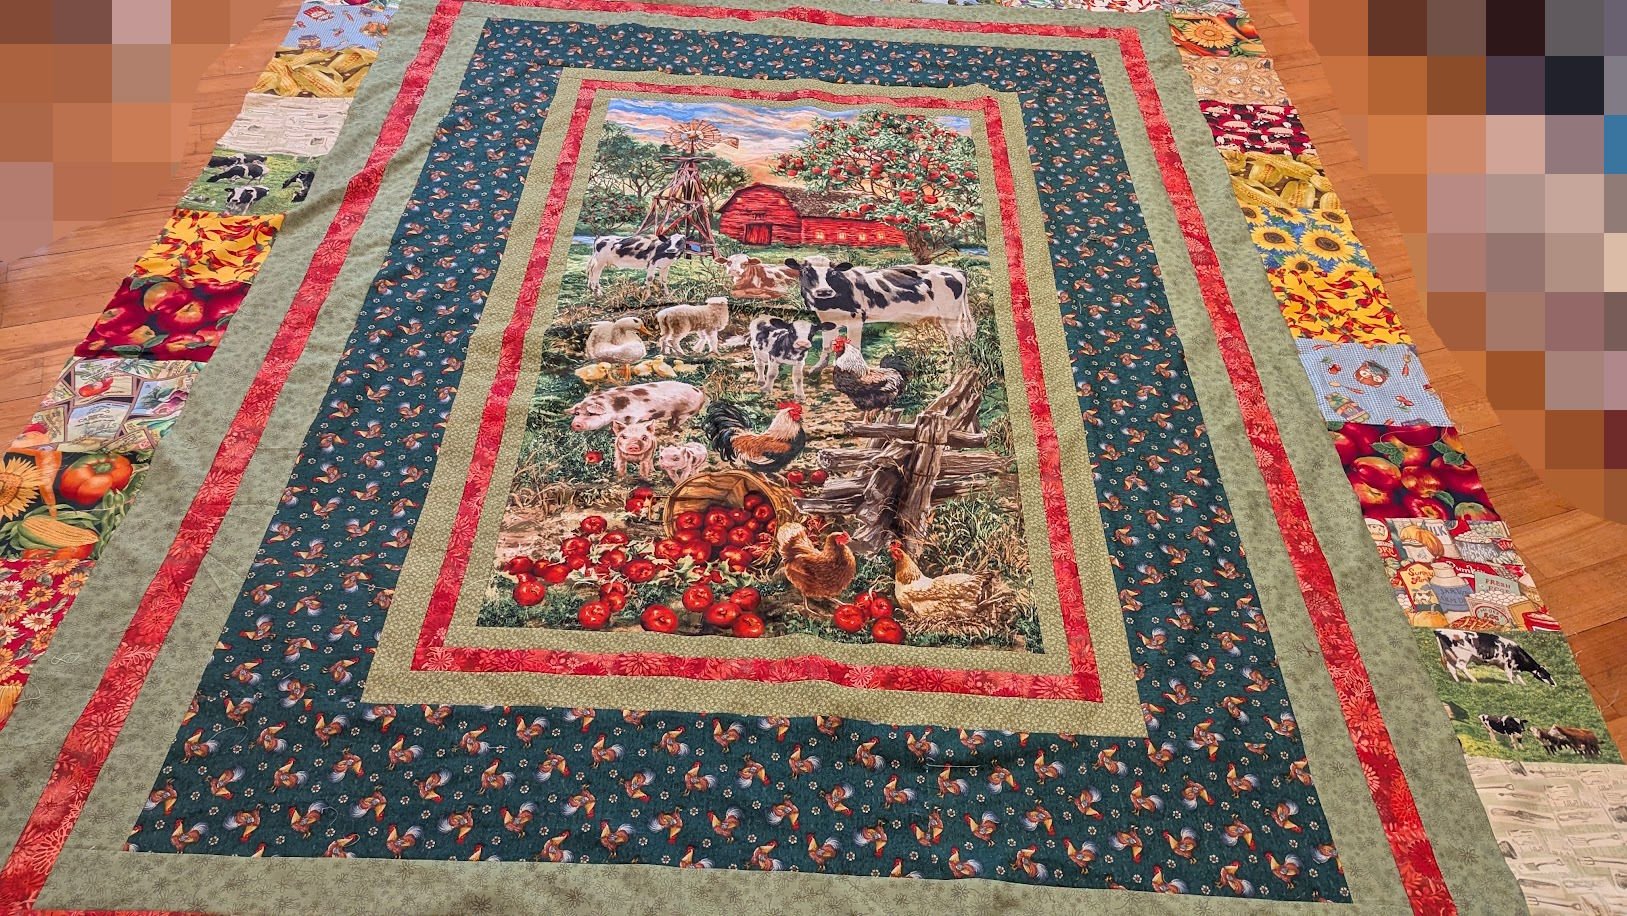
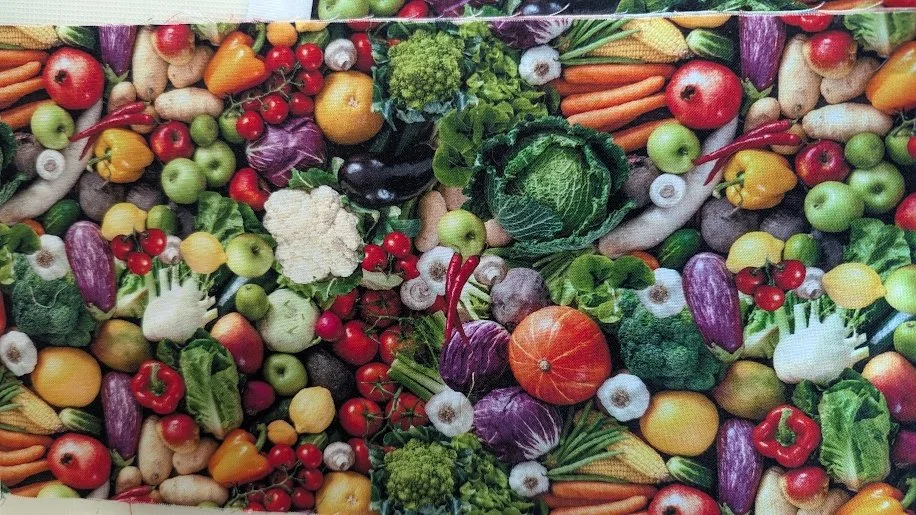
I then put another green strip in and then a large 6.5” long border of an amazing veggie print and a red border to the sides. It was here that I made the top become a lot wider. Up til now it would not be wide enough for two single beds. I added the green strip and veggie print ONLY to the sides in order to do that.
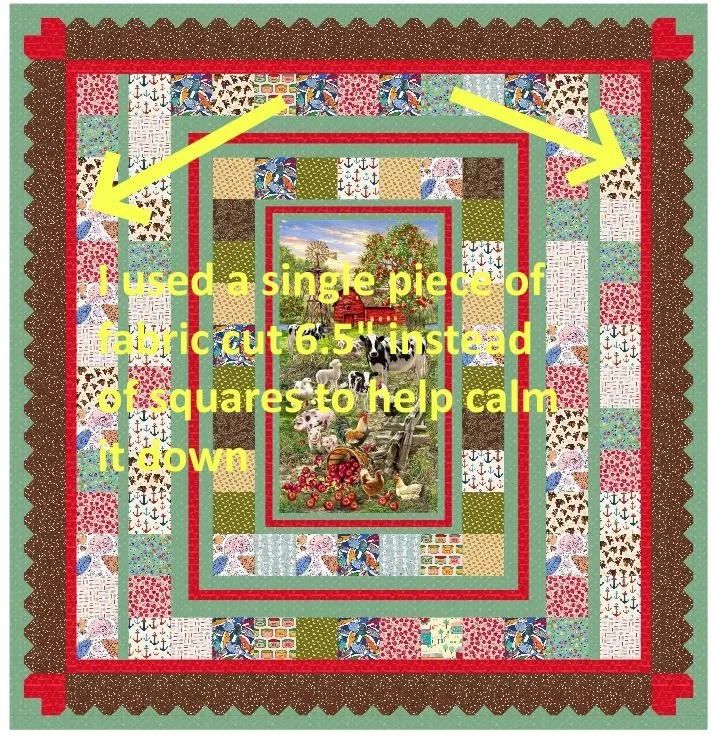
I had hoped to get to the “almost last border - the red border” on Day 1. That would leave me the more extensive pieced borders for the next day - and hopefully get it put on the long arm after I prepared a backing.
Most of the blocks are just simple blocks, so I figured decision making and cutting was going to be the slowest part of this process.
It was ready for the pieced border brown blocks. I did not take a picture of the quilt top at this point— I left everything in my sewing room - ready to take a break and tackle the rest on the next day (Tuesday).
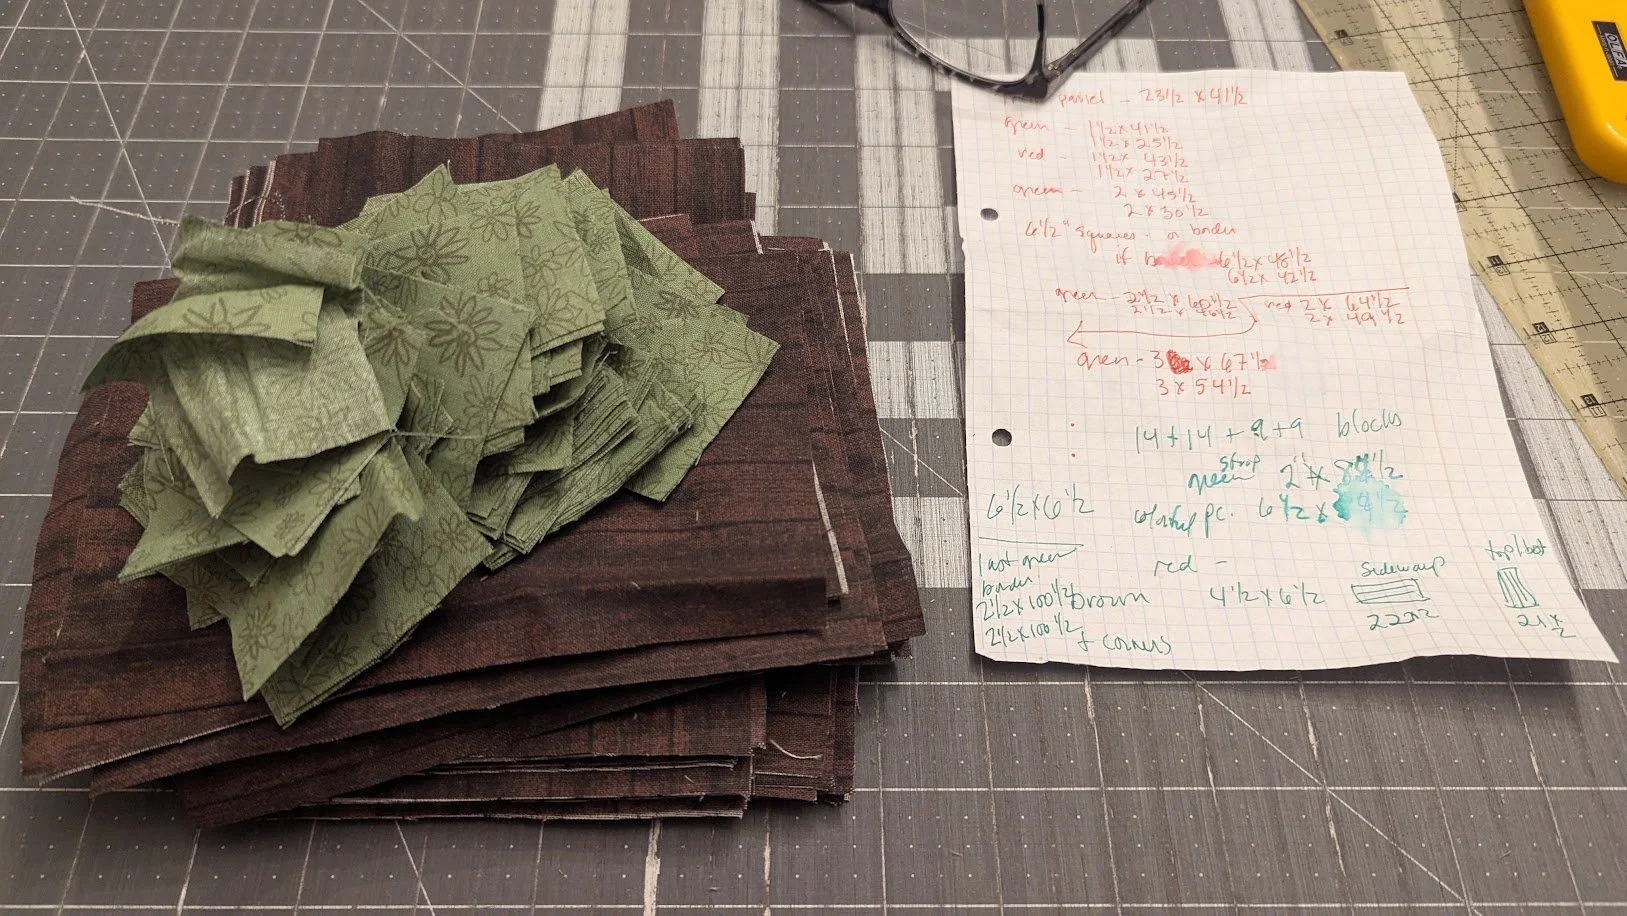
I did cut up the brown rectangles and green squares for it before stopping for the day. The brown were good sized - cut 4.5”x6.5” and the little green squares were 2” cut.
I worked til about 7 pm that day, I think.
I was very happy with how it was looking so far, but I knew that the brown border would make it look so nice! The next day was going to be a good one! You’ll have to make sure to read the next part on the blog!
By now this was more like how my top would look.
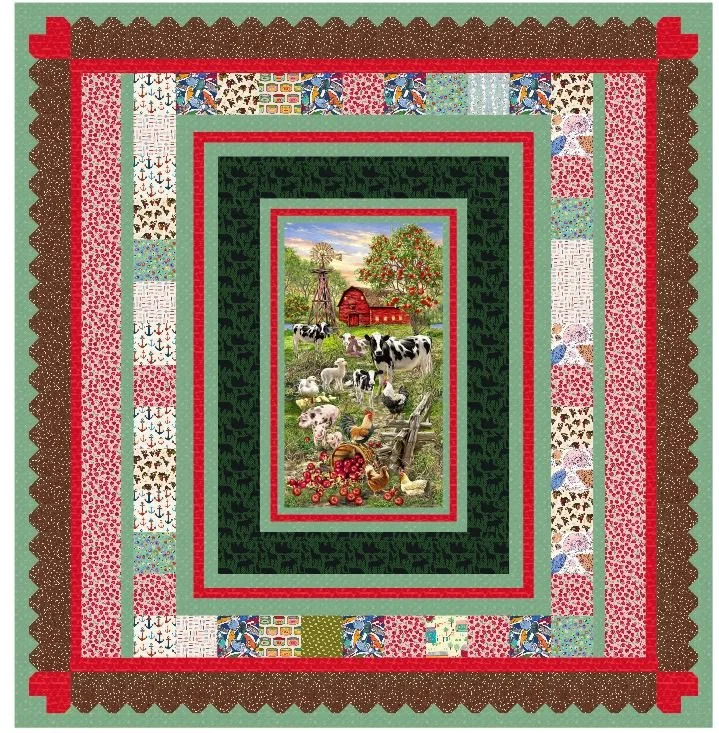
Thanks so much for coming along with me on this journey.
Have a great day wherever you are reading this!
Be sure to check out what my sis has for you in the store here!
Feel free to browse the site.