
Paper pieced Piper Cub quilt top, part 5
This will now be the last of these posts about the top. As of this blog post I have finished the hearts of the quilt and haven’t decided whether it should have a border ot not.
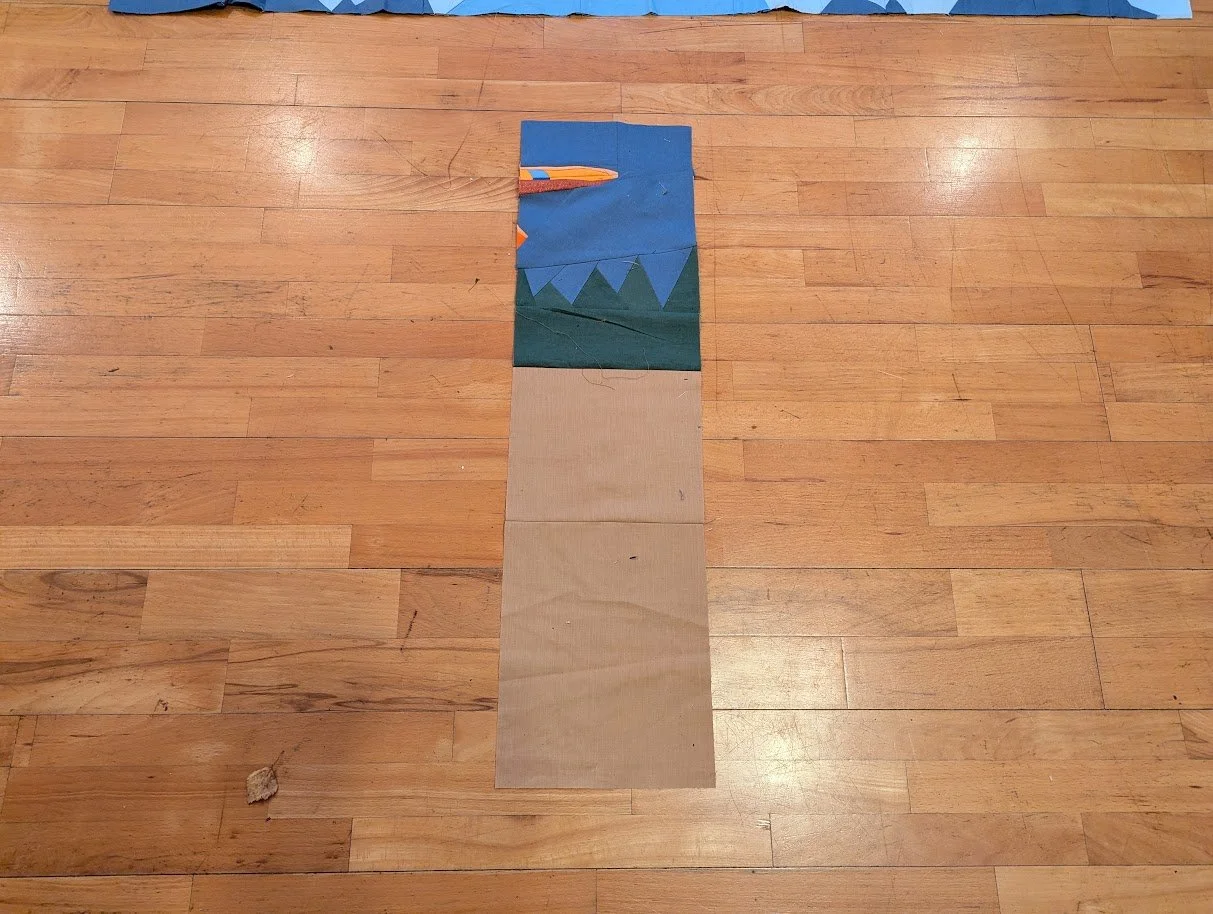
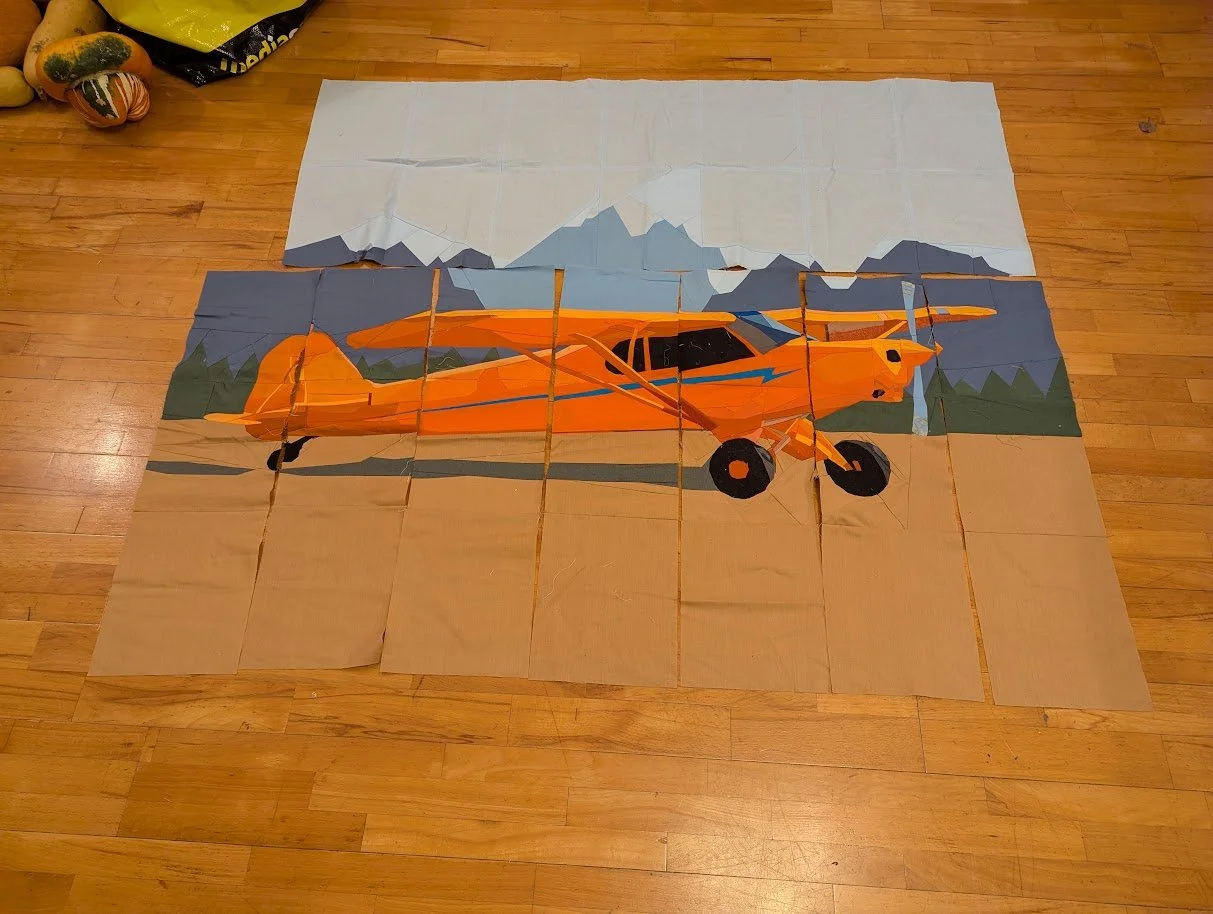
I finished the 7th column. Then, the next day I put the top together - all those columsn which I had previously made had to be sewn together! Once the columns were put together, I put the mountains/sky on to the botton part.
Yes, I was a little nervous about it. it seemed like it wasn’t going to “fit right”.
Would all that space really be taken away once the seams were sewn together? The top was the right size, so I knew that was the size it was supposed to be.
It did look super cool even this way, but obviously I had to match all those seams together, and believe me, some of them were pretty thick where they had to be matched up and then somehow pressed down.
But I did it!!!!
Can you feel my relief? I hope so!
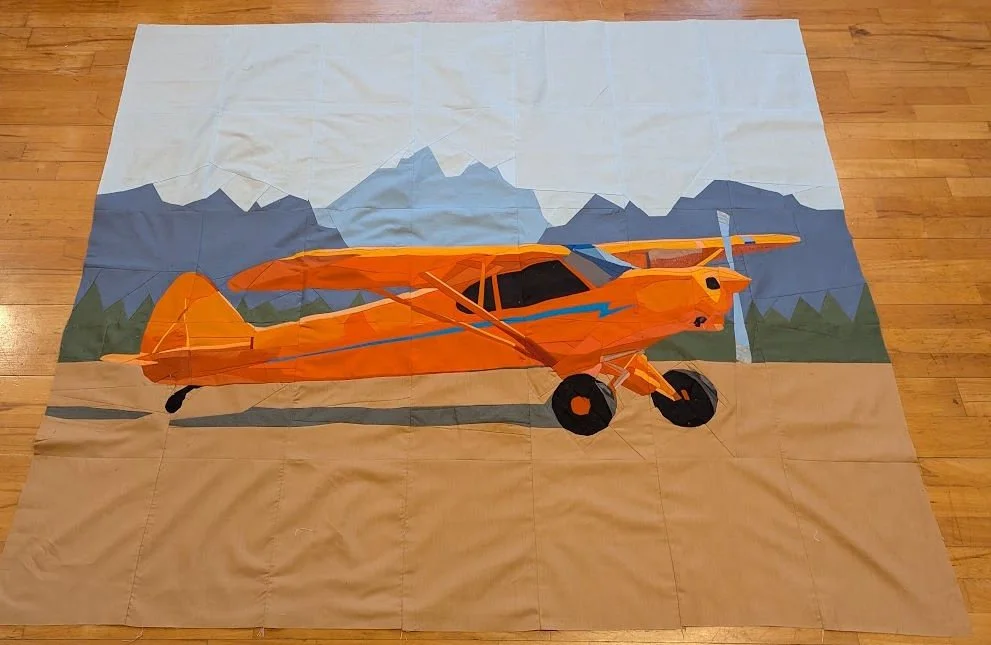
There are places here where the fabric is several layers thick as some of those seams and areas of being pieced are so thin that the fabric folded back upon itself. If you do paper piecing and have done tiny little sections - maybe 1/4” or less wide showing, then maybe you get it. This isn’t the same as paper piecing a few seams that are quite wide apart and there is plenty of place for the excess fabric to be folded over, trimmed and it is out of the way.
If you have done one, you may understand better.
Anyway, I’m sure a good bit of it is operator error, but also, the pattern…it’s just so detailed.
Naturally I know all of the problems. But I chose to leave maybe the struts not matching up but instead making sure the blue line along the side of the plane match.
Considering I had only done a few quite small paper pieced projects to this point, I’m actually pretty proud of the accomplishment.
No, it didn’t make me want to do another one right away.
In fact, it has given me a whole new appreciation for all of you who do Quiltworx patterns!!! I’m even more amazed than I had been before. Now I know from experience how much work one of those must be!
The center of the top is 57” wide by 50” long. I am deciding whether or not to add some borders to help round it out. The original pattern has borders. I’m considering it but my husband doesn’t think it necessary. I am inclined to just straight line quilt this one on my Janome. I’m really scared to try this with the long arm as I’m afraid I might break some needles or cause my machine more issues where it is the most thick.
I’m about ready to call the tech on the machine again anyway as I want to be able to use it before the end of the year to get some more of the tops I have waiting, finished. Naturally, however, I don’t want to break needles or give myself more hassle than necessary. I’ve got some other obligations coming up before the end of the month of November I’d like to get taken care of before I can focus on much else, however.
Next time you see this project I should have it all finished including being bound. By then you will know whether I added a border or not.
Thanks so much for coming along with me on this journey. Thanks for tolerating all these posts about this particular project!
Have a great day wherever you are reading this.
Be sure to check out what my sis has for you in the store here!
Feel free to browse the site.