Squaring up a Quilt
When I made A Hot Mess - Colorful I knew it was all out of whack.
Here’s the top as I finished it -

Top only

Finished quilt
I knew as I was working with it that it was off kilter a bit. A bit wonky. With a quilt like this, just being wonky wasn’t enough to be concerned about, but I could tell that it was wider along one end than the other. Significantly wider.
I’m not sure how that happened, either. But that’s not really the point of this post.
This is about how I went from a wonky top to a squared off quilt.
I’m going to do it with lots of pictures!
First, find materials -
You need a yard stick or meter stick, long straight edges (2 is best) and some washable magic markers. You also need your quilt to be quilted and stitched around the edge (to keep it as flat as possible).


I use the Crayola washable markers.

This quilt should be quilted and stitched around the edges.
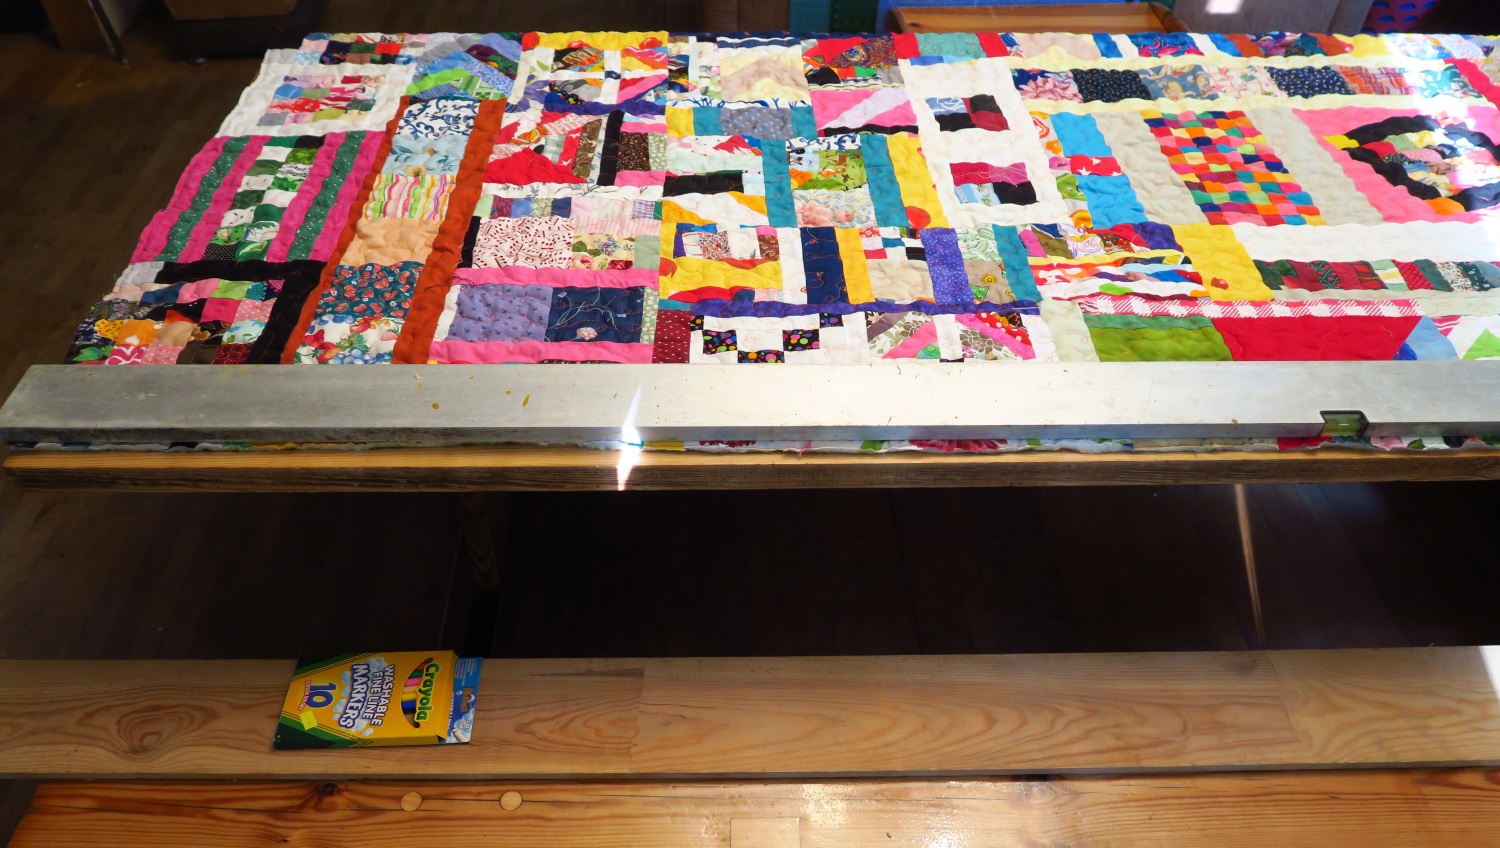
2. Put your quilted quilt on a flat place. I used my very long table.

Straighten First side:
Eyeball and draw a straight line along one side of the quilted top. I used my washable marker. Use the straight edge.and mark along one edge.


Cut on that line.

I had to clean my husband’s 3 meter metal level with soap and water. I know it looks dirty, but actually that’s pretty clean!

I used scissors on that first edge. The other three? I used a rotary cutter and mat.
First edge is trimmed!

Straighten second edge/side:
Measure down along the side you just cut 4 feet or 48 inches. Measure along the top side - the side you are working on over 3 feet or 36 inches. Mark that spot with a pin or marker - this is a temporary mark..


Using your tape measure, measure diagonally across 5 feet (60”) from the 48” mark and over 36” along the top. If it doesn’t match the pin you put in along the top, adjust the mark on the quilt so it does.
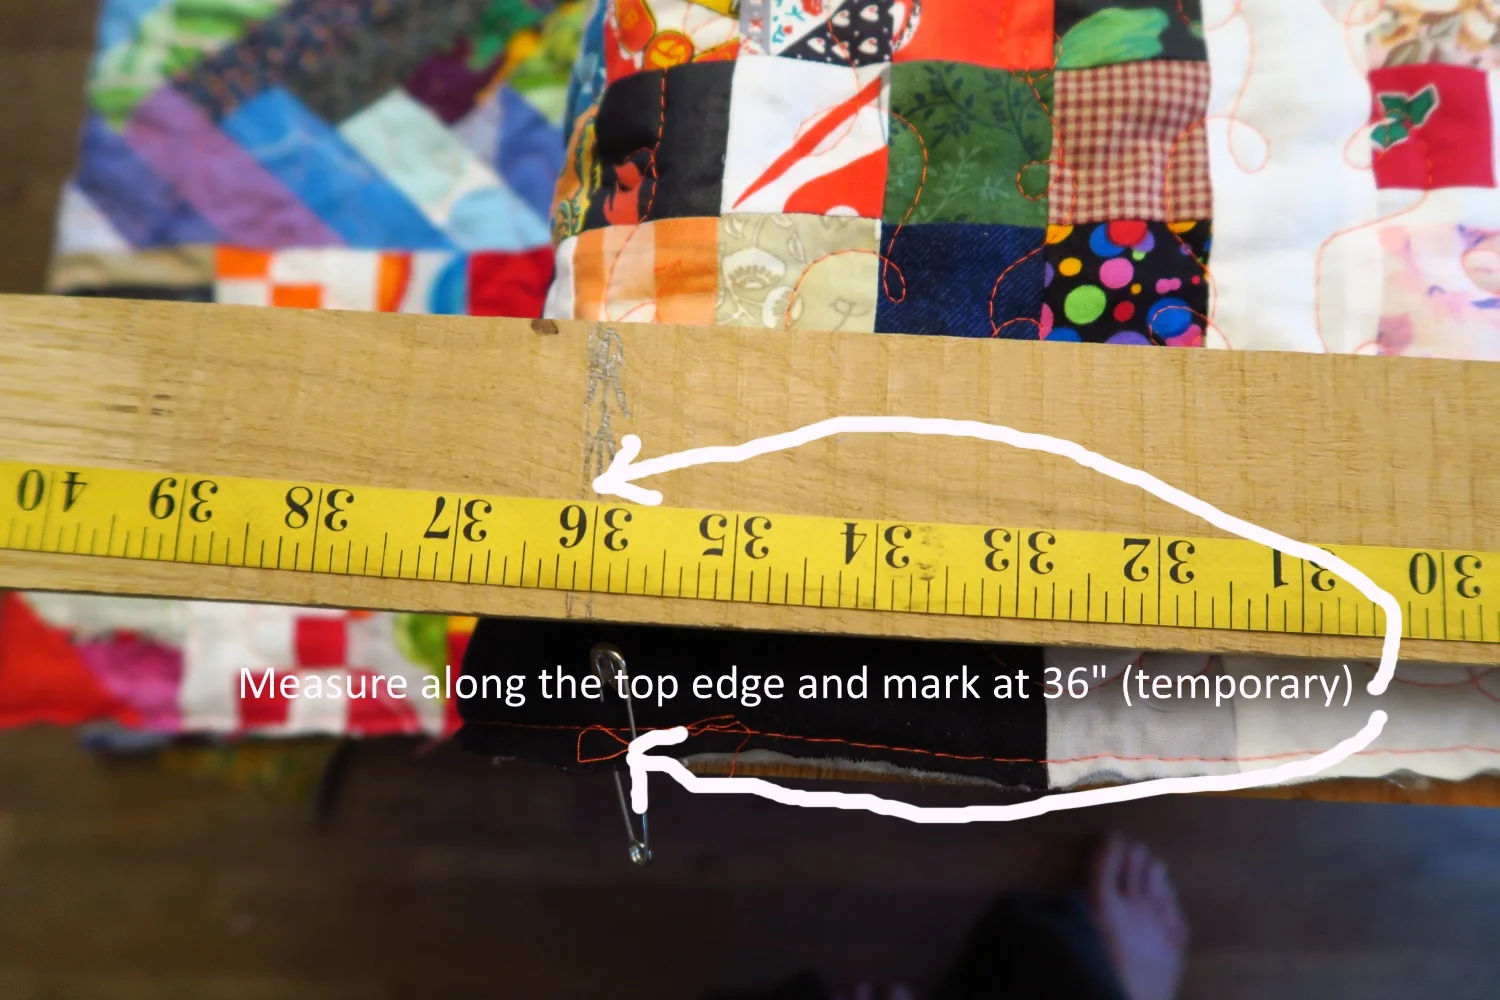
Mark 36” on your straight edge if you don’t have a yardstick.


You need a helper. Have a second person hold your tape measure on to the 48” mark along the first edge and measure 60” and see if you can match the 36” mark along the edge you just noted. If it won’t reach, move the tape measure so that the 60” mark on the tape measure meets up with 36” on the straight edge. When it does, mark the quilt right there.


Mark that spot.
Mark that spot.


Your straight edge needs to join that spot where the 60” diagonal meets the 36” mark and the corner of the quilt.
Draw along the line created - between the corner and the mark you noted with the 36” mark.

I used my large square ruler to join the edge - I marked it using the washable marker.
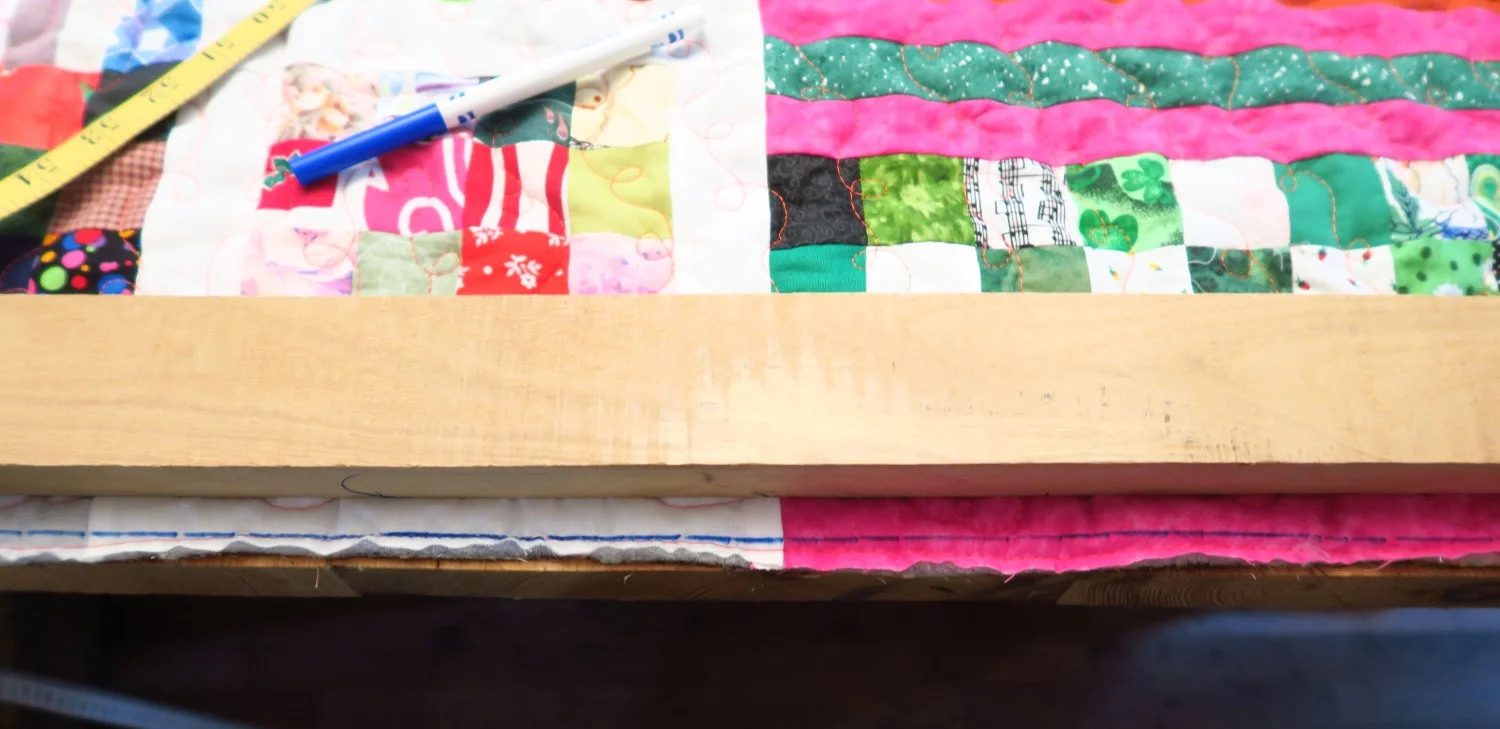
I then moved the whole quilt to the floor where I could use the long straight edge and using the marked section so far, I followed the rest of the line and marked my cutting line.

Mark along the rest of the side. You have marked part of the edge, but finish it off using the long straight edge.


Using a big square quilting ruler and a yardstick or meter stick, mark along the this second side making sure that the corner is 90 degrees and matching up with the mark. Draw along that yard/meter stick coming to a 90 degree angle with the side you have already cut. If you have followed these directions, the corner you created should be 90 degrees.

Trim along the line you just drew.


Straighten third side:
Place a long straight edge along side 2.

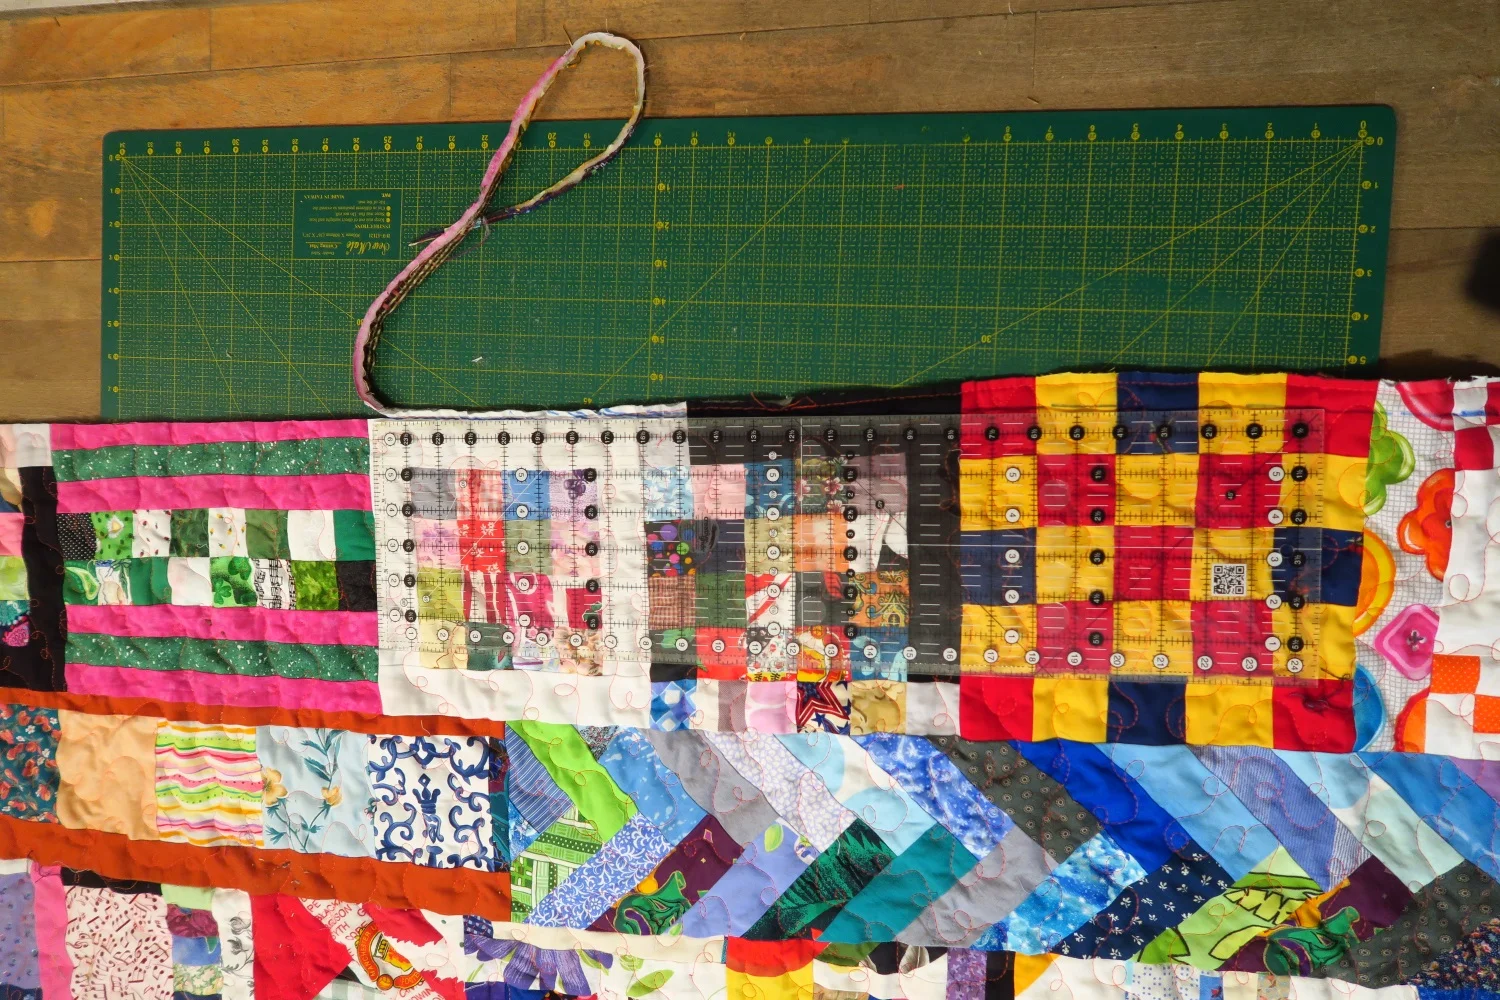
Using your tape measure, measure across the quilt to the other edge to find out how wide it is at various points along it.


Mine was 94” at some places and 97” at some. Obviously I had to use the 94” width to make it all the same. Mark at the 94” point.


Once again using my washable marker, I drew along those marked places.


Trim on the drawn line using the same method as the second side using your mat and rotary cutter on the floor. :) Sorry!
Straighten the fourth side:
Using the same method as for the third side, move the straight edge to the edge along side 1, hook the tape measure over it and measure the width.


Mine measured 94.75” at the narrowest and about 96” at the widest. I trimmed to 94.75”.


And there you go.
That’s how I squared up this top!
Be sure to check out what my sis has for you over in the store! She’s always looking for goodies for you!

