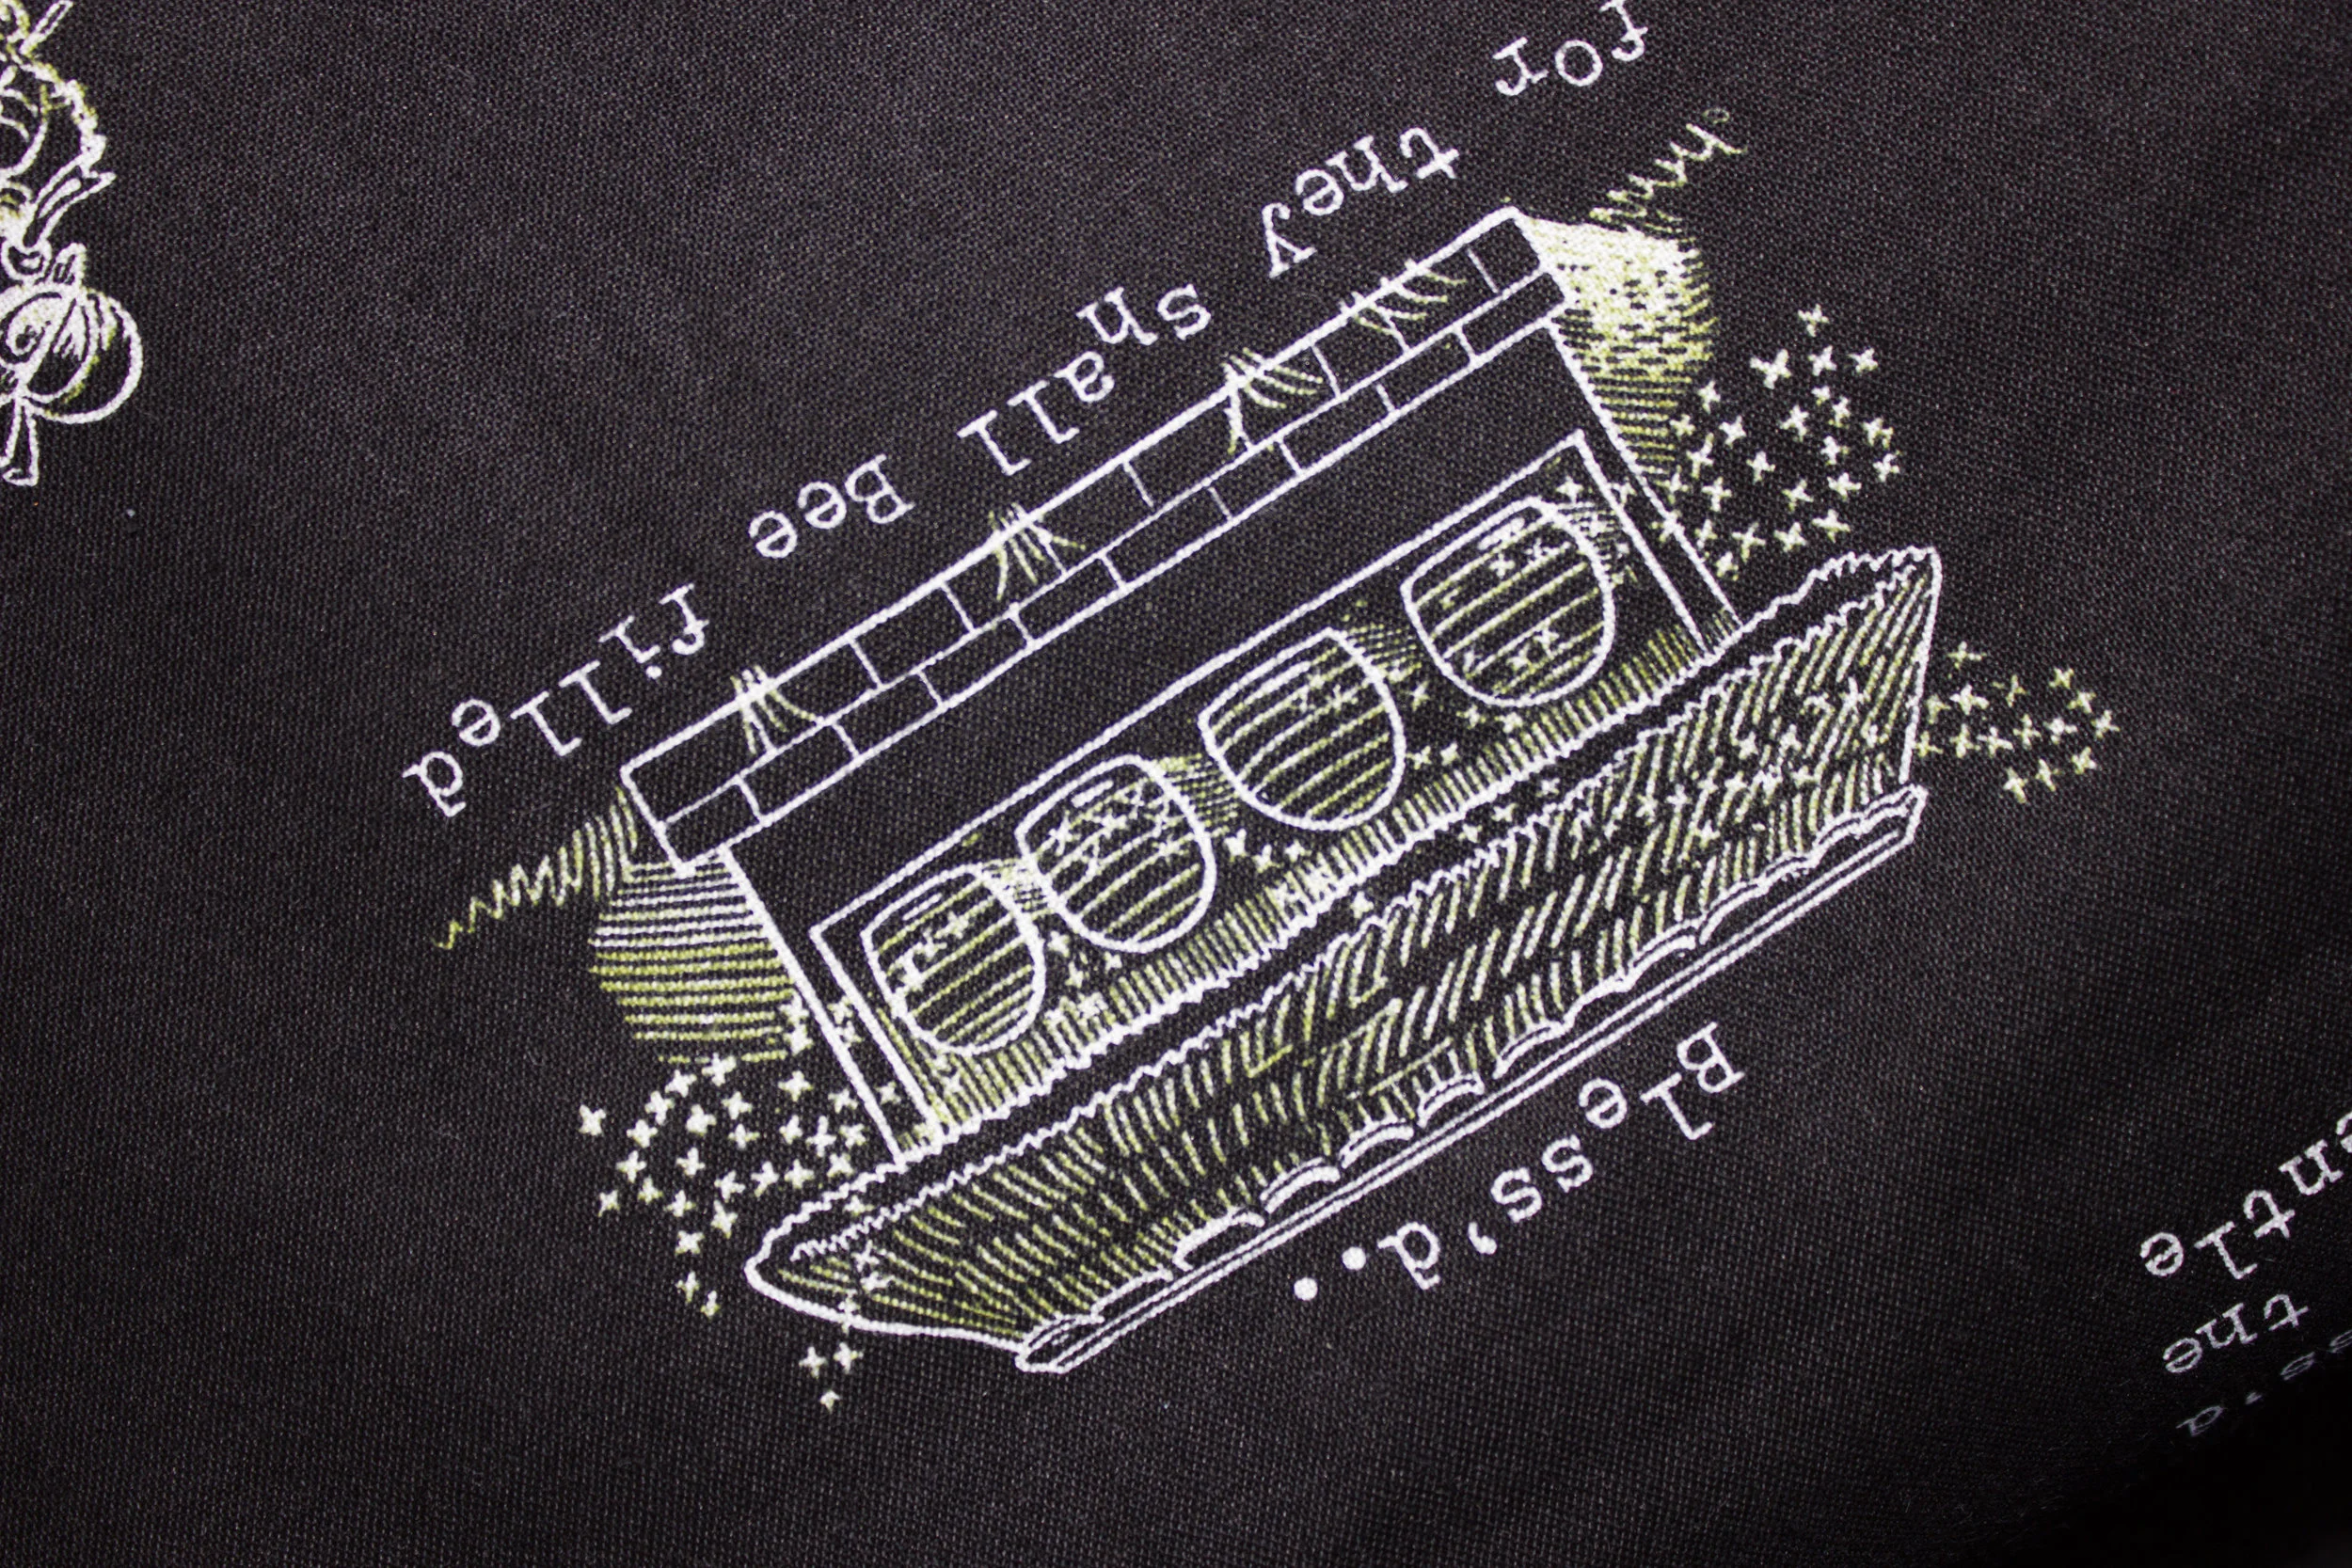
So Many Panels!

Over the past few months here at Quilted Twins, we’ve come to realize that an awful lot of ladies and gentlemen love the beauty, ease and challenge of a panel as the core part of their quilts.
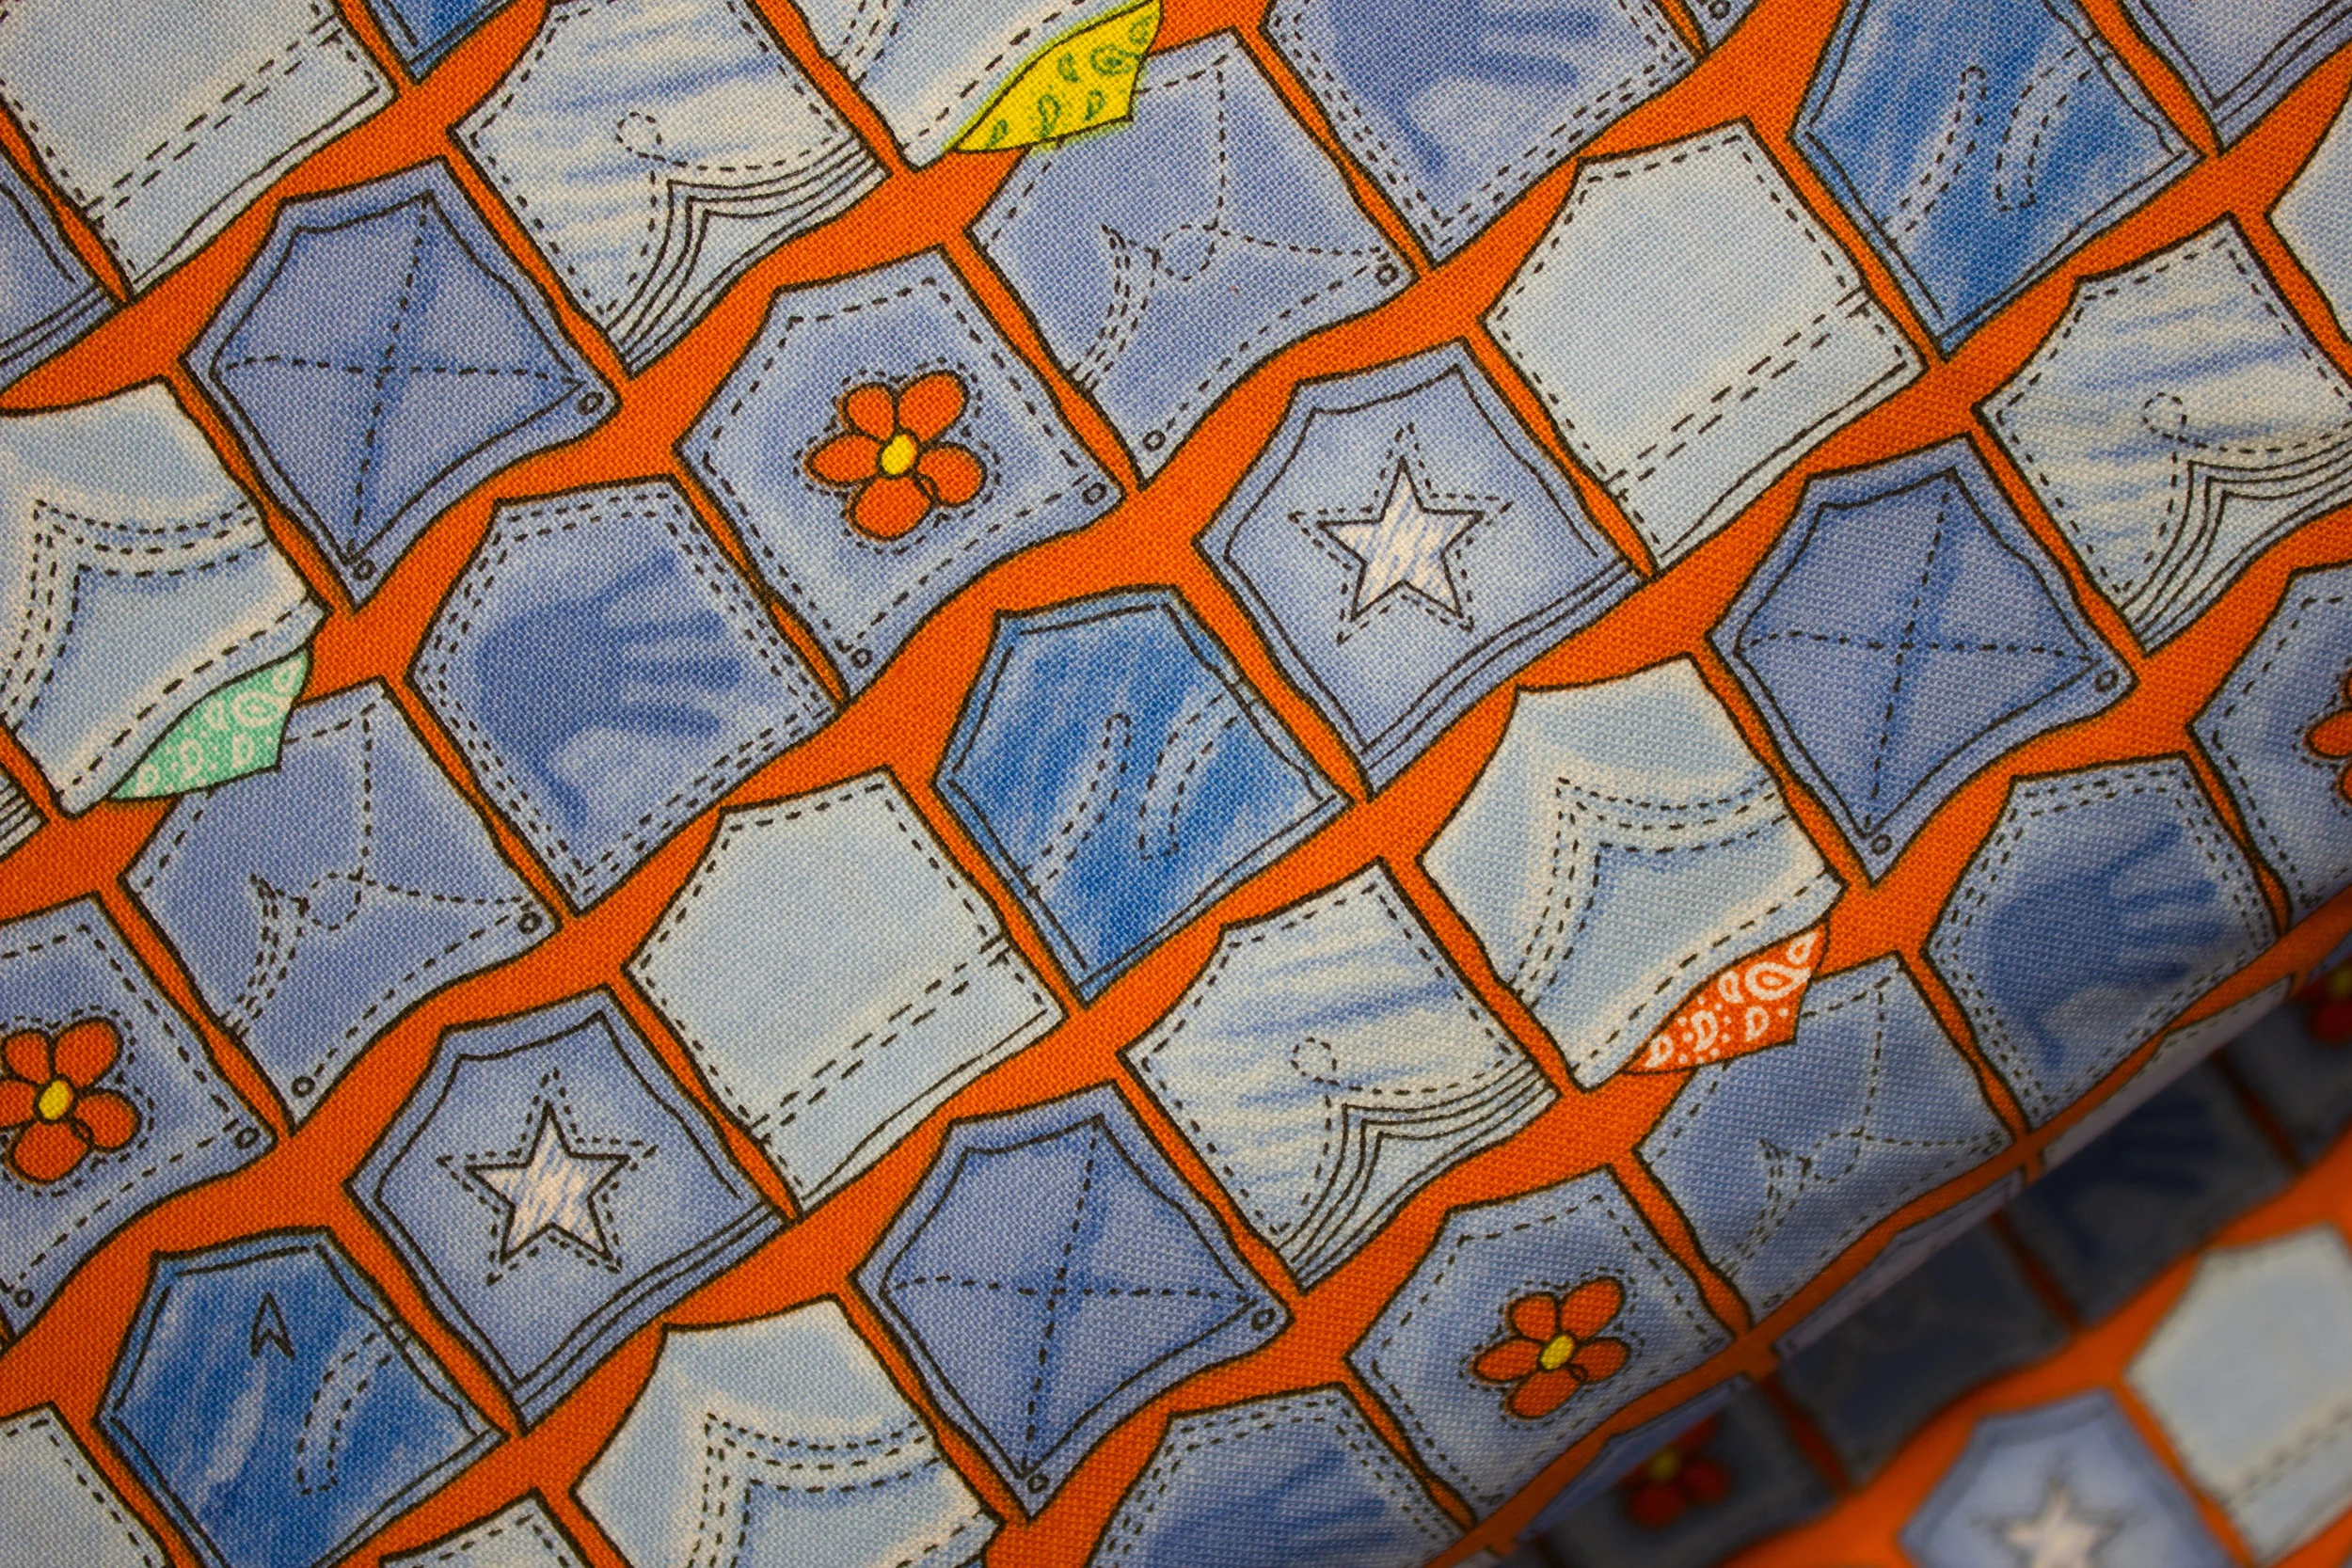
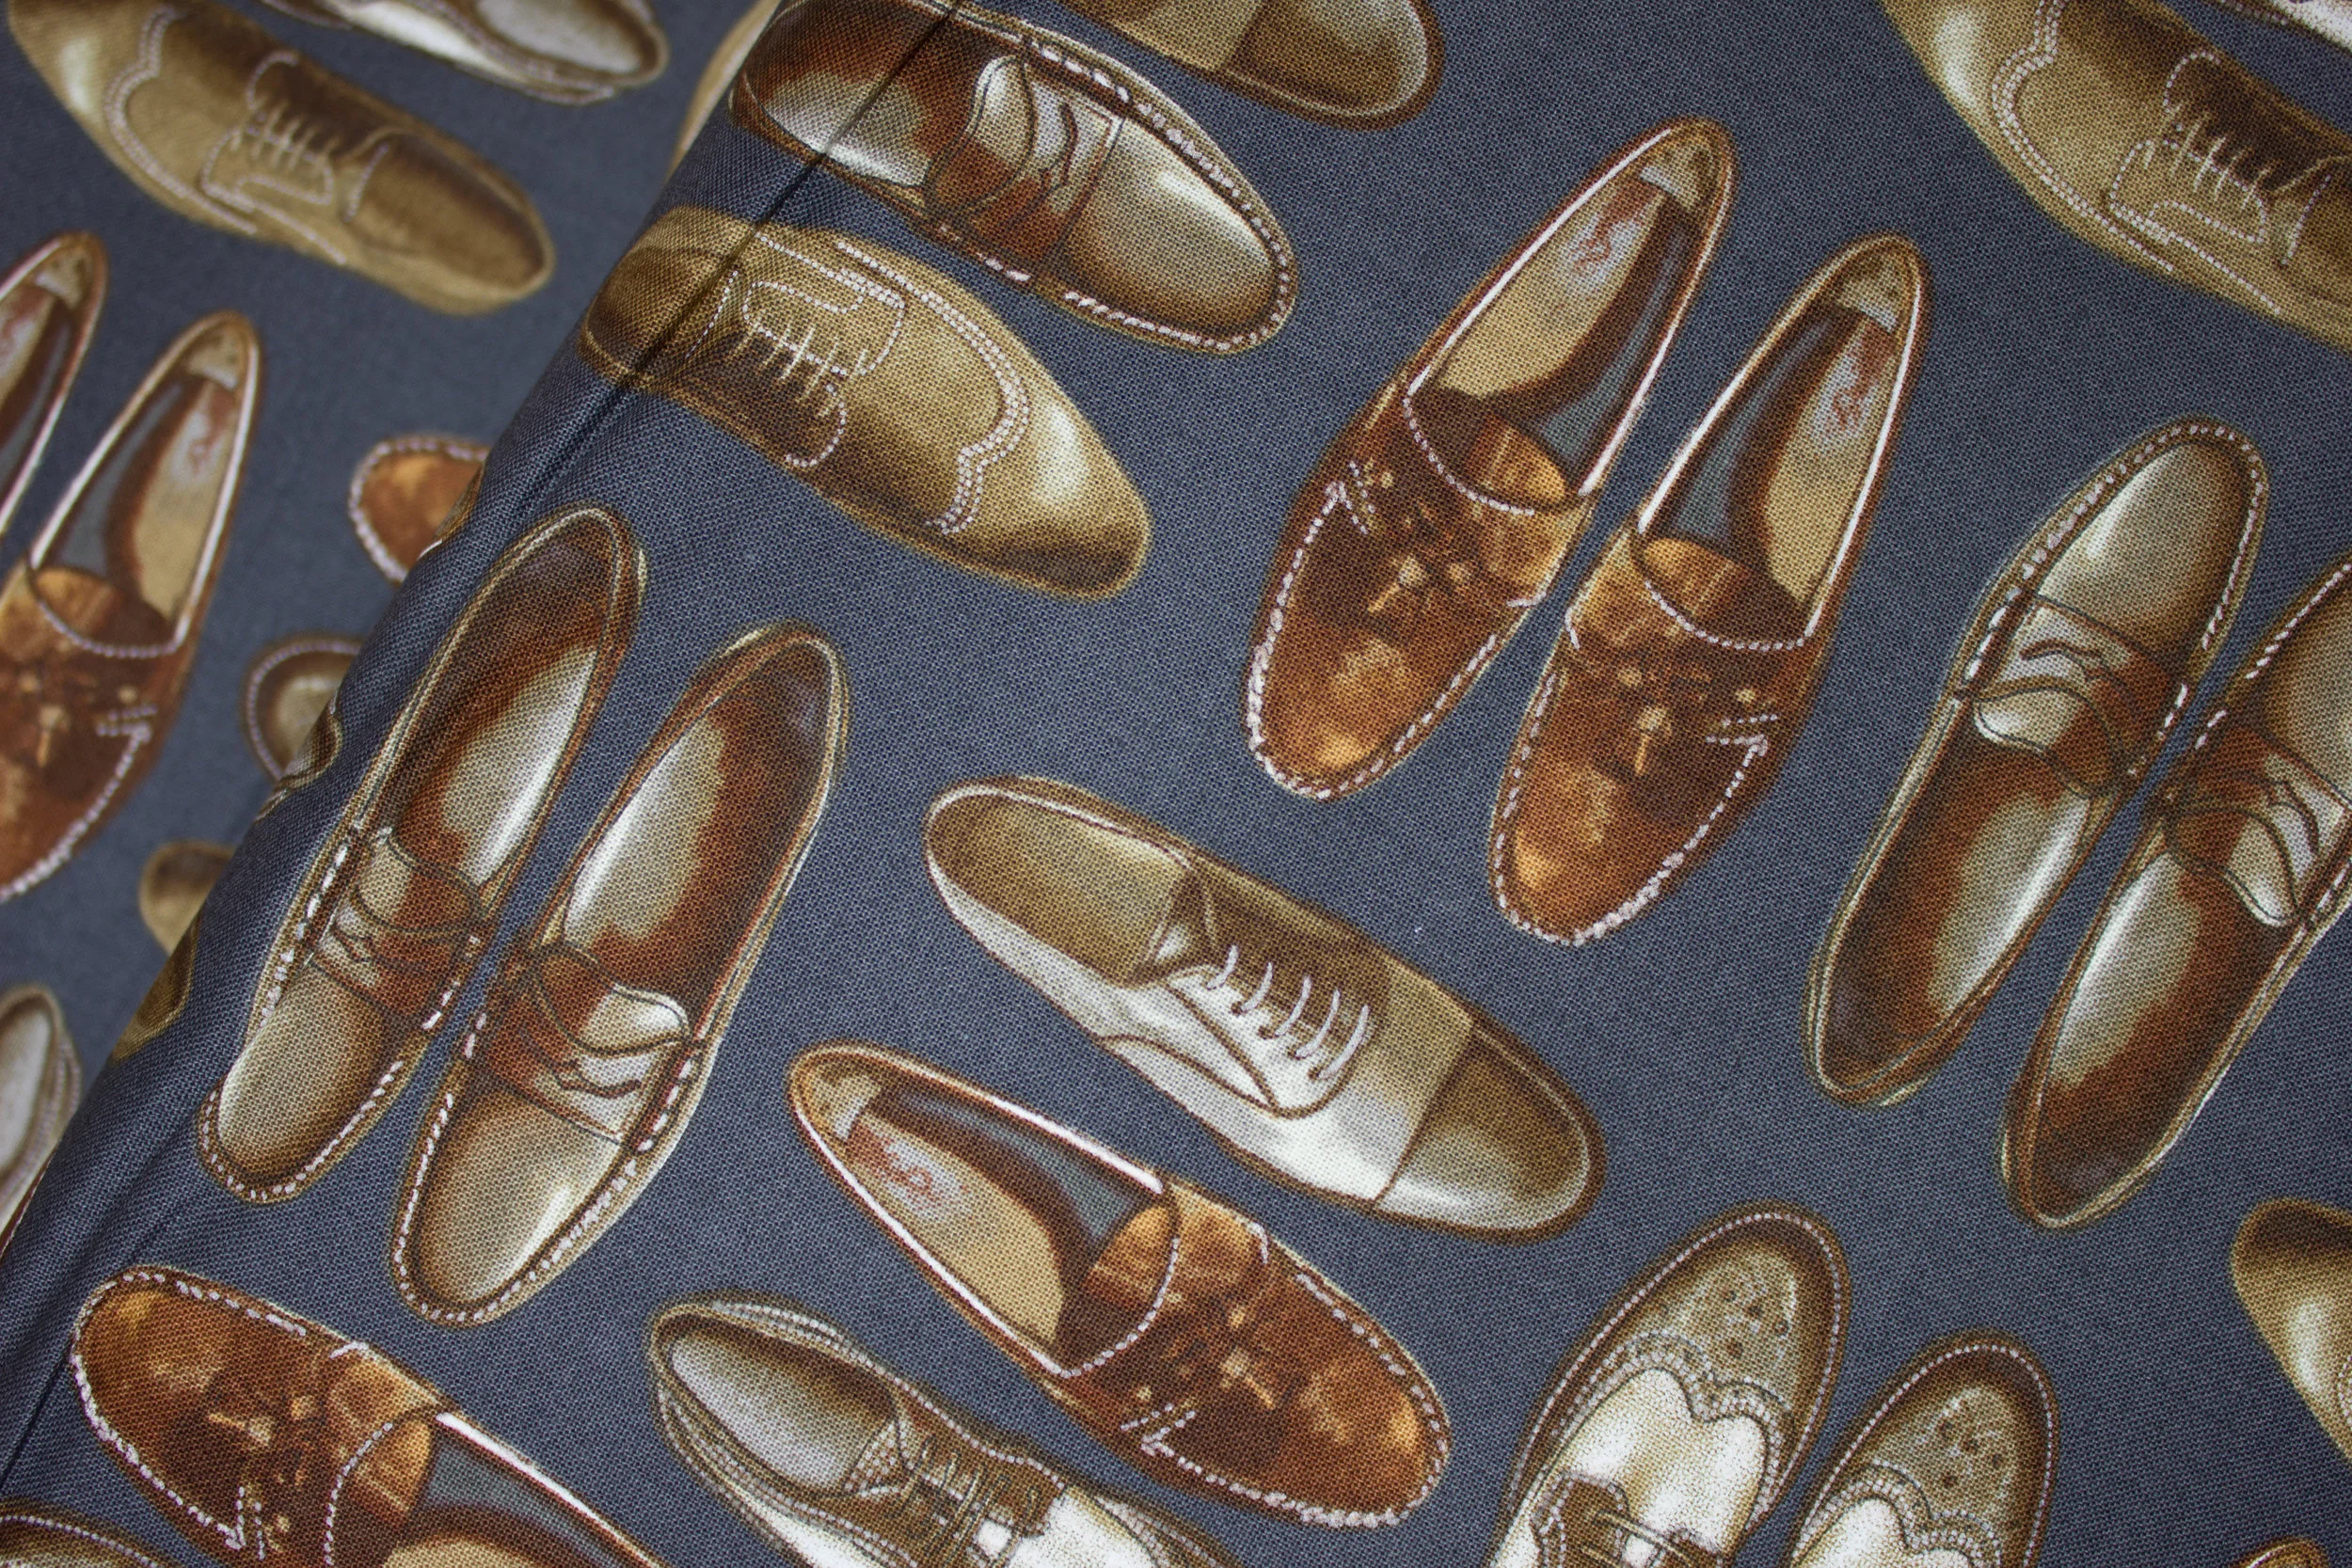
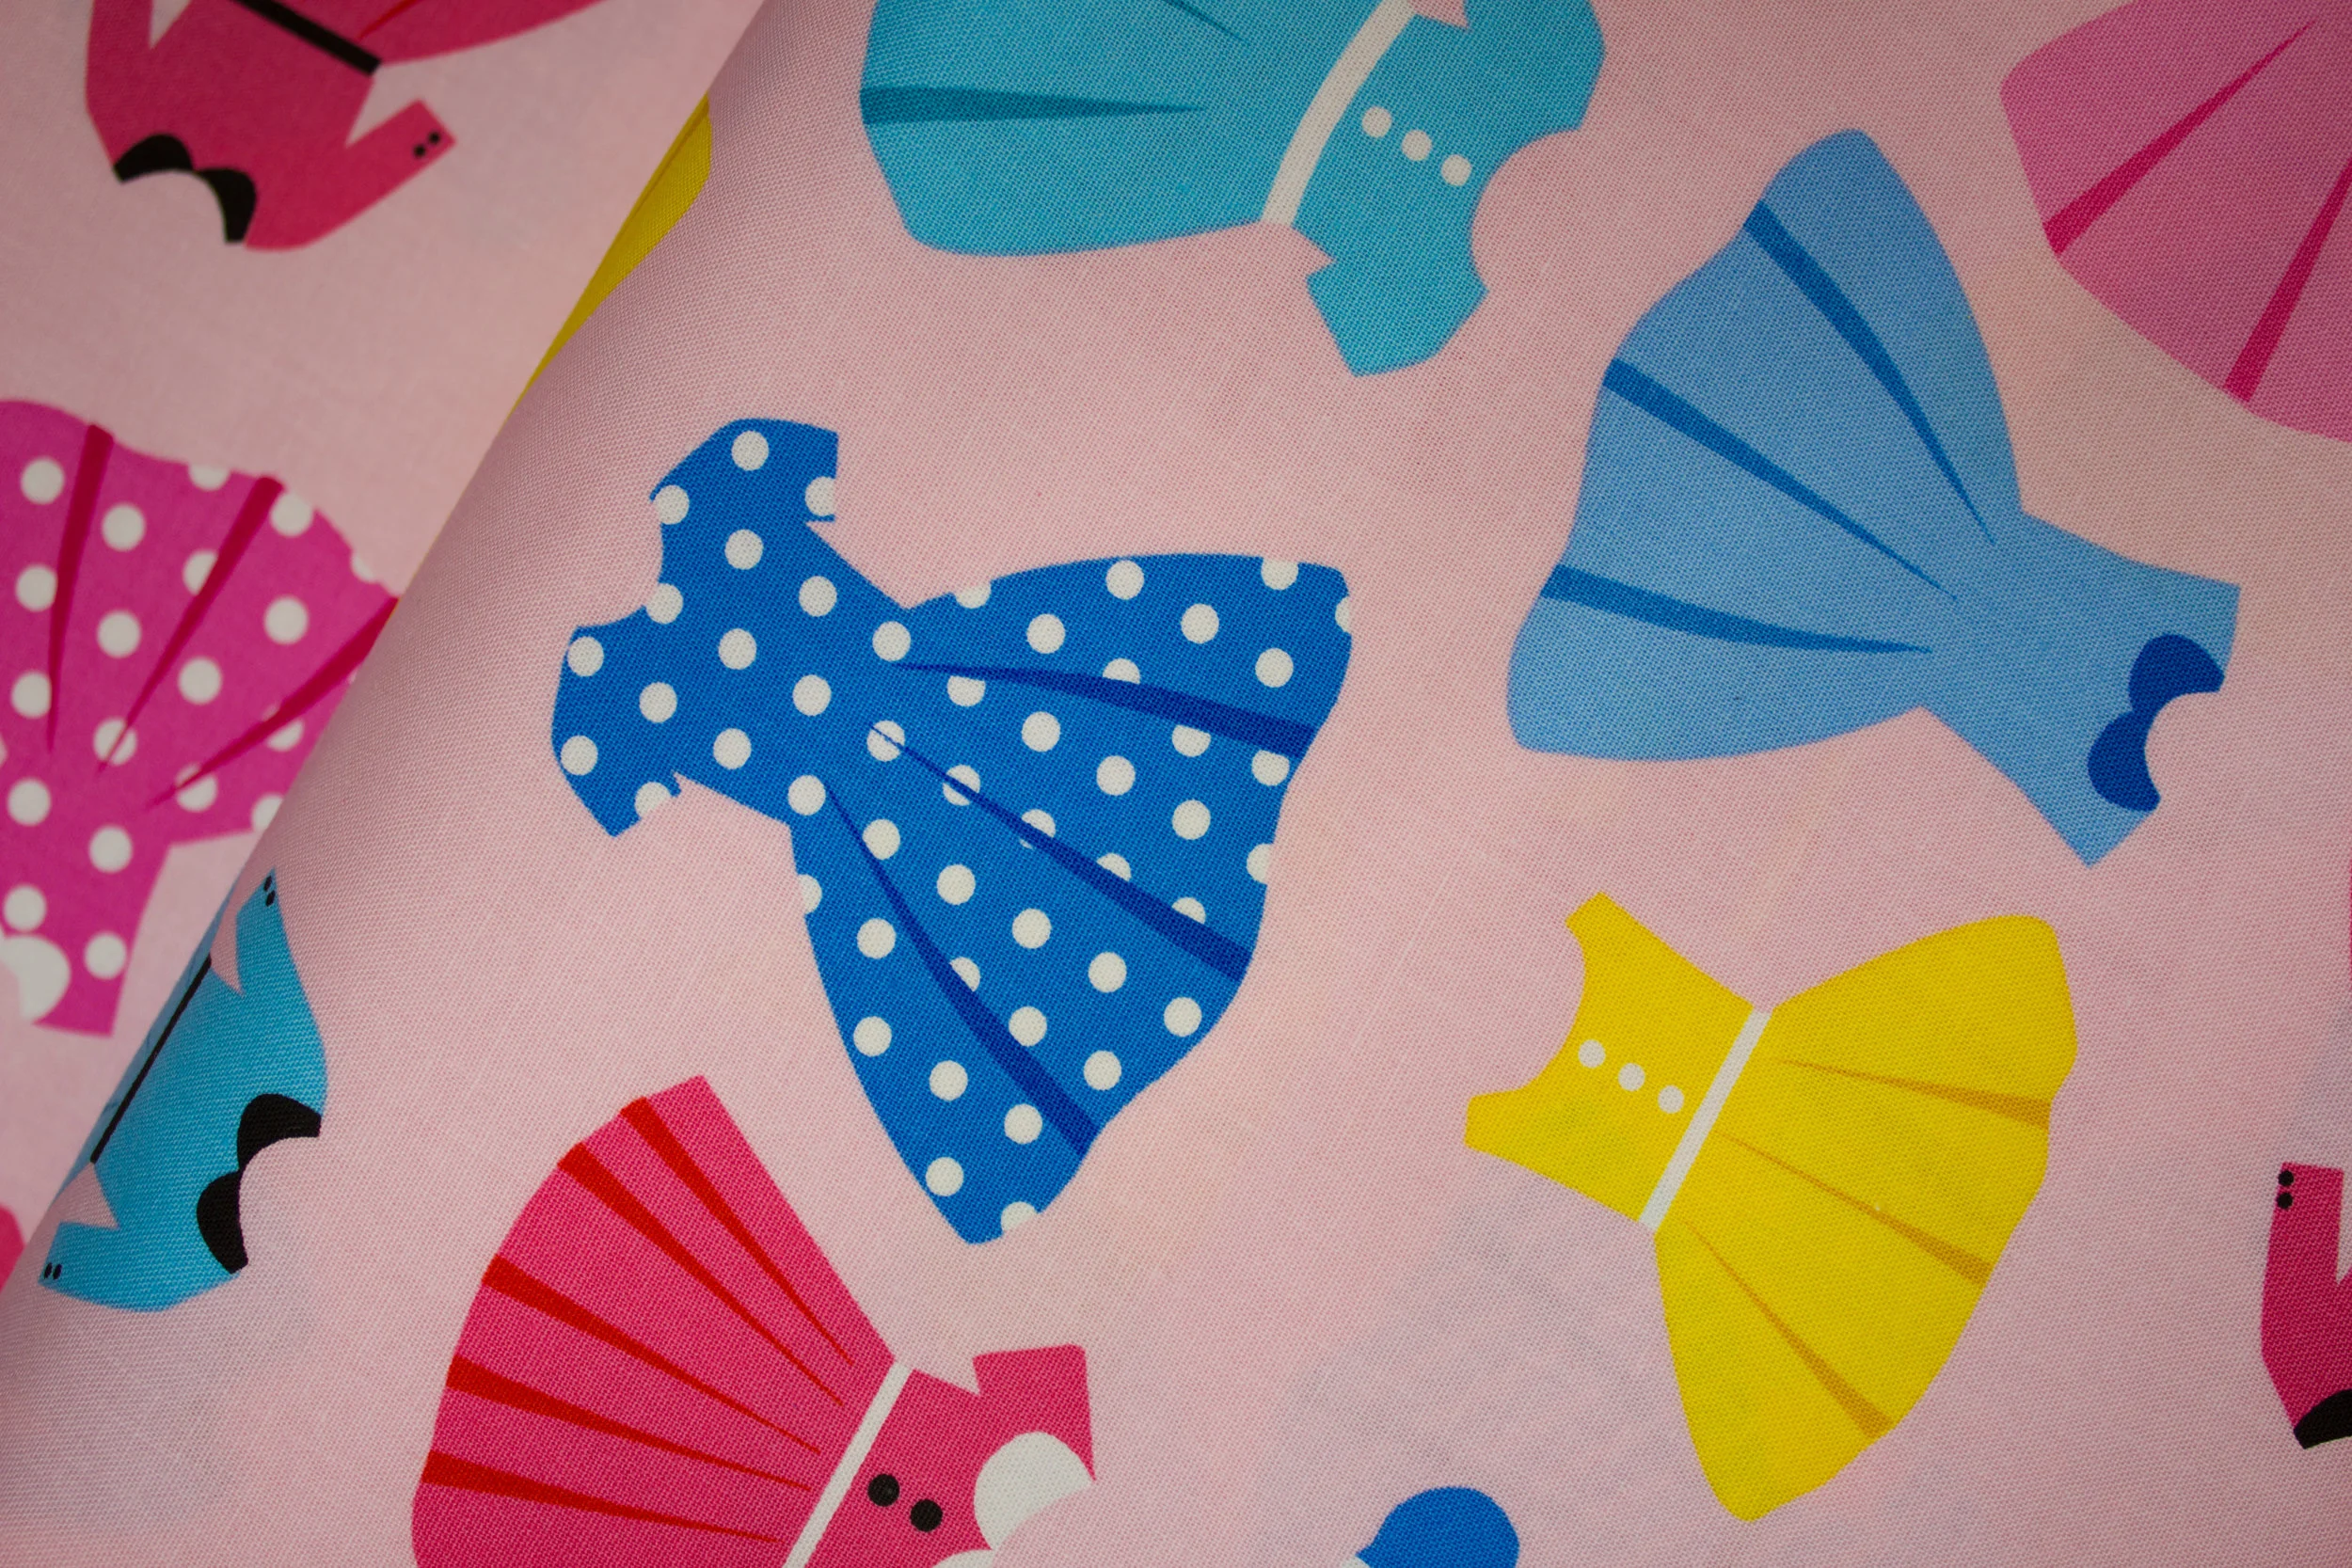
Because of that, we’ve been working hard at expanding our panels to include more stunning panels, more crazy, mythical figures like unicorns, mermaids and dragons as well as Patriotic, educational and sheer entertaining panels. We also want to have a huge variety for those who want to make simple but fun baby quilts for grandbabies, great-grandbabies or neighborhood grandbaby gifts!
The Panel project has taken on a life of its own lately. Every night I’ve dedicated myself to adding 3 new panels to the site.

This is what a shelf of “ready to roll” Call of the WILD panels looks like when it’s ready for your orders! Cut, bagged and the tray is labeled with a color picture
Why? What’s the big deal, don’t you just open the boxes, pull out the bolt, and stick it on a shelf????
Oh my, no. Not at all.
This multi-step process now takes the work taken the work of 4 people, just to get these amazingly beautiful panels to you!
First of all, we open our boxes/crates/pallets, and check to see if we got any panels. At one point we had about 30 bolts leaning up against the wall under our map, but that was really annoying, so a couple of weeks ago, we moved them next door to my coupon room, and I asked Margaret and Cheryl (who work primarily in my coupon business) to help when they could to get these panels OUT OF THE WAY. Previous to that, Sarah and Jessica (Becky’s and my daughter and daughter-in-law) were ALSO in on the gig, but with young children, and other things I needed them to do, we had not been able to tackle it as much as we needed or wanted to.
So, what happens? What’s the big deal?
When we get a bolt of panels, we open it and cut them apart. They are then bagged and tagged. Sounds simple, right? Not really, because our panels have to fit properly into the trays where they will await your orders. The tags have to be made by me at my house late at night where I’m set up with the proper printers, labels and programs.
Then, I add them to the site, after naming them, giving them a number, and finding a photograph or taking a photograph and uploading it to the site. (Each one of those aforementioned steps requires some work and/or documenting and recordkeeping.)
Then, I print out a sheet with 3 “tray label photographs” on each one in the “best” printing mode and laminate the sheet. Recently I found out that it’s possible for laminating machines to eat that which it was laminating. That’s as bad as insects that eat their own children. I had no idea that it was even possible for your pictures to disappear deep into the laminating machine. However, here’s proof positive that it’s possible!

This page is mostly into the laminator and should be showing on the other side. Alas, after Ken took the entire thing apart, he could not get the part that was wound around and around deep into the laminating motor out without totally ruining the machine. Thankfully I had a spare ready to roll in about 5 minutes after this unfortunate event happened!
Once the labels are all made and the pictures laminated, I take them next door to Cheryl and Margaret. While I’m doing that, they are busily cutting apart bolt after bolt of panels, and carefully folding and bagging them. Then they trim the laminated labels up to fit the trays, attach the price stickers to the bagged panels, attach the trimmed label to the tray, add the correct number of panels to the website and put them neatly into the trays to bring over to our office.
Just this week I realized that if I turned all my trays in our panel nook so that the short end was hanging out slightly off the bookcase, that we could get 4 trays on every row instead of just 3, giving me room for 25% more panels than before! That thought excited me a great deal. (I know, it doesn’t take a lot to get me happy, does it?”)
Here are some pictures of what it looks like when we’re changing from a 3 per row to 4 per row setup.


Then, with some co-ercing, we got all of the trays back onto the shelf and we even have room for 30 more panels. I do have panels, as you can see.

You can see the empty space now, ready for more panels!
We have found spots to put our uncut panels EVERYWHERE!
When we had the Red Truck Christmas panels, we had no time to bag and tag them. They just got cut and put into a shipping bag! But most are carefully cut, labeled and tagged and arranged in trays.
“We now are up to FOUR pages of panels here on the website. To find the panels, hunt on the top navigation bar. It’s the final item on the last row. When you click on the word PANELS, a drop down menu will appear and show you SO MANY PANELS!, STILL MORE PANELS, SEASONAL PANELS and HOFFMAN DIGITAL PANELS.
Take a second to click on these pictures and you’ll see some of the places where we’ve put the panels awaiting cutting - under the piano, in the display case being stored for later, tucked under a table, in the bathroom lined up like cordwood, in a nook and cranny and more!


Click around and see what we’ve got! You’ll be delighted! Take a second and start here!
ENJOY—
—Rachael
Be sure to check out what my sis has for you in the store!


Colors may vary slightly from what is portrayed. Screens vary as well as our eyes sometimes see things differently, but we've made every attempt to have the color be accurately portrayed.
Price is by the Yard.