Second top from low volume blocks
I decided for this one to take it back off of “on point” and put it back on the horizontal. By adding a pieced sashing block and interesting cornerstones, it made the quilt into a “fun” one! I also slimmed down the gray and colorful side pieces a tad bit.


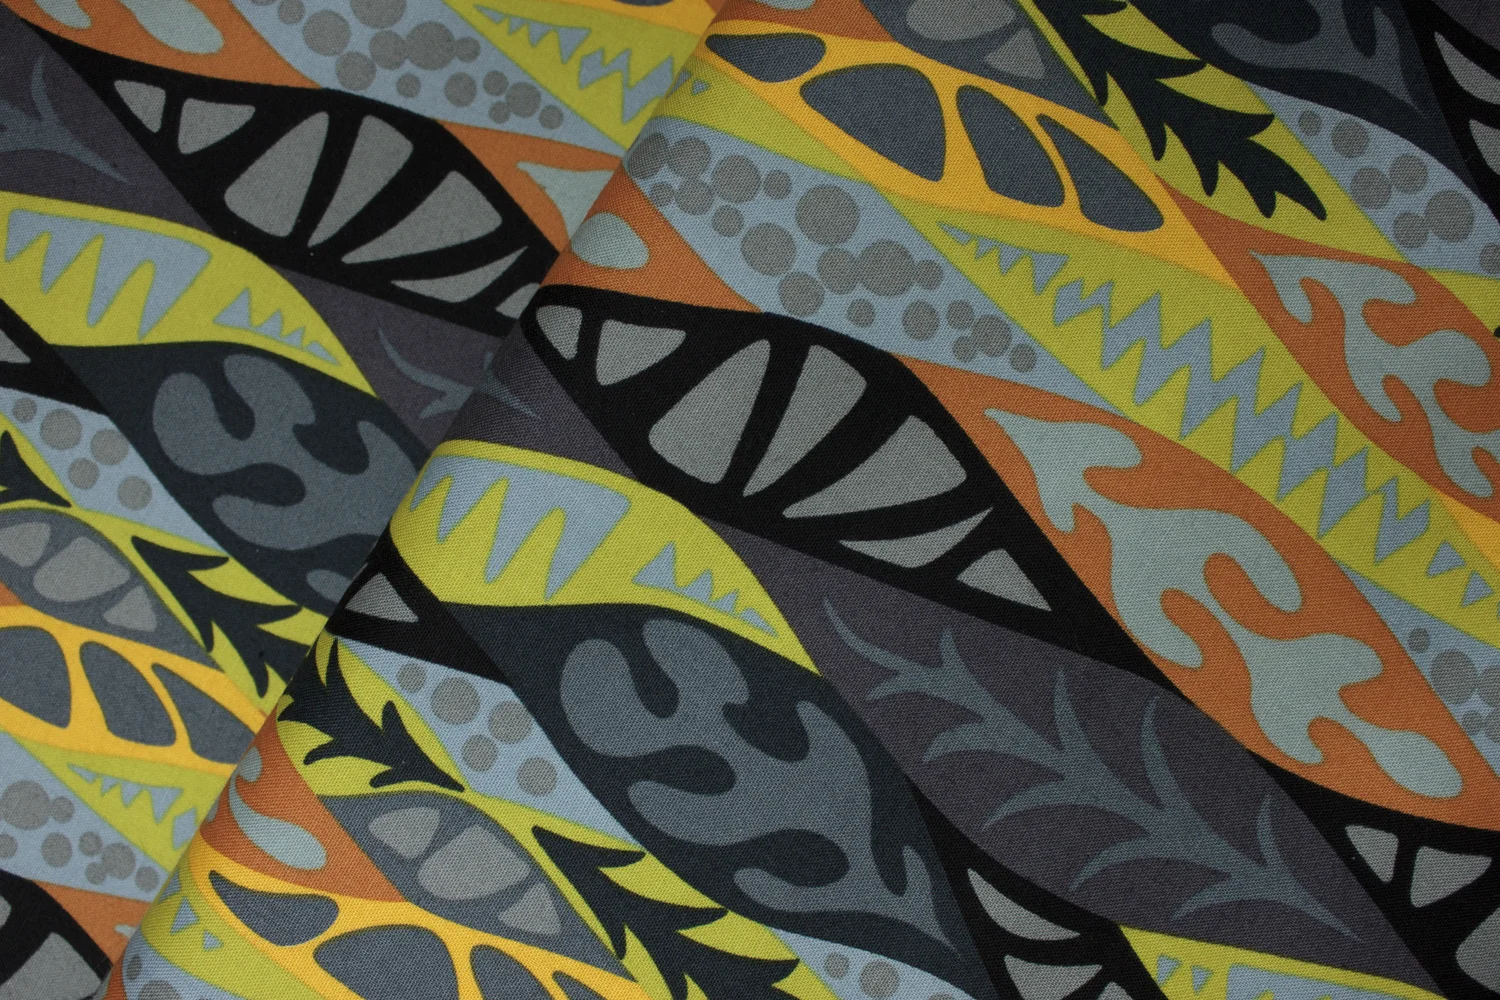
I had fun with the colors on this one. I decided to actually go wild with it! I seriously did! I kept the same basic block, but added that snowballed corner.
There isn’t too much to say about this one except that it was fun! I know it’s not radically different from the last one, but it does LOOK quite different because of not being on point and by the use of the bright colors.


I had fun with the cornerstones as well!
I decided to make a pieced sashing unit - I figured the variety of color would add to the “fun flavor” of this top.
I actually finished this top before we started in on the painting of the walls in the part of the dining room.

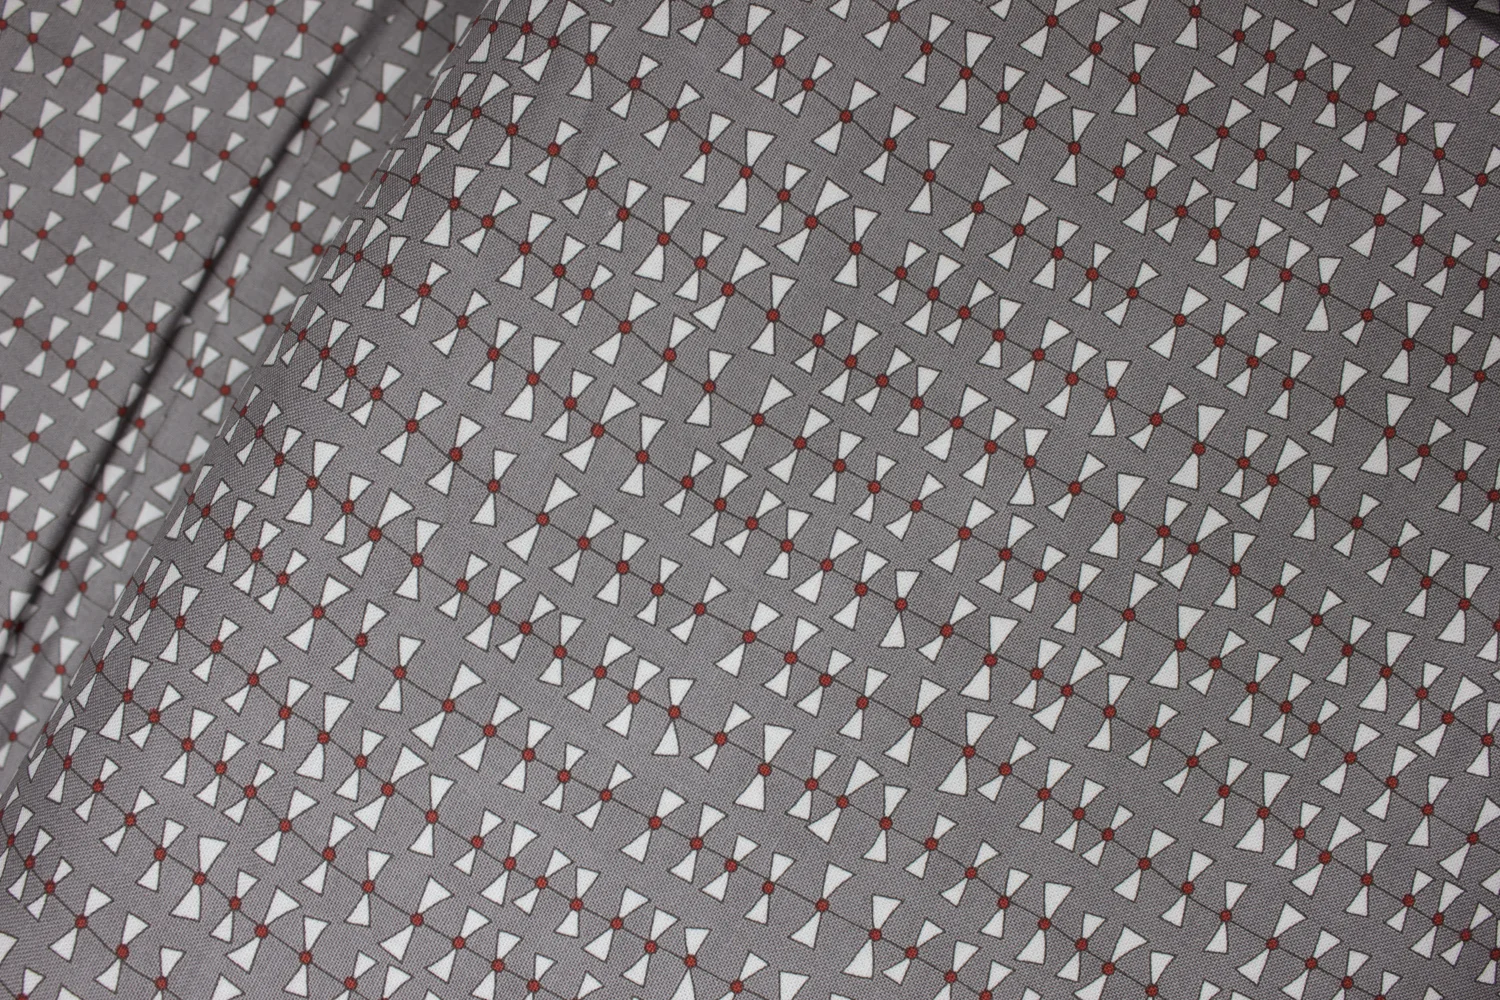
So there you go! A horizontal quilt top is just easier to put together. These block were a bit smaller than the ones in the last top - I cut the yellow/gray side “frames” at 3” wide instead of 3.25” so they ended up being about half inch smaller than the ones in yesterday’s top.

Once again - here is the basic block that I started with. I decided to “add” to it - using the Serendipity feature in the Electric Quilt program to come up with this block. It lets you easily add borders of different kinds to create a new block.
Be sure to check back in tomorrow for the third one.
It’s the most graphically jarring one of these three. Some of you will hate it (like my husband) but others will like it.
Be sure to check out what my sis has in the store!

Colors may vary slightly from what is portrayed. Screens vary as well as our eyes sometimes see things differently, but we've made every attempt to have the color be accurately portrayed.
Price is by the Yard.
100% cotton
41/43" wide
Local quilt shop quality fabric
for Moda
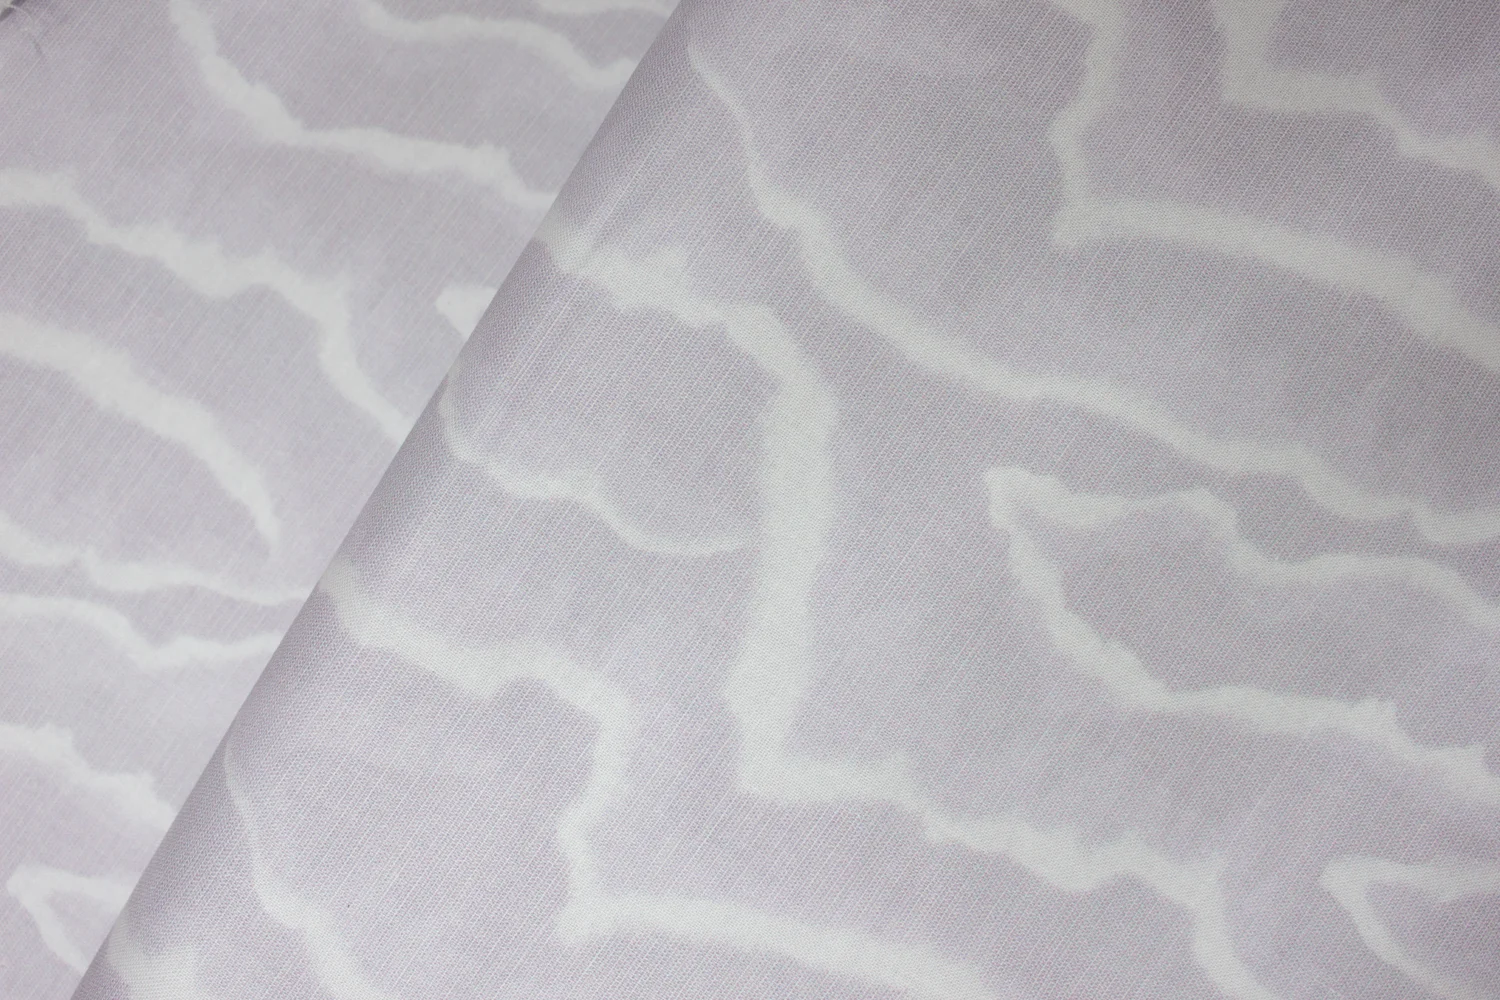
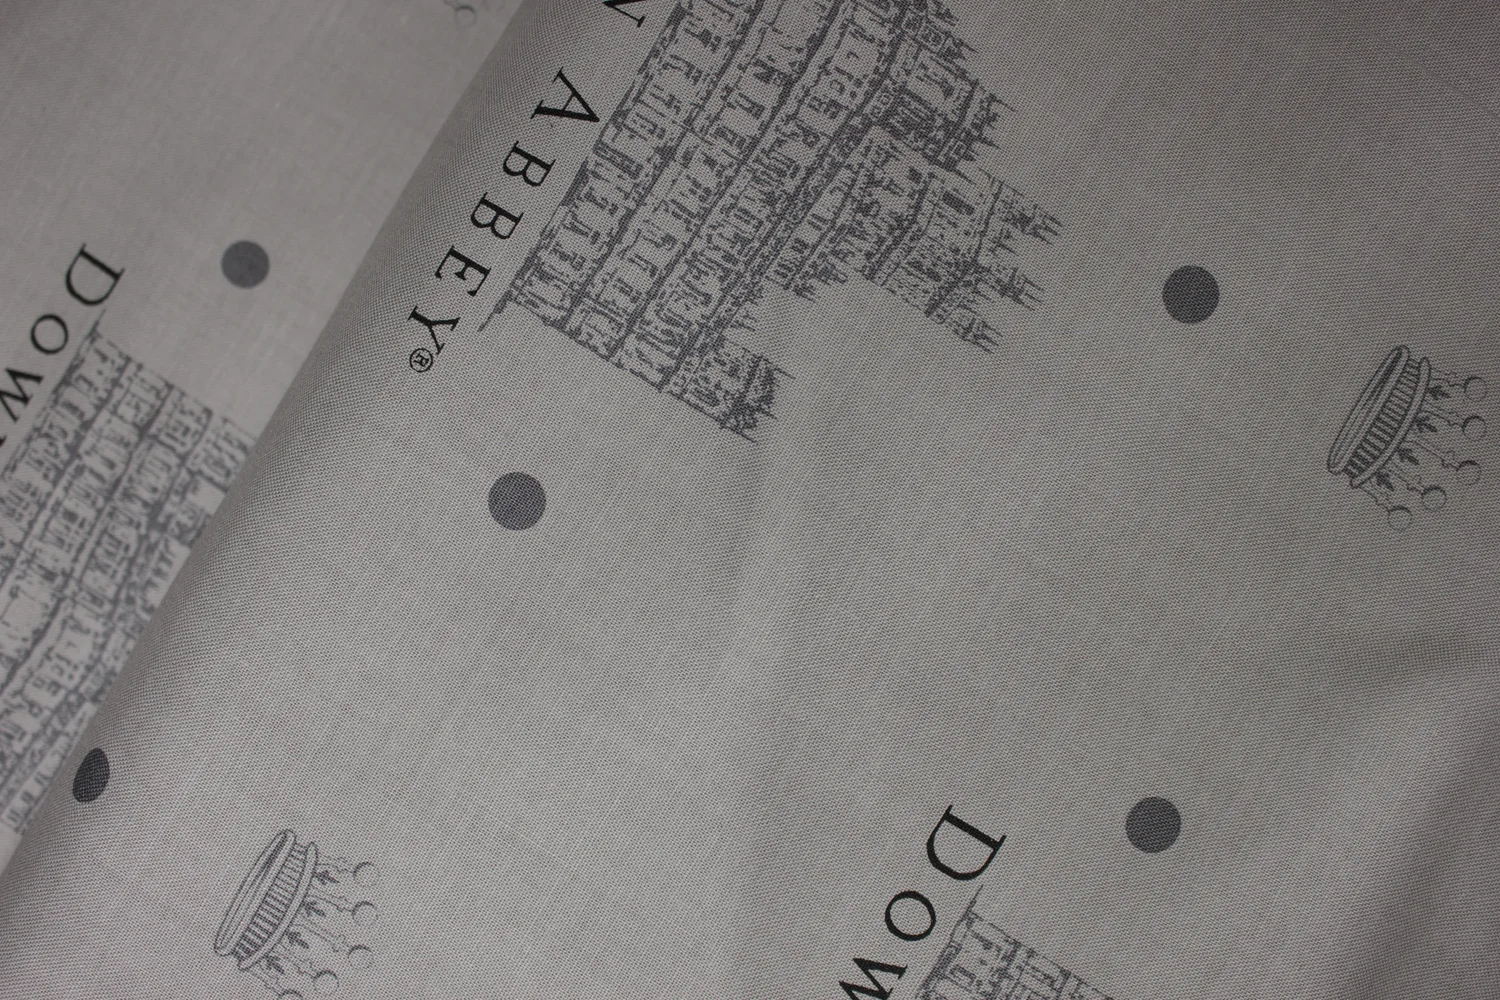
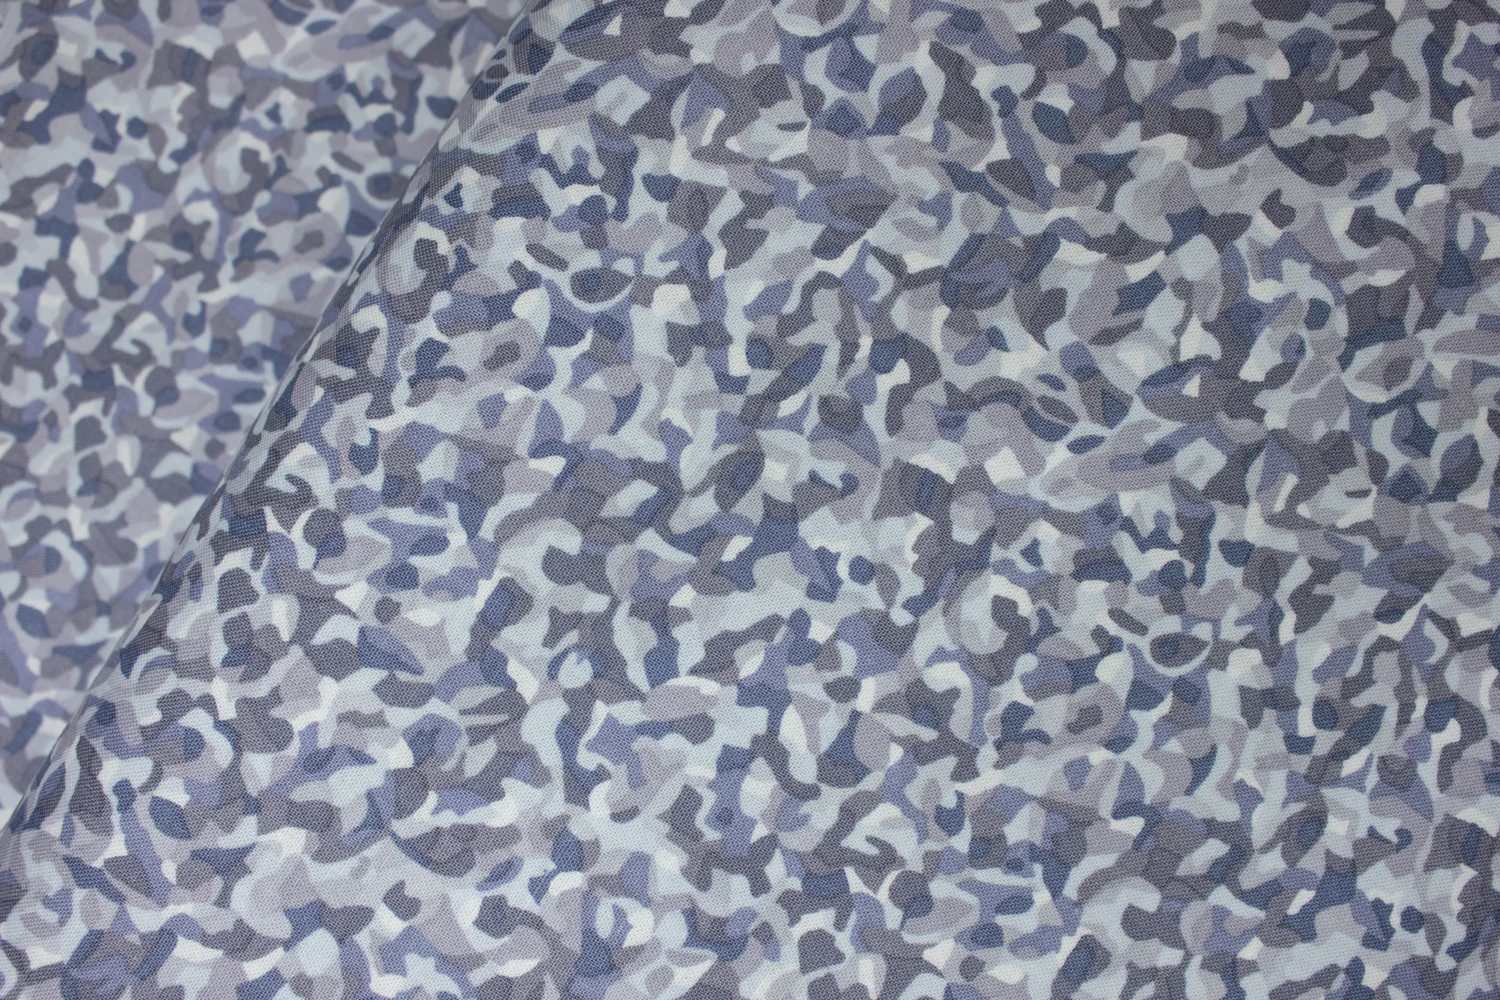
Gray with Cream Zig Zag Design: Yucatan