
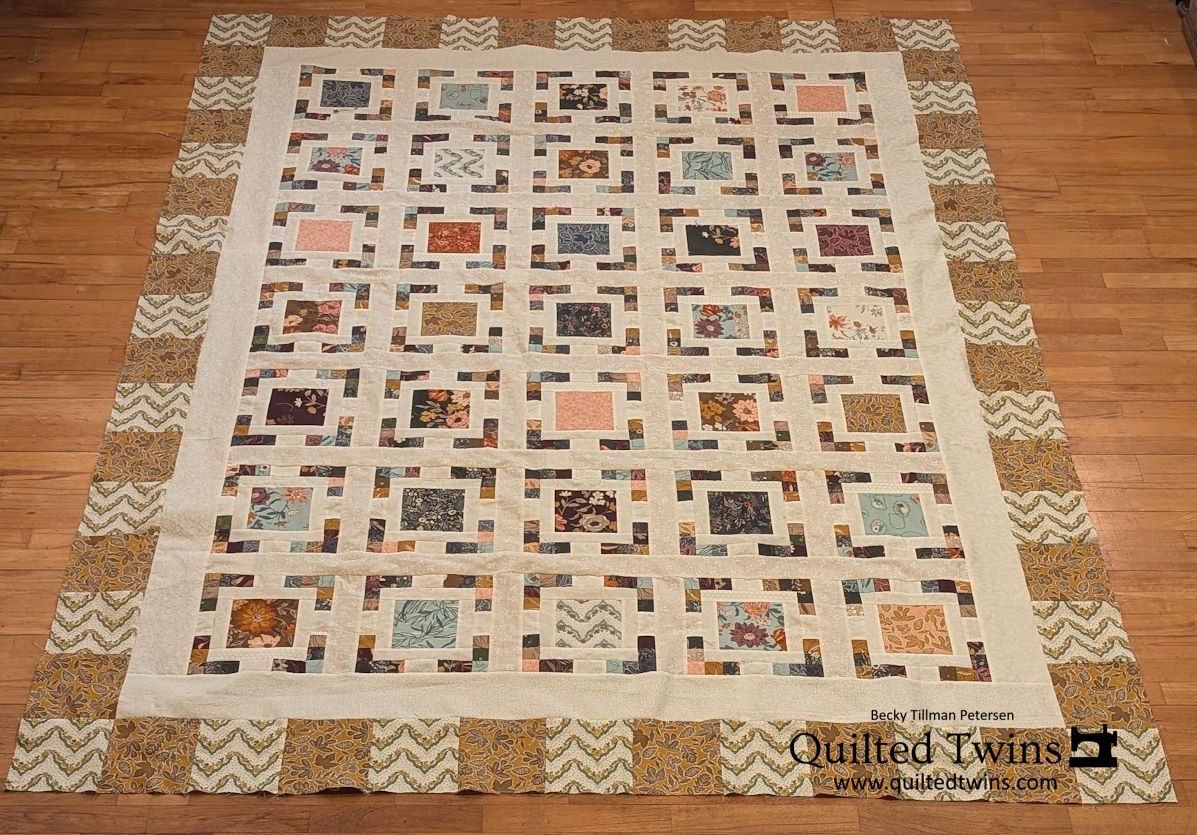
“Center Focus” - one of the last tops in the Stephanie Slewinski series - #9
As I worked through the fabrics I’ve been using, I’ve been keeping the scraps. One day I spent several hours and cut up a lot of misc. small pieces and went as small as 1.5” squares. I decided not to keep the strings. Sorry. I just want to be done with this series.
It’s number 9 in the series of quilt tops made with the Stephanie Slewinski fabrics Foraged, Found, and Hand Me Down.
Here it is. I had set aside some 4.5” squares earlier along in the series thinking I was going to make a star quilt - making an 8” star, using the 4.5” cut squares as the center of the star.
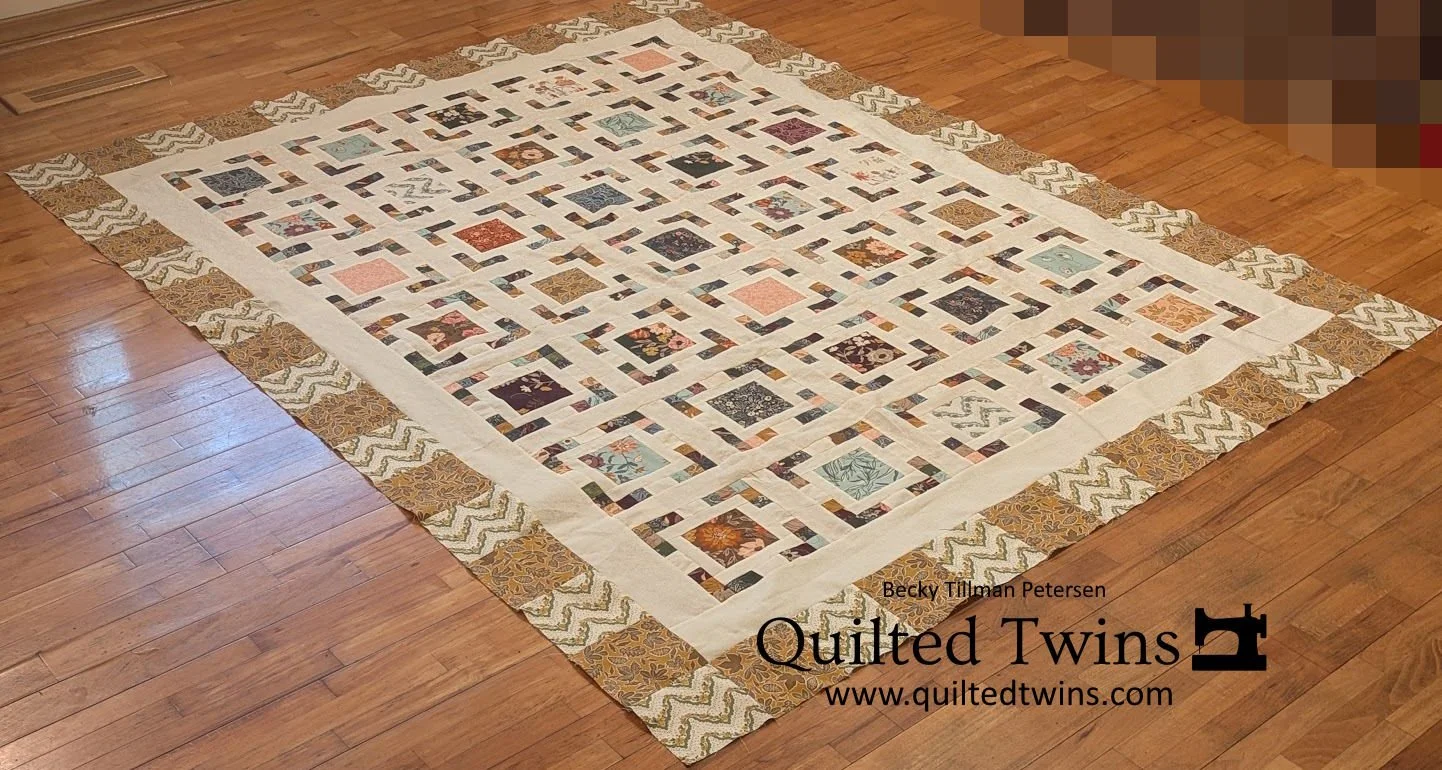
However, as I went along, I decided my large variety of fabrics had been used up so much that I didn’t think I could make enough interesting star blocks to make a quilt of any size. So, I rethought my decision, changed direction and decided to start using up those 1.5” squares I had cut a lot of and just use up those 4.5” squares I had cut and set aside for star centers.
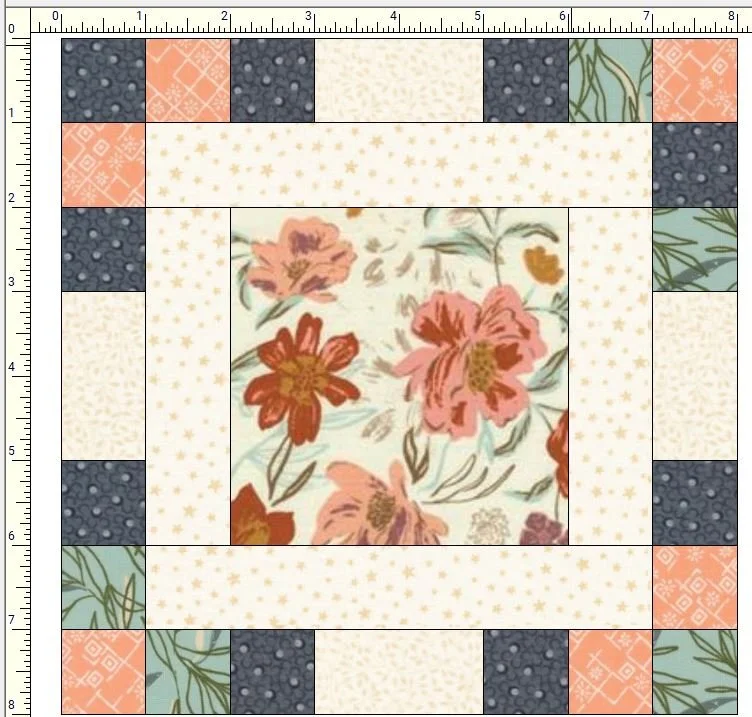
I knew I wanted to surround those colorful 4.5” squares with cream and then surround that with the little squares. I played quite a bit with just making a whole round of them. I decided that wasn’t what I wanted. Instead, when I opened up the box and put that strip of cream in the middle of the squares, that was it!
I knew it was it!
So, I went with it.
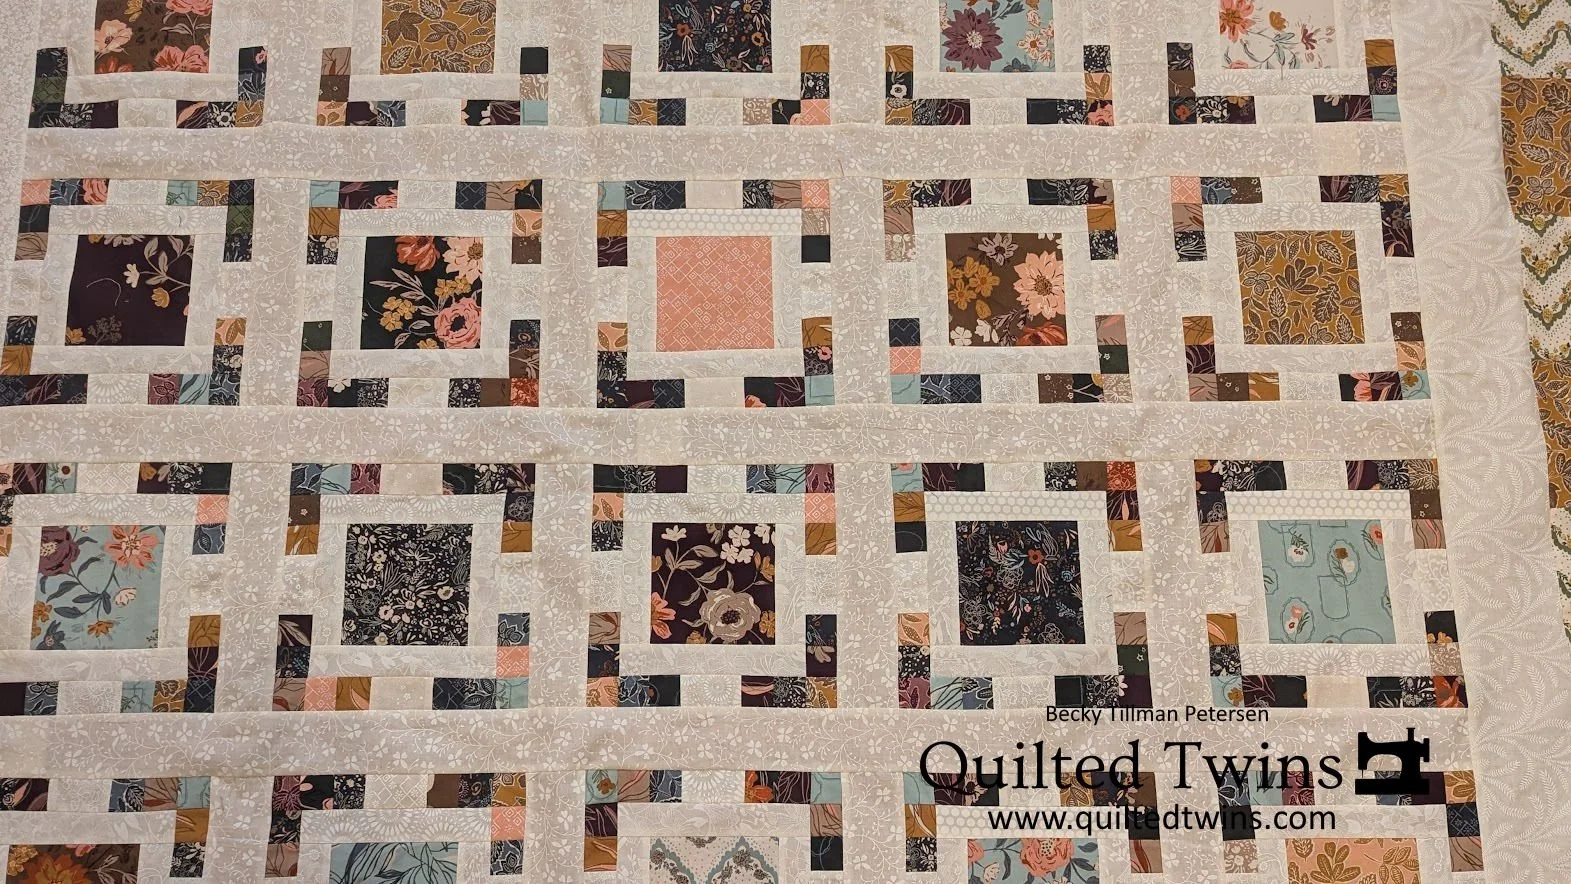
The block is really simple. It looks like this:
Once again, this one is not a large quilt top. It’s one of my smallest ones, in fact, in this series. A real legit lap quilt.
A large lap quilt, surely, but a lap anyway. This top is a great way to use up those 1.5” squares in combination with 1.5” strips and a big 4.5” square. The sashing is cut at 2.5” wide.
This top is 67”x87”, so it’s pretty much a twin size quilt and not really a lap size—not anyone I know’s lap size, anyway. I mean if you want a twin to be over 70” wide, then yes. But practically speaking, when a twin size mattress is 39” wide, a 67” wide quilt top gives you almost 30” extra.
Anyway, here are some more pictures.
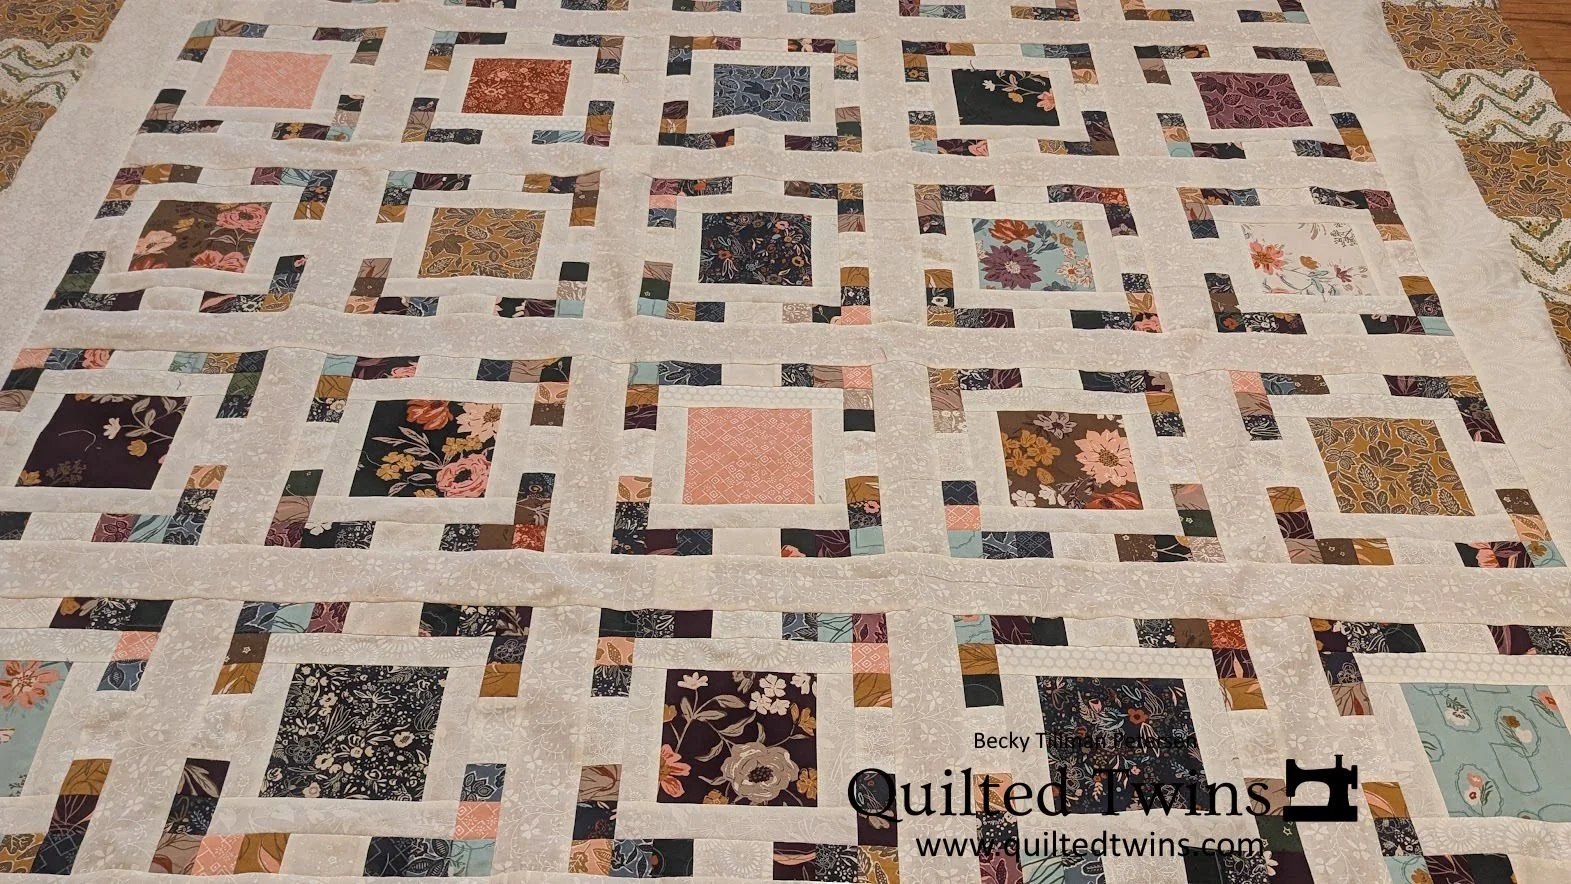
I used a large variety of creams. I’m trying to actually work down some of my stash. I want it all to fit on my shelves!
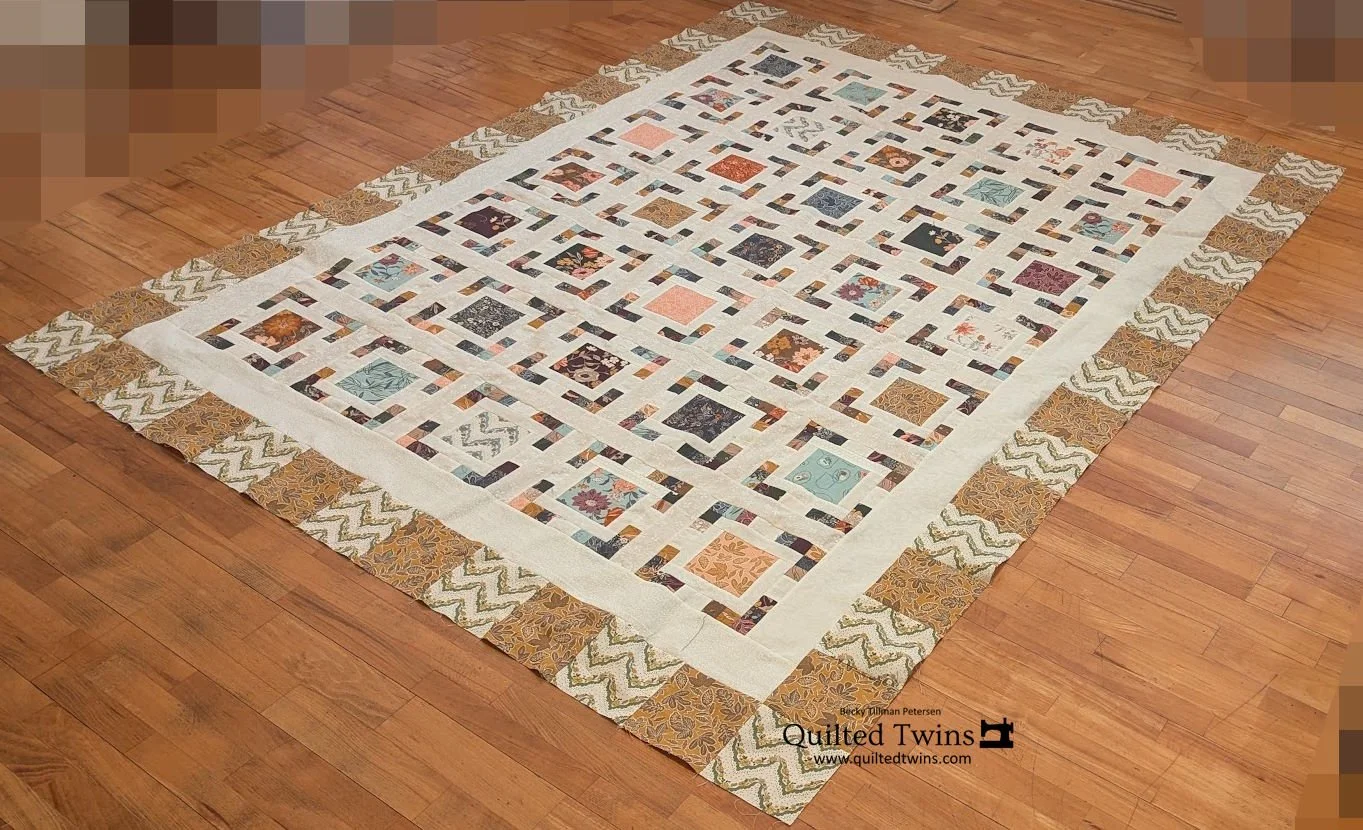
The main photo showing the whole top.
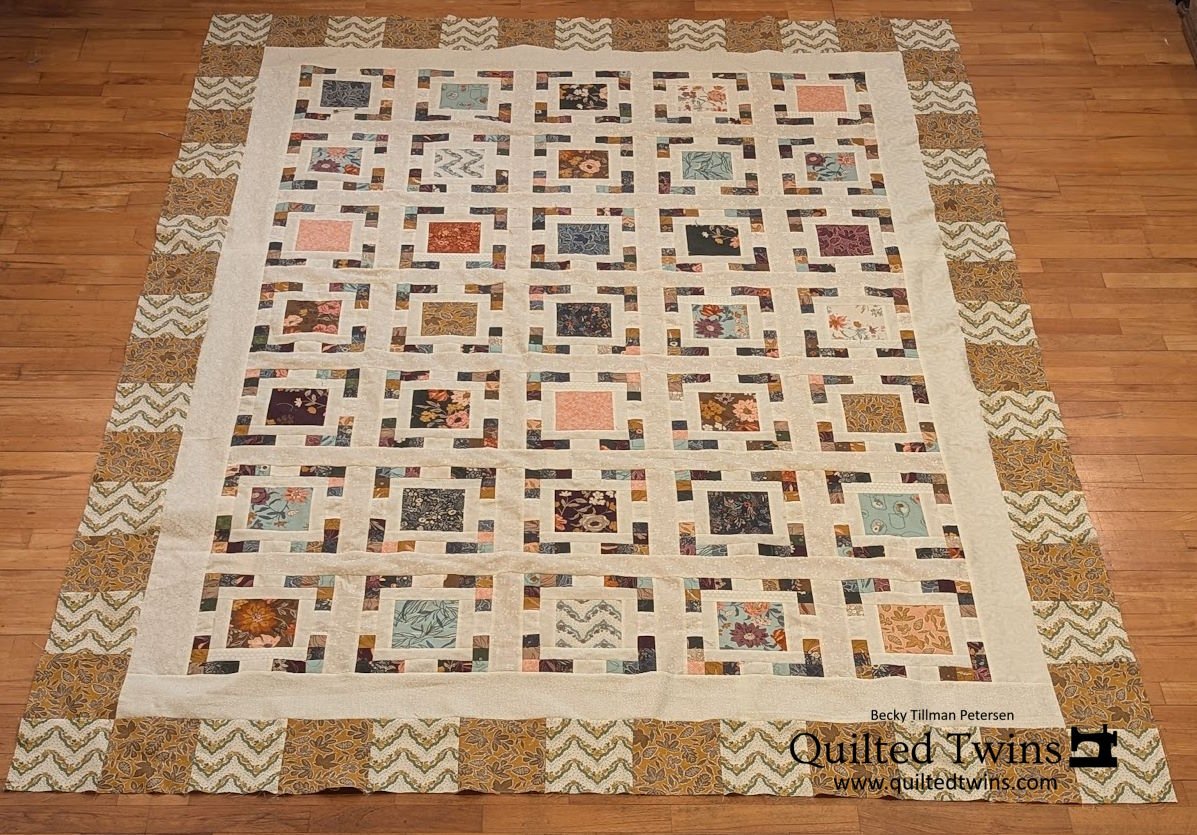
The hardest part of this was making sure I had enough left of that gold on the outer border. Actually some of the gold blocks are pieced together as I had just about run out. I think the last 5 squares had to be sewn together from various pieces. They are cut at 5.5” square.
I used a variety of cream or off white on off white. I did not stress too much about making them match each other exactly. I am embracing the variety!
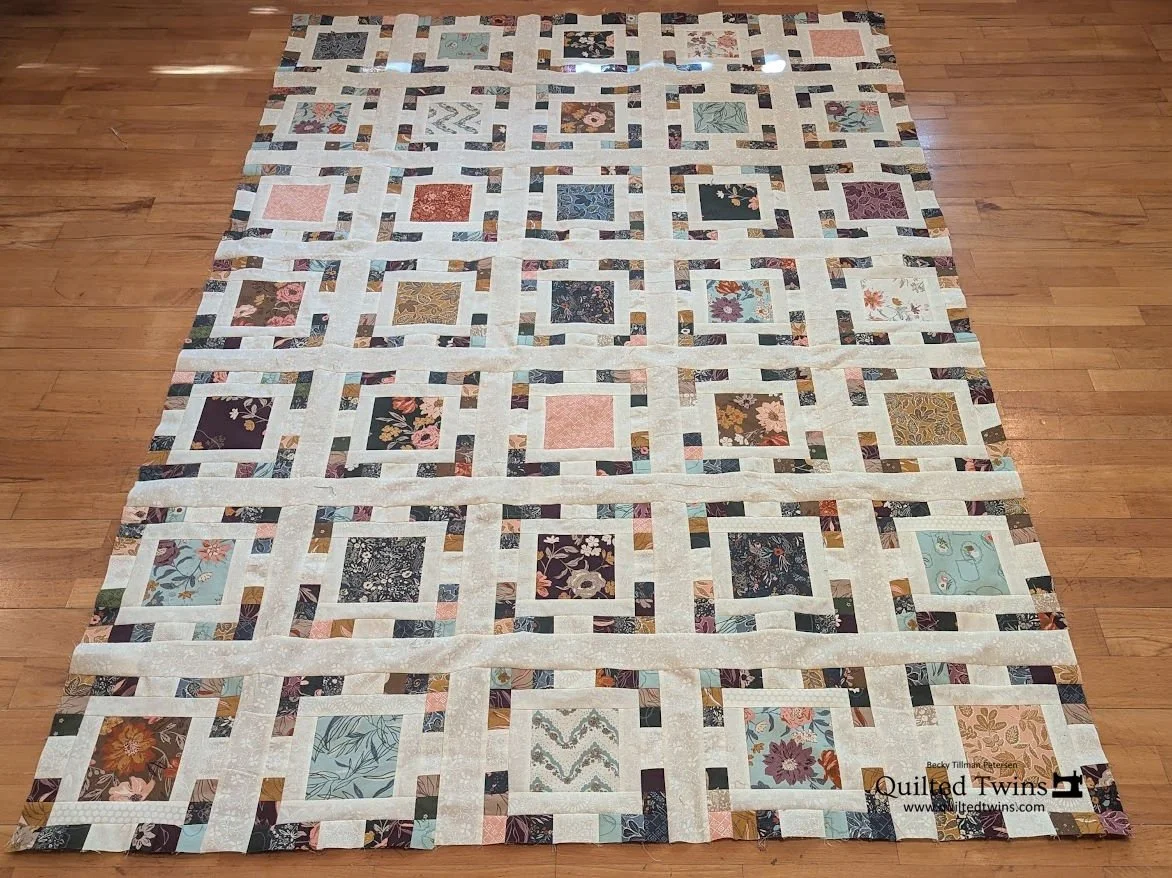
I’m not sure what you think of this one. Here is the top before I added the outer borders. I liked the center, but I knew I wouldn’t want to have the binding just close in on the blocks. My personal druthers is that there is some space between the blocks and the binding.
I also seriously wanted to use up some more of that curvy print in the outer border, so I needed to add borders. At this point, there were not many choices as to my fabrics for the outer border. I mean, I did have some others, but I wanted to use that wavy print if I could. And so I did.
Can you believe this is number 9 in this series? It has gotten ridiculous, hasn’t it?
I have one more top almost done (another queen), one more in pieces (queen) and one FINAL one that will be Scrappy Islands by using up various small 1.5”x2.5” pieces on a navy background. Those will be 4” blocks and it may be a while til that one is finished and it won’t be huge - probably a lap size as then I will run out of navy blue background. :)
That will make 12 in this series before I am completely done!
The rest of the fabric has been cut into 2.5” strips designated for binding.
If I happen to find random pieces lying around my fabric room - I’ll just put them on the shelves with their color.
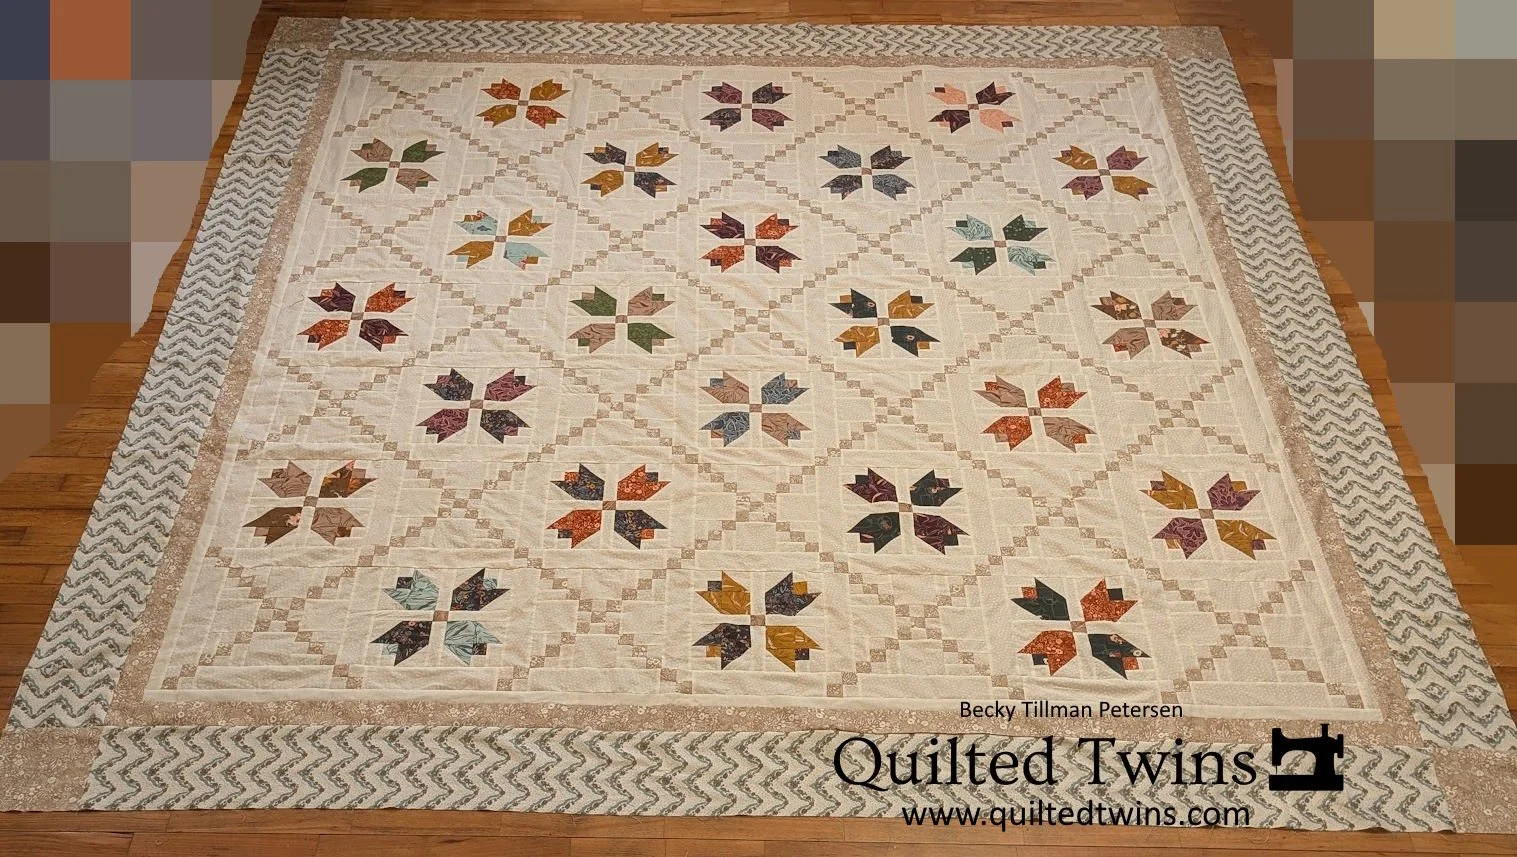
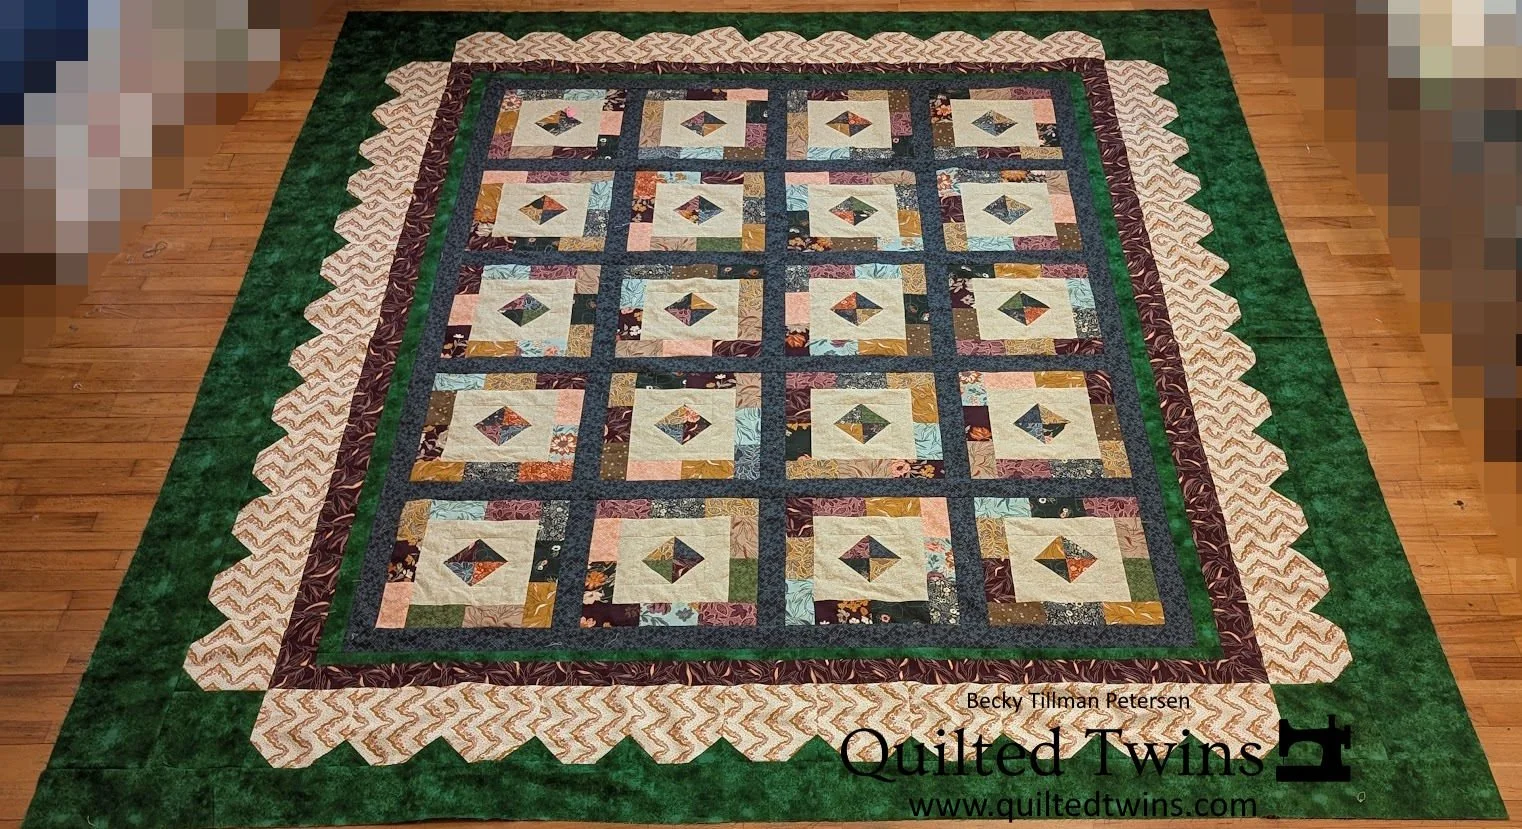
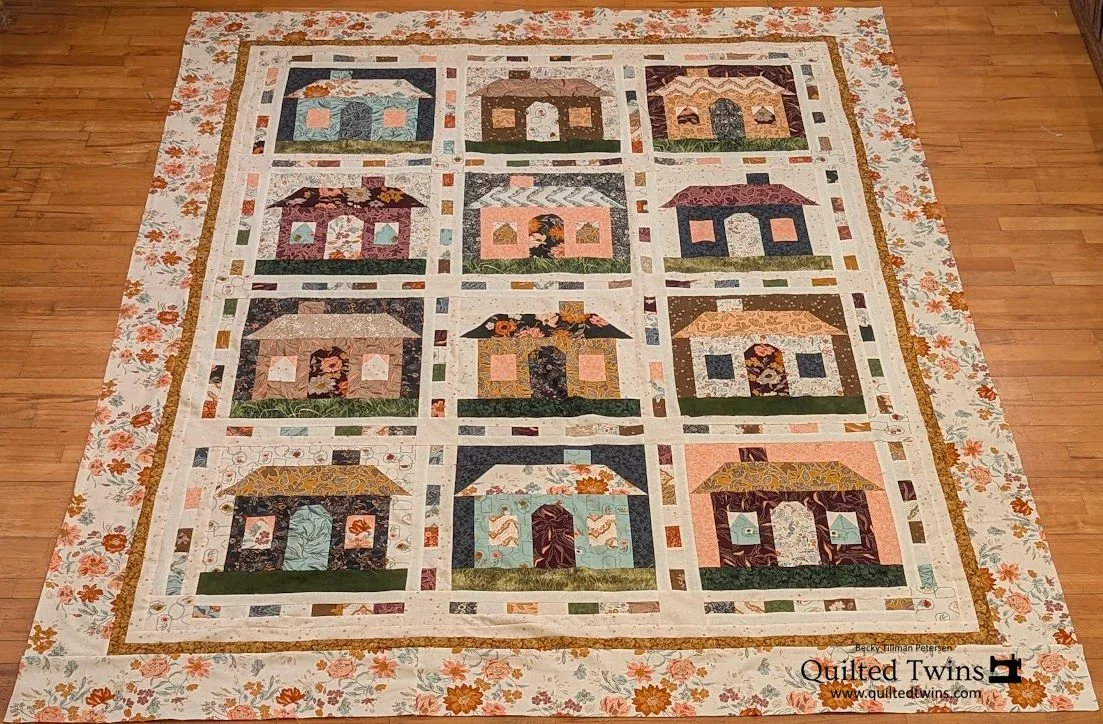
Here is the series so far.
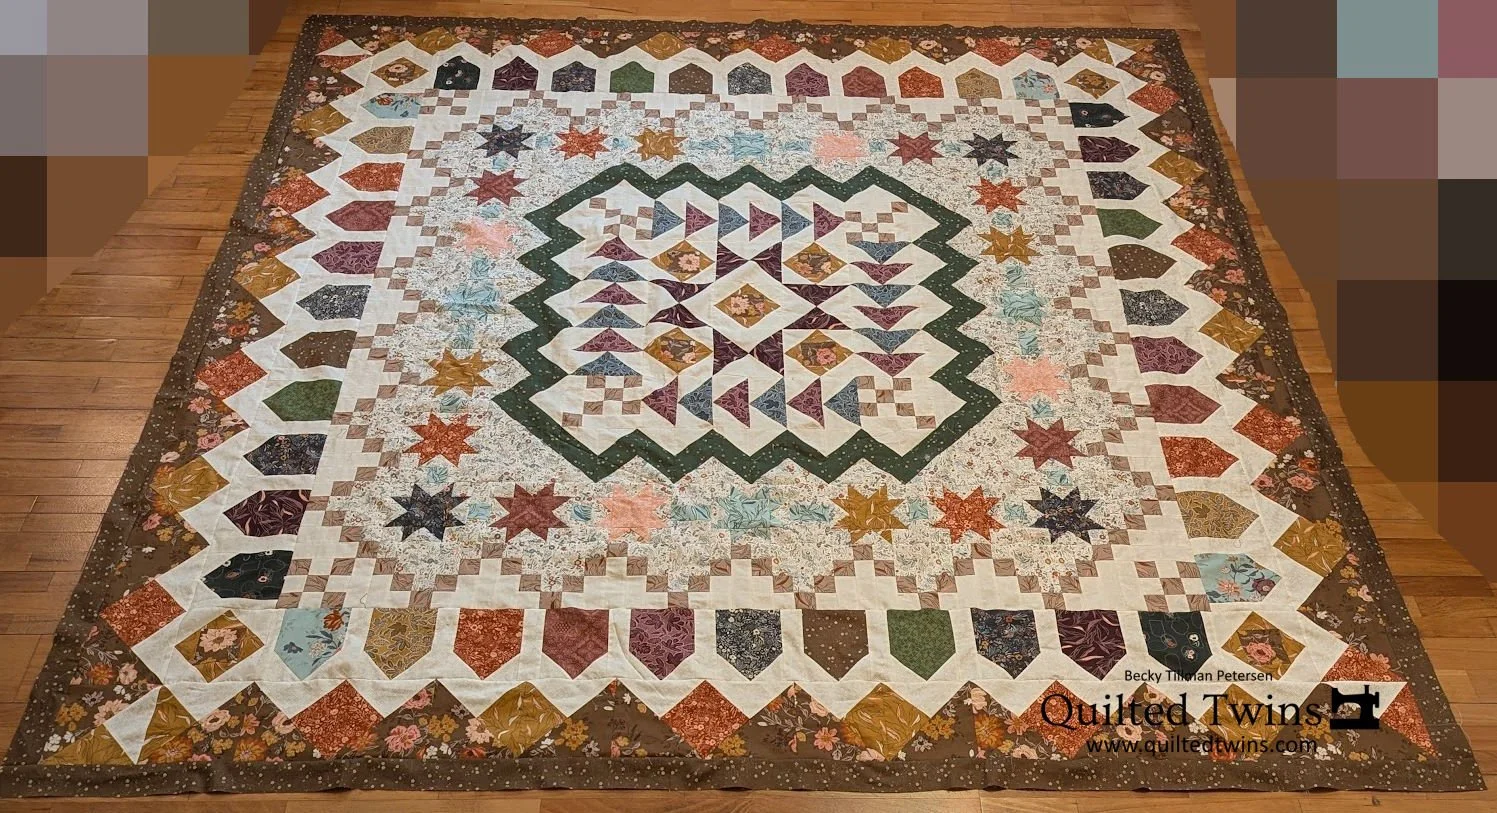
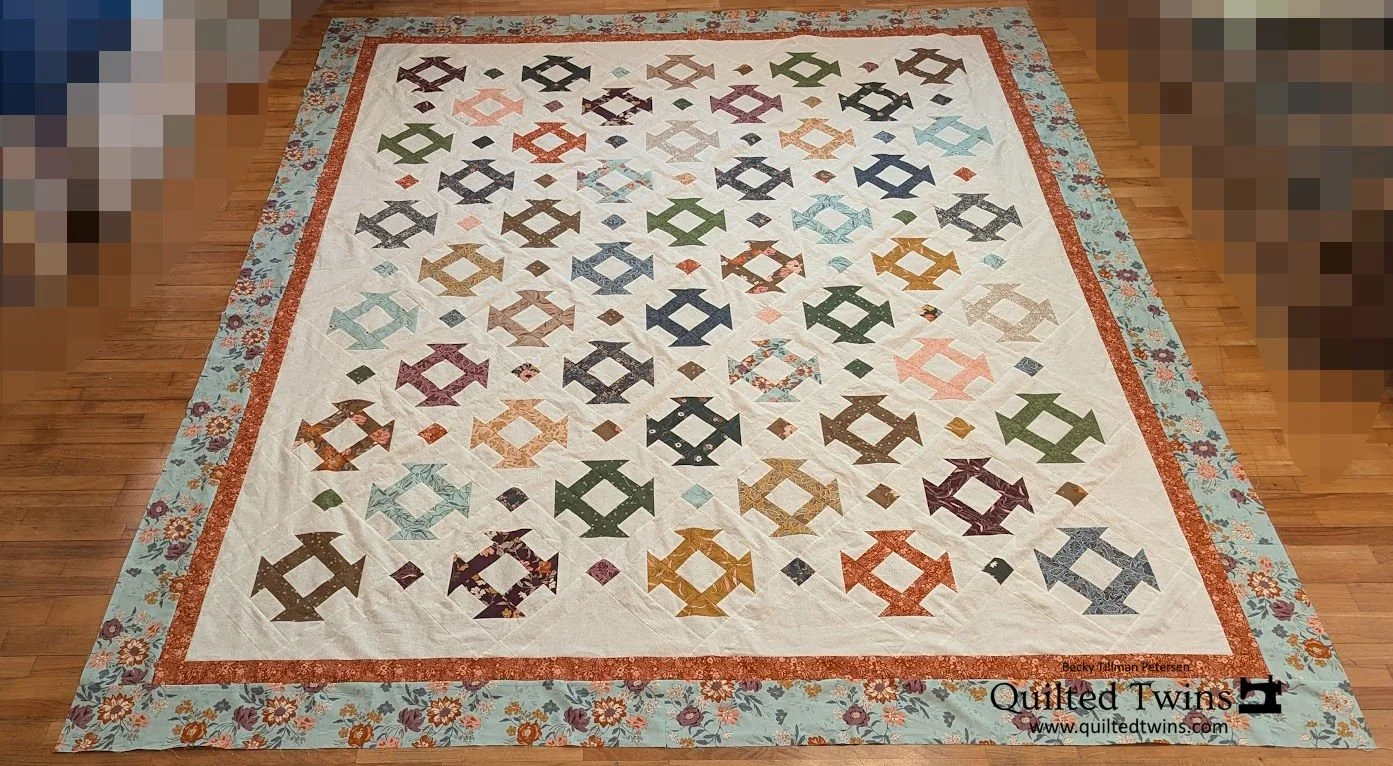
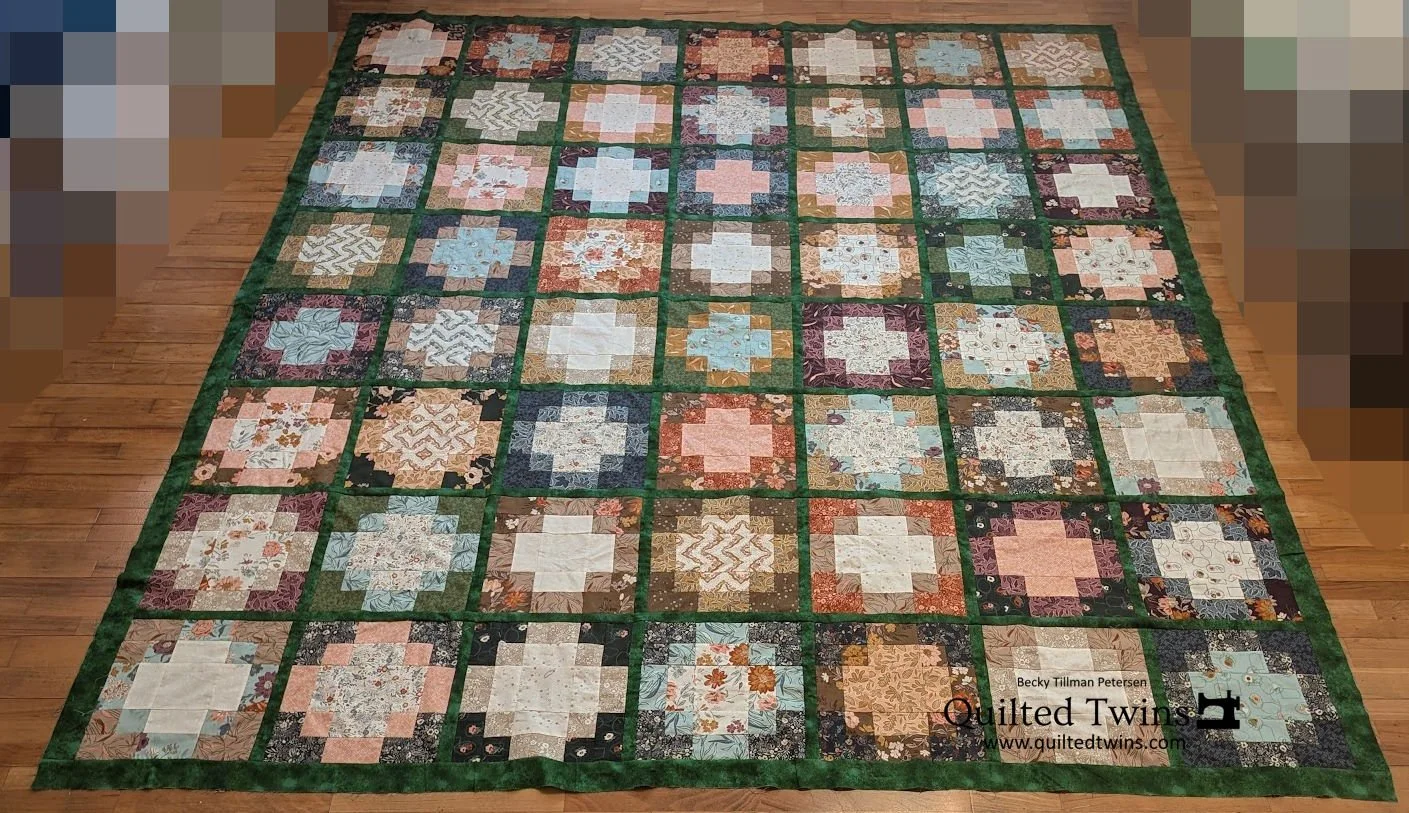
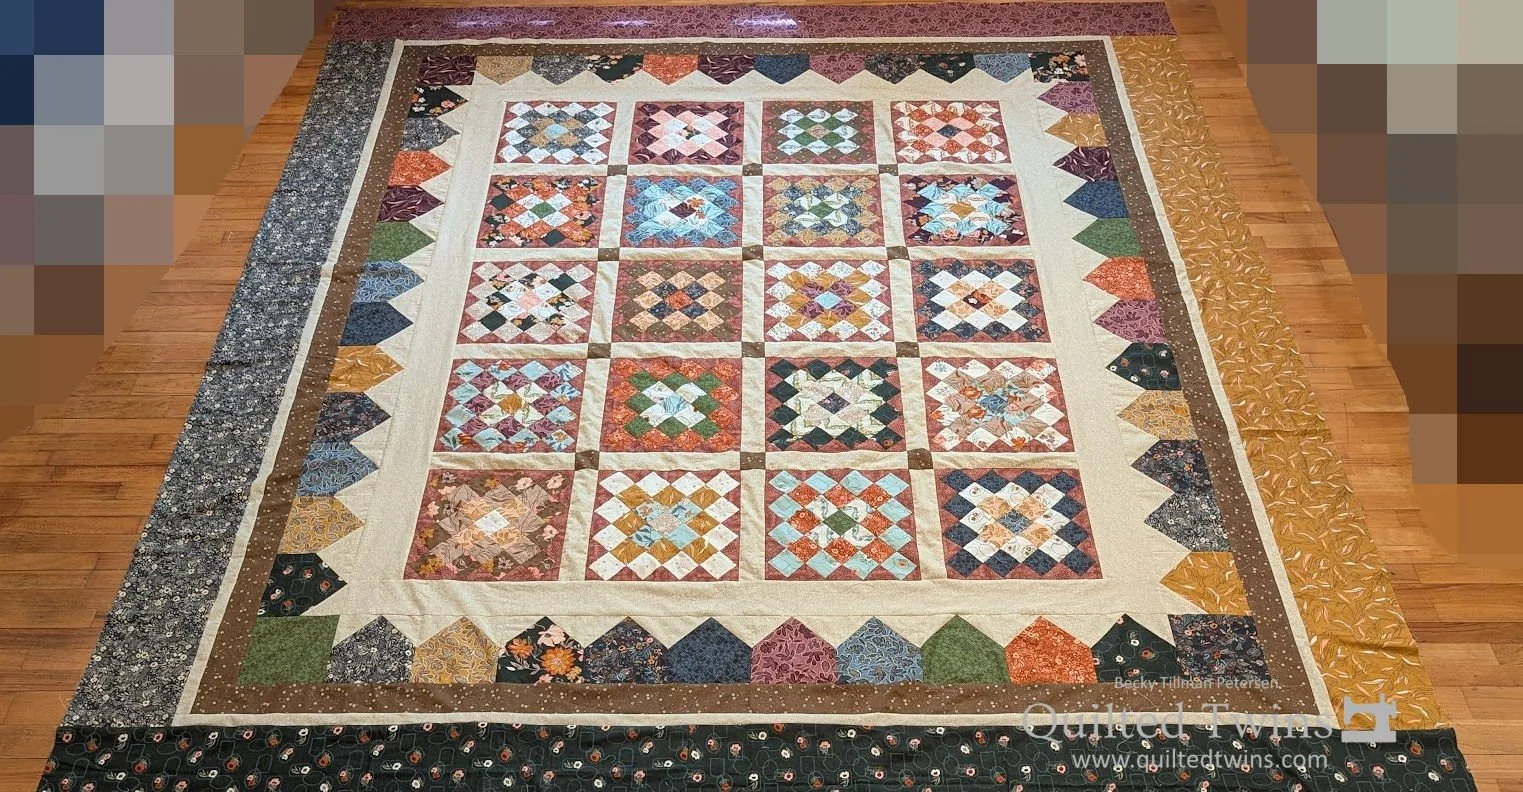
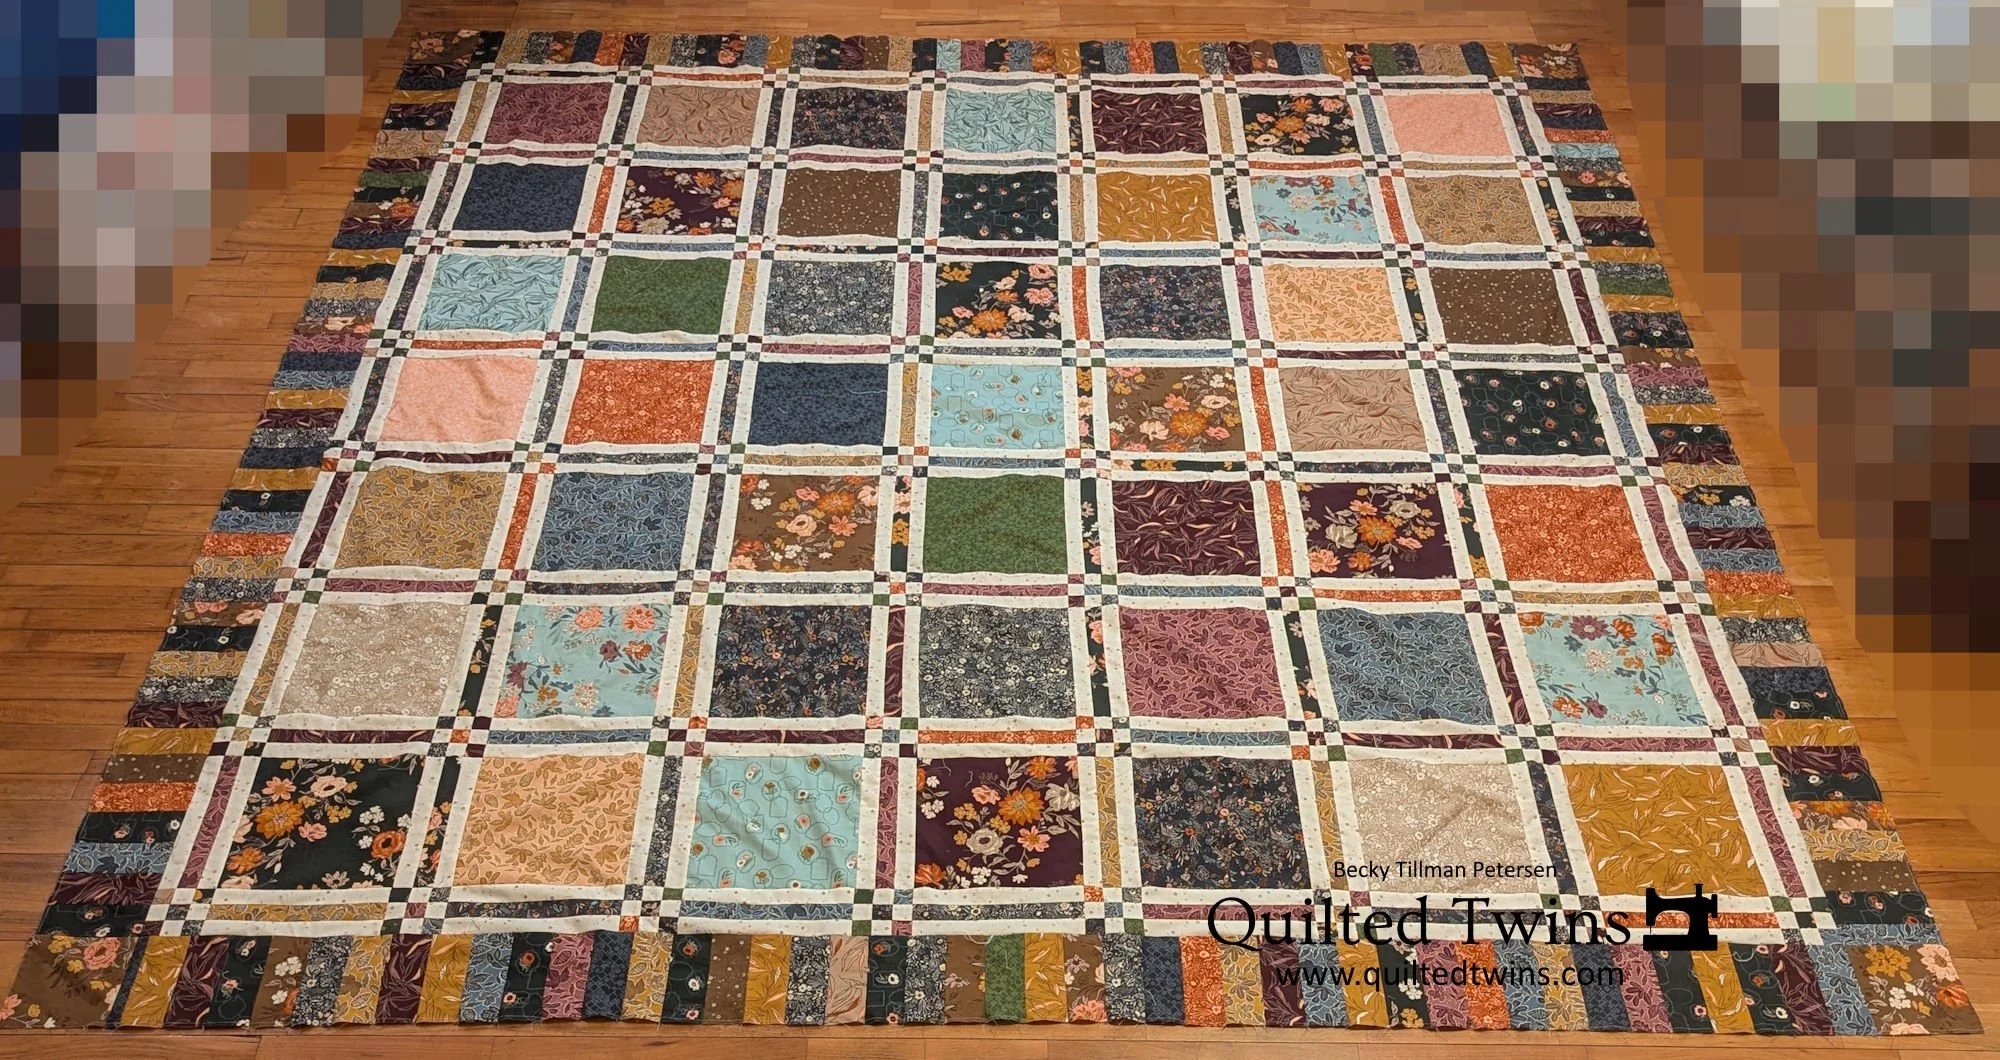
Once again, as I work through this fabric, I’m using up the last of my Foraged, Found and Hand Me Down from Moda - Stephanie Slewinski. You can get your fabric here at Quilted Twins.
Thanks so much for coming along with me on this journey!
Have a great day wherever you are reading this!
Be sure to check out what my sis has for you in the store here!
Feel free to browse the site.