
Mercantile # 2 - pieced blocks all finished!
Here’s my second update on this top. Now this is a top that I will not be quilting. I will be sending it to Florida for them to get one of the long armers that we use to do it, and then it will be shared with our Dade City Garden Club who actually has commissioned it to be made. In reality, they have paid little more than the cost of the fabric. I’m donating my labor for it and my time, energy, etc.
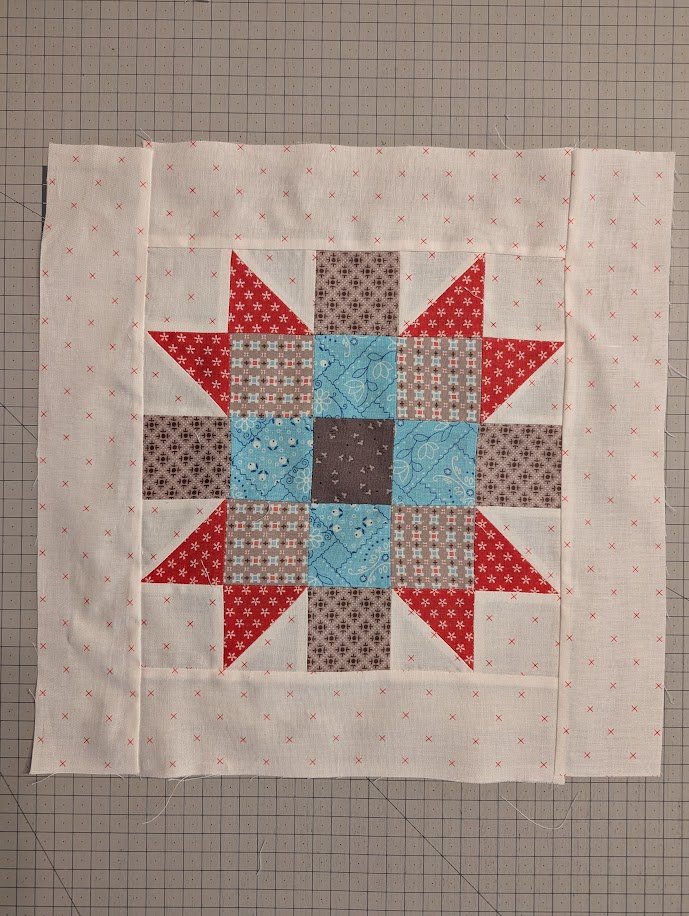
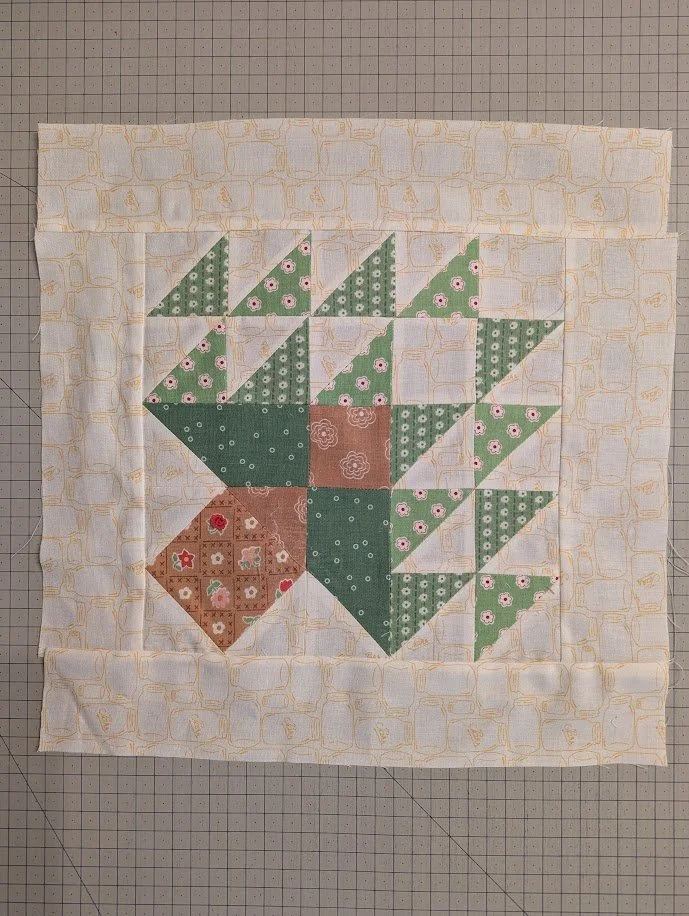
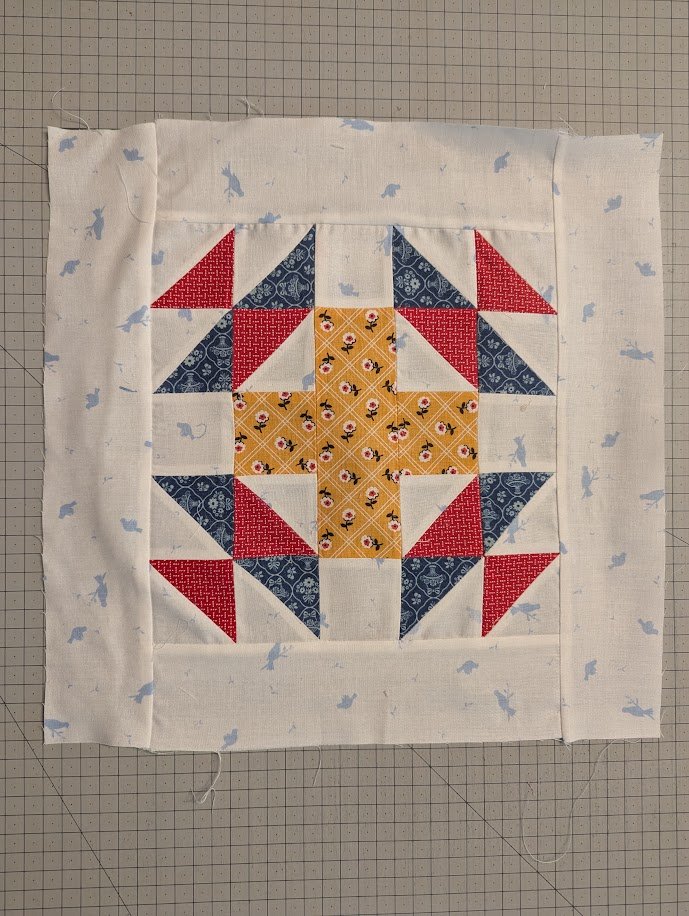
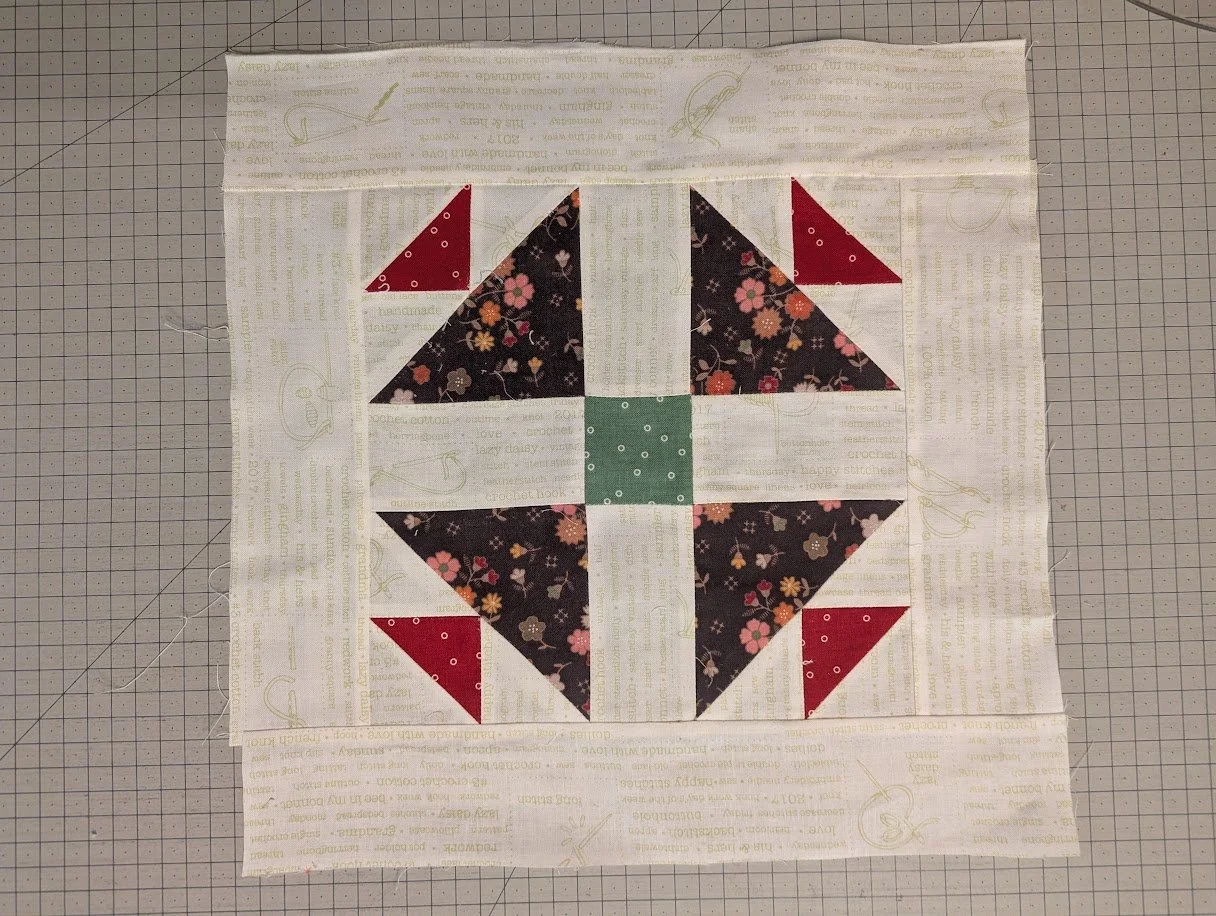
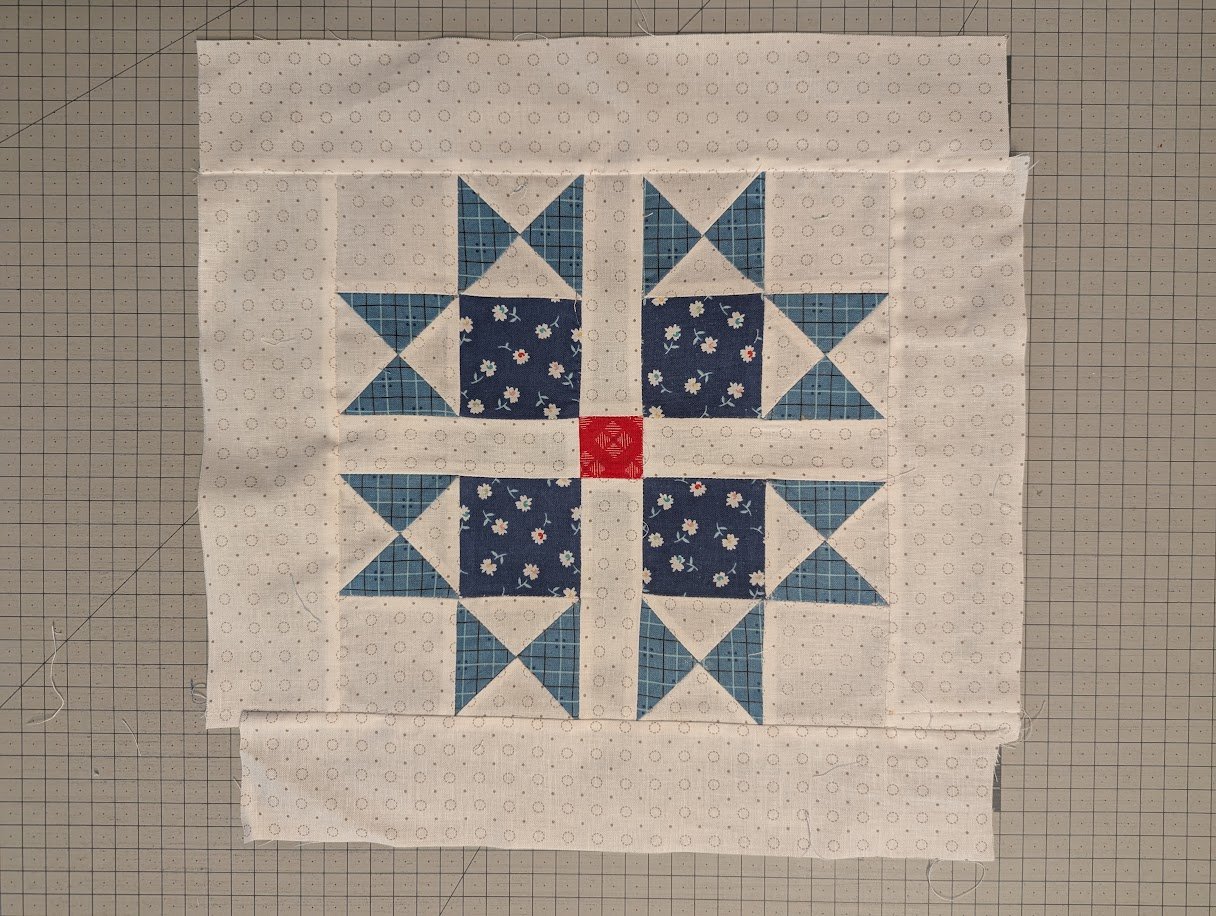
I thought I’d bare my soul and show you all the blocks as I made them.
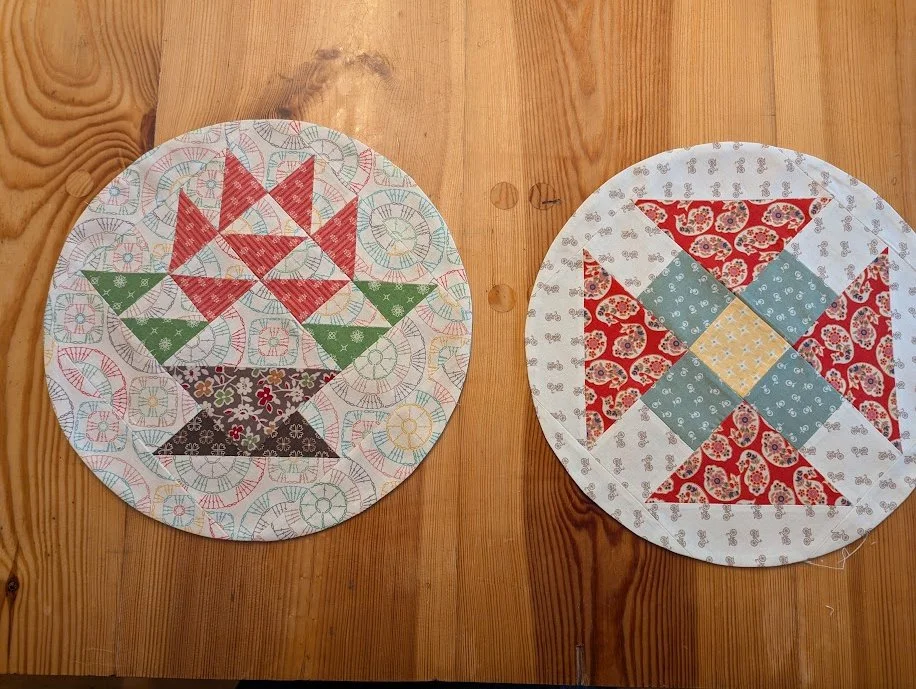
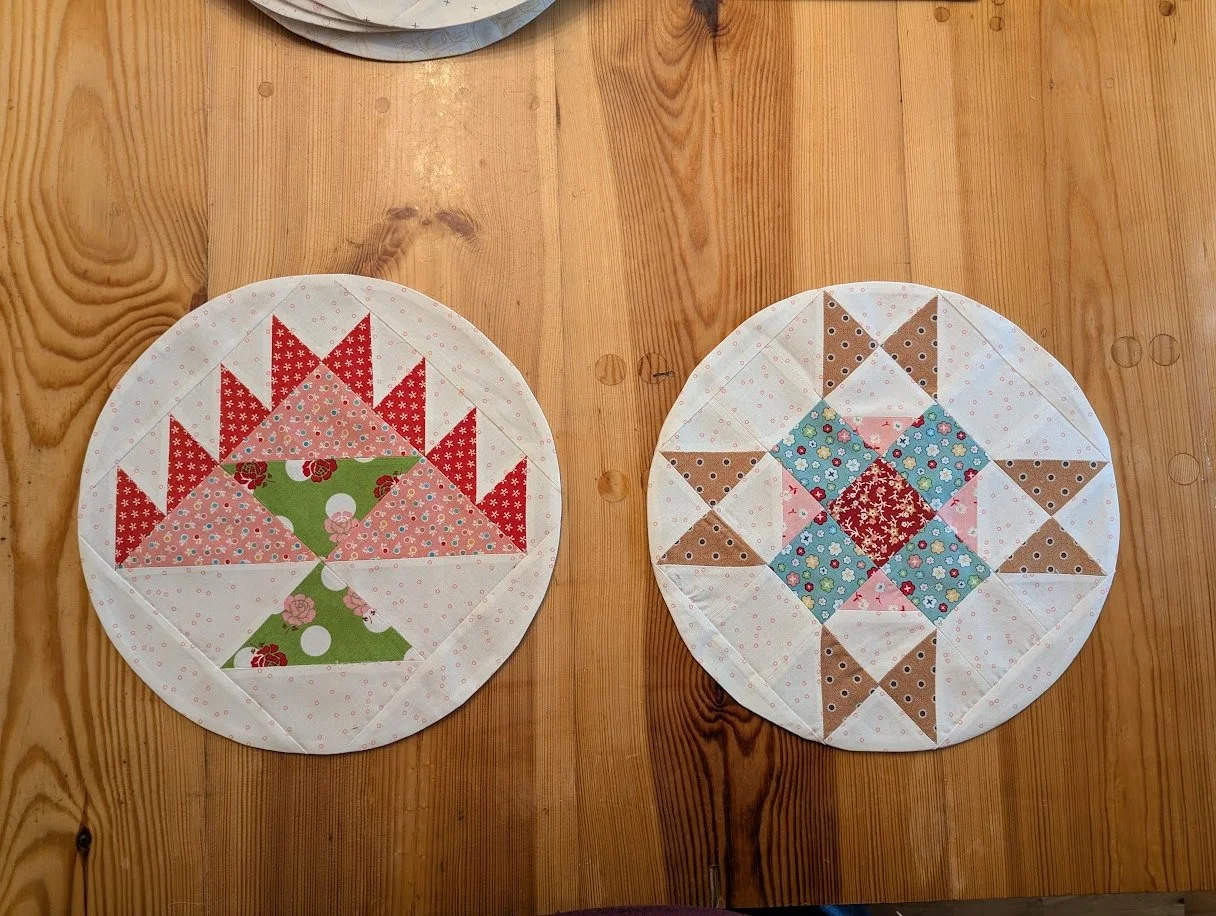
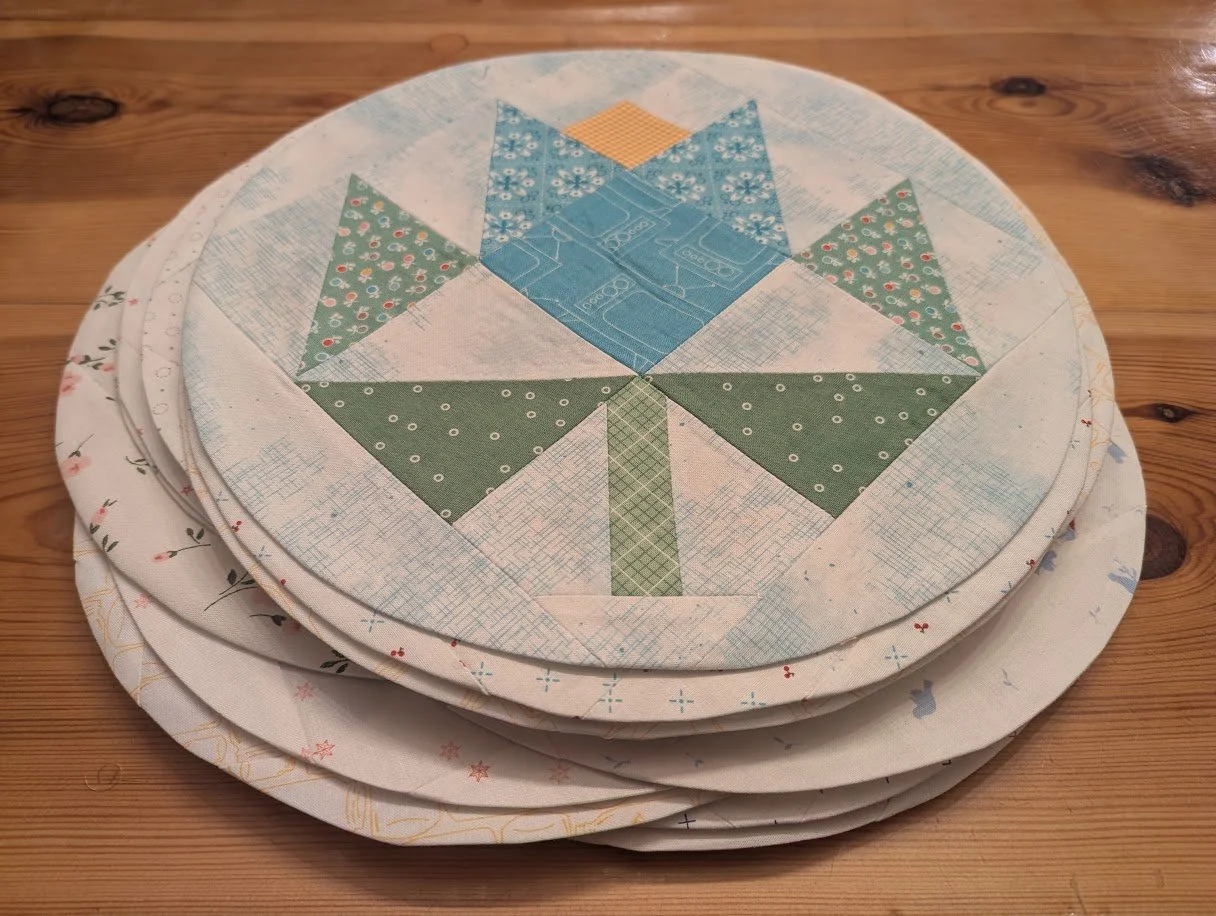
THEN, Let me share with you the blocks after they are made into the circles. They do look very nice as circles and somehow a lot of the little things seem to go away. I think you just don’t notice as many of the tiny missed meeting points, etc when they become part of the bigger picture.
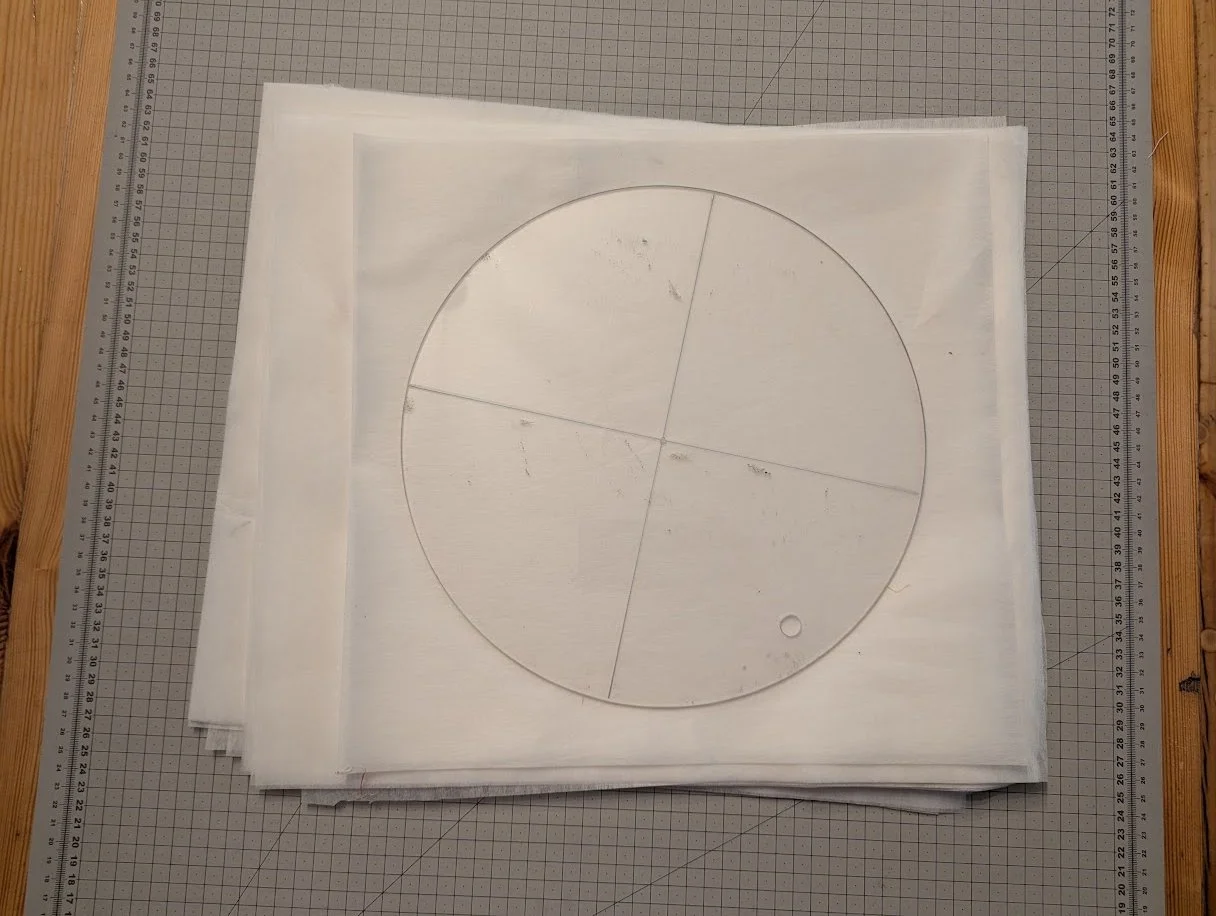
Here are the blocks as I made them. I didn’t worry about perfection around the outside as I knew that I was going to trim the corners and edges away into a circular shape like this: My husband cut me the 12” circular shape last time - and I am just using it again. Of course you can buy one by Lori Holt if you wish. I am just thankful I have a husband who can do this kind of thing.
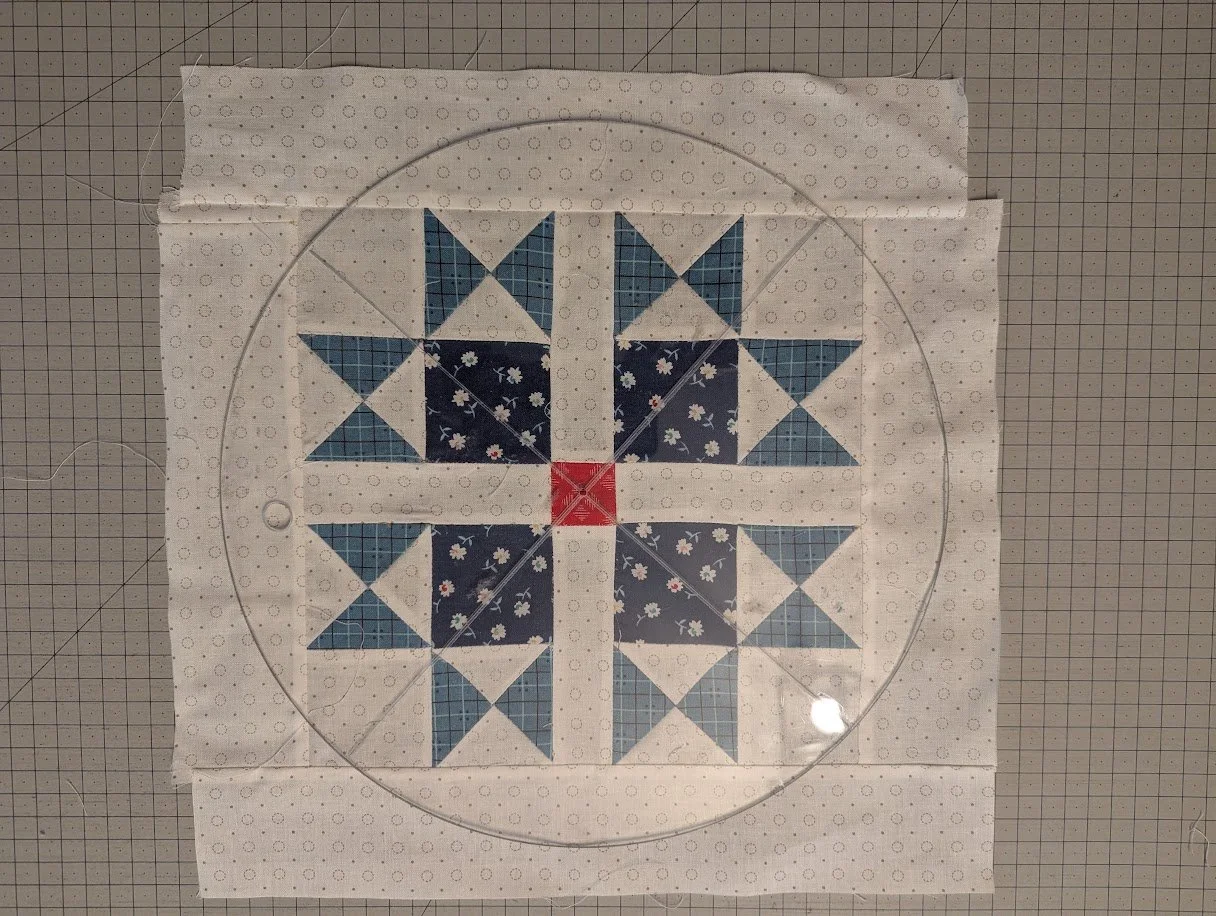
So without undue cropping or trying to hide imperfections.
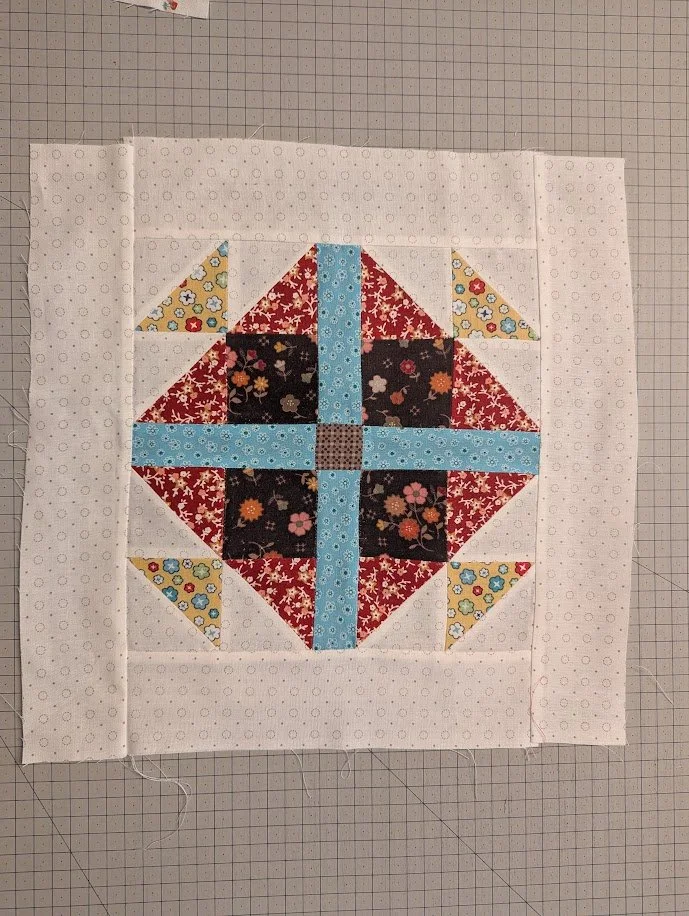
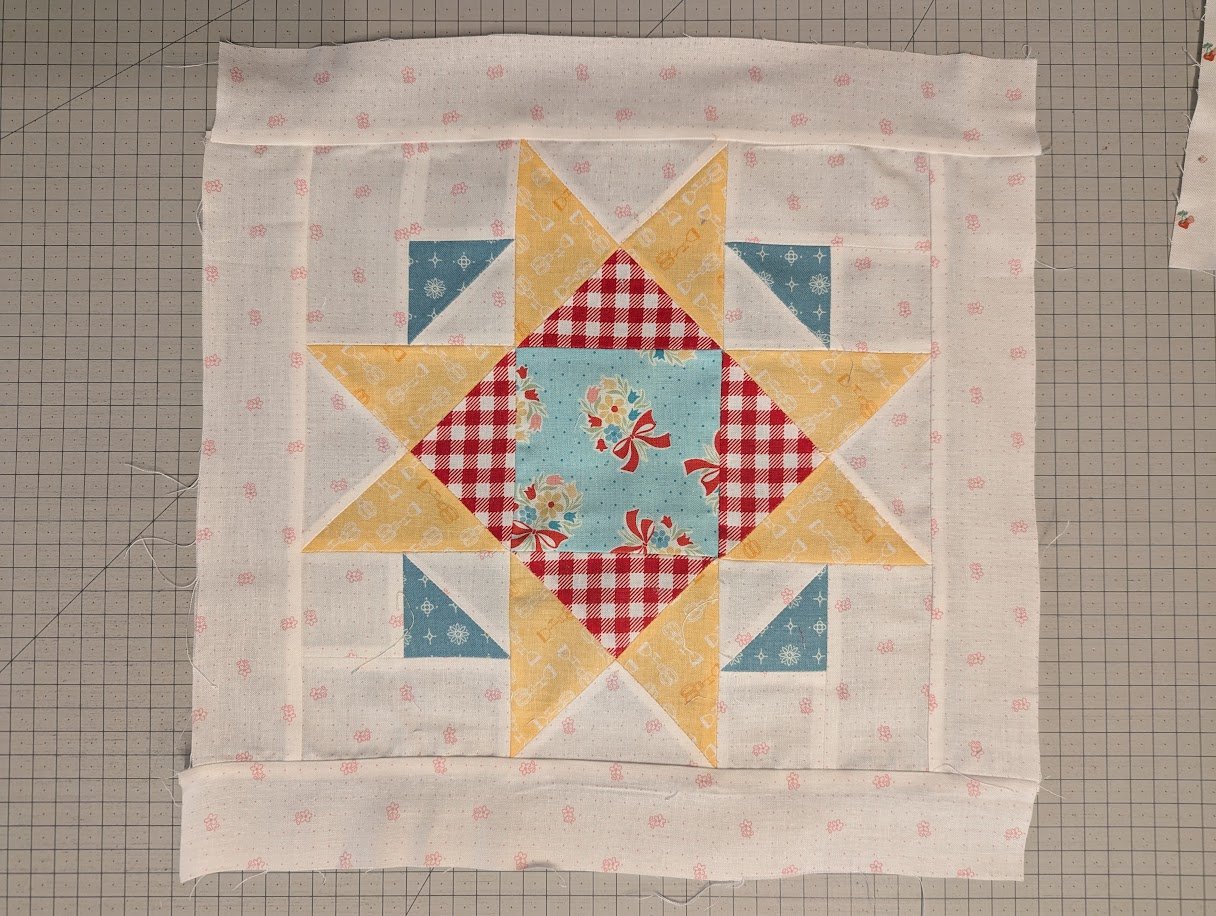
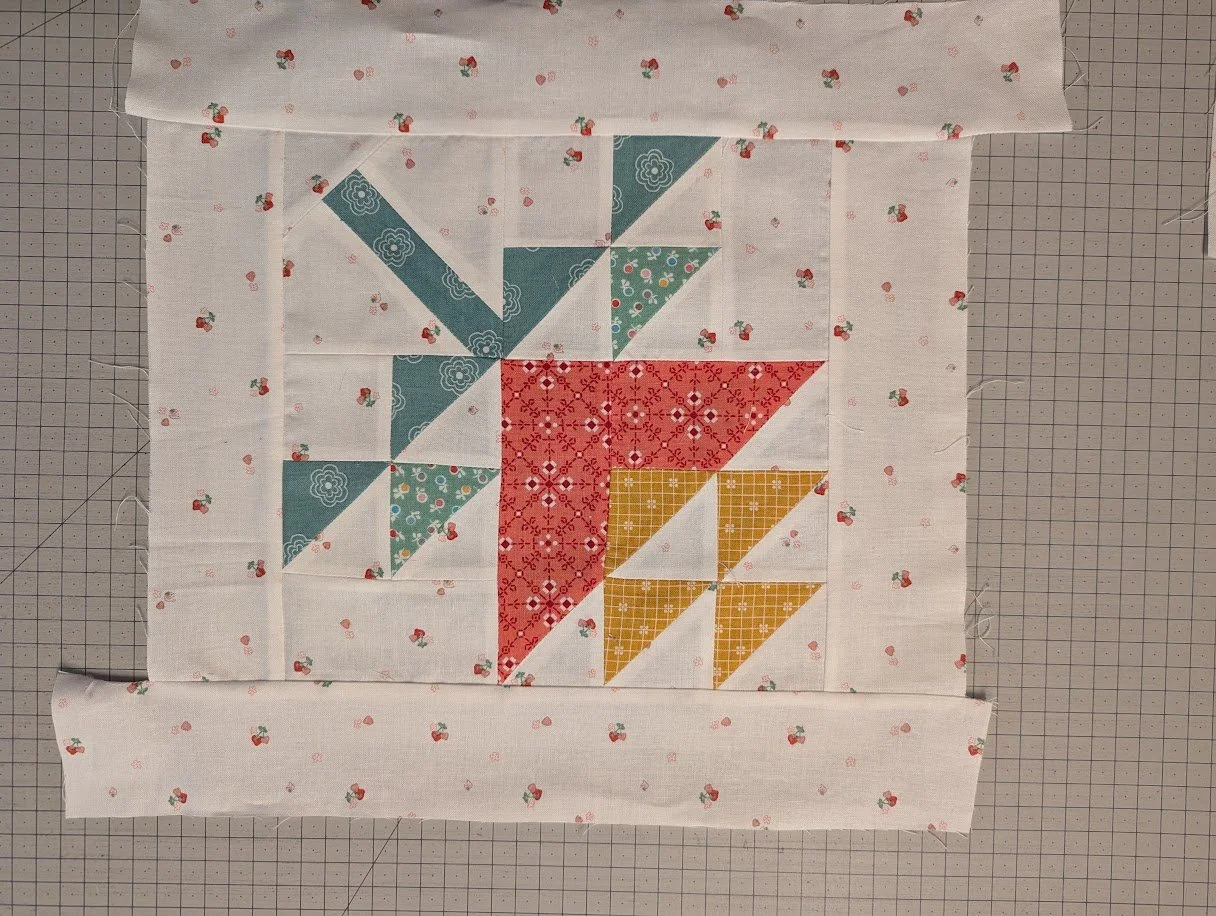
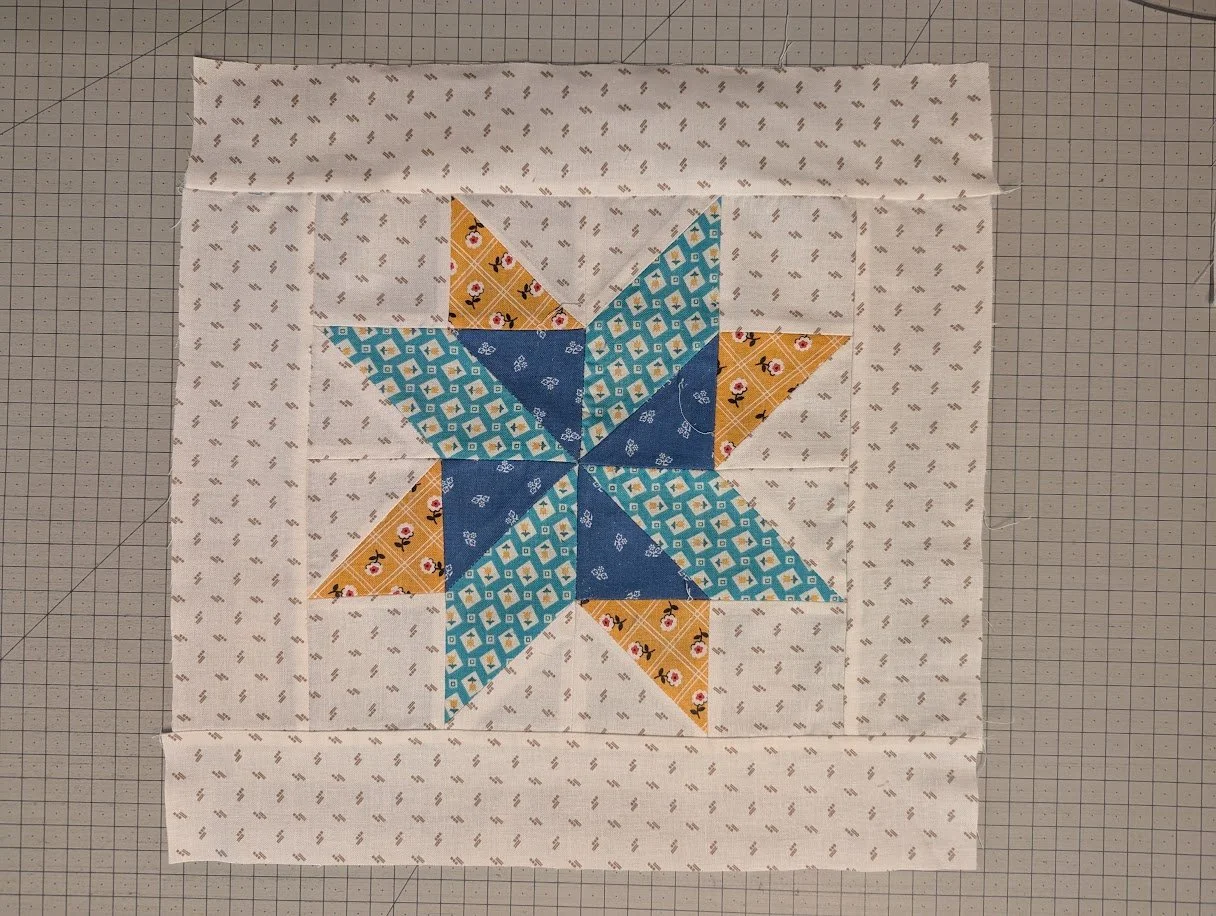
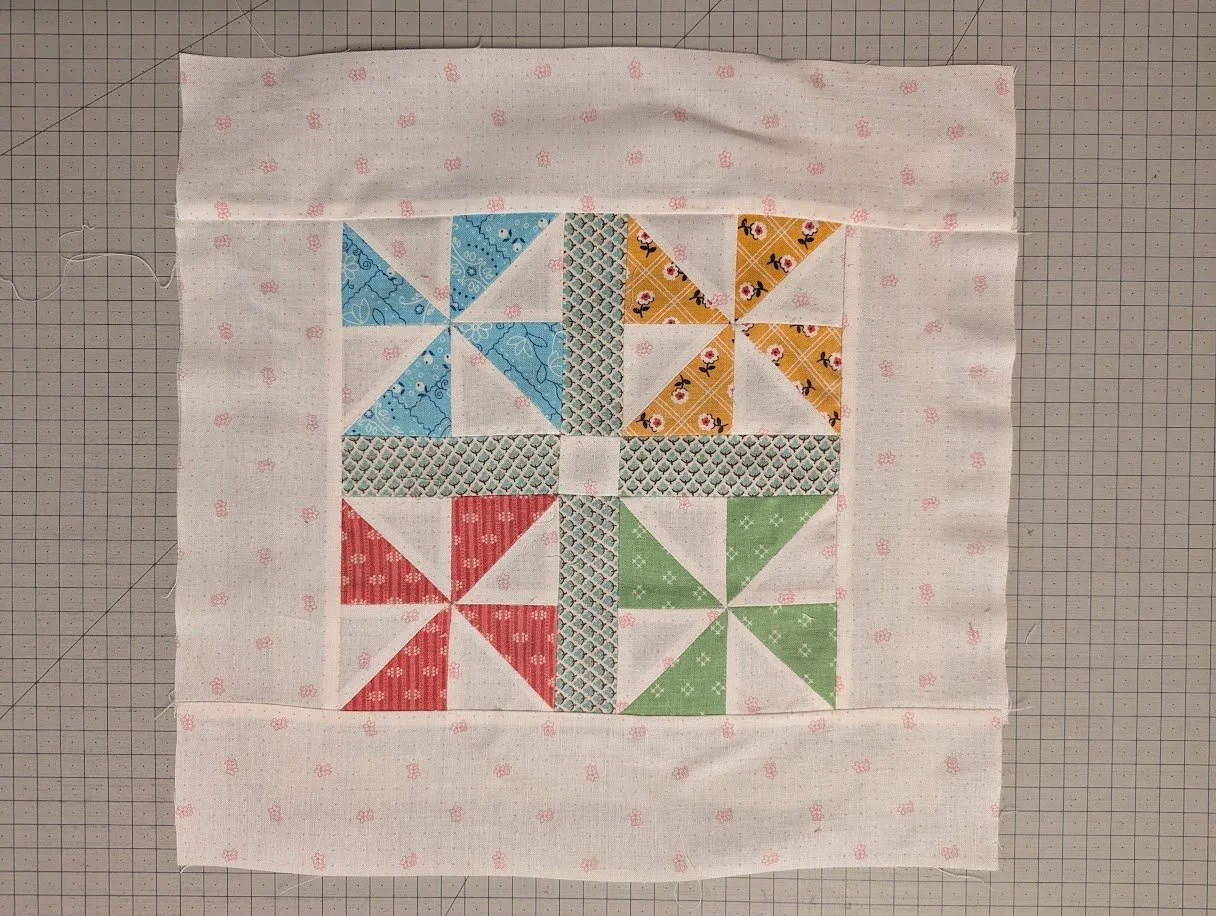
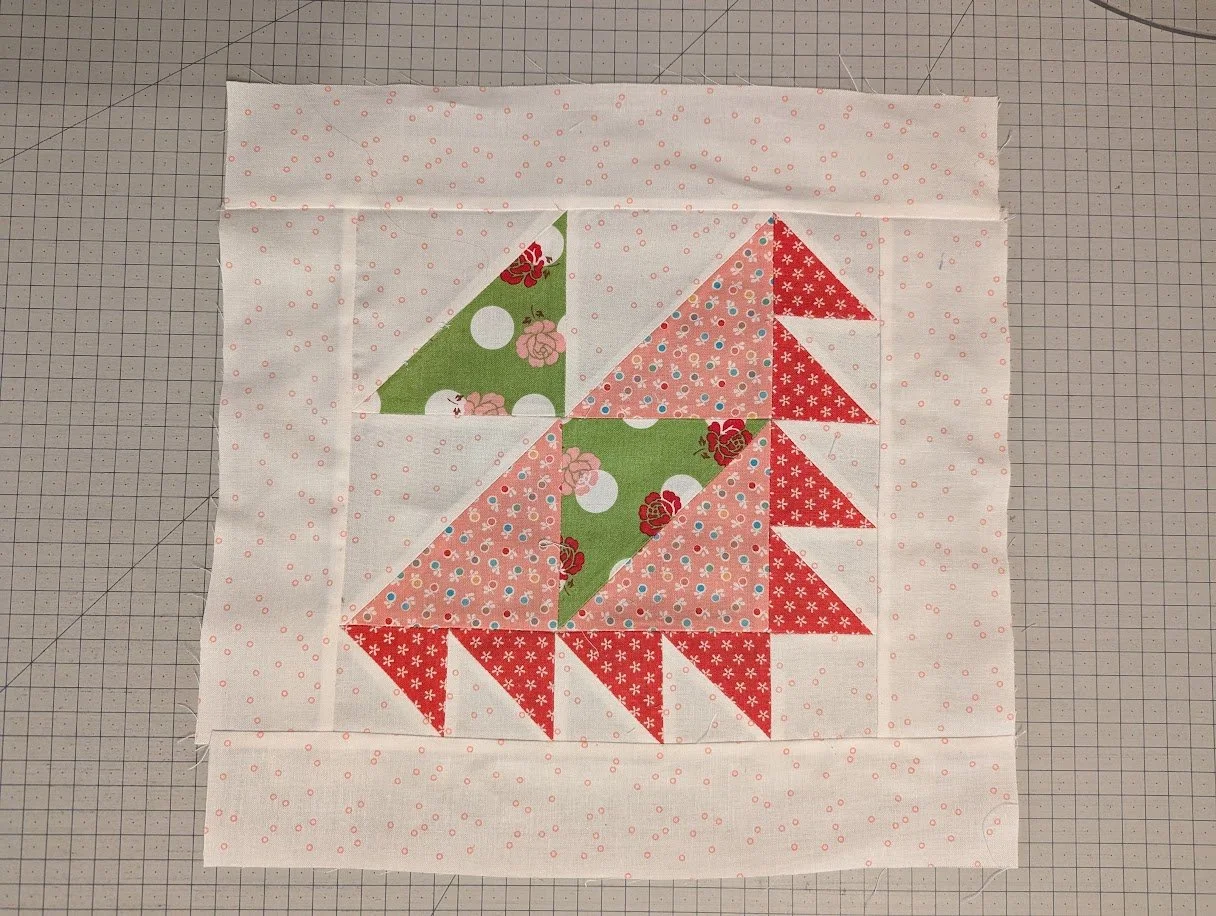
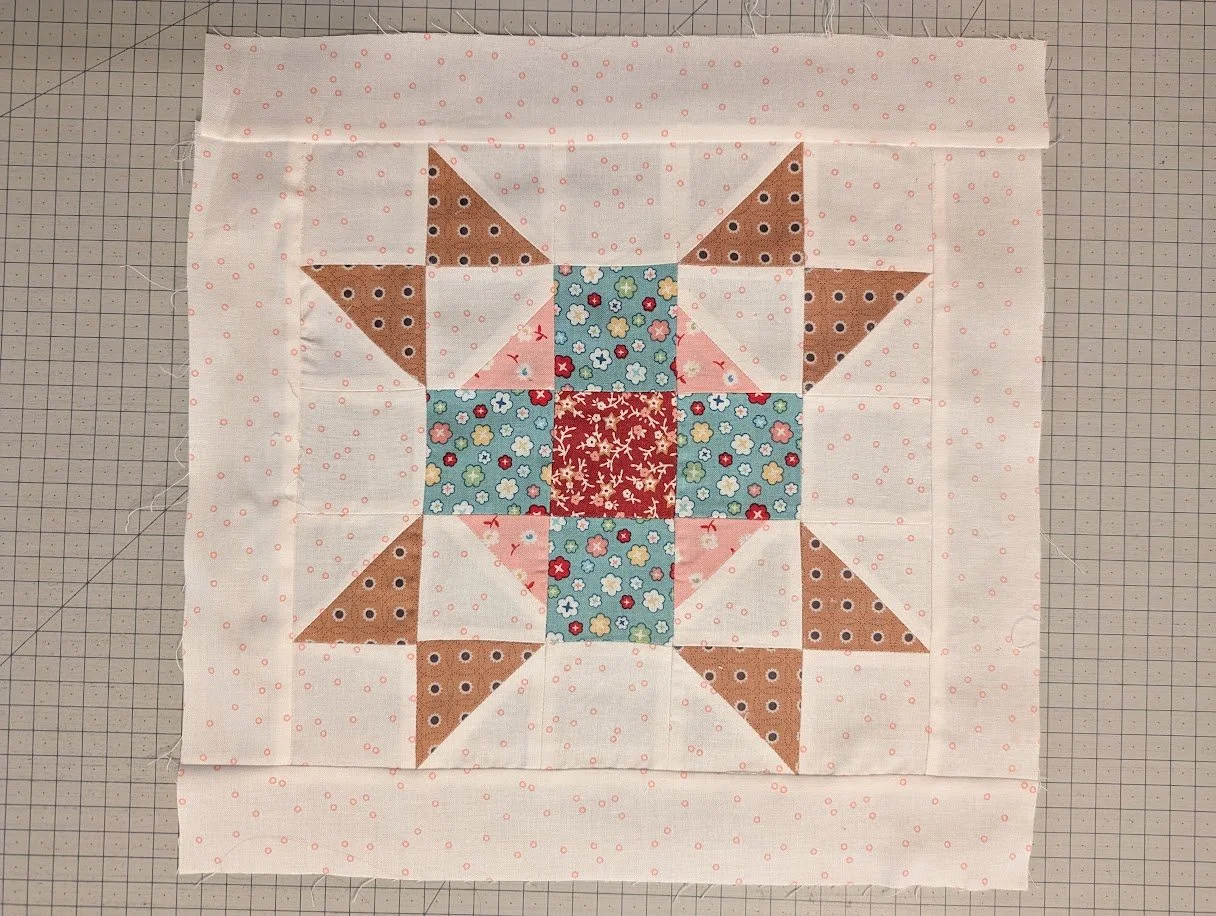
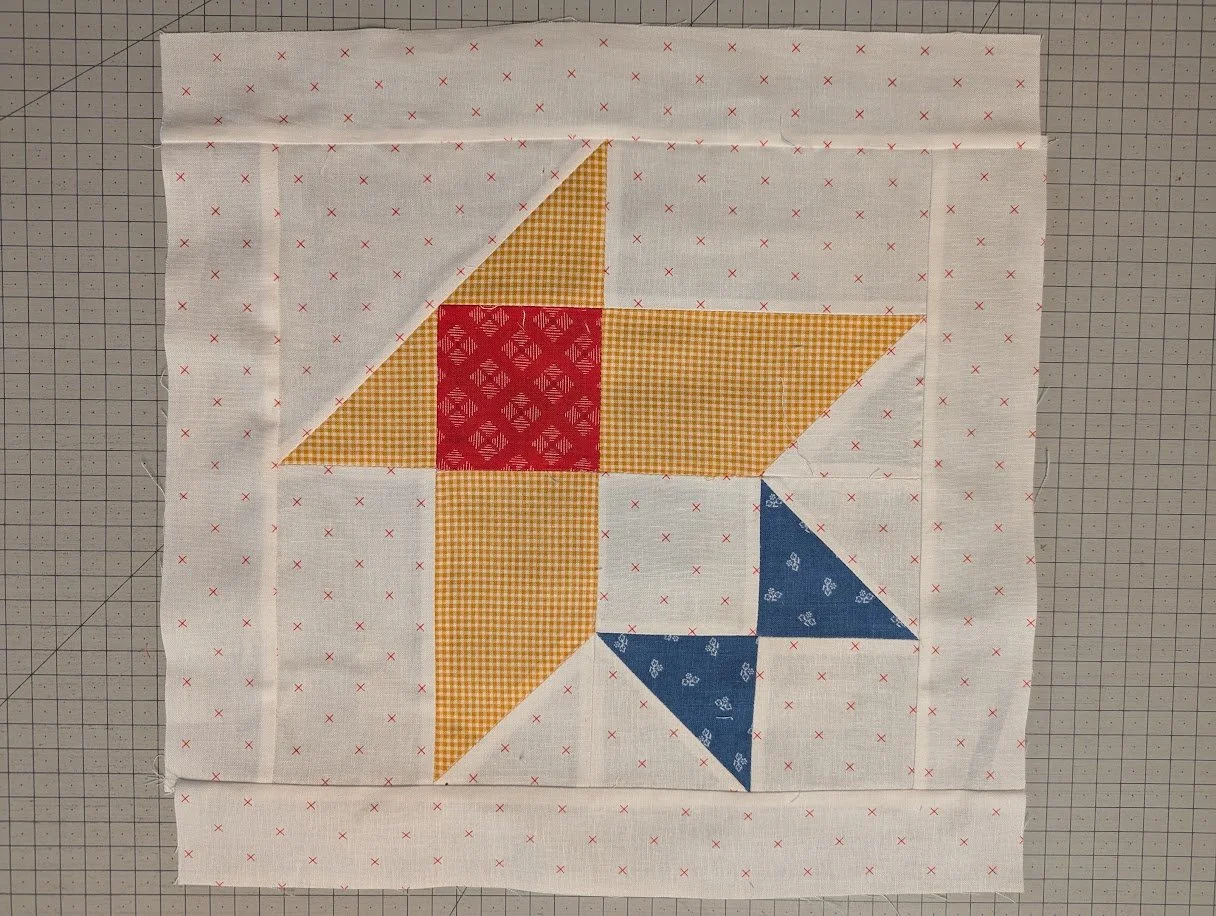
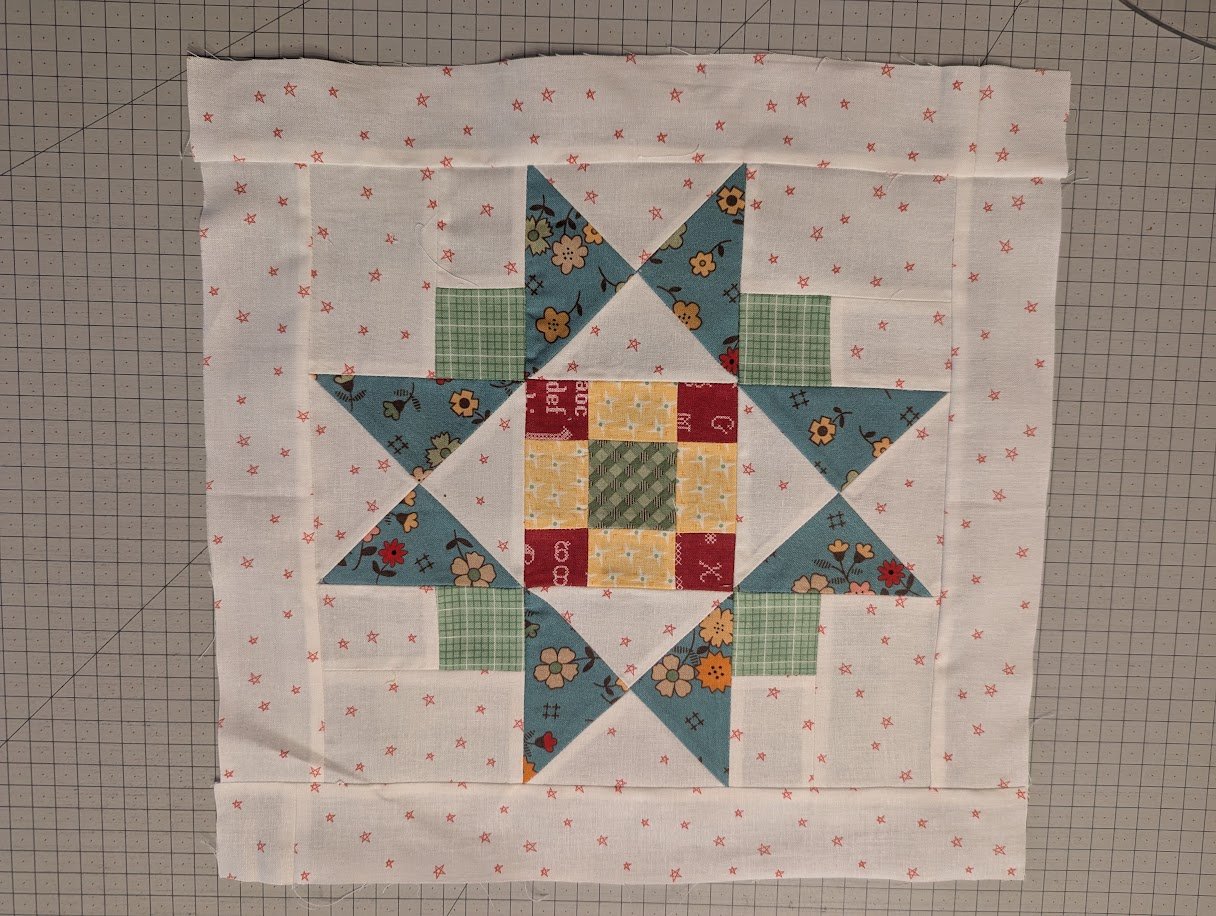
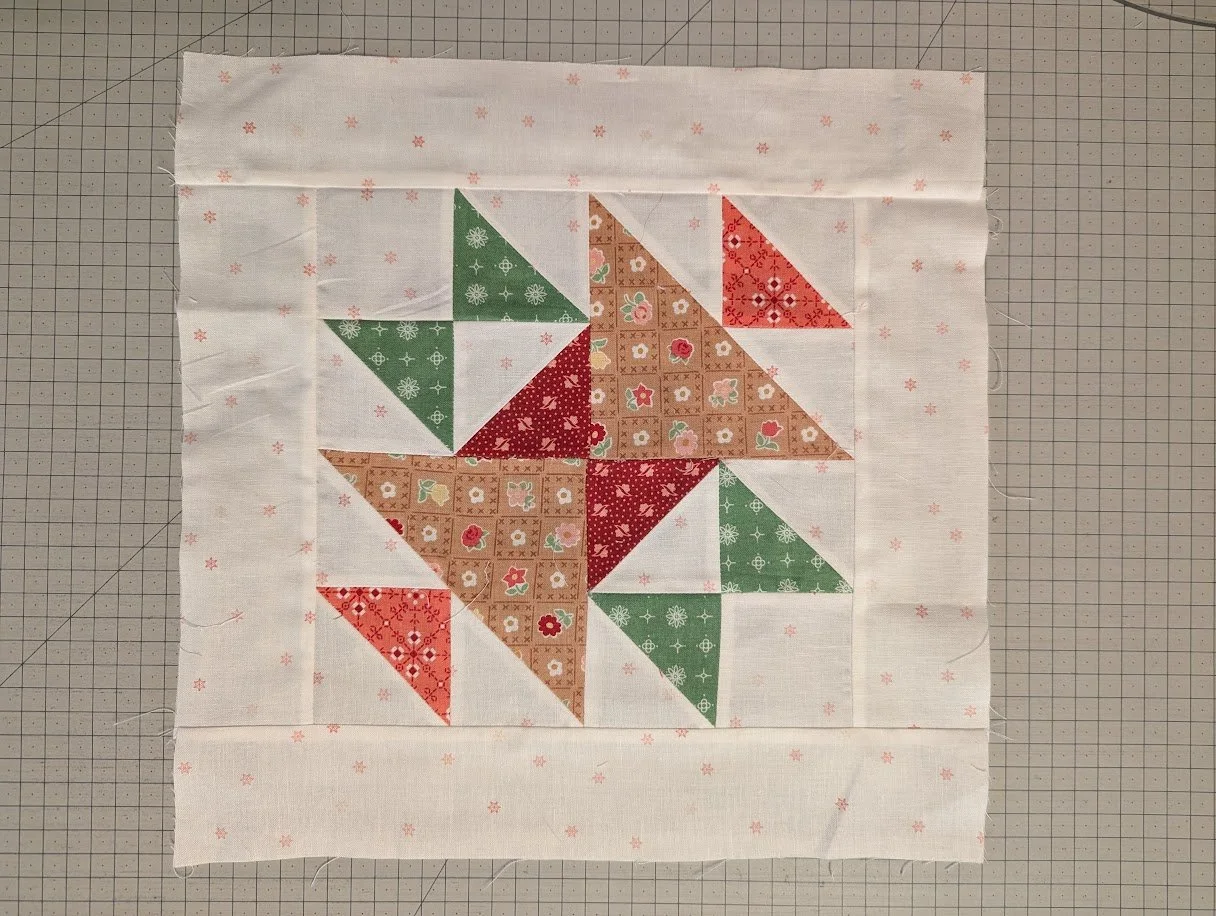
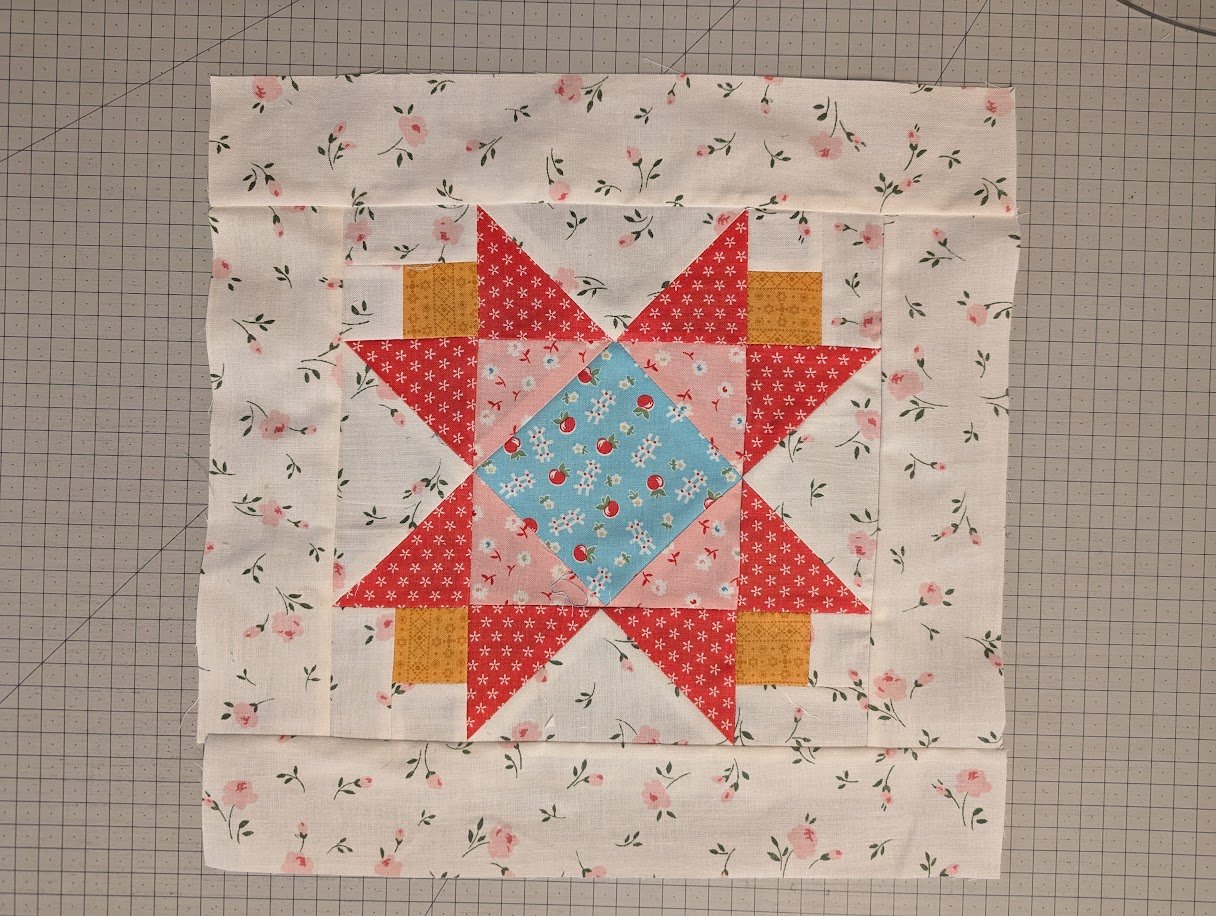
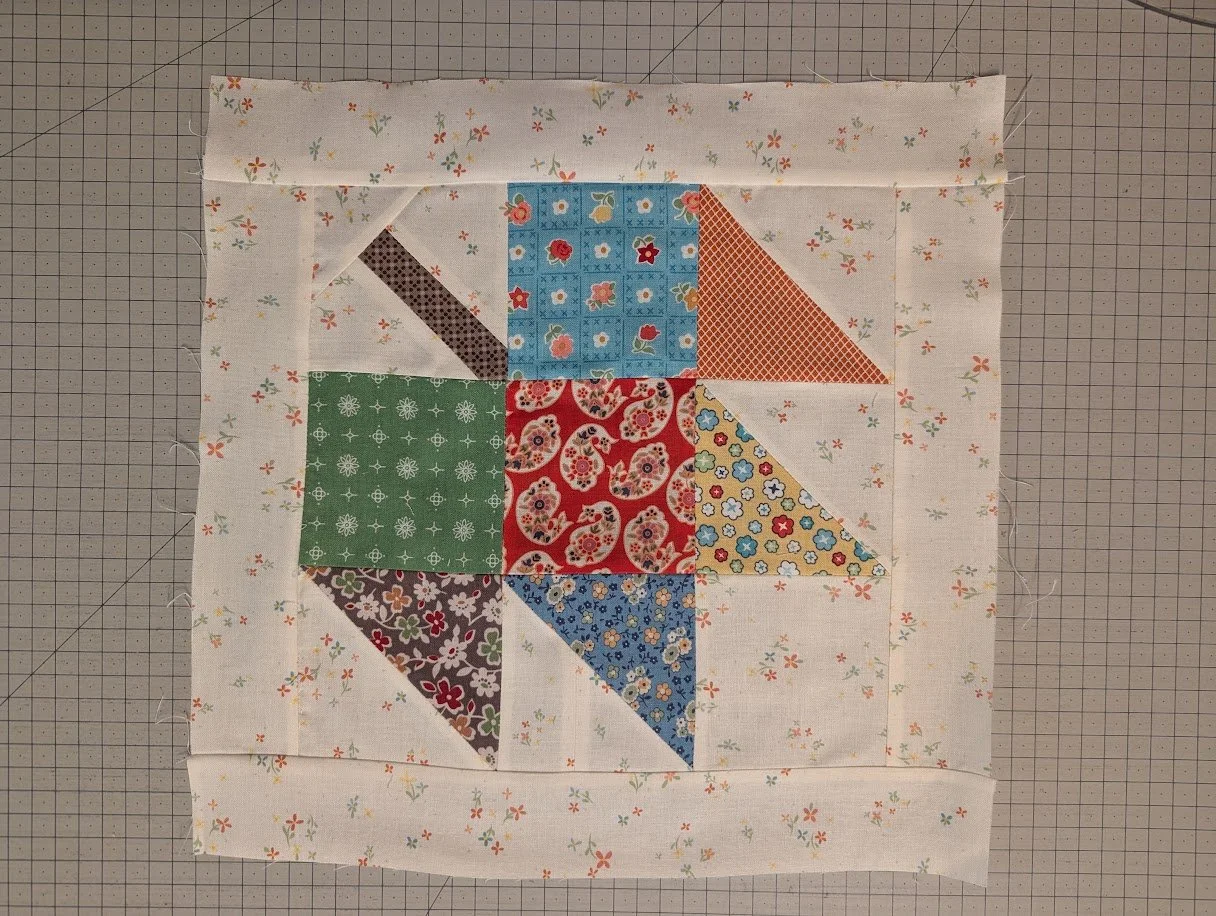
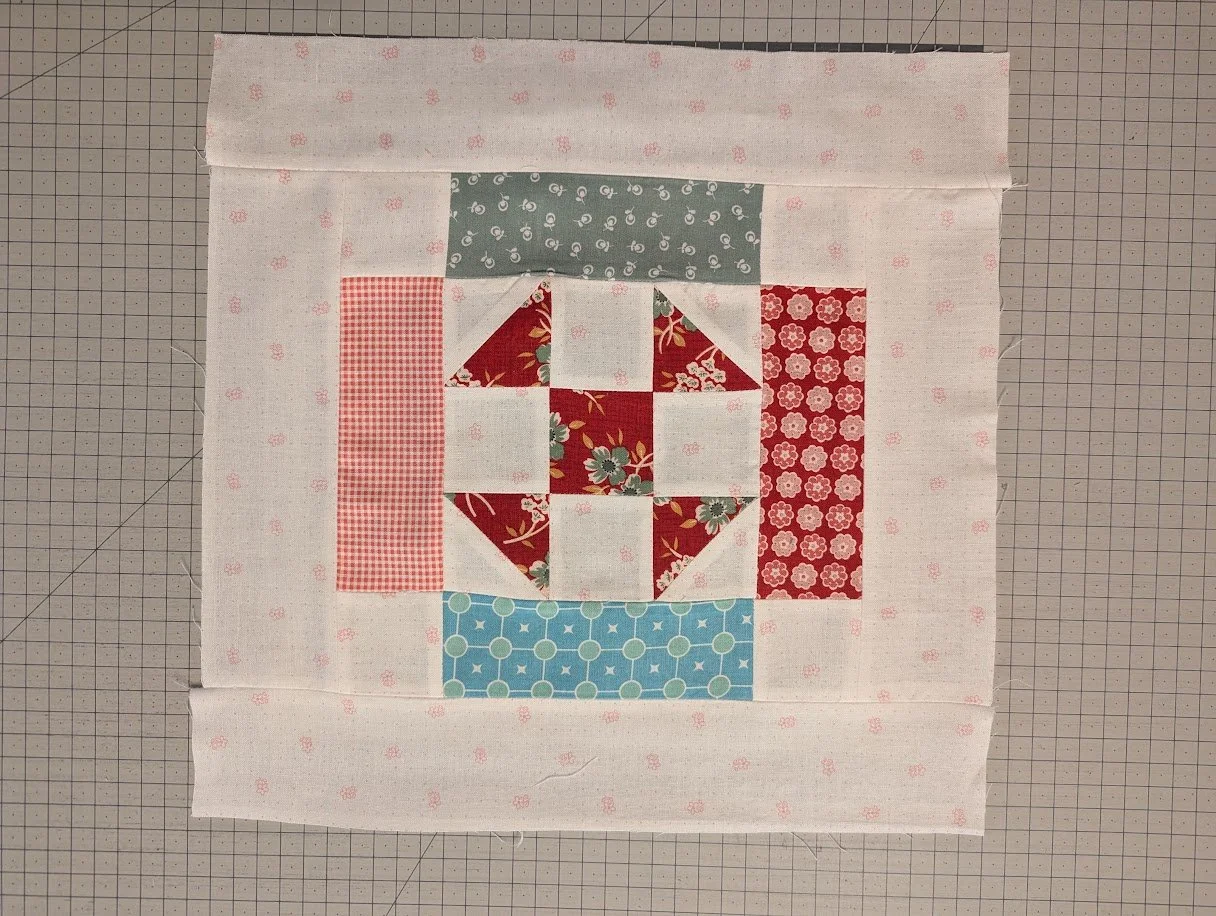
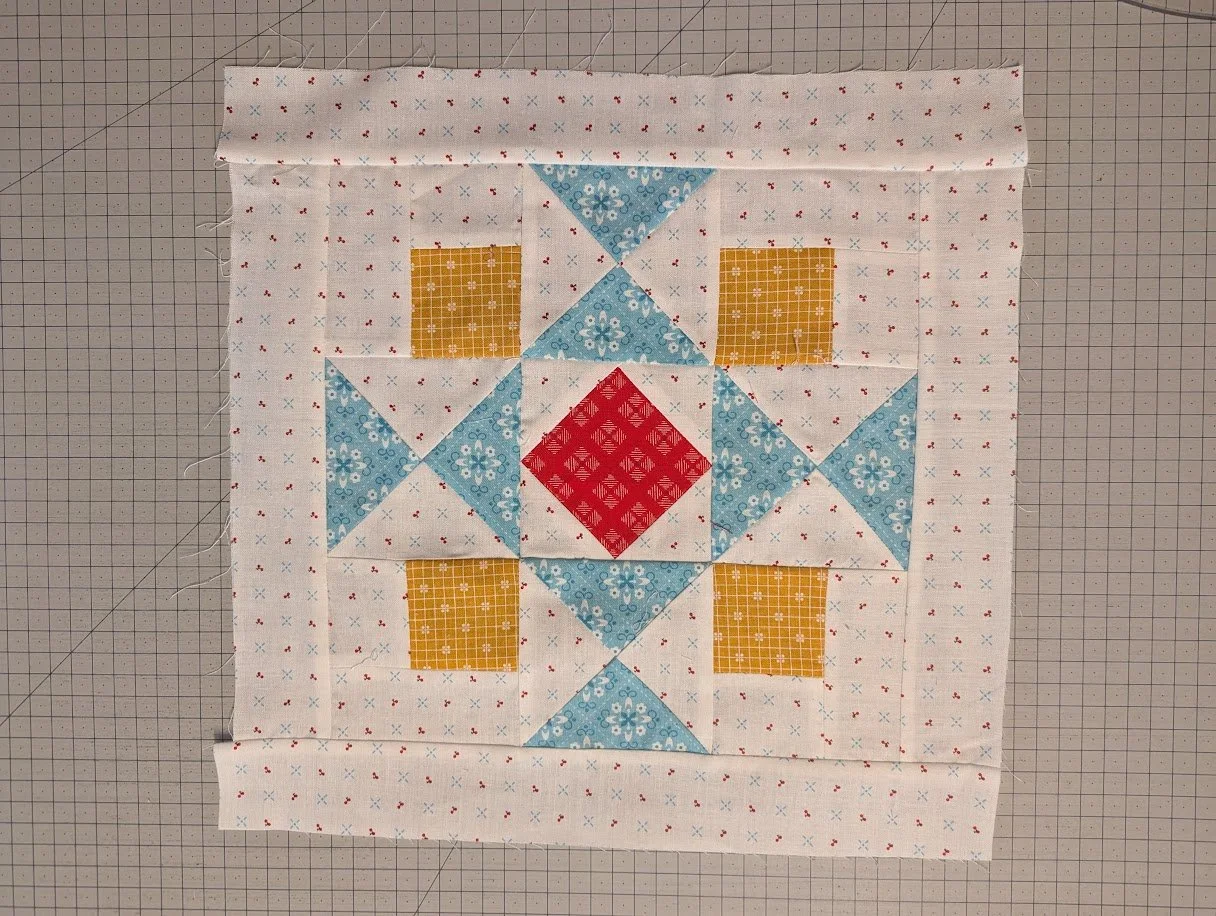
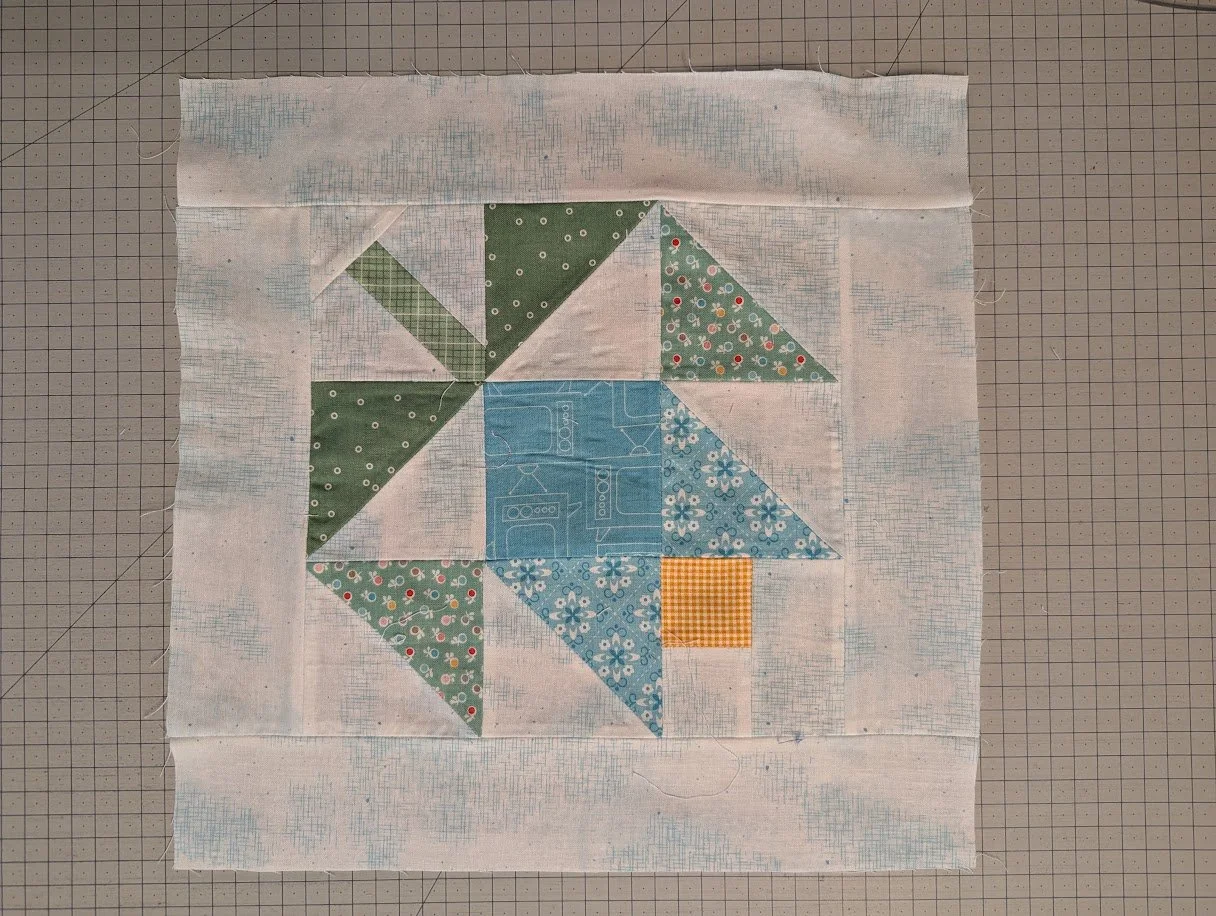
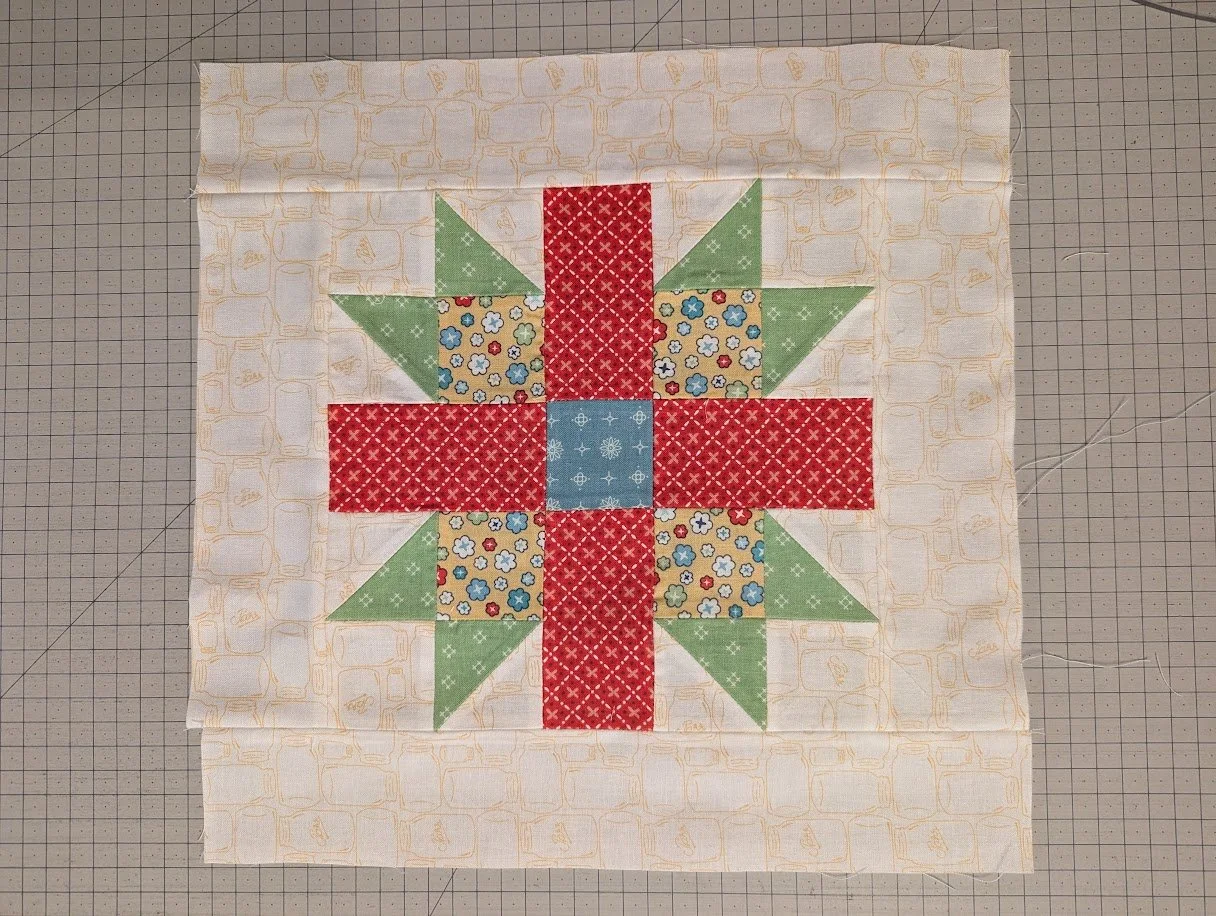
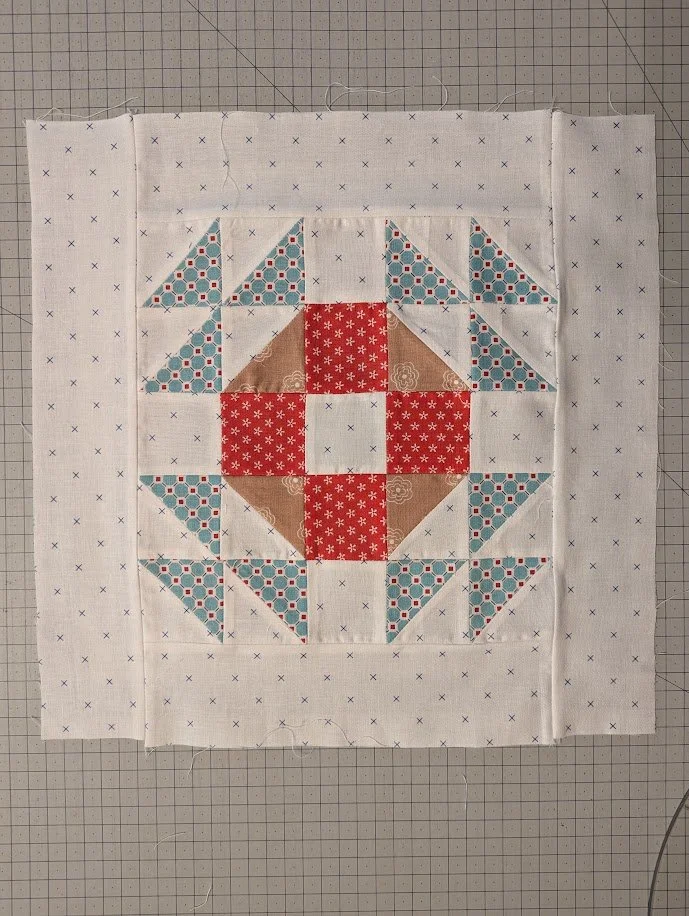
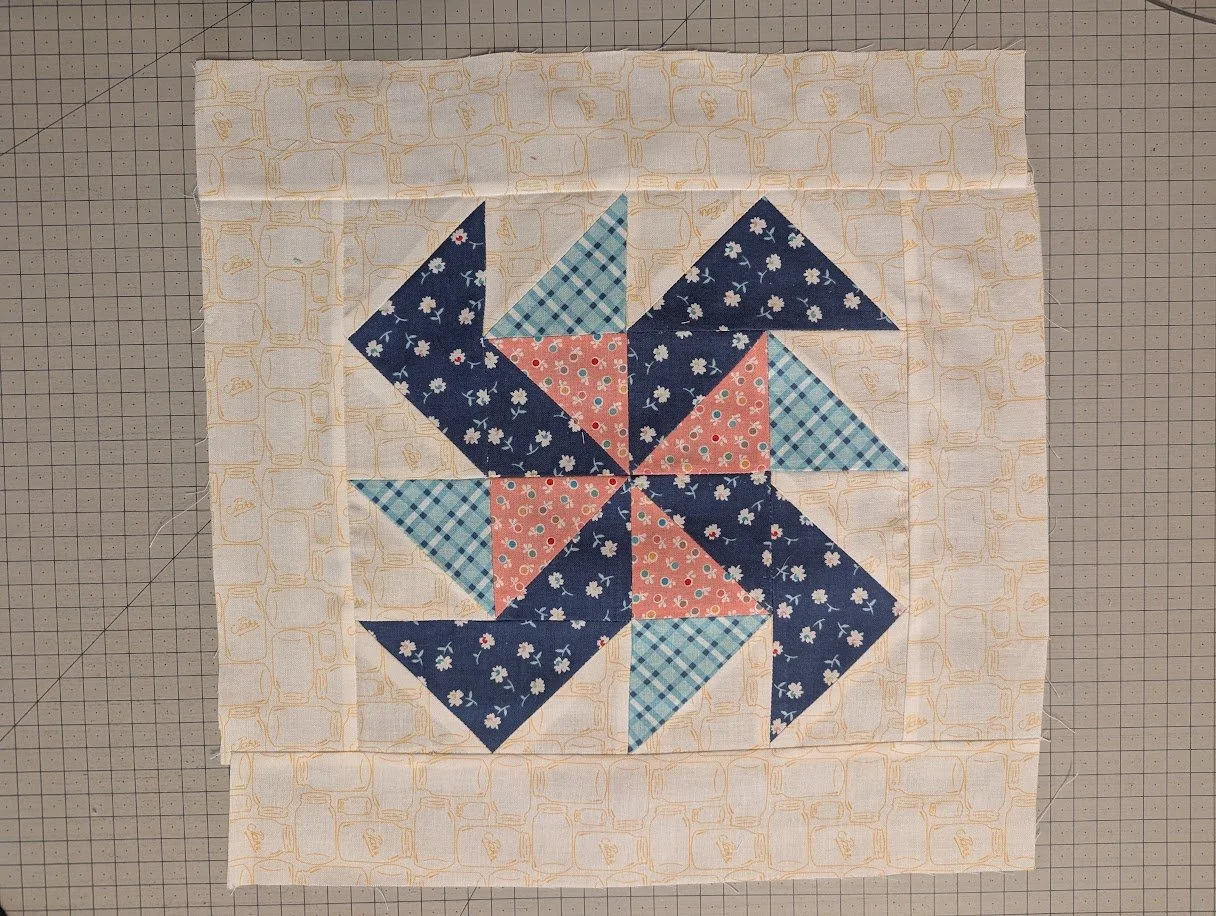
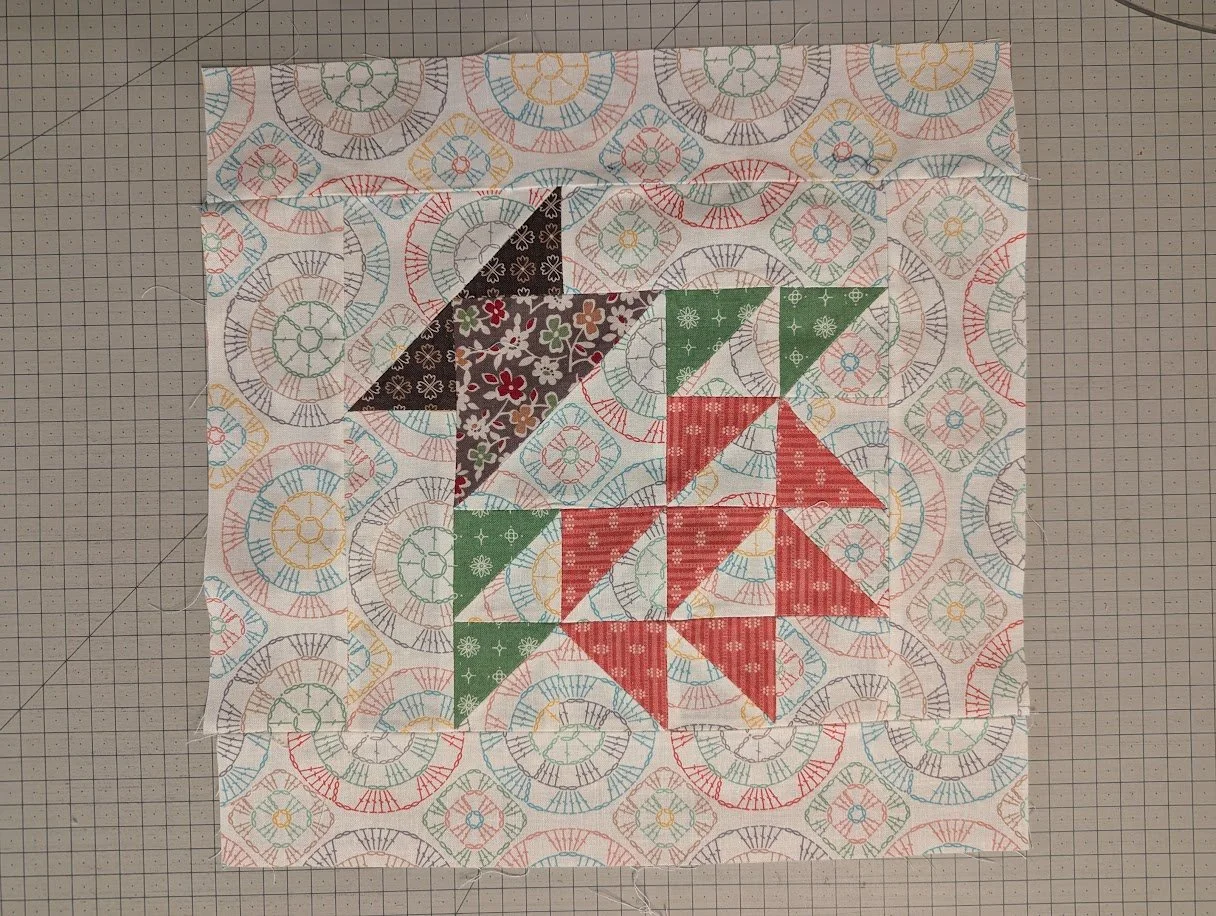
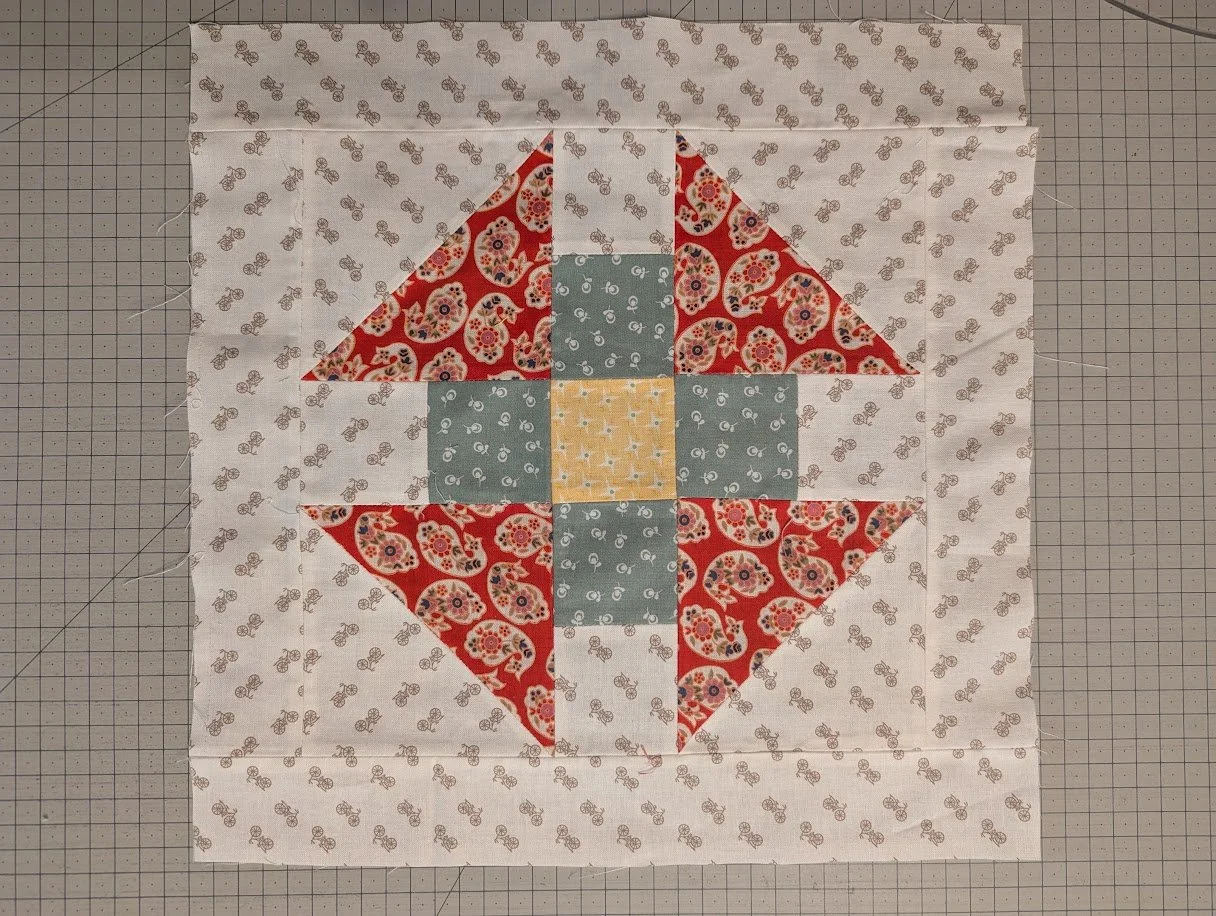
And here is what they look like once they are in circles. They look very nice!
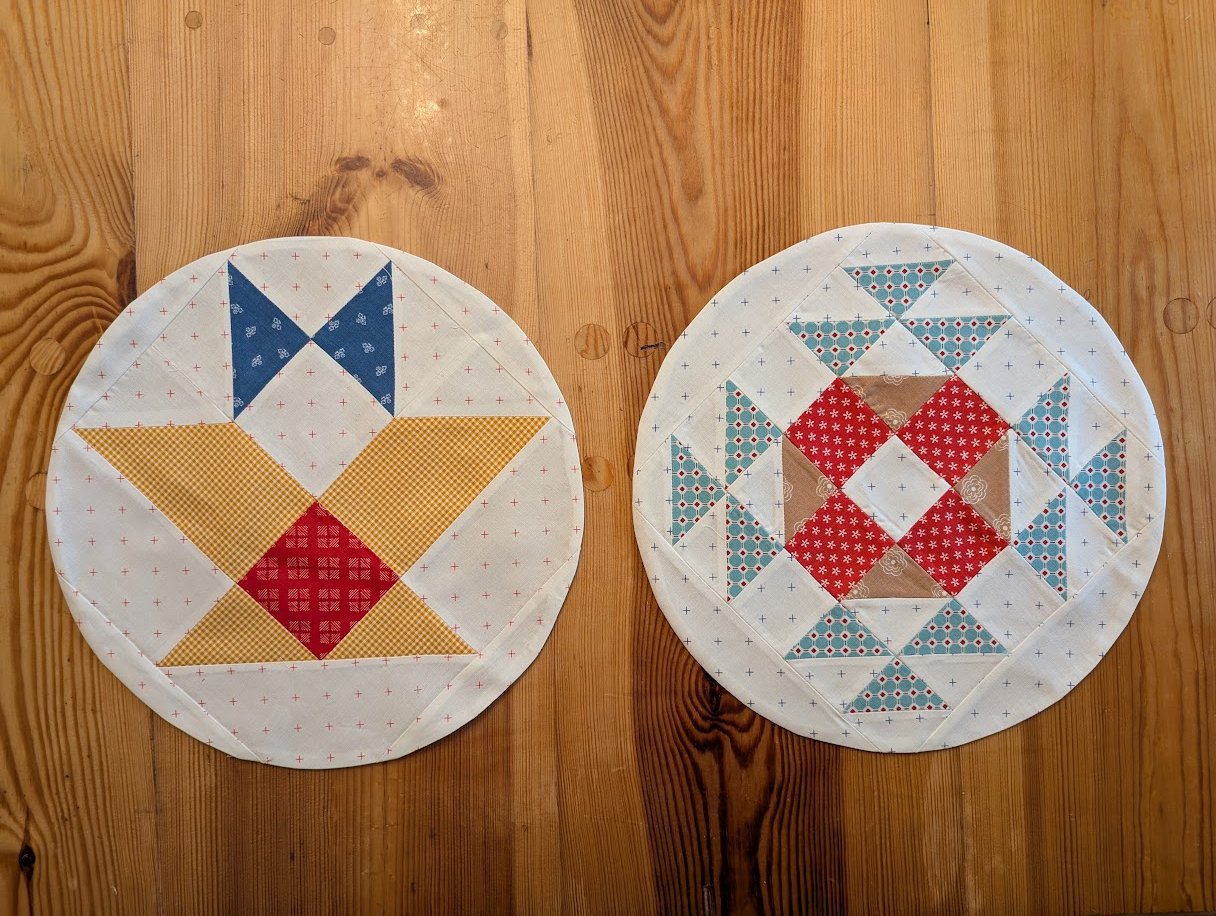
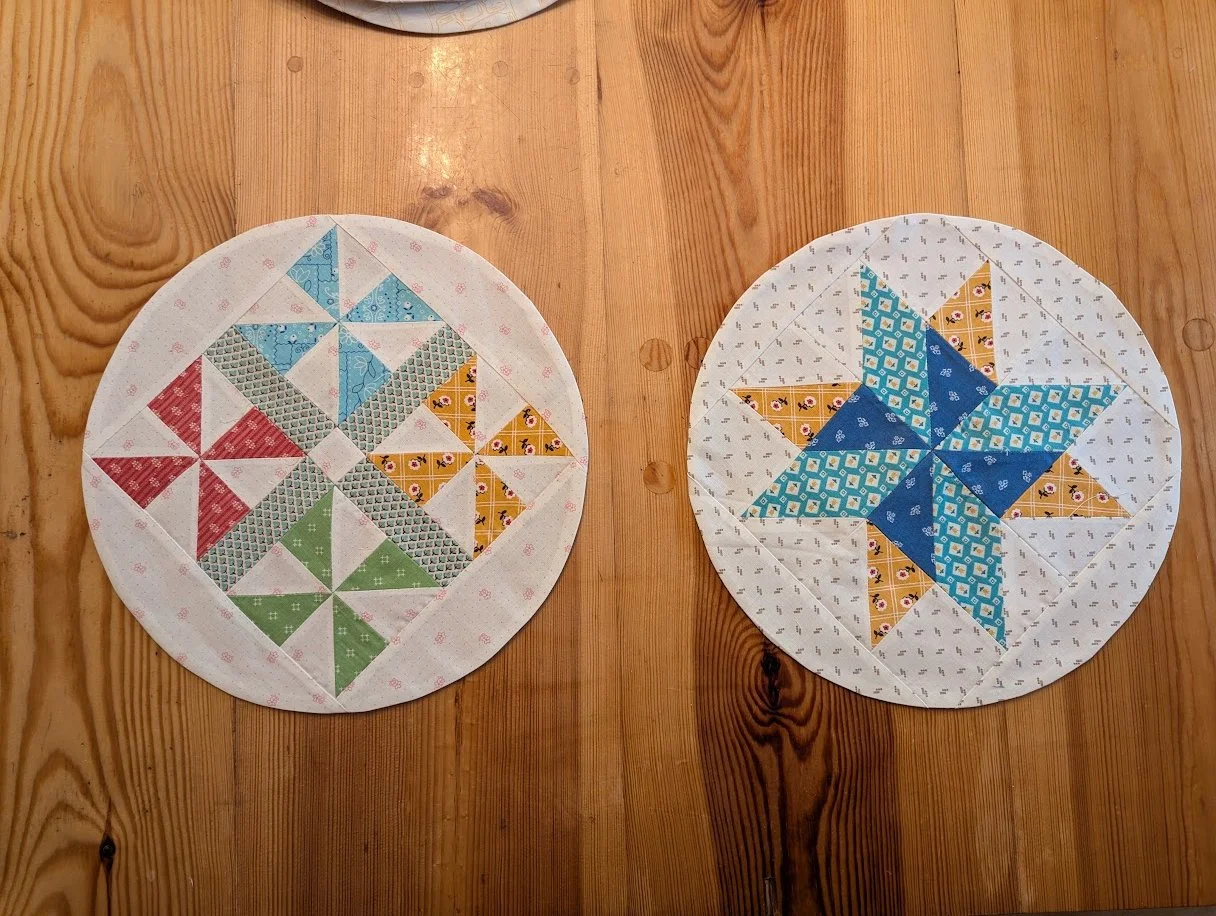
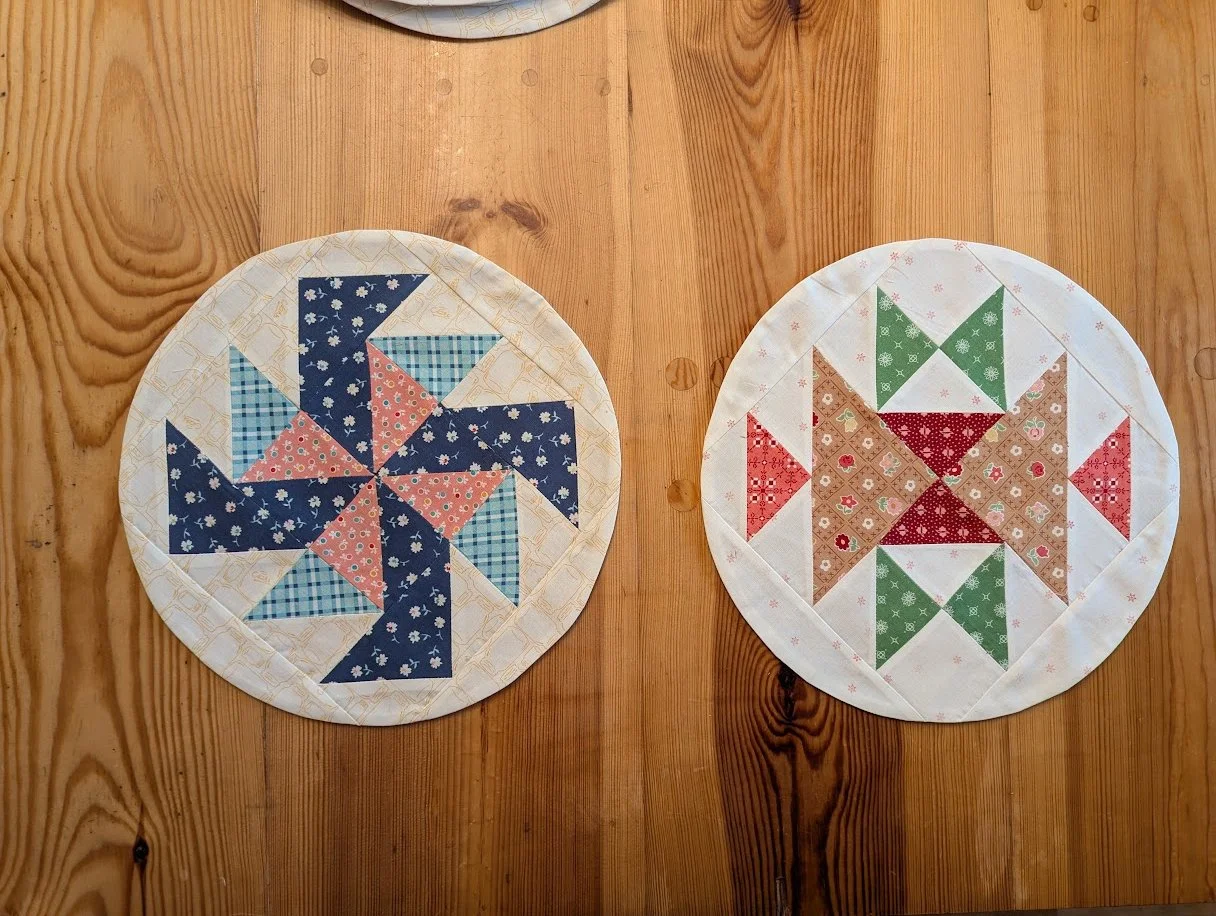
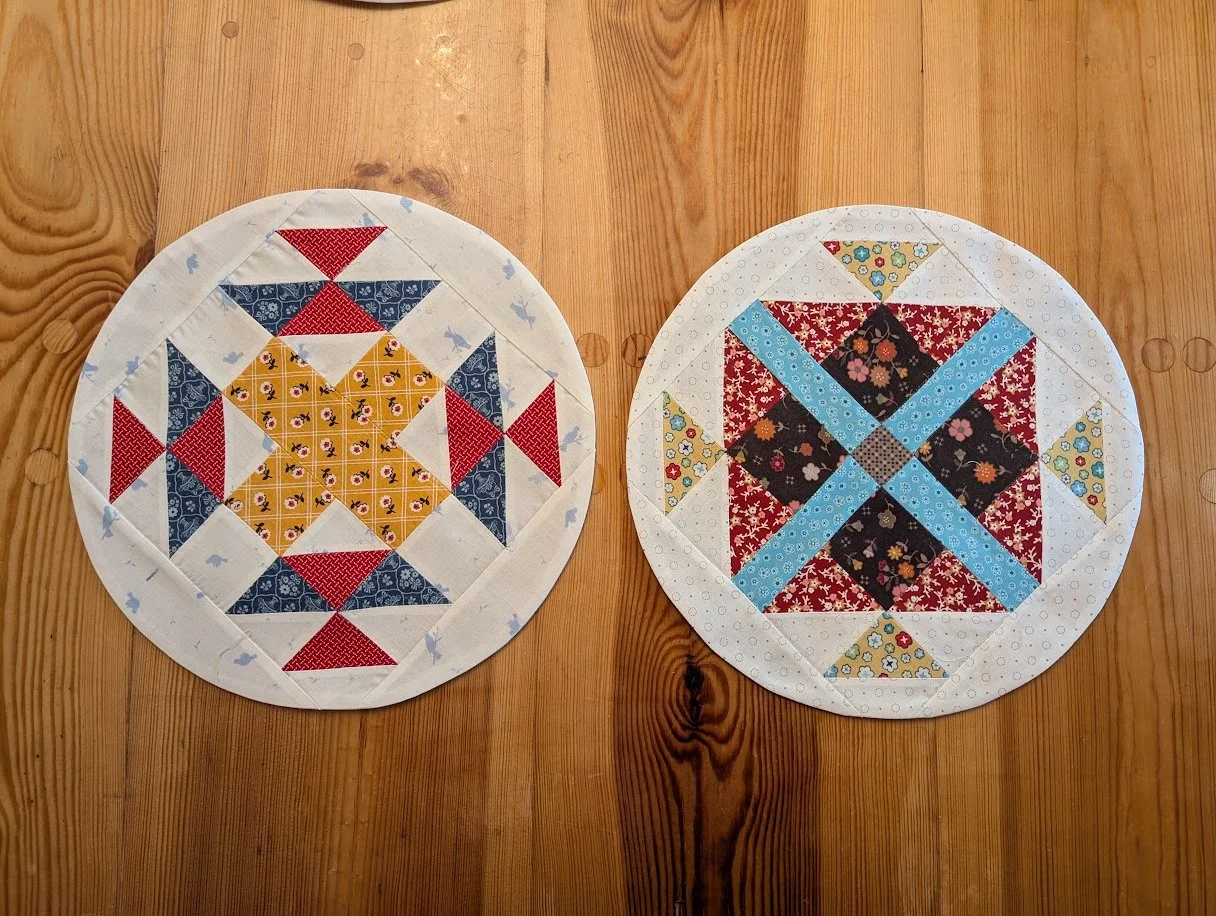
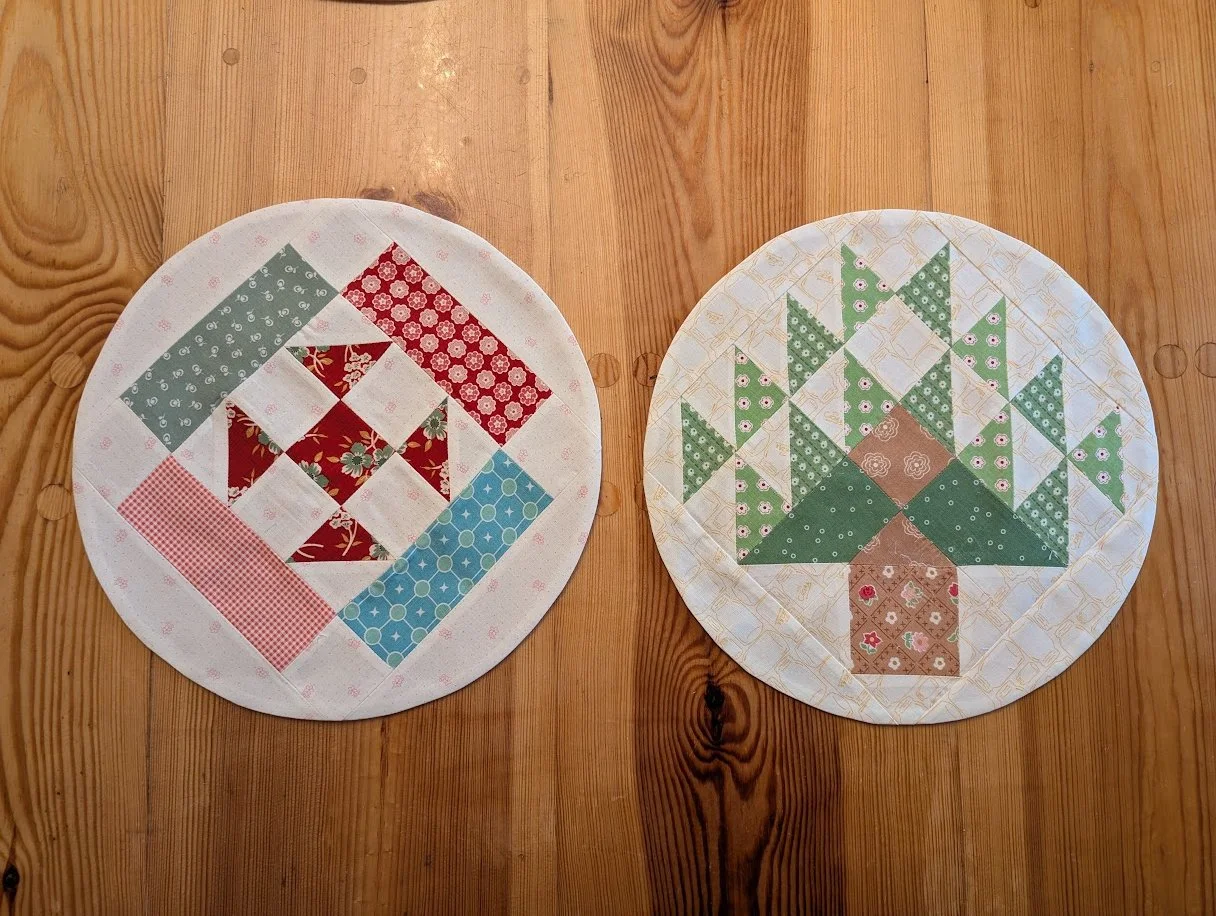
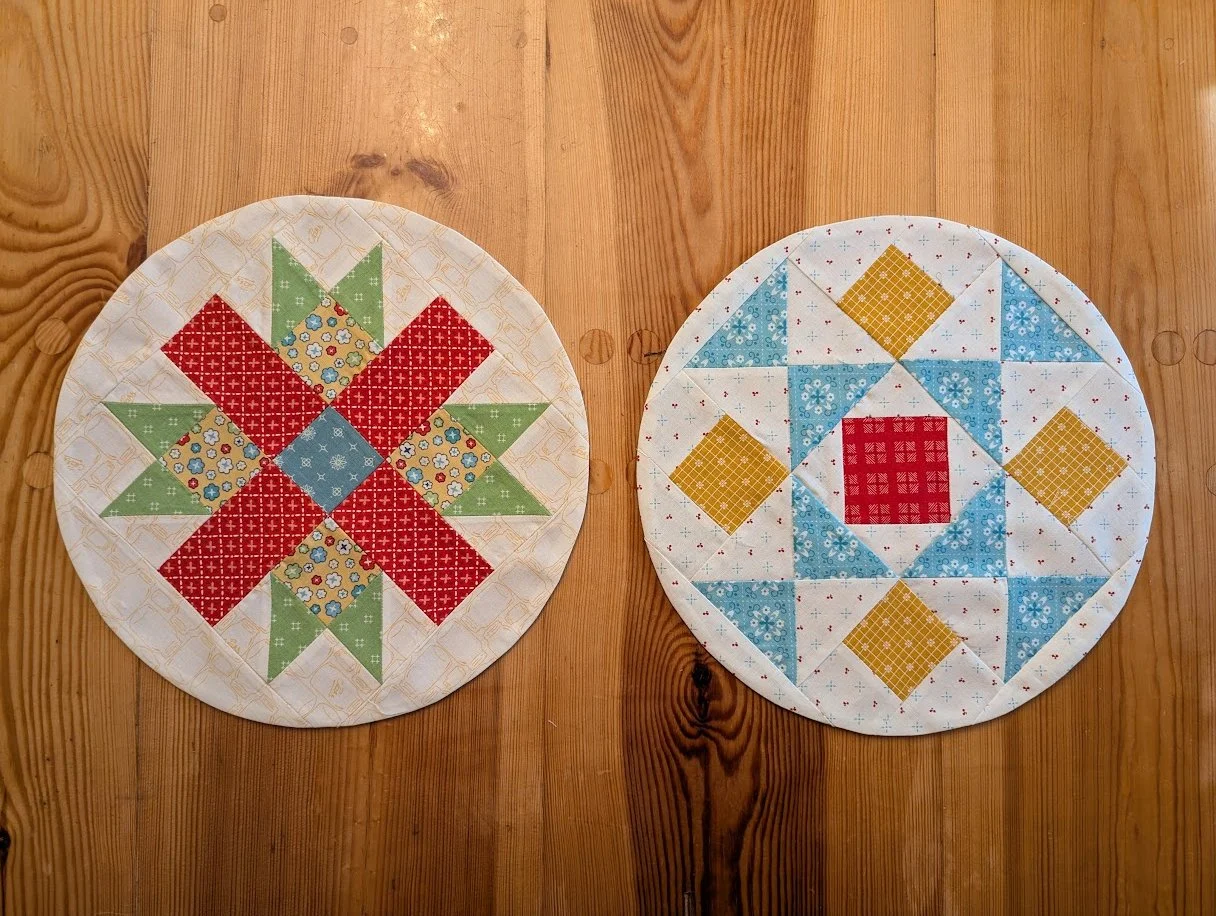
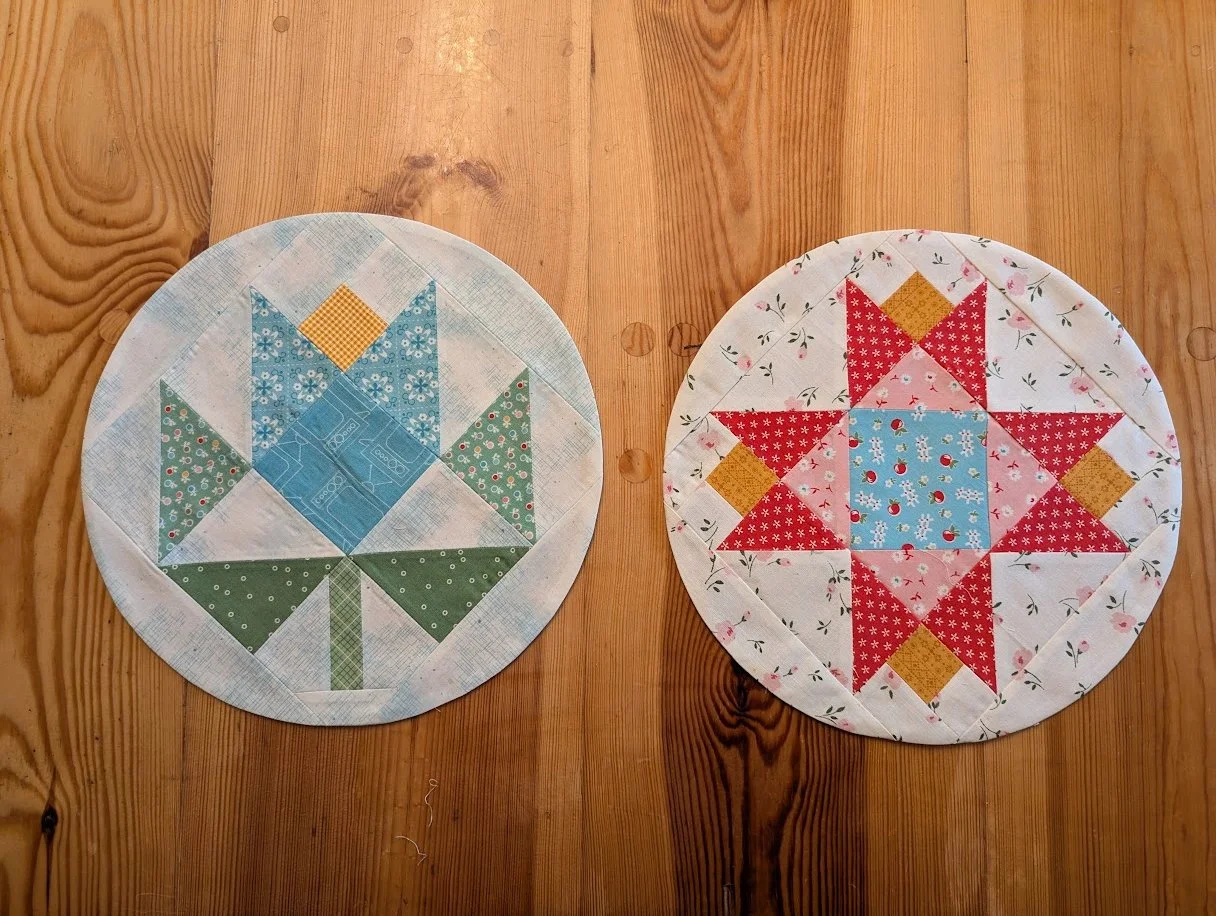
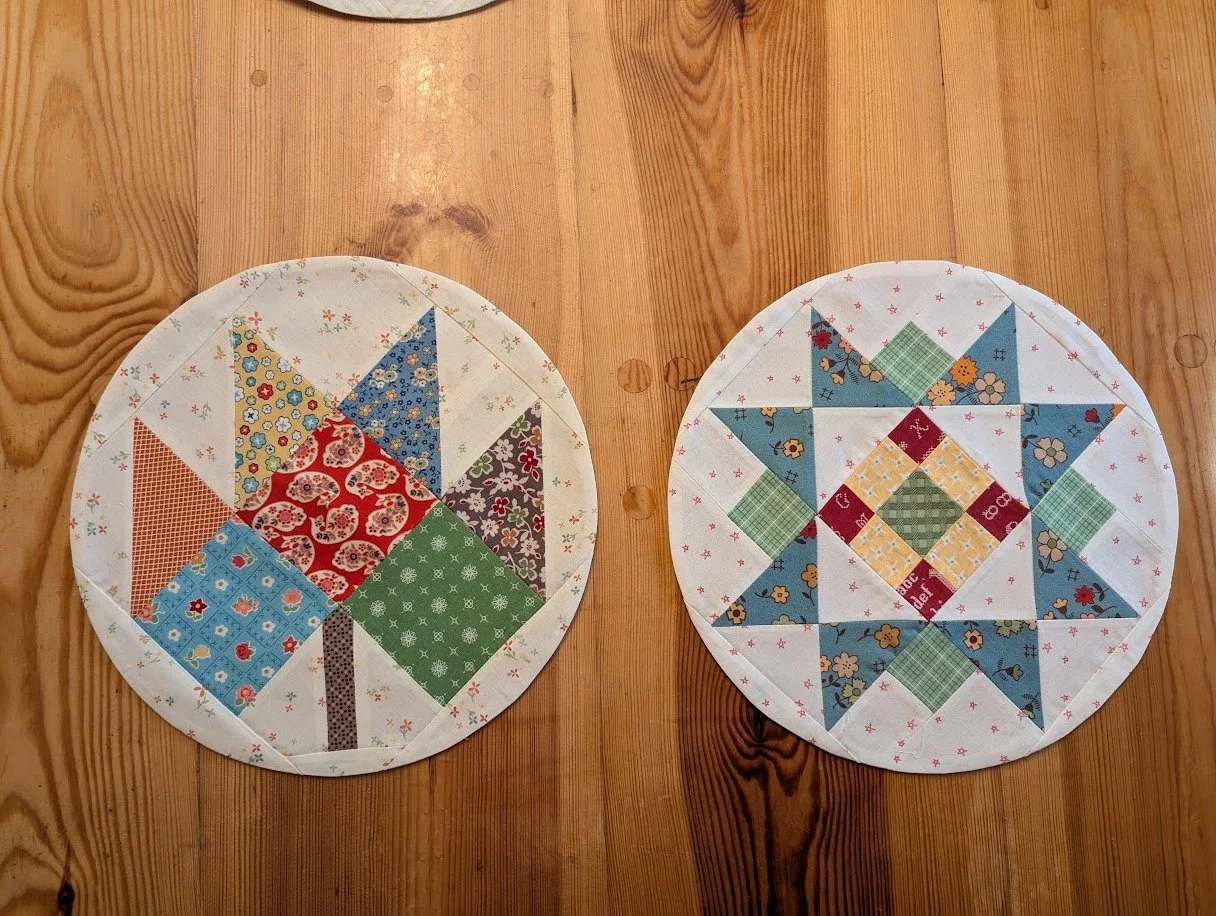
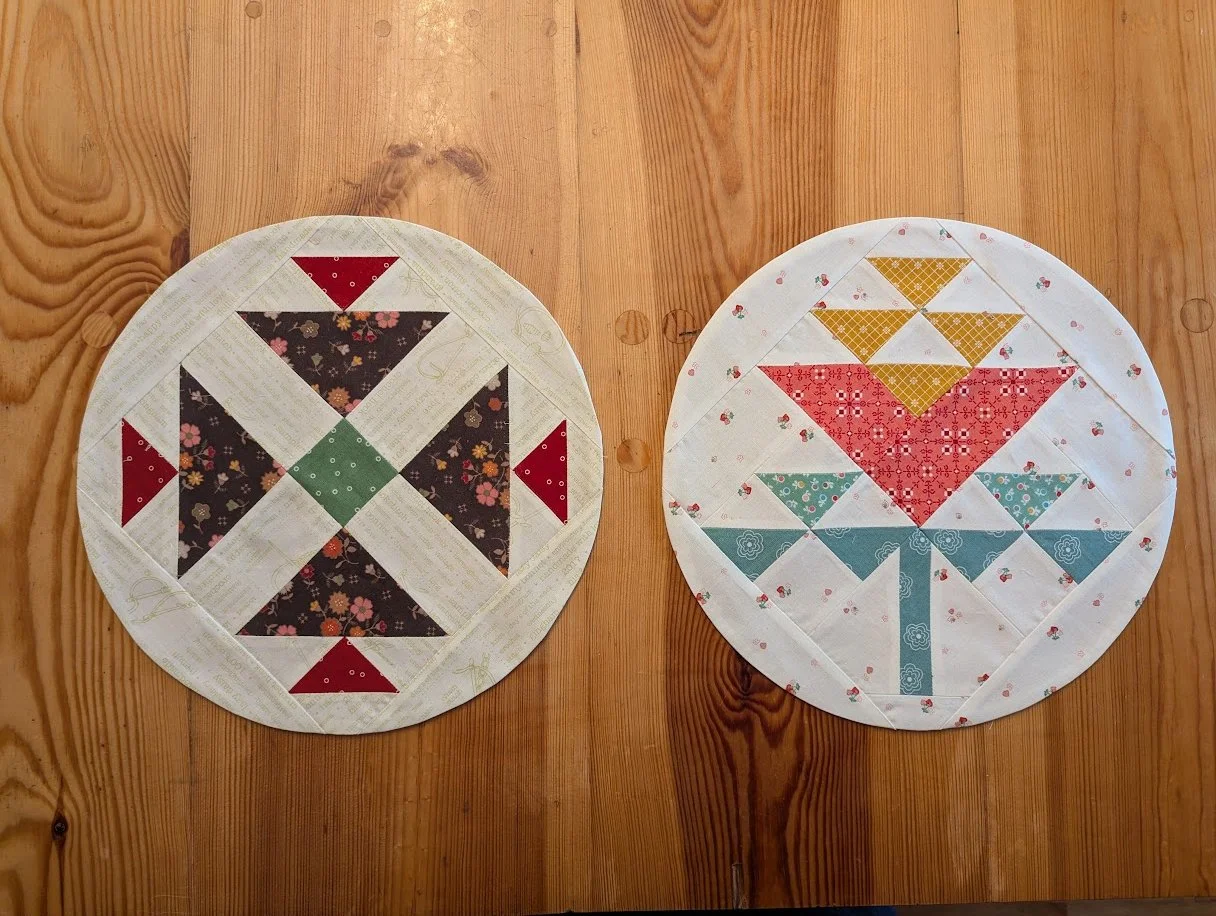
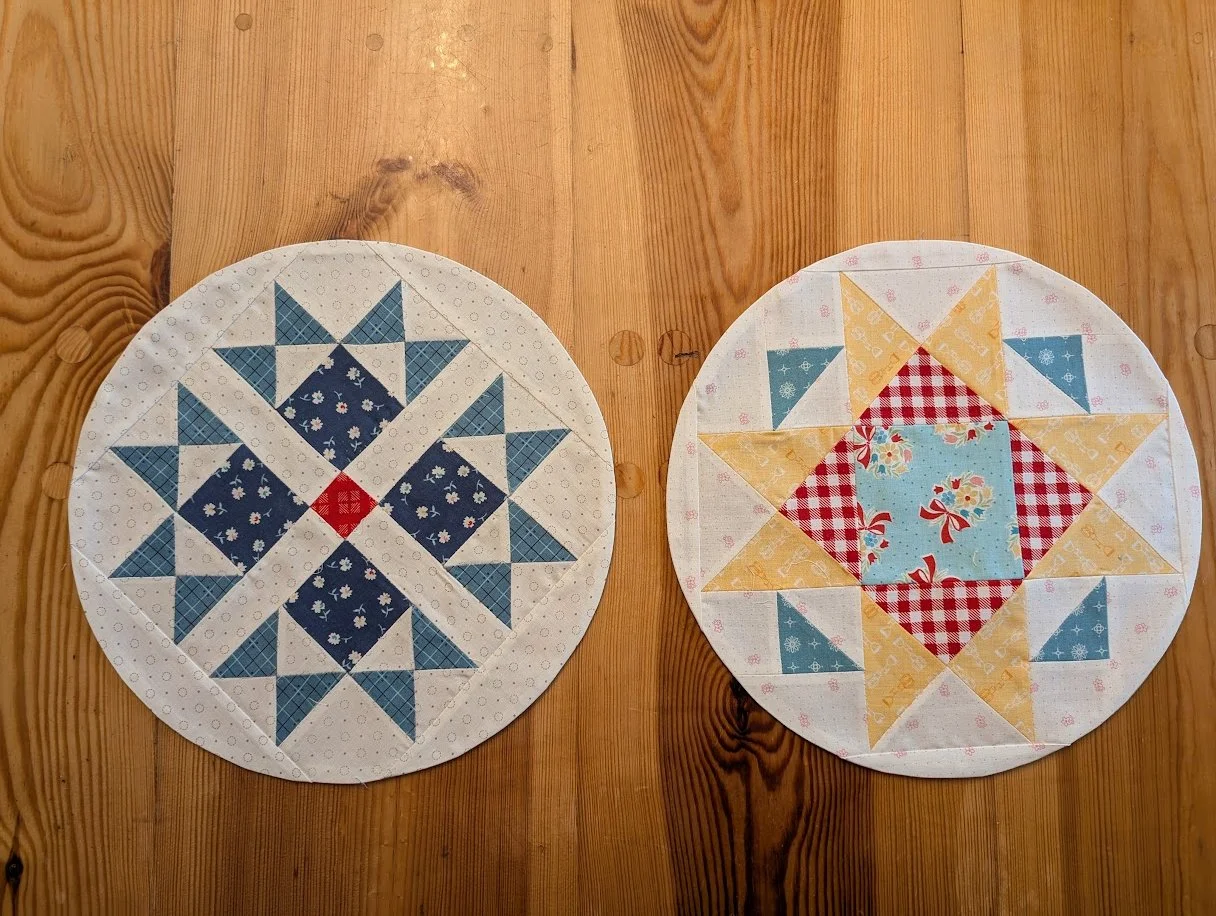
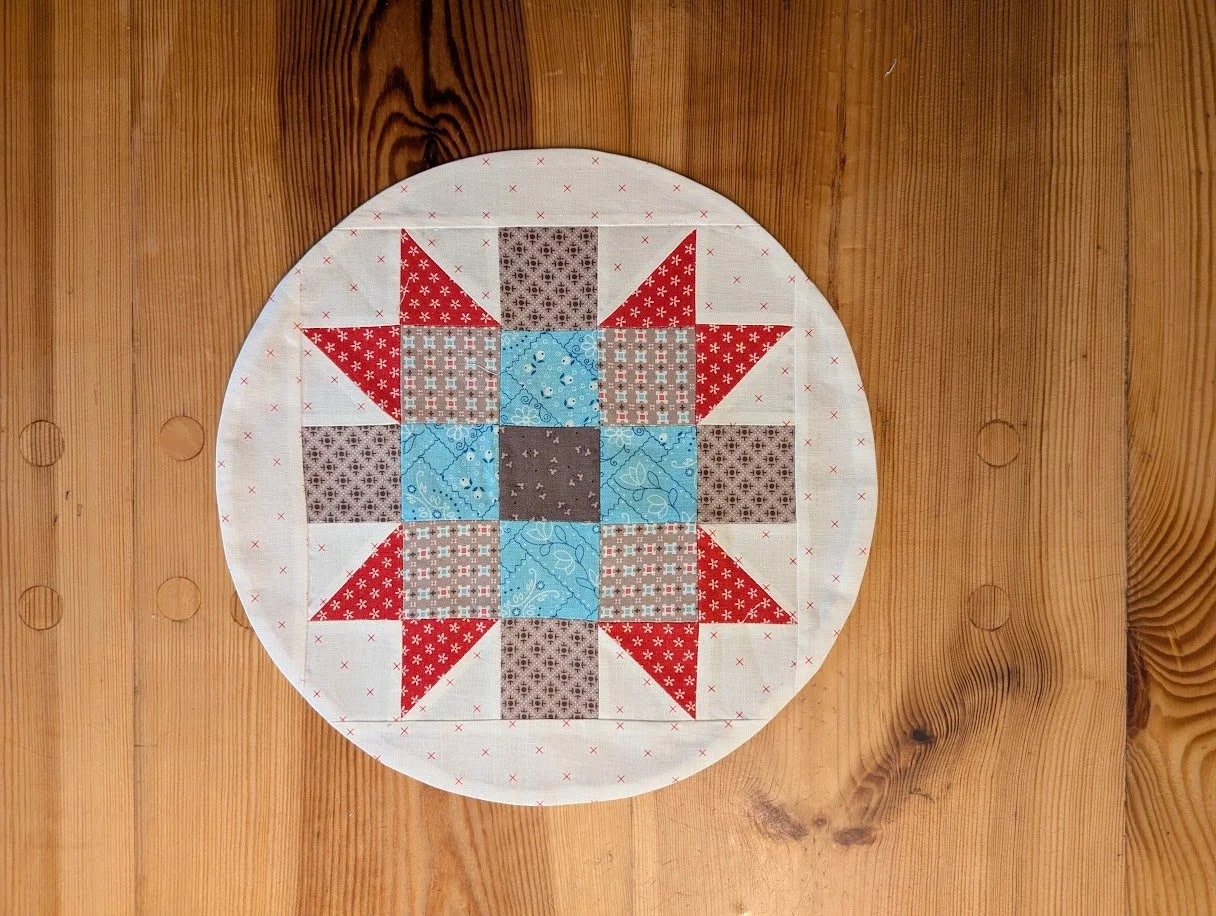
Here are some other pictures of some of the process of turning the blocks into circles.
First cut interfacing into squares about 14-15”.
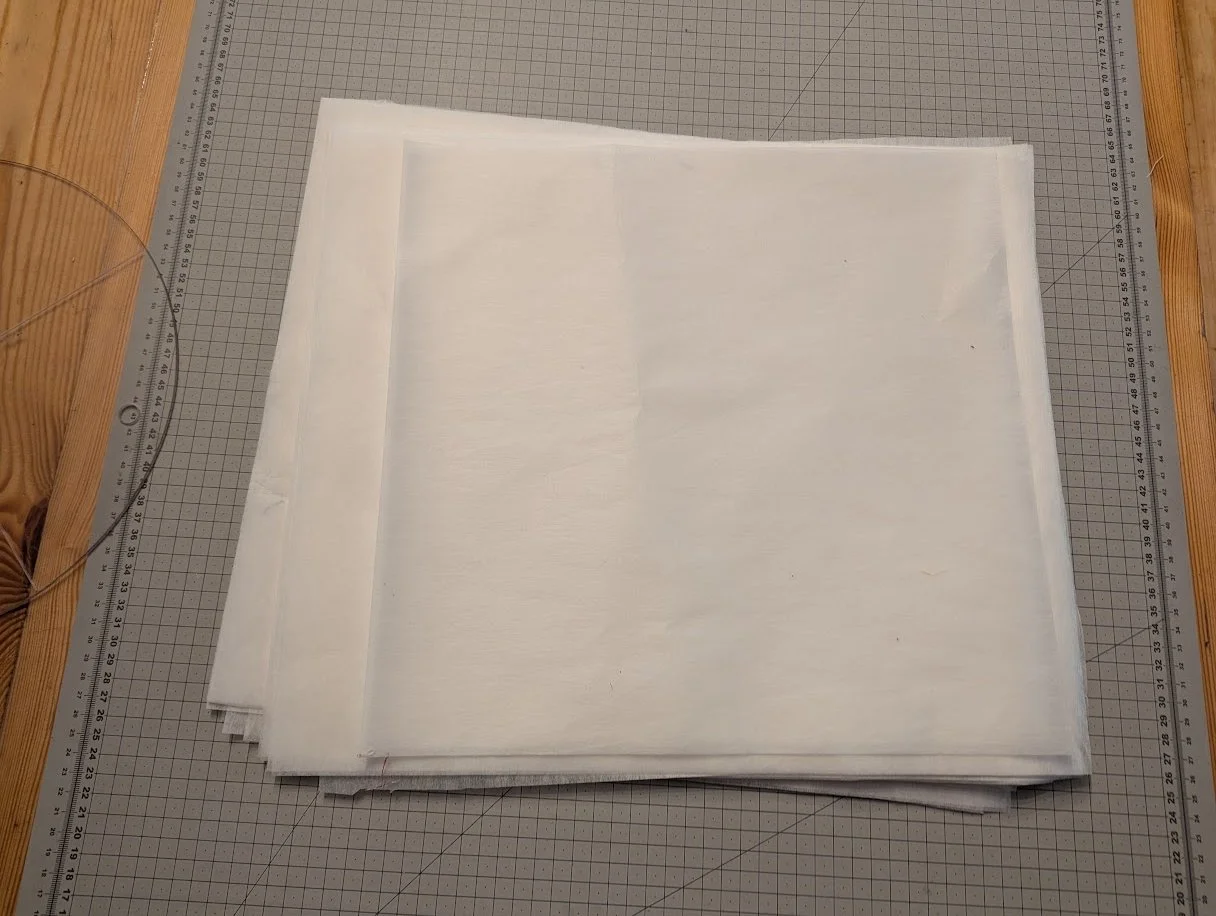
Make a circle on each piece of interfacing (25 pieces) by tracing around the 12” circular template. Use a pencil. Draw intersecting lines lightly on the interfacing.
Center the interfacing on top of the block.
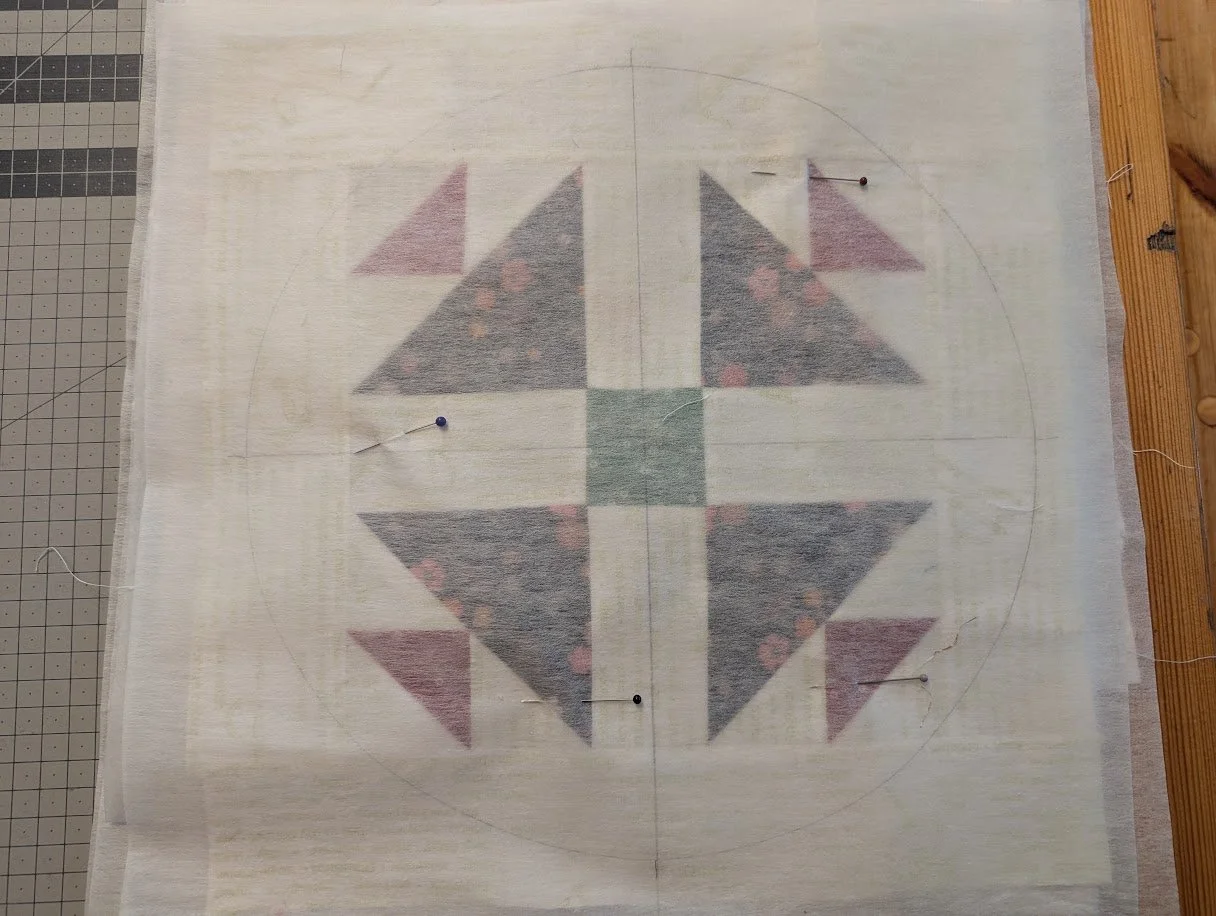
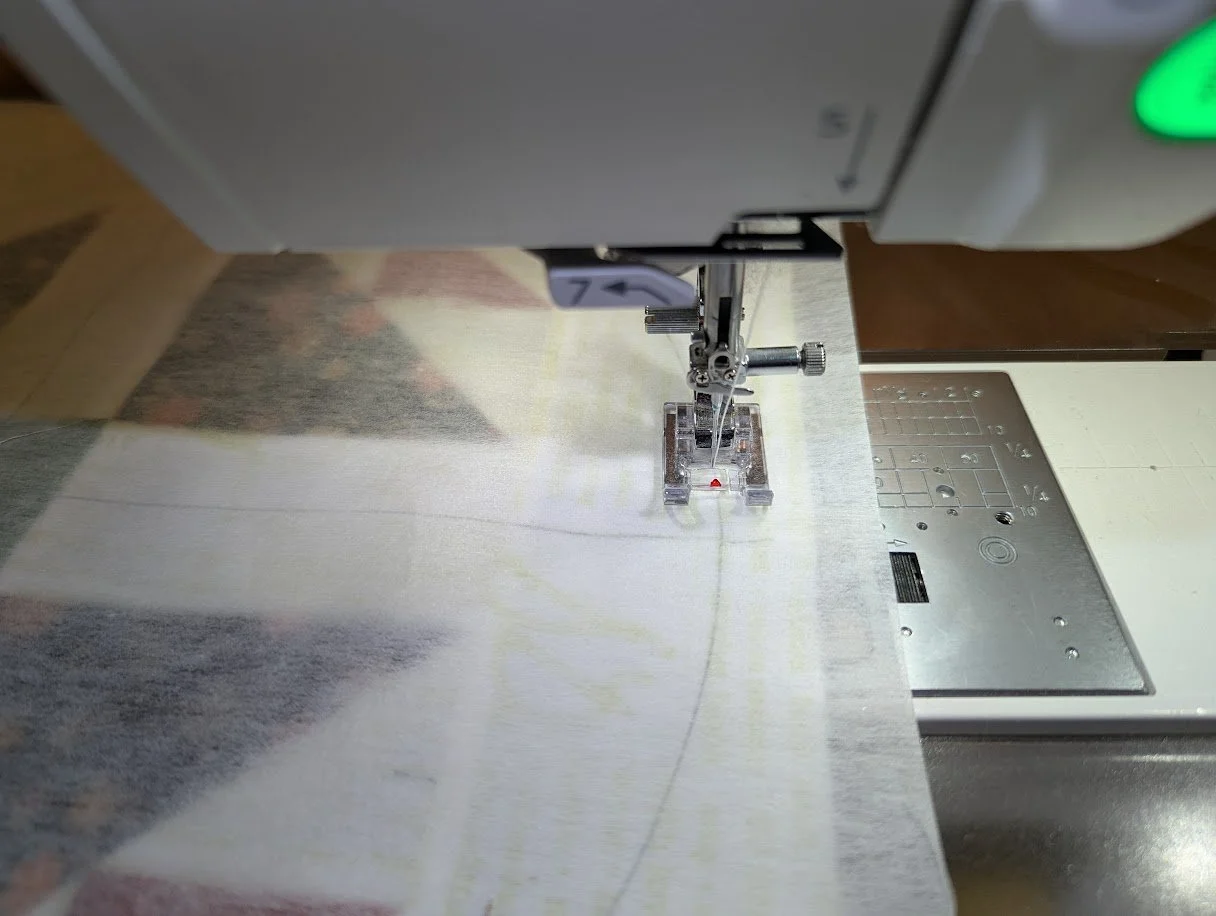
Sew on the line around the circle.
After trimming around the edge of the block to about 1/4”, gently cut on the center pencil mark on the interfacing, taking care that you don’t cut your block and cut on the lines you drew about 2”-3”. Turn the block inside out so that now the right side is up. See Lori’s video for more how-to’s.
Do that for all of the blocks. Press gently.
Don’t they look cool? At this point we’re ready to go on to the next step which is appliquing the circles onto squares. I’ll show that next time.
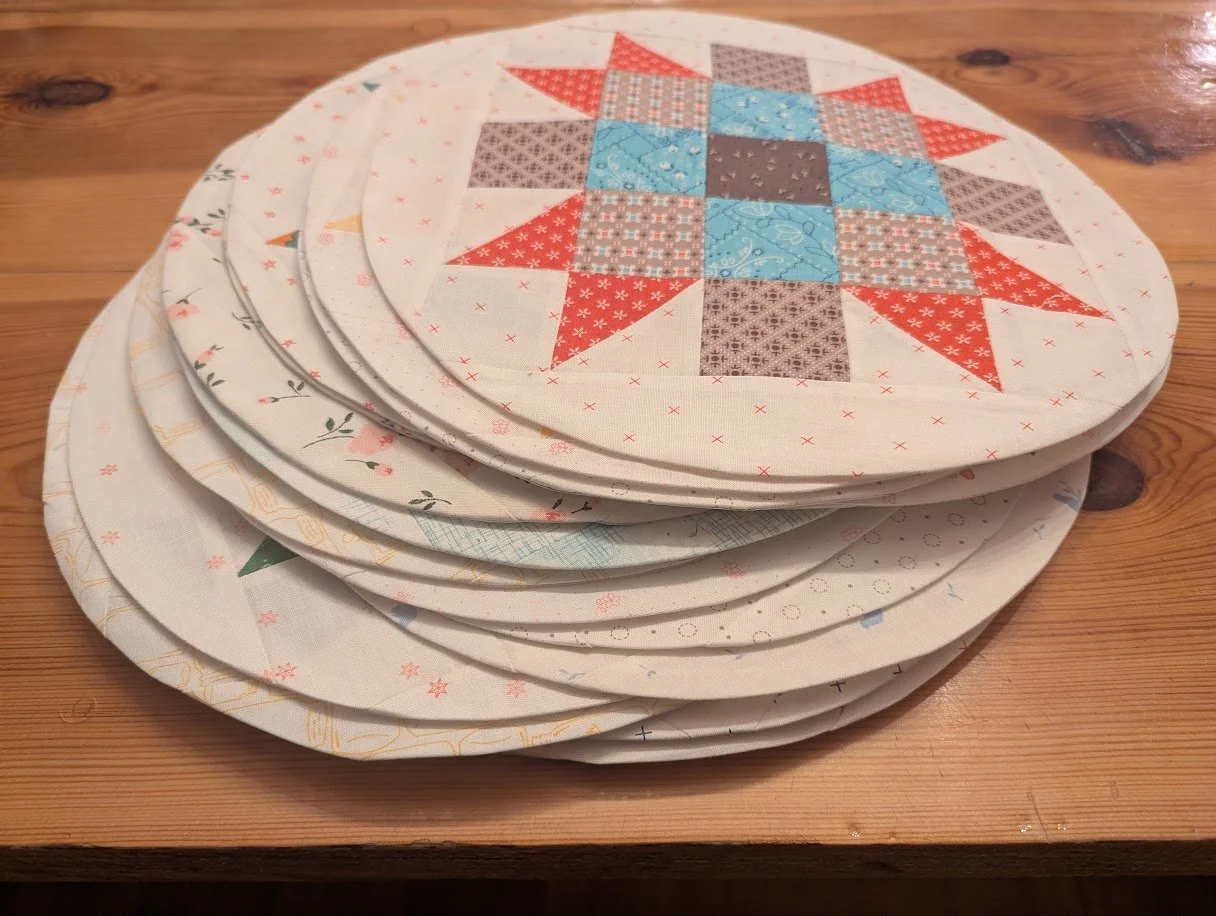
If this is a top you are interested in making, you can download the guide here at the Riley Blake website. Then head on over to Lori Holt’s blog for more instructions here.
Thanks so much for coming along with me on this journey.
Have a great day wherever you are reading this!
Be sure to check out what my sis has for you in the store here!
Feel free to browse the site.