
Old Project - “T” Blocks” Top finished
I think that working with these “T” blocks has done one thing.
Well, maybe two.
First of all, some blocks really can be tossed. These probably should have been. I ended up having to patch some of them before I could, in good conscience, even use them. As I was sewing them together, I found a couple of places with issues that I hadn’t seen before. These are very old. They were donated to me, and were hand pieced. While I don’t mind the hand piecing at all, these are so old - well, they feel very delicate (I’m being kind here - they feel like they won’t be able to endure much of anything. I’m just hoping they don’t fall apart the first time I wash them. I’ll see - one reason I like to wash things after finishing them.)
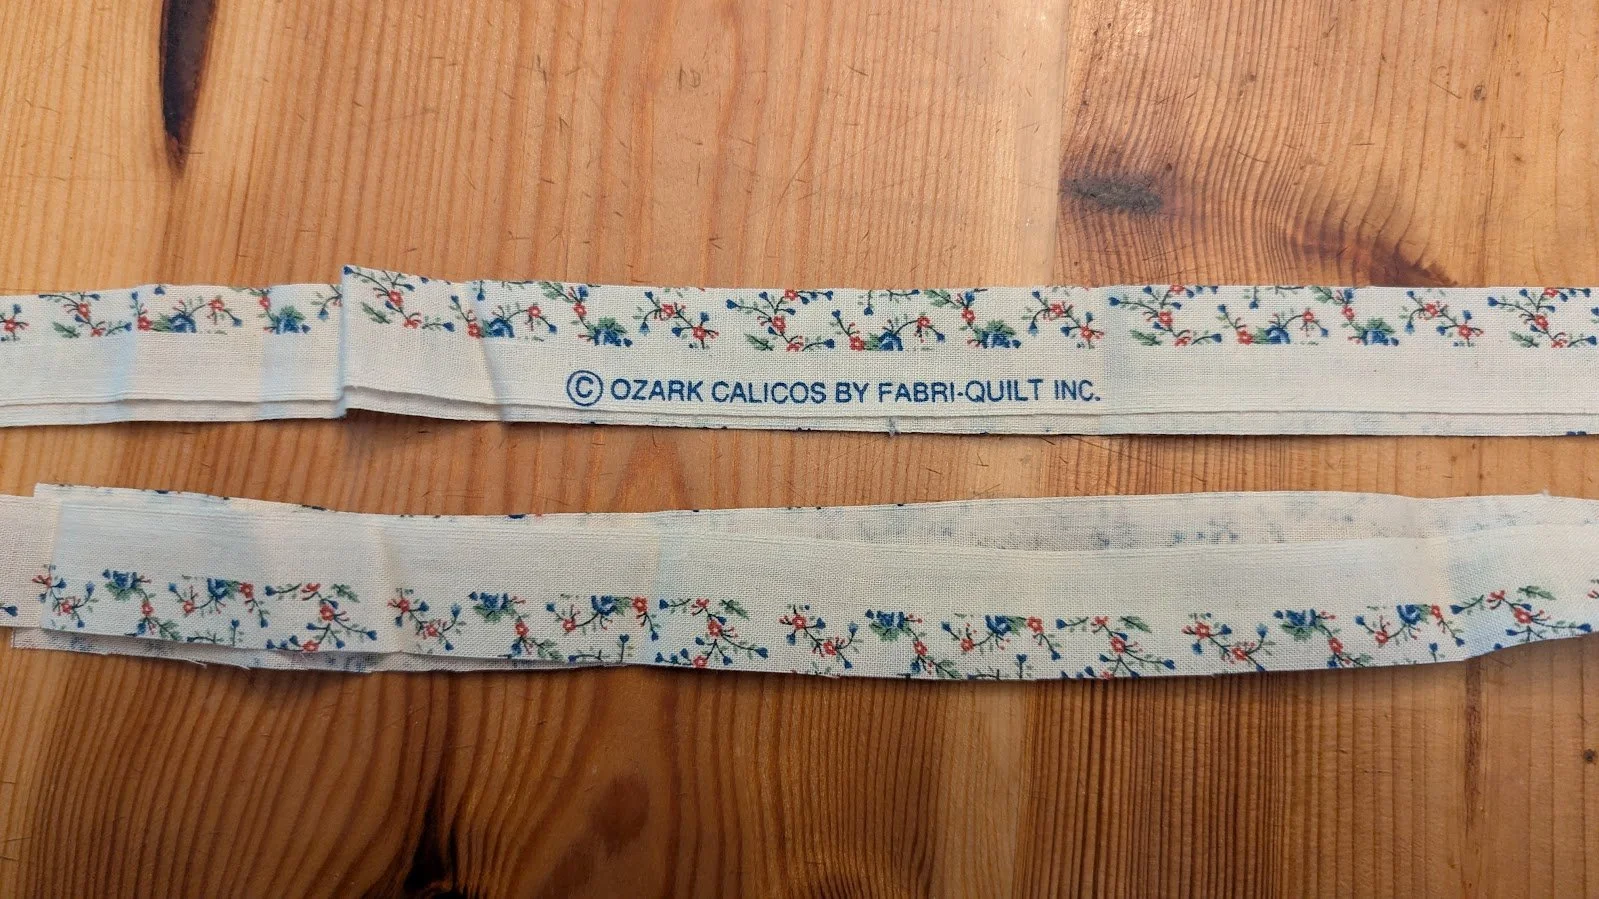
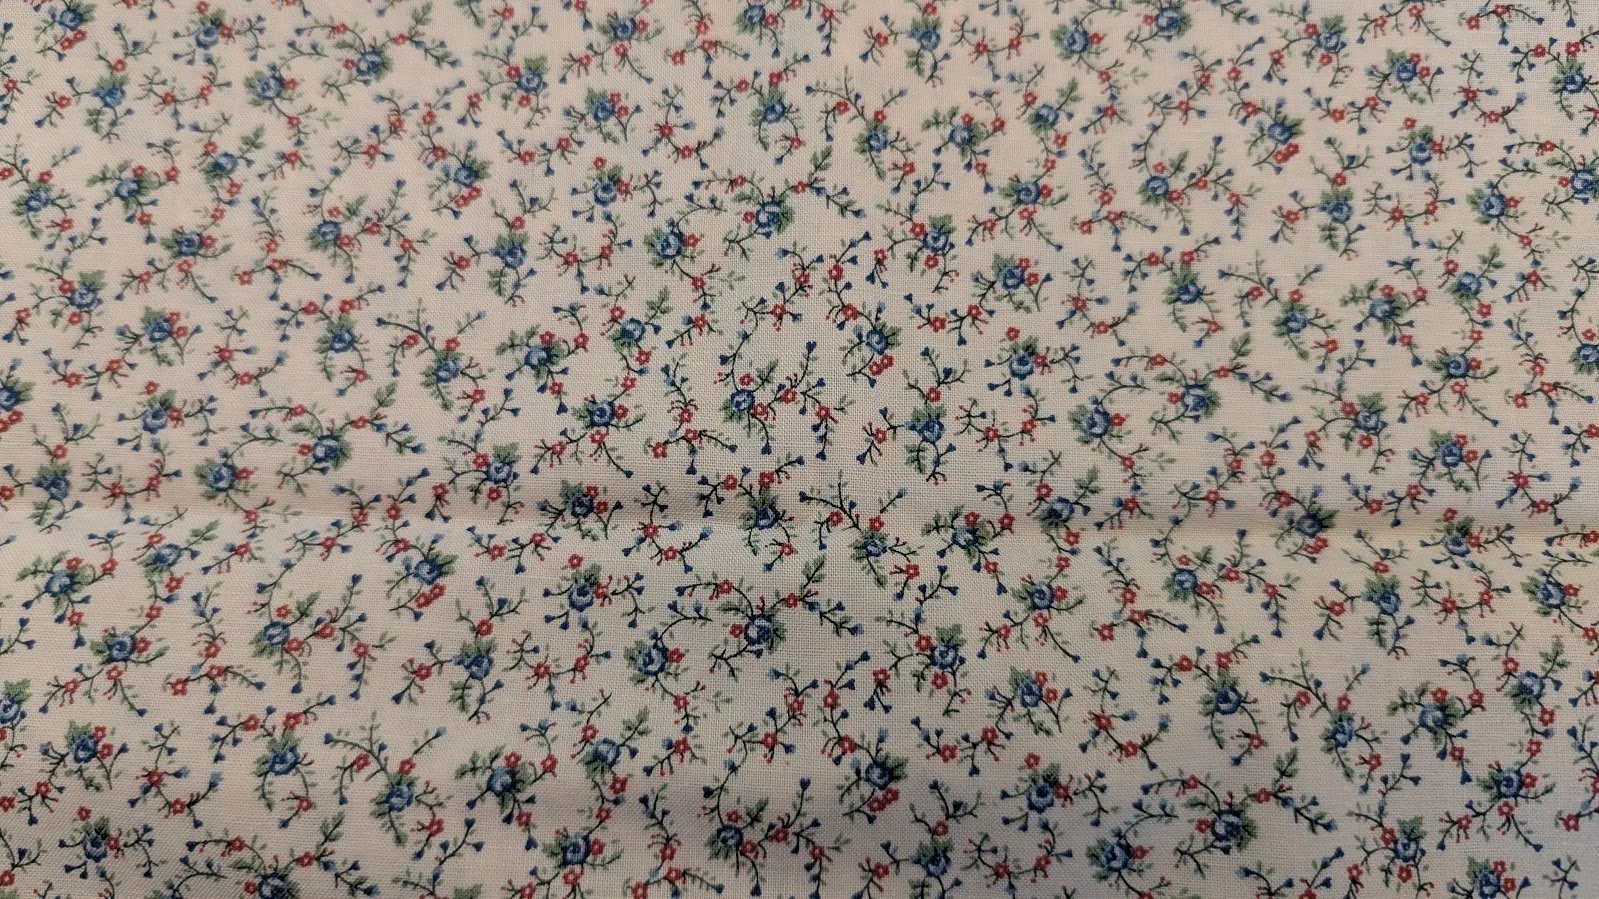
I will try to quilt this one closely.
Anyway, I didn’t put a lot of work into the top as I didn’t want to. I was sort of doing it out of obligation since someone, somewhere, a long time ago, gave me these blocks, and I felt a little obligated to use them (I need to get over that!). I used a 1.5” sashing all around including the top and bottom. I then put a 6” cut piece along the top and bottom. And that is it. Once I actually measured the top, I cut off 2” off the top and bottom for a finished top of 62”x85”.
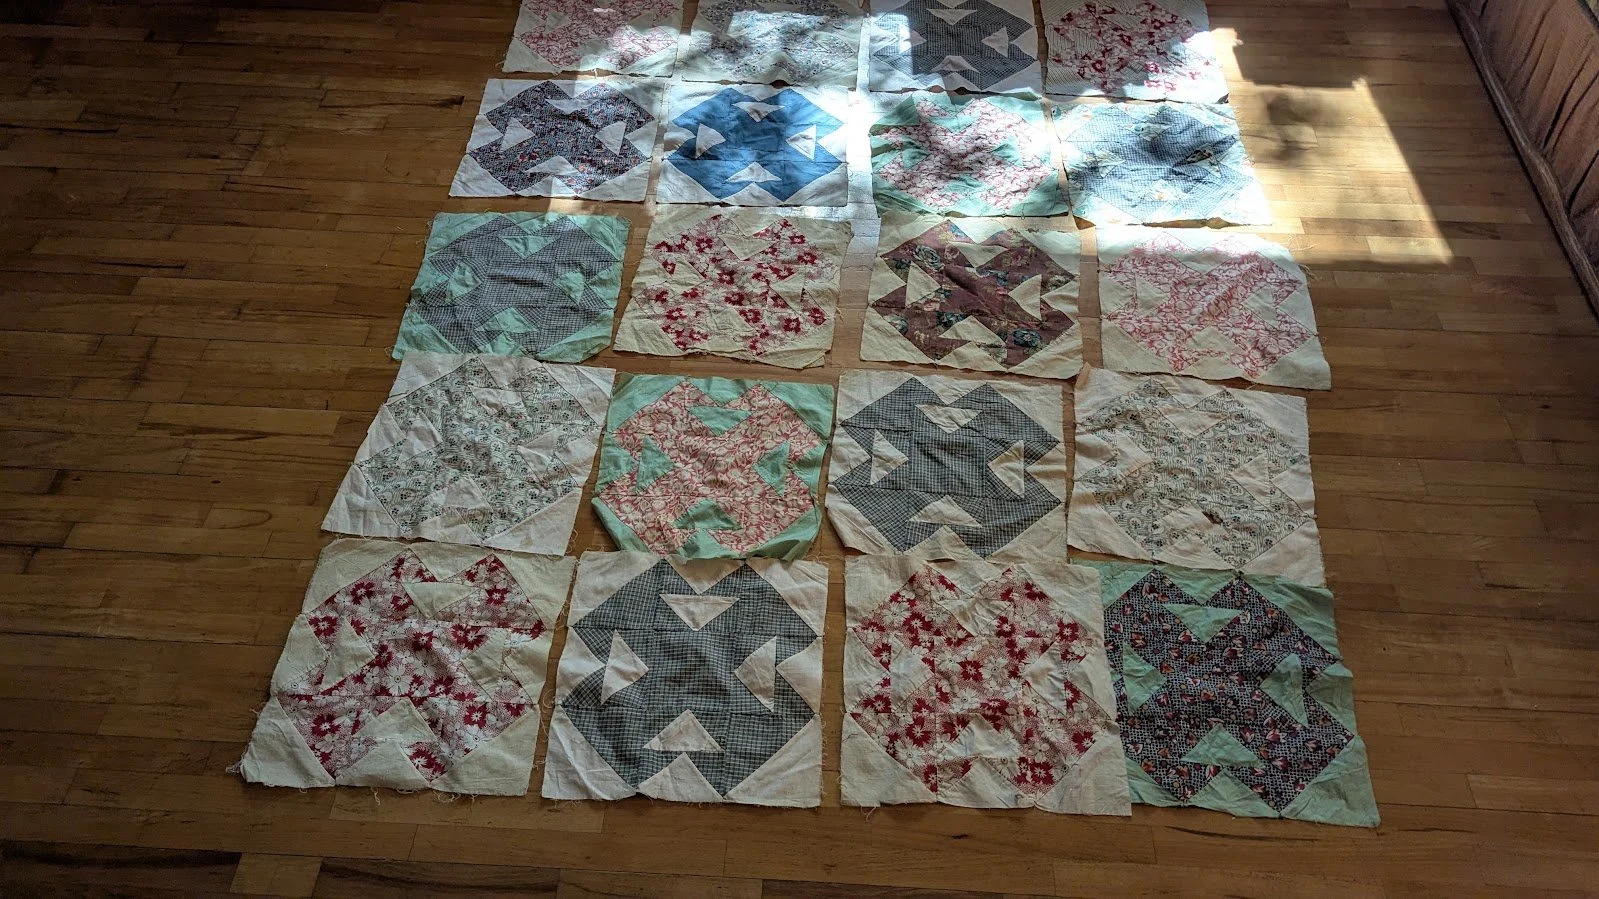
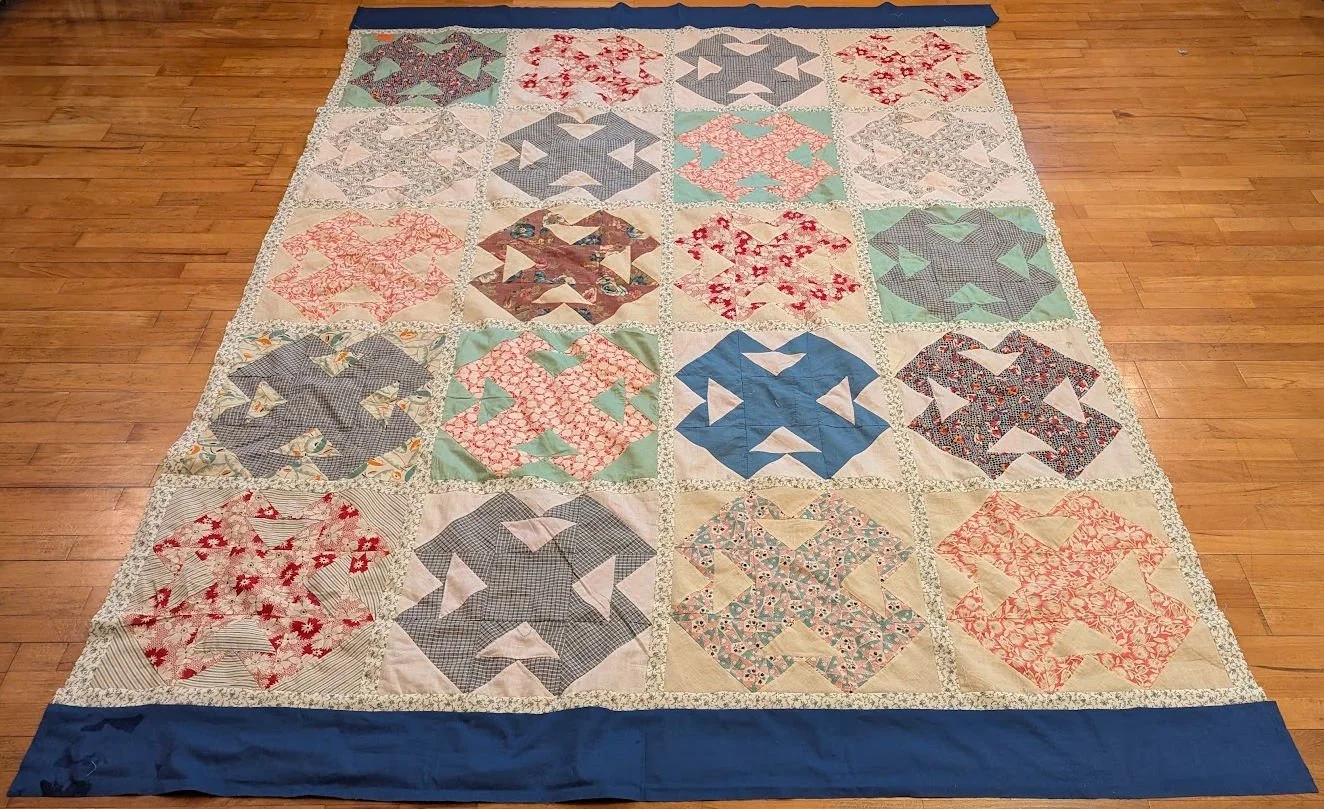
These were the 20 blocks that I had.
The second thing I learned after working with these is that since my maiden name is “Tillman”, I’d love to make a quilt with these blocks. Yes, I would. In fact, I have two brothers who would probably enjoy quilts made with these blocks. Hmmm.
I like them.
They don’t look difficult, especially after a more careful and close up look. It is simply flying geese, a plain block and half square triangles.
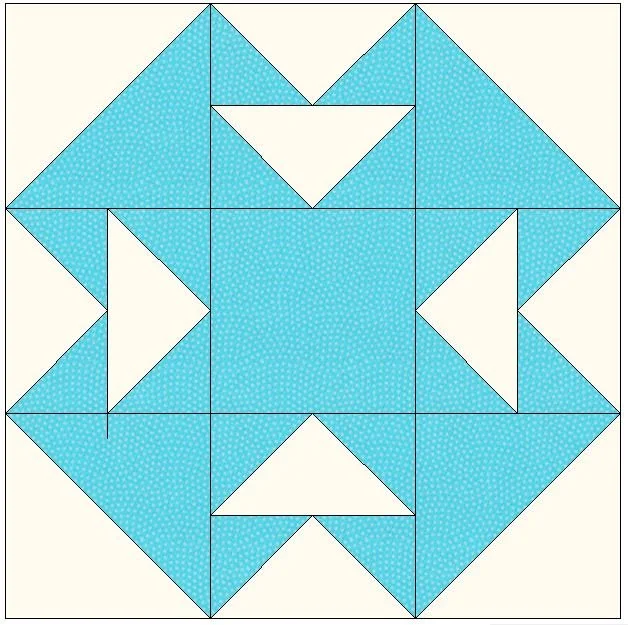
So, while this top may not be a smashing success, I think it is has inspired me to make some of these on my own, in the future. Maybe a two color block like some of these - blue/white or red/white or browns/whites or creams. I’ll consider what I can do. It’s going in the back of my brain as “something I’d like to make”.
Anyway, here’s the top. This is before I trimmed off 2” from the top and bottom.
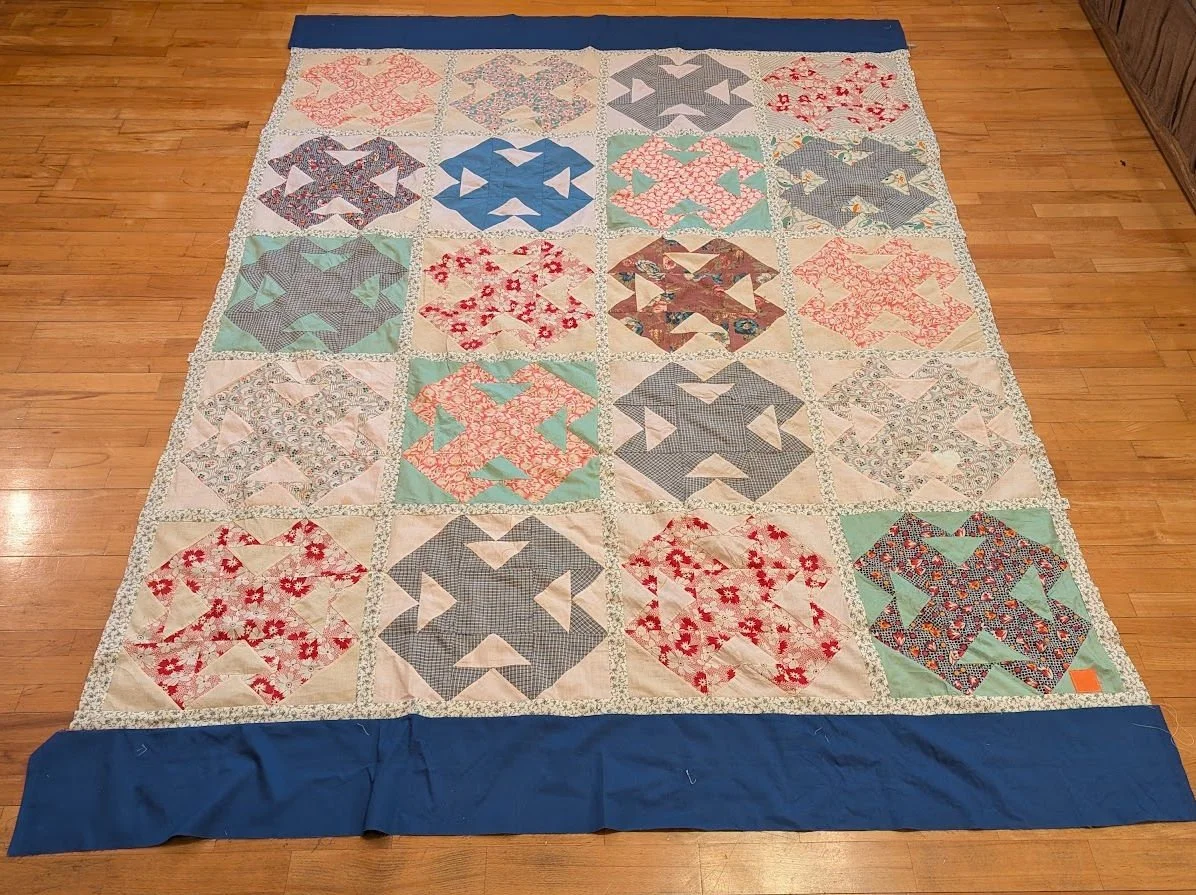
Here is the top showing you all the issues.
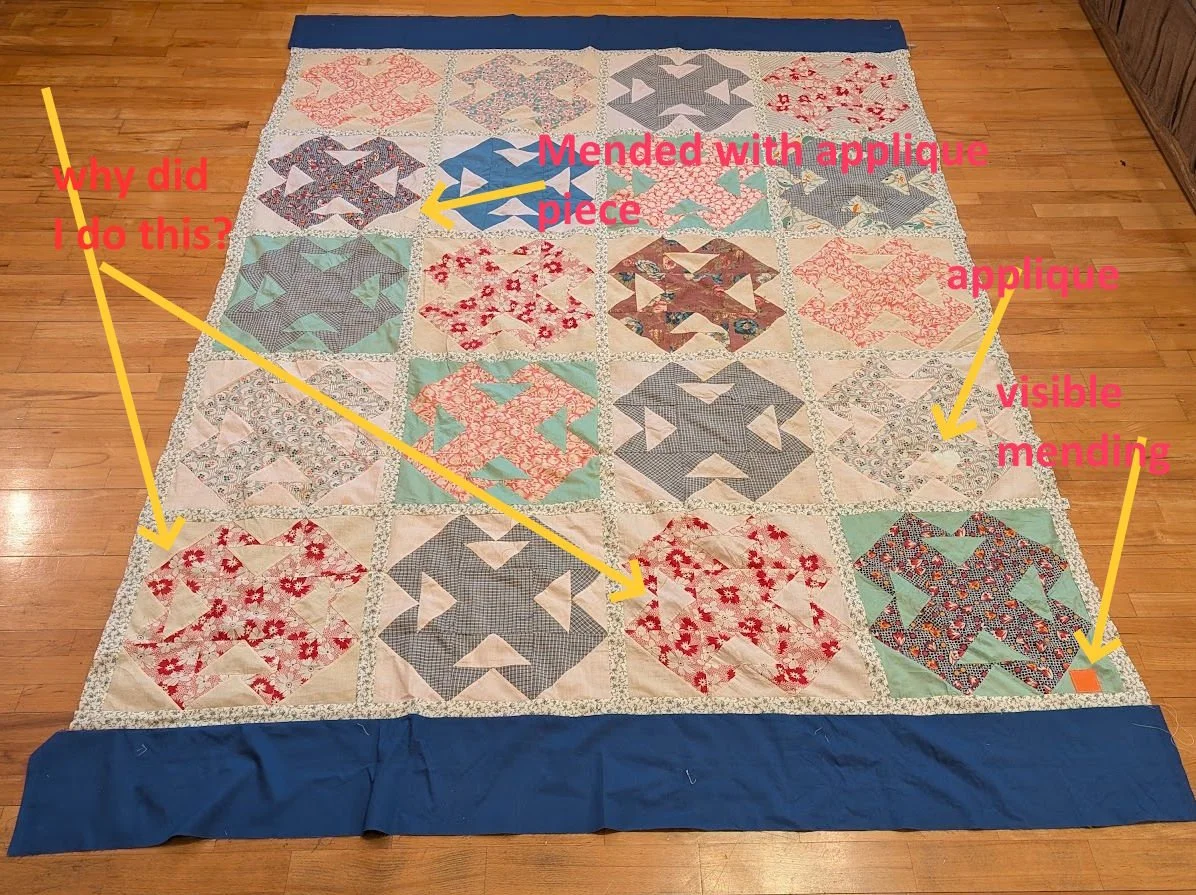
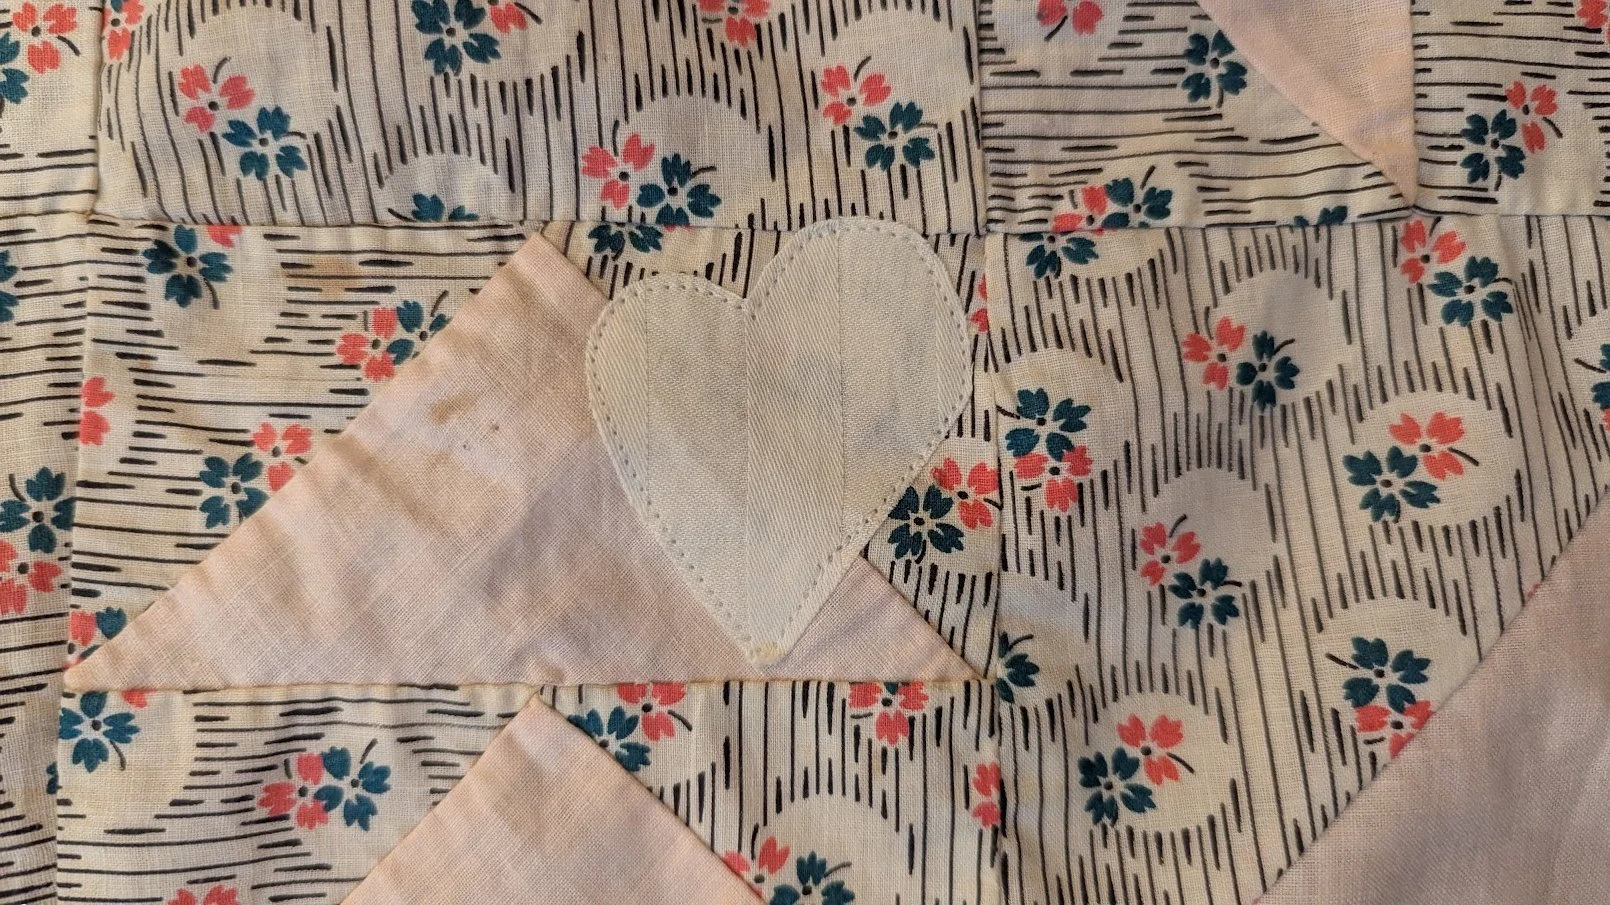
Here are close ups of the areas I mended with applique pieces.
And why did I put repeat blocks in the same row? I have absolutely no idea. I was so focused on making sure the green background pieces were spread out that I really goofed on the red print blocks. Oh my. By the time I discovered it, I was not willing to go back and take out any of the other blocks - I just didn’t want to handle the fabric any more than necessary. I saw myself ripping larger holes in the fabrics if I tried to take out the sashing I had already put in.
I will go back and trim those threads closer. I didn’t even notice them til I looked at the photos I took. I guess I’m more of a “big picture” type of person - esp. with this quilt.
Yes, I did do raw edge applique on two of them. I figured by the time the two patches wear down due to fraying the whole quilt will be ready for the mechanic’s room or for padding for moving furniture. The first place I fixed, I turned under a piece of fabric and didn’t have a raw edge on the appliqued part.
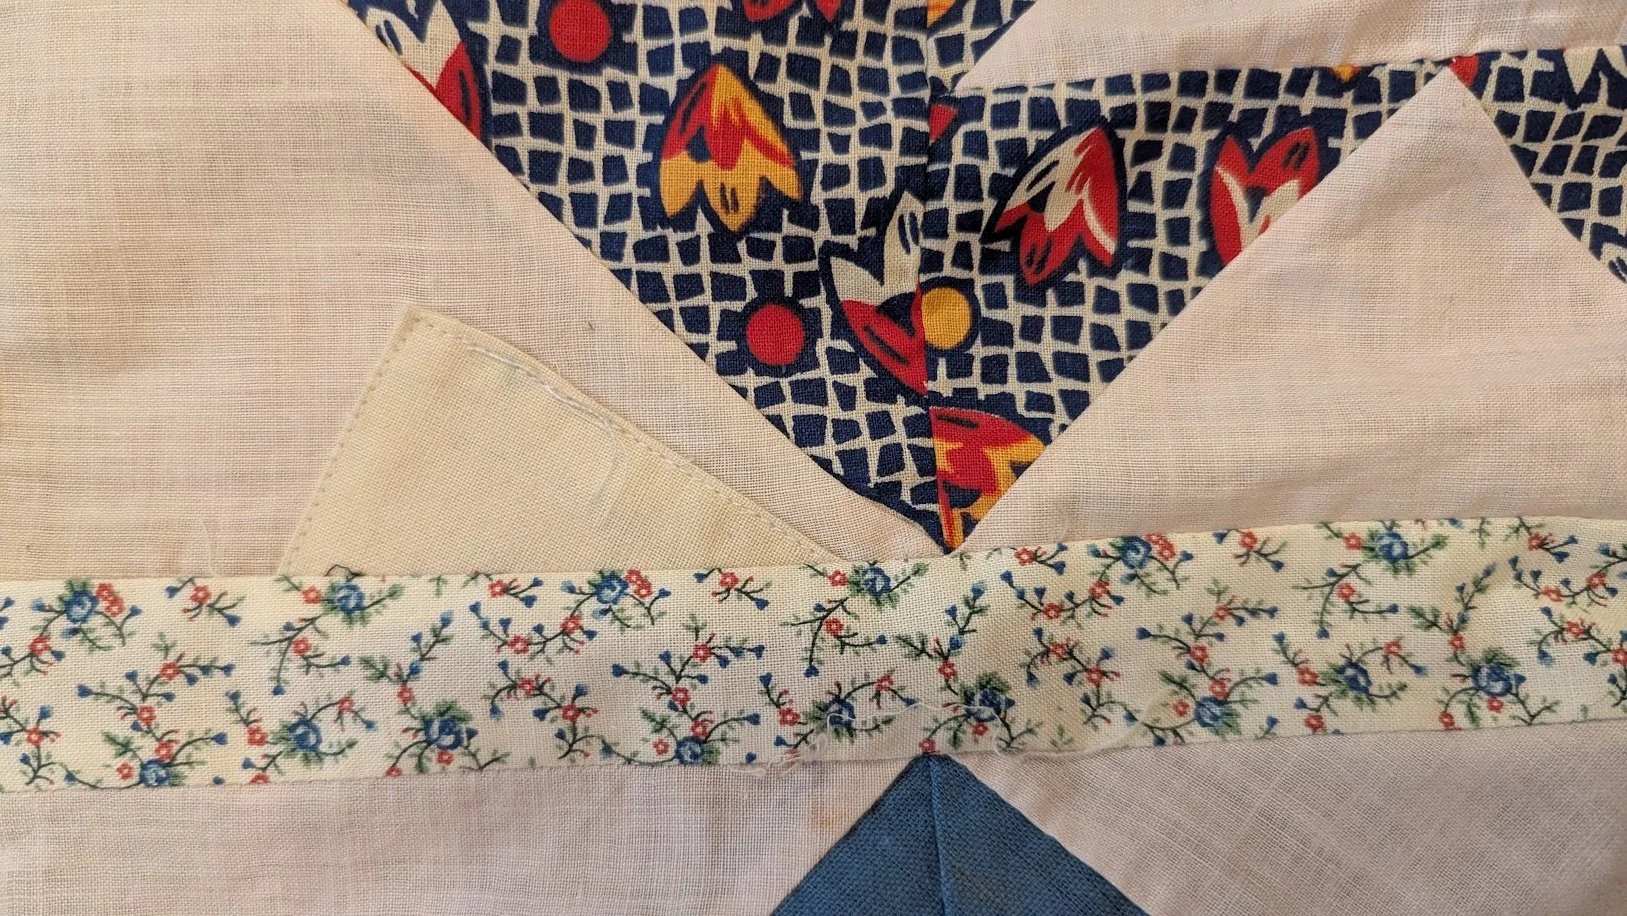
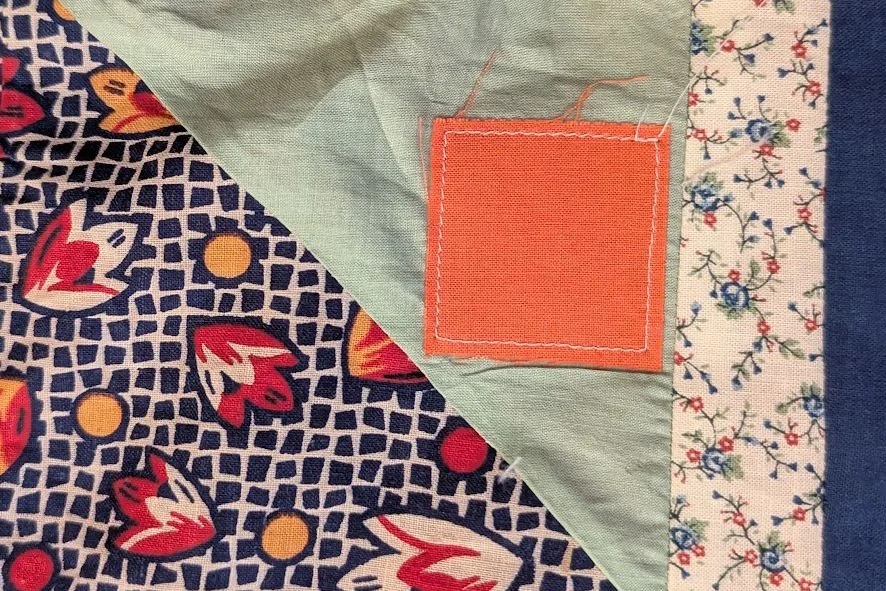
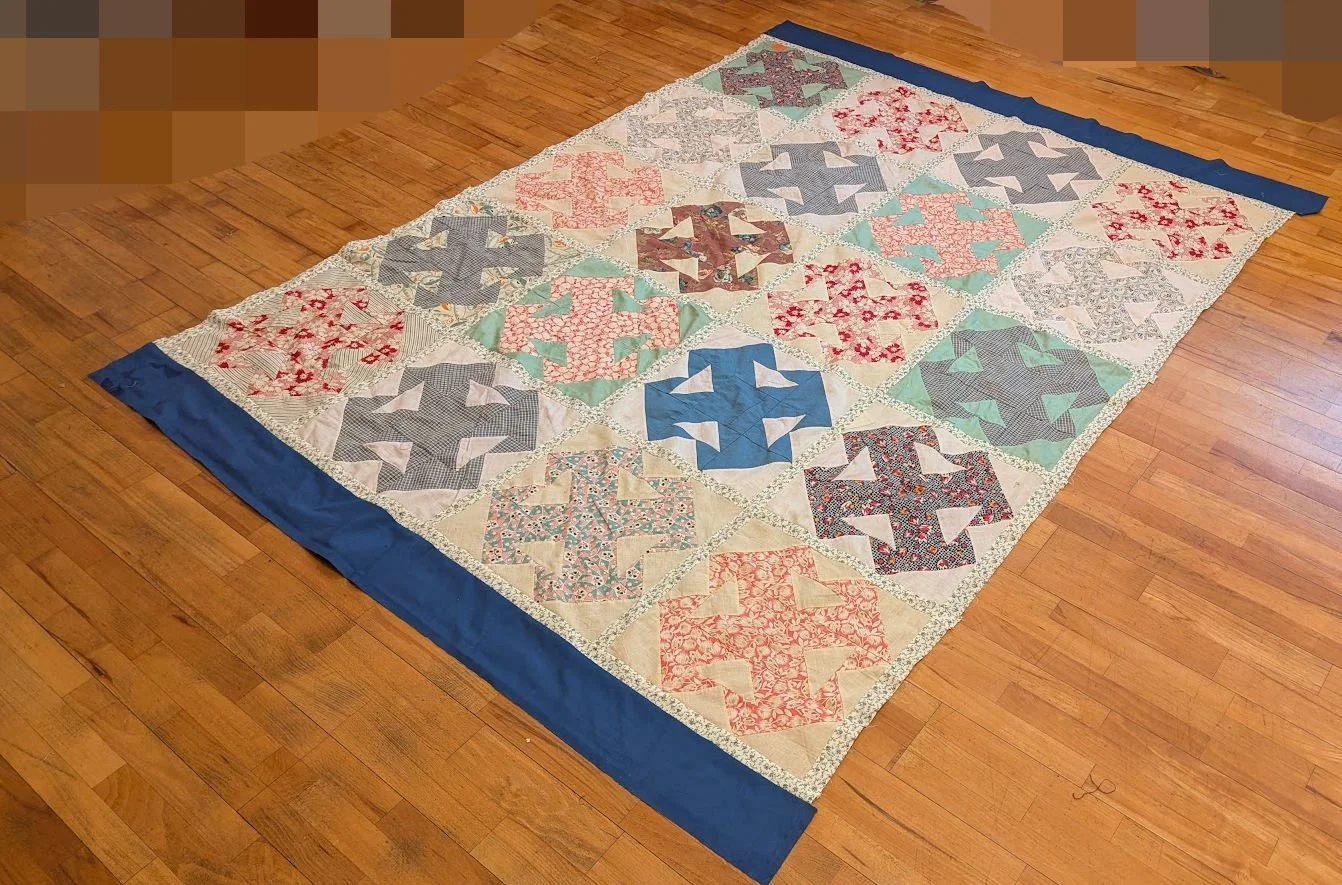
Final top - after trimming the blue top and bottom. Final size is 62”x85”.
At least at first glance, it turned out about as well as I could have expected. We’ll see after I quilt it to death. I am not unhappy with the top as is. In fact, looking at in these pictures, I am pleased, in spite of my misplacement of those two red print blocks—by putting them close together. :)
Thanks so much for coming along with me on this journey.
Have a great day wherever you are reading this.
Be sure to check out what my sis has for you in the store here!
Feel free to browse the site.