"Field of Wonky Stars" - top finished
Well, with all this cutting up I’ve been doing, I’ve really been getting the itch to getting back to doing some more scrap quilts. I’ve been being VERY conscientious about cutting since the first of April - finally a month I’ve been working hard on it from the beginning!
Now I do have a 2” series ongoing and have had it going since 2015 - and I hope to add to it this year as well - at least a few - but I had the desire to make something “else” with 2.5” strips.
So I whipped this one out over the last few days.

The sashing and cornerstones, naturally, took longer than the rest of the quilt together!
I looked through some of those recently chopped up 2.5” strips and searched for what I call the “low volume” strips. I used mainly white based with some design on it - but if they were slightly off white - I used those as well. A little variety as to the backgrounds makes it look more interesting than all just “stark white”.

I made up 16 patches with those long strips.
I used strip piecing as much as possible - sewed four strips together and cut them off into strips of 4 at 2.5” intervals. Once I had those little strip sets made, I was able to make up the blocks I needed - 72 for this quilt. They didn’t take long to make. I’ve worked with 2” so much that using 2.5” seems quicker - and certainly bigger!
Now the sashings - not quite as effortless.

The wonky stars on this are made from the sashings. I decided to make the cornerstones a little more complicated than a simple block by putting a lighter red in the middle and surrounding it with a darker red.
The wonky stars are easiest to show with photos - or video. So far I’ve not ventured into video, so let me show you how I made the sashing strips using some photos I took of one I made just for you! It’s a slide show, showing you step by step. Just pretend you are putting together IKEA furniture. They do this kind of “diagrams/pics only” kind of instructions all the time!
I did start with 4.5”x 8.5” rectangles of a low volume or white based fabric - and 4 pieces of red fabric - about 2.5”x 3.5” or BIGGER. Bigger is easier.
Below is a slide show of how I made them.
Start with the plain piece of fabric and click on the forward arrow to speed on through at your own pace.


Put it together and you’ve got a field of wonky stars!
I debated as to the colors of the wonky stars. I did.
The cornerstones were just little 4.5” blocks that went together quickly. I made them after I made the sashings.
Not long ago I was listening/watching a You Tube video on how supermarkets “market” things to us put out by CBC Marketplace (Canada). The marketing expert was teaching us some of the tricks that grocery stores use in getting us to spend more. One of the things they mentioned was that the colors the eyes see first are red, yellow and white.
While it matters not to us even a little in our quilting world how supermarkets get us to buy more - I grabbed on to that idea.
Actually, I had been told something similar years ago here in Poland by a flower seller - if you want your flowers to be seen from the road (and your house is set back a bit) - choose red or yellow flowers.
Anyway…I wanted “pizzazz” - a “pop” - so I debated making those stars red and yellow - alternating them - remembering what the marketing expert told us in the video about the colors that our eyes see first.

I decided, however, that it kind of “ruined the look I wanted” when I did that. So, I switched back to using all red and I liked it.
I will get the pattern worked up soon. It’s not a difficult thing to make. It was soothing for me to make after so many other things going on around me and feeling like lately I’ve been spinning my wheels about so many things!
I hope you’ve enjoyed this top! While I figured I’d like this one from the beginning, I really like it a whole lot better than I thought I would!
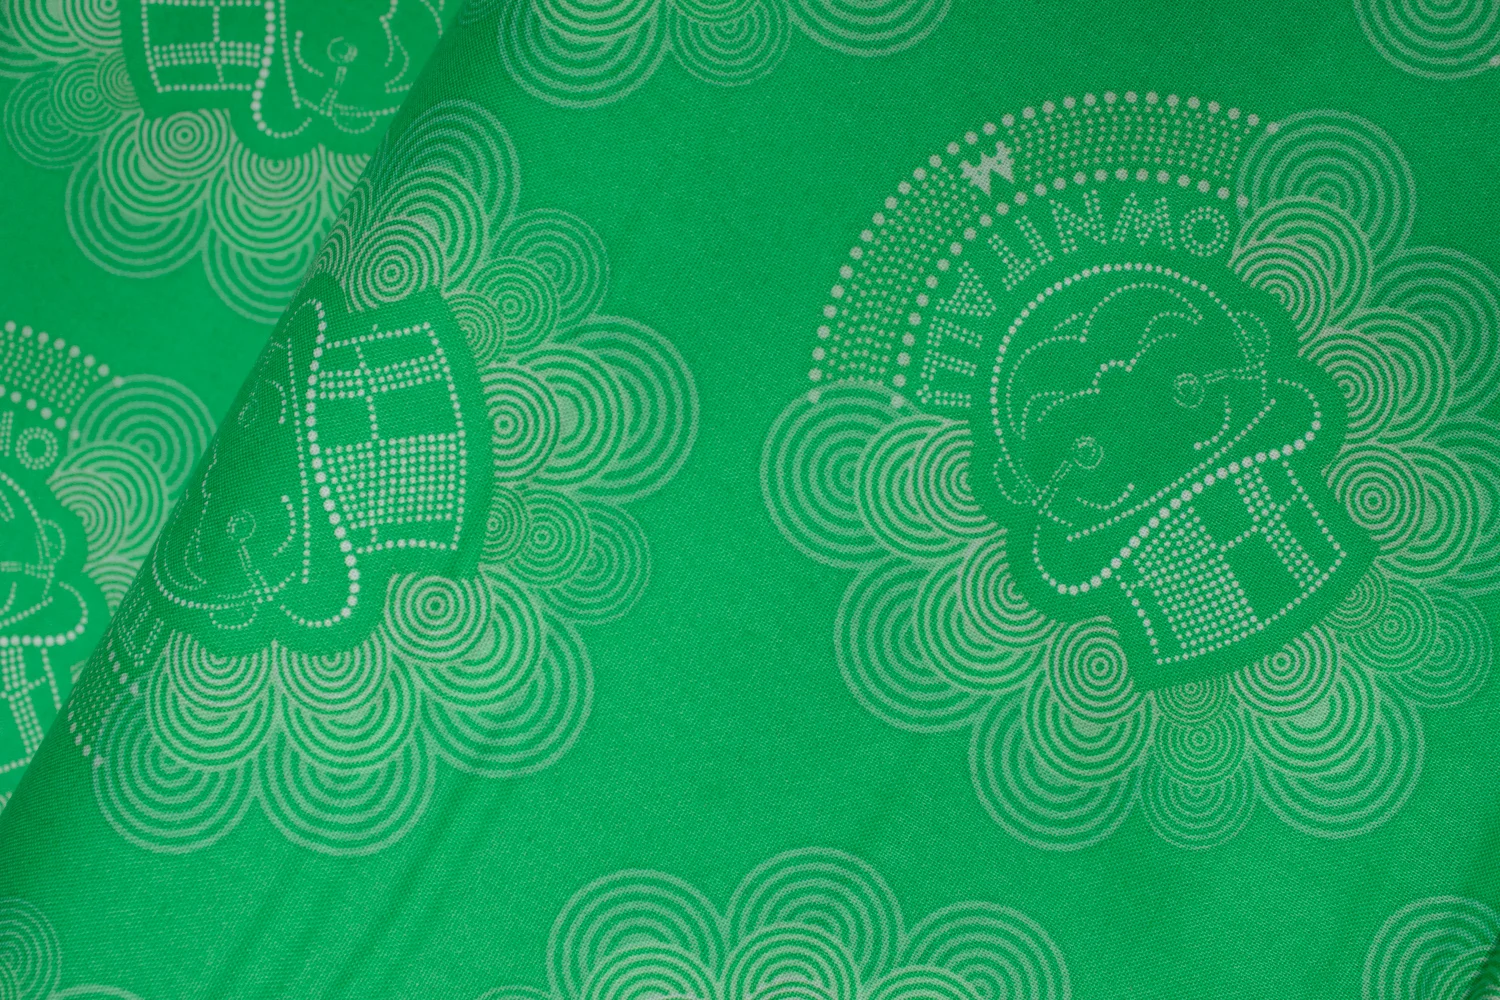
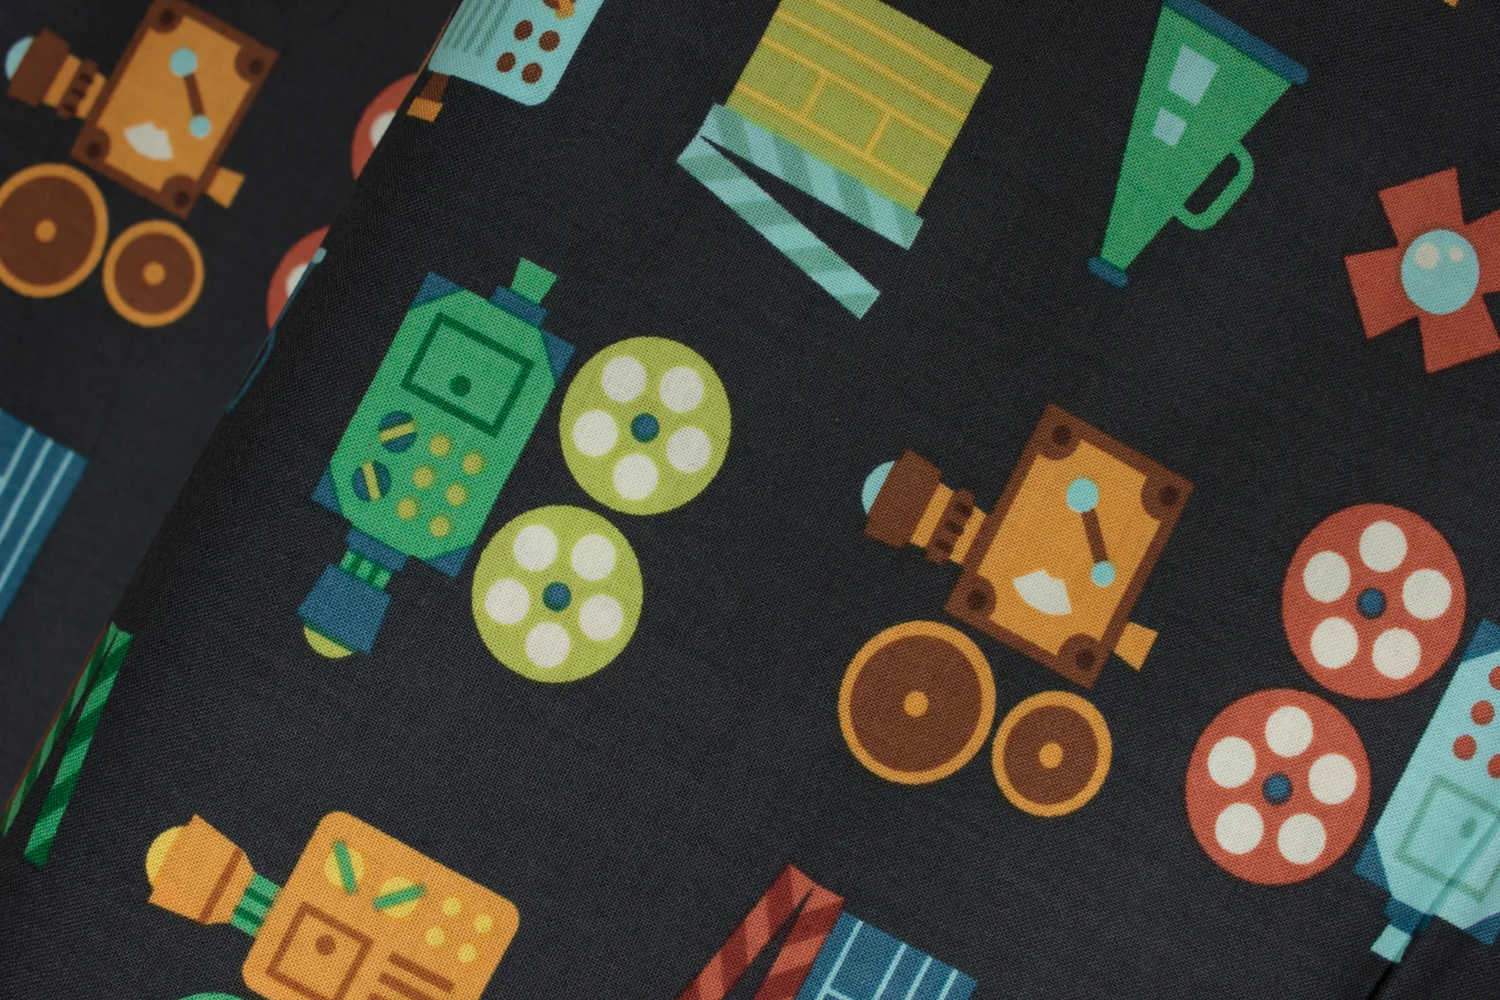
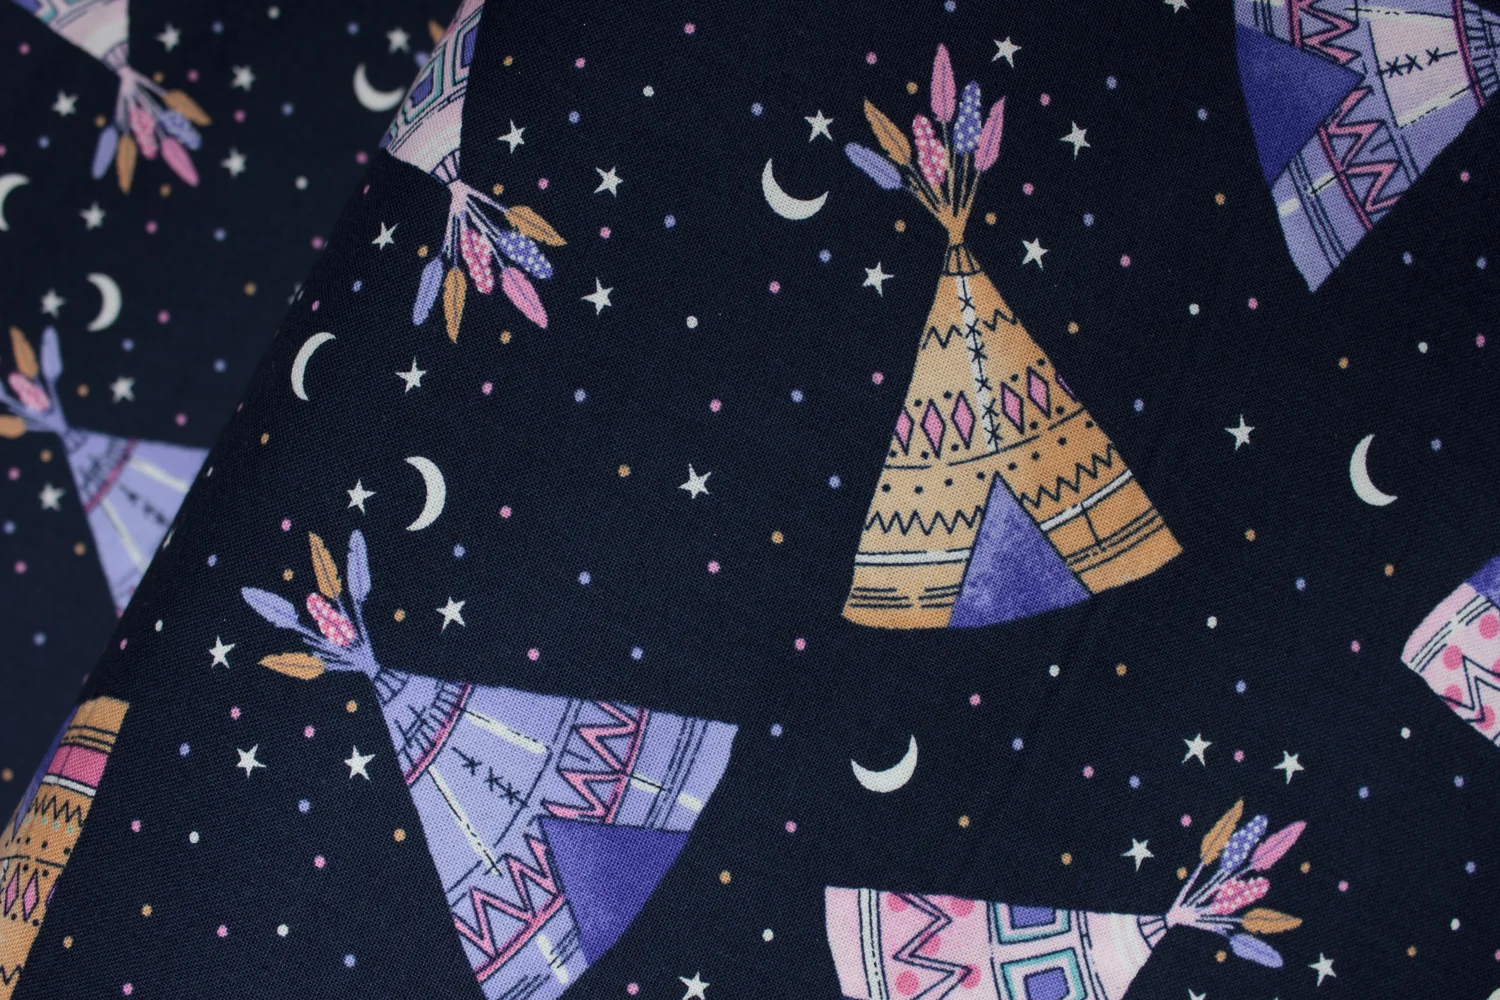
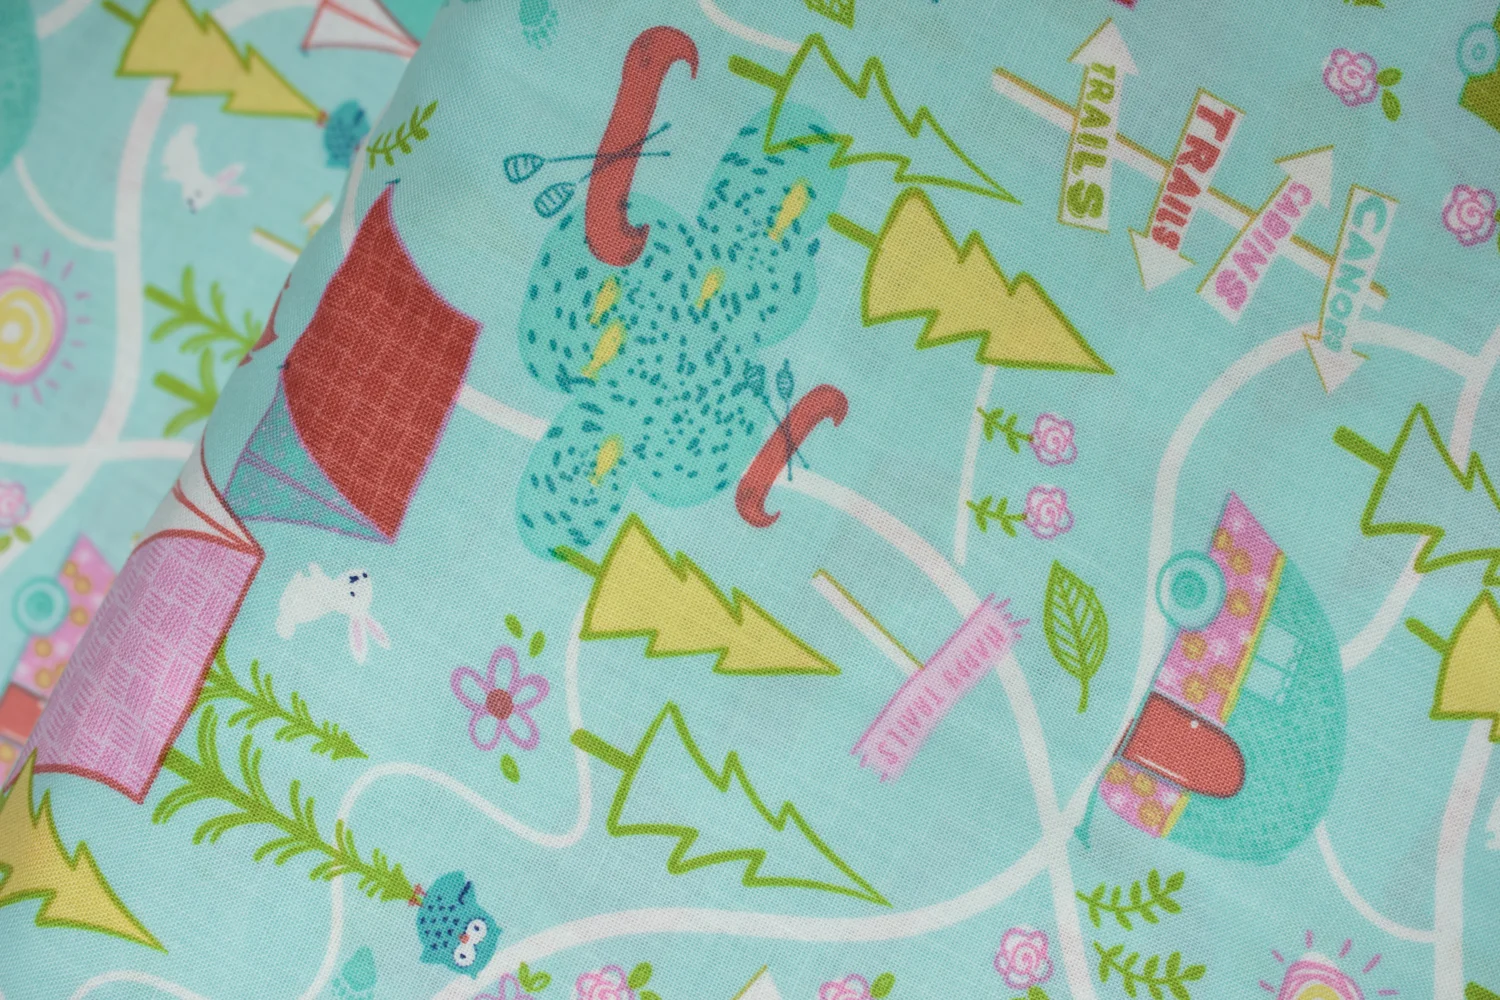
If you are interested in making something similar but lack the fabrics that are what I call “low volume” or “white based” - you can check out what my sis has for you. These are bundle packs.
(She doesn’t really know I’m doing this.)


This is now the fourth “low volume” quilt I’ve made. Well, this one is only a top so far.
Here are the other three -
I put the name on each one. If you want to know how I made them - just do a search on the website for them. It will come up.


Have a great day wherever you are reading this! Stay safe!
Hope you have time to do some “fun sewing” today.
Be sure to check out what my sis has for you in the store!
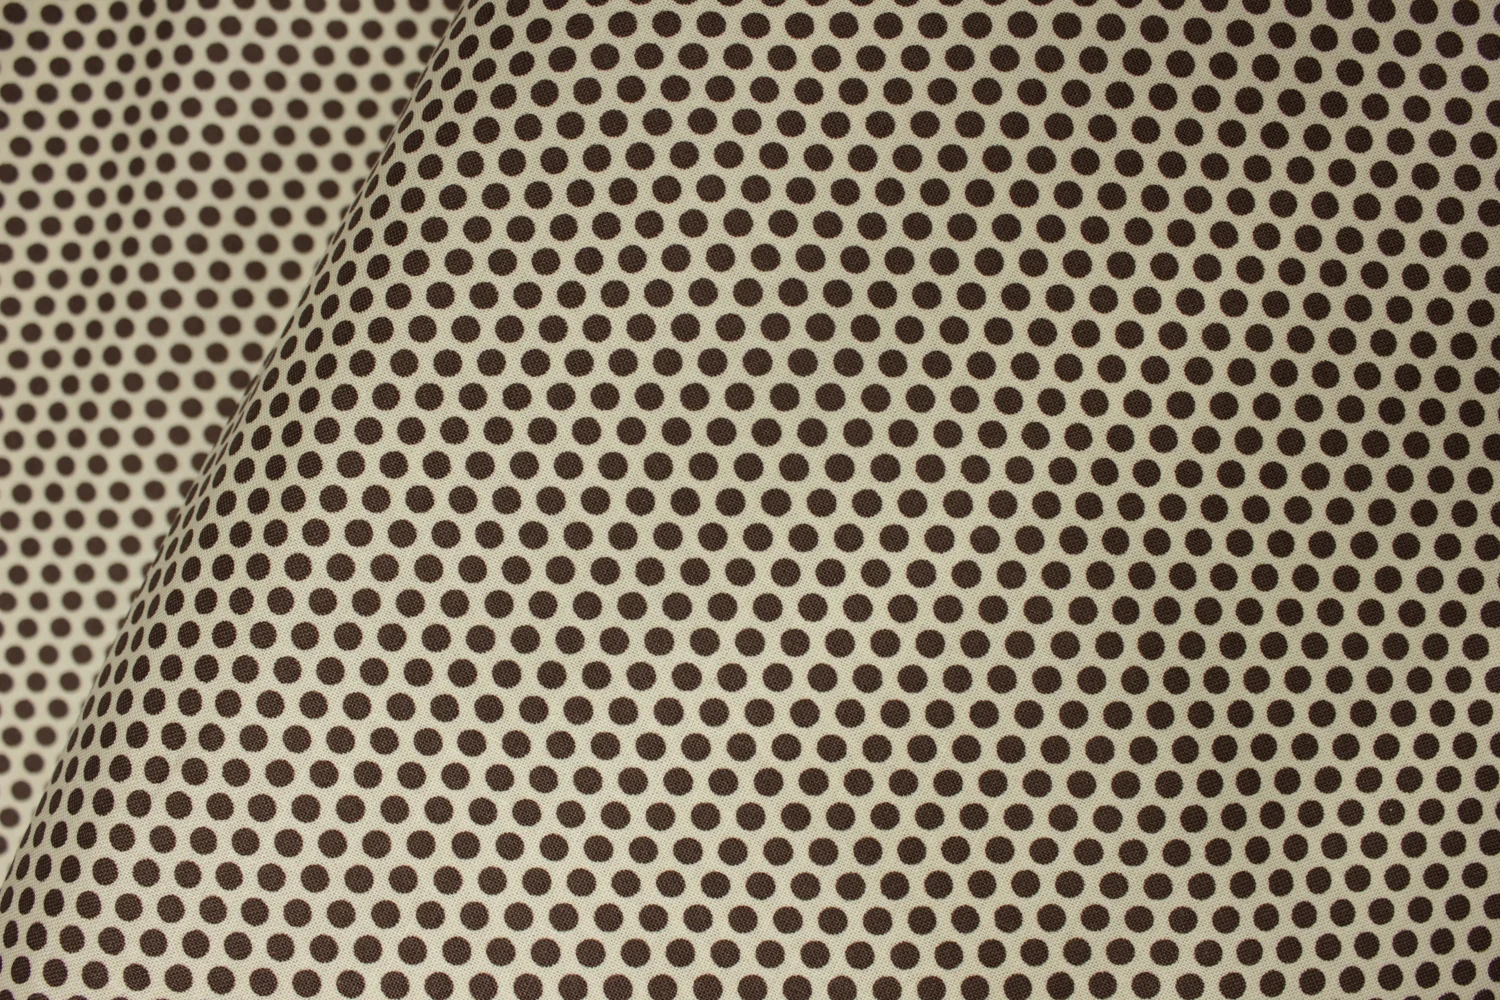
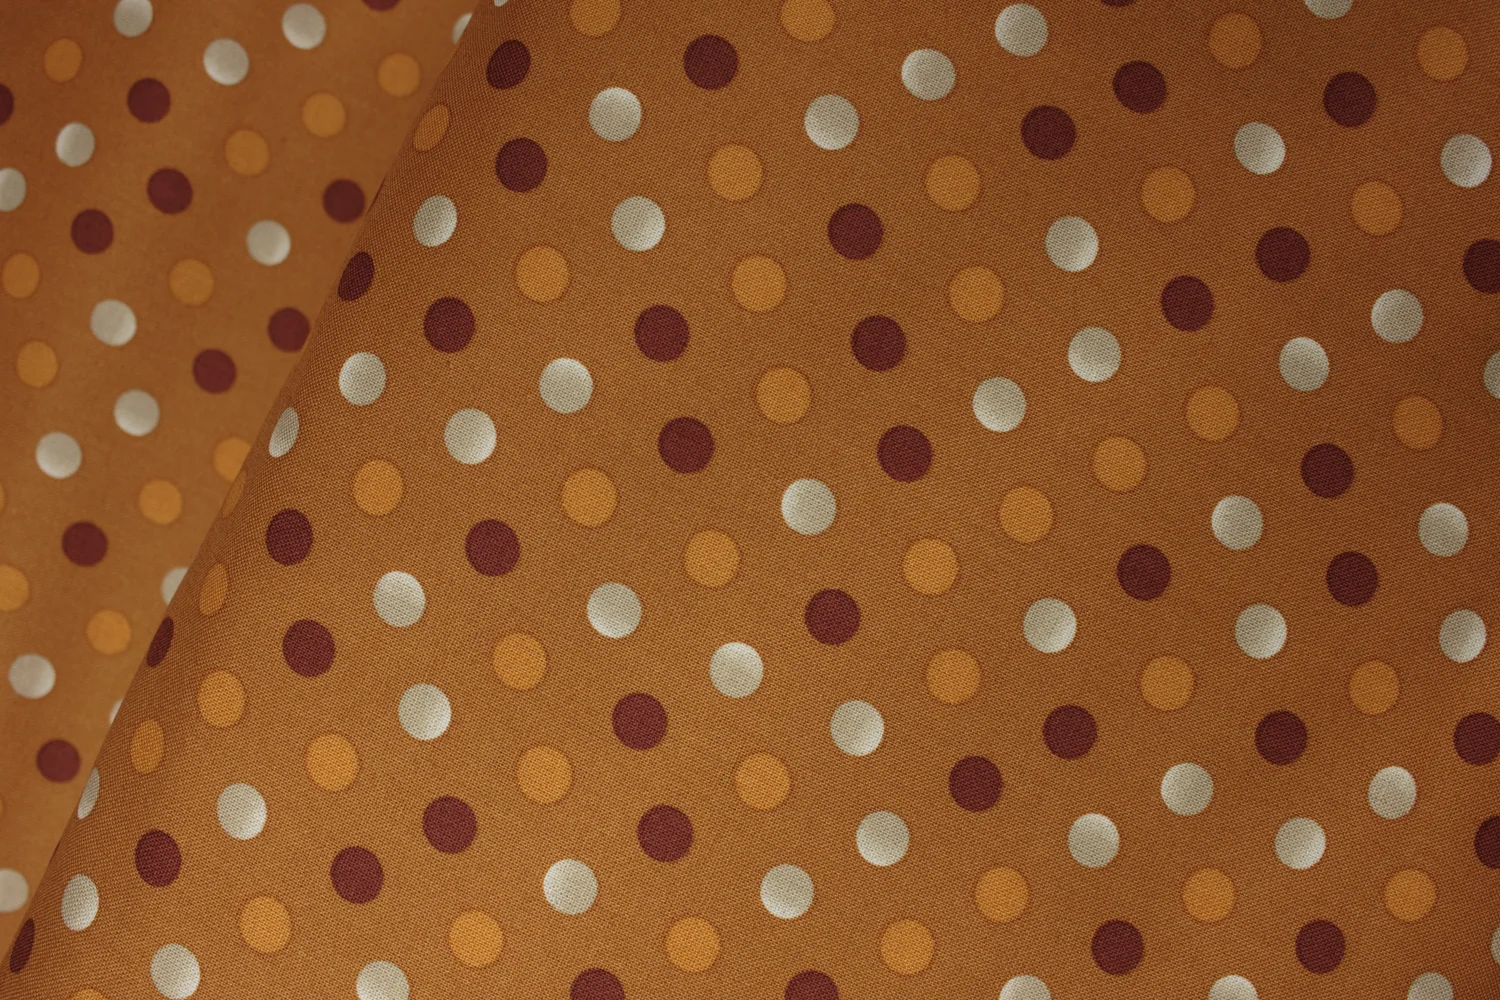
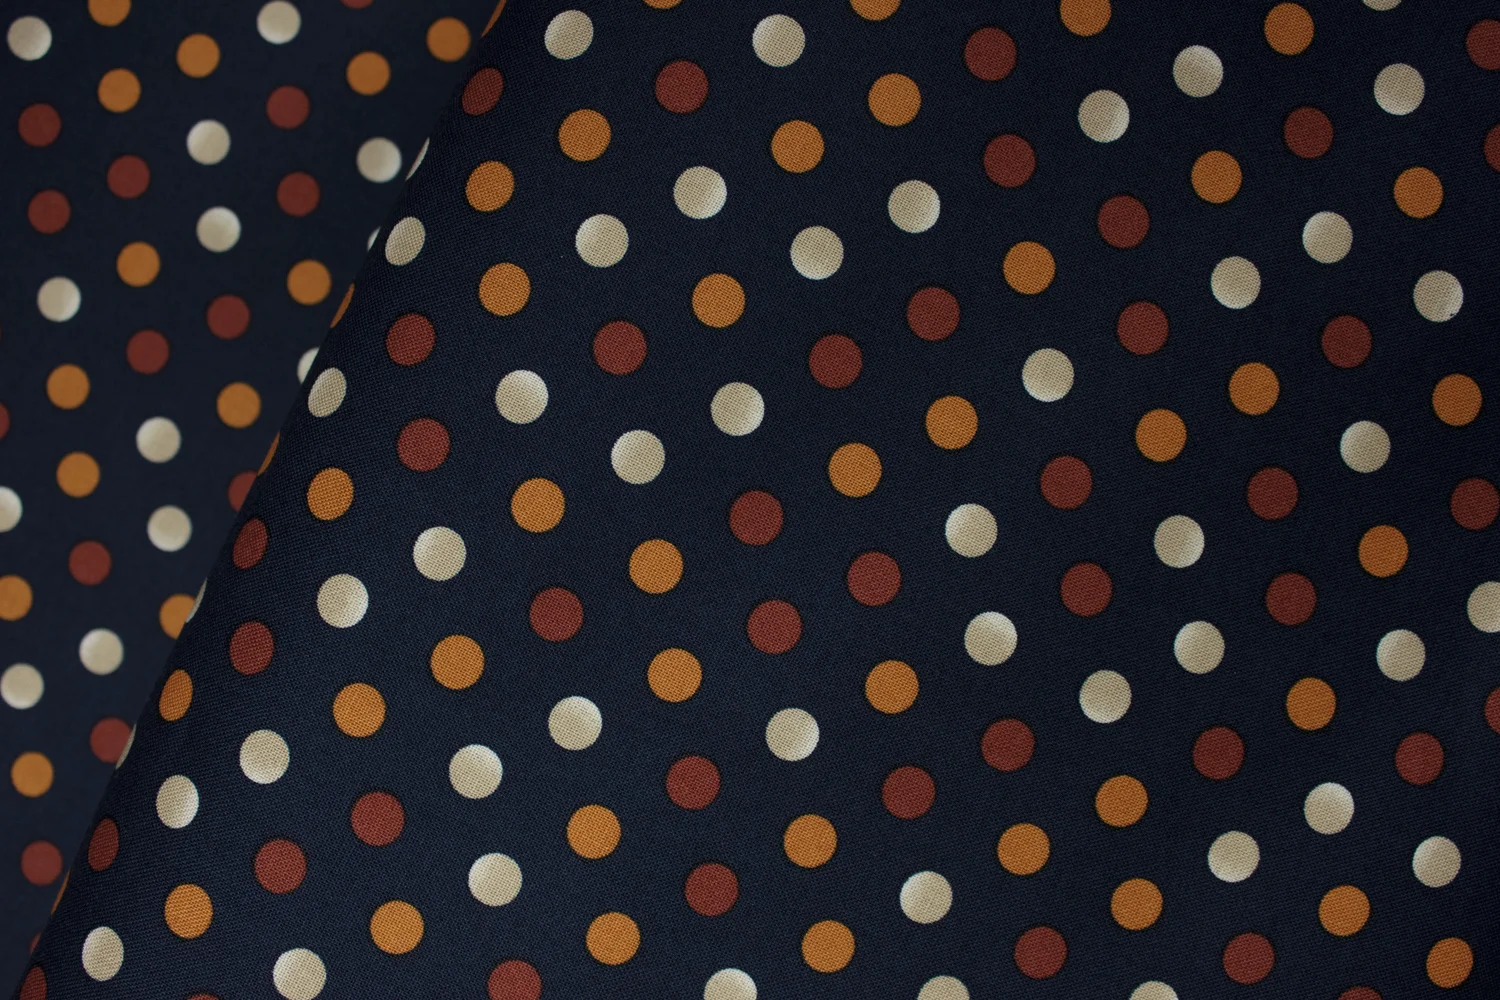
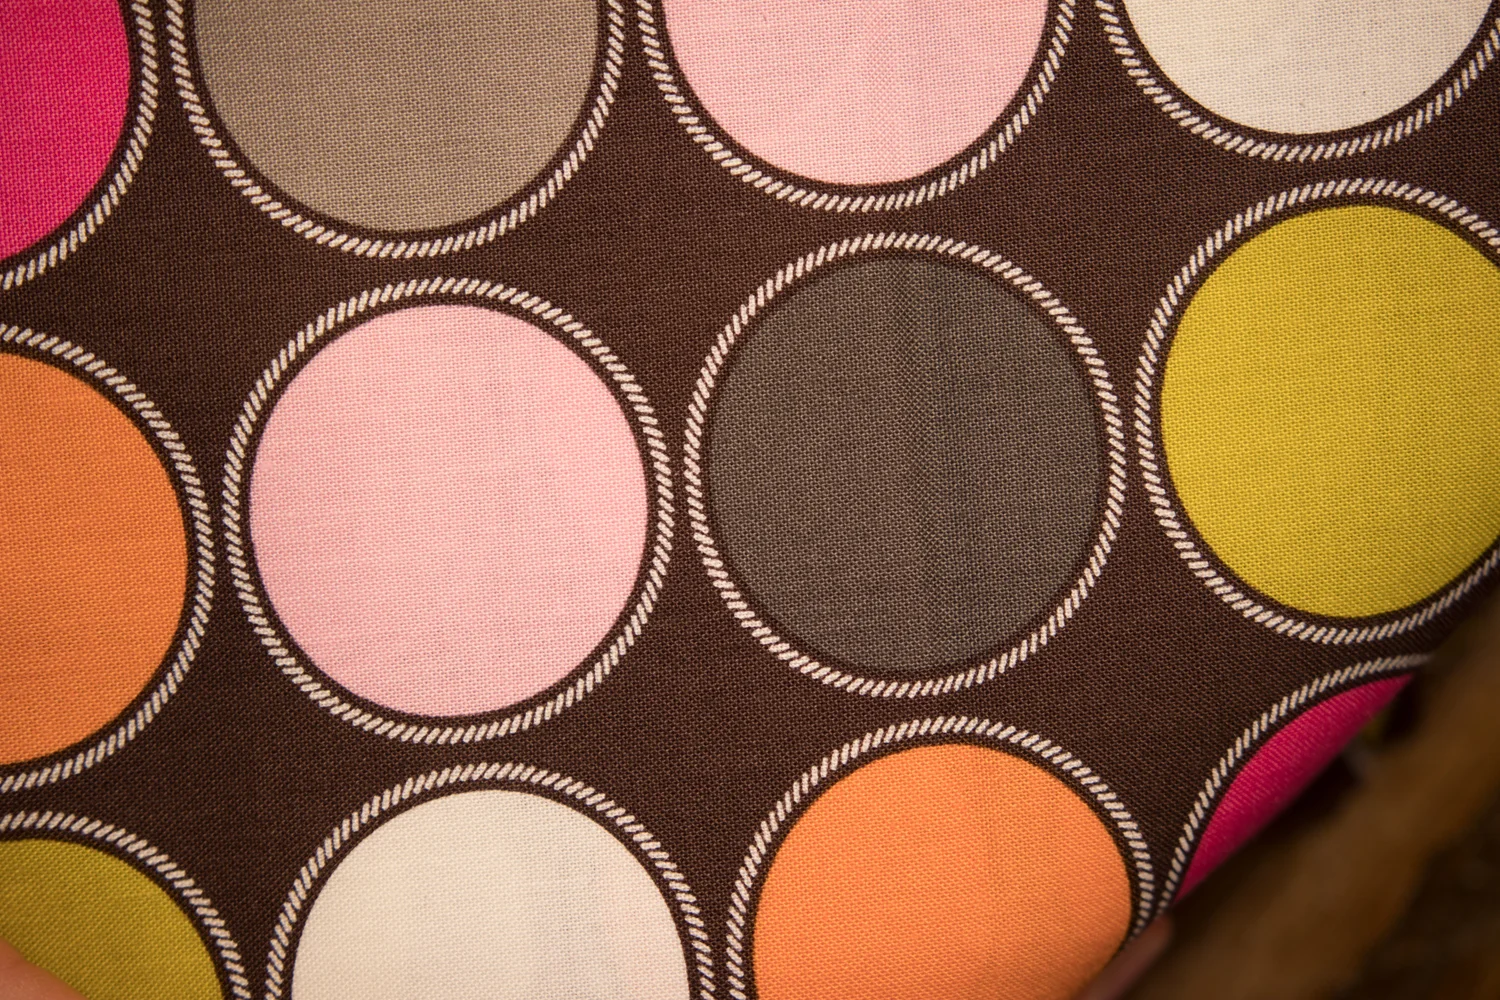
Colors may vary slightly from what is portrayed. Screens vary as well as our eyes sometimes see things differently, but we've made every attempt to have the color be accurately portrayed.
Price is by the Yard.
100% cotton
41/43" wide
Local quilt shop quality fabric
Blue/ turquoise dots packed on a cream or light tan background