UP Greens #8 - "Checkered" top started
Just started.

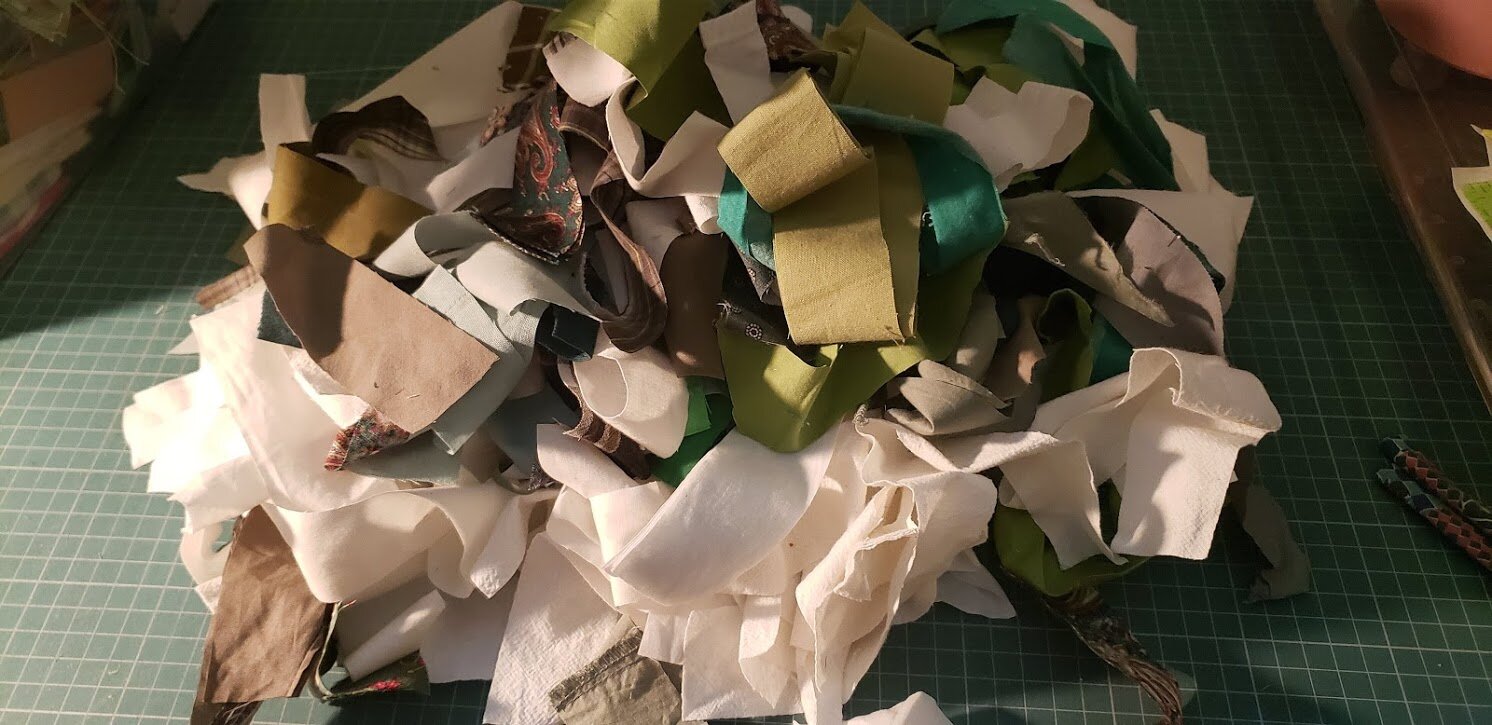
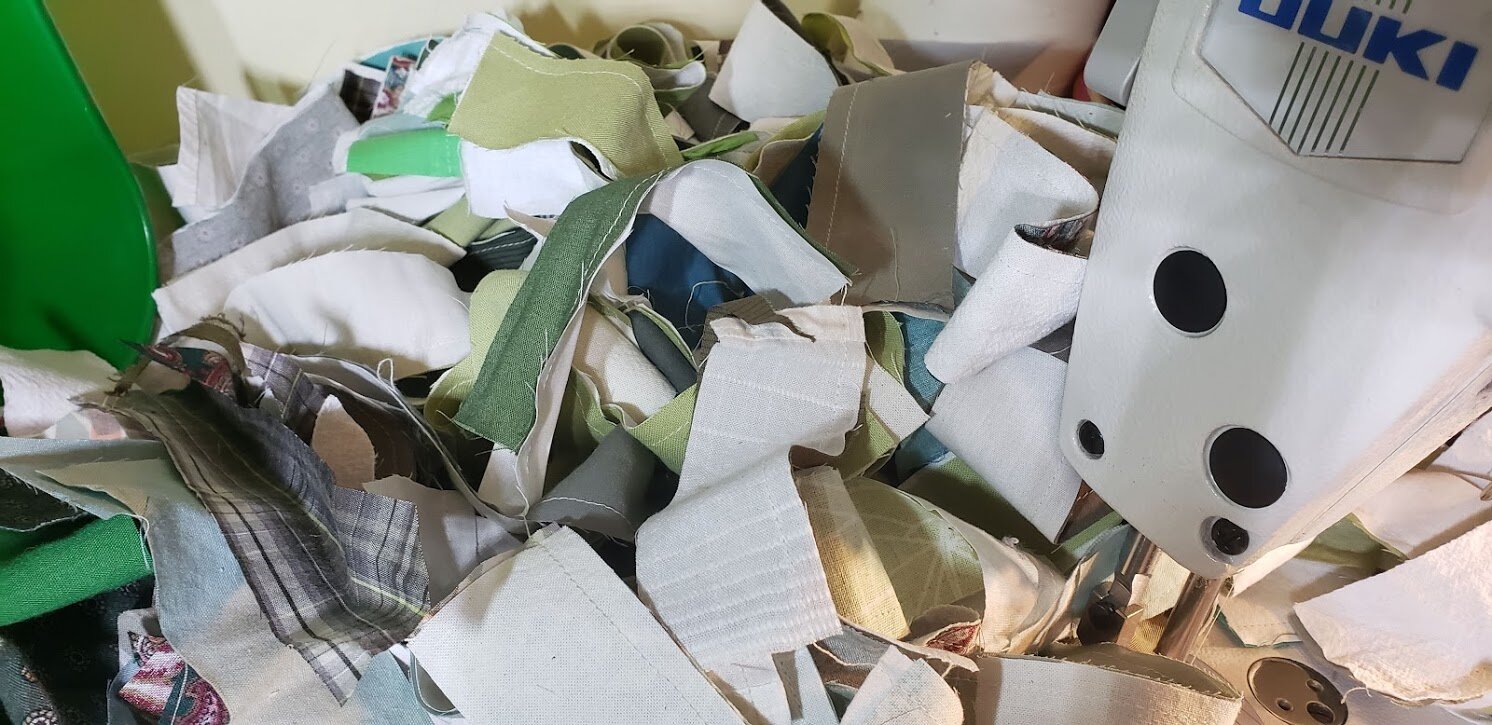
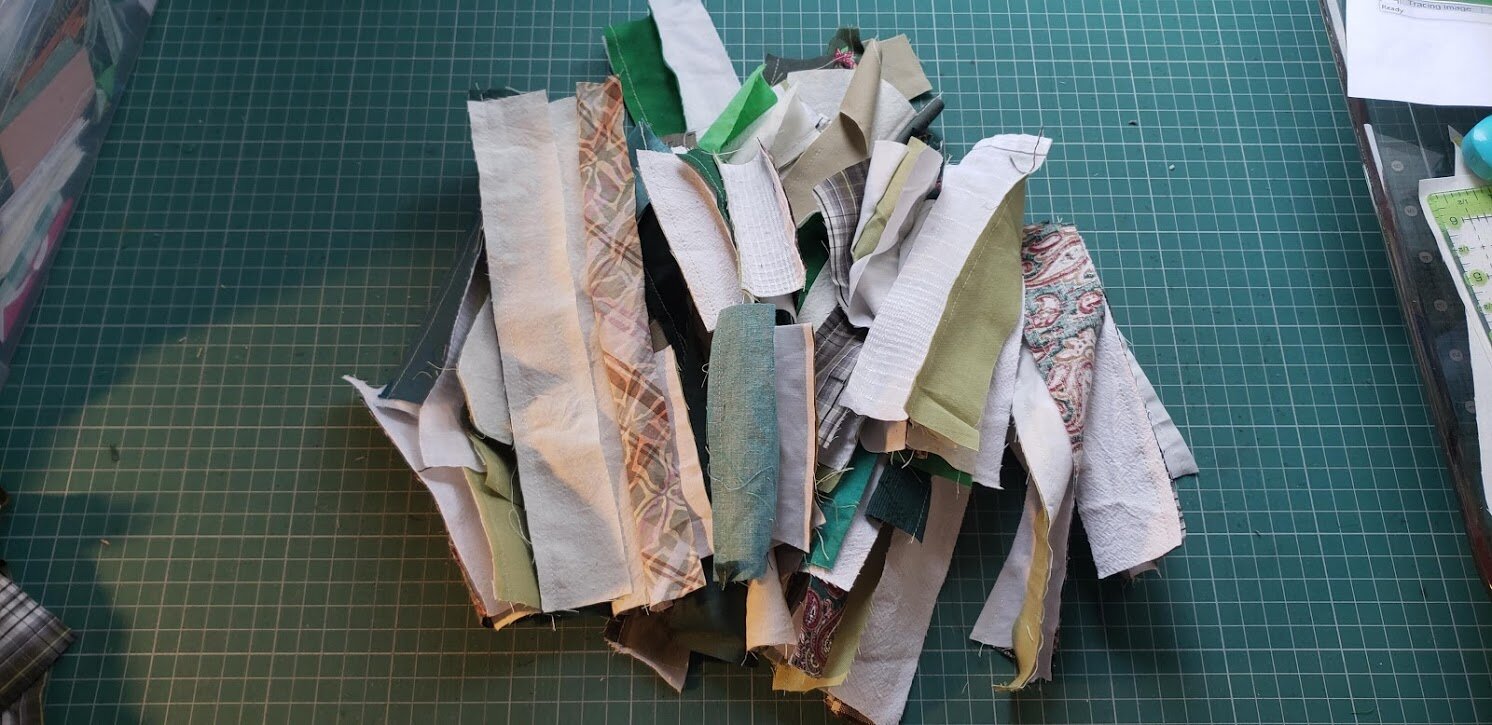
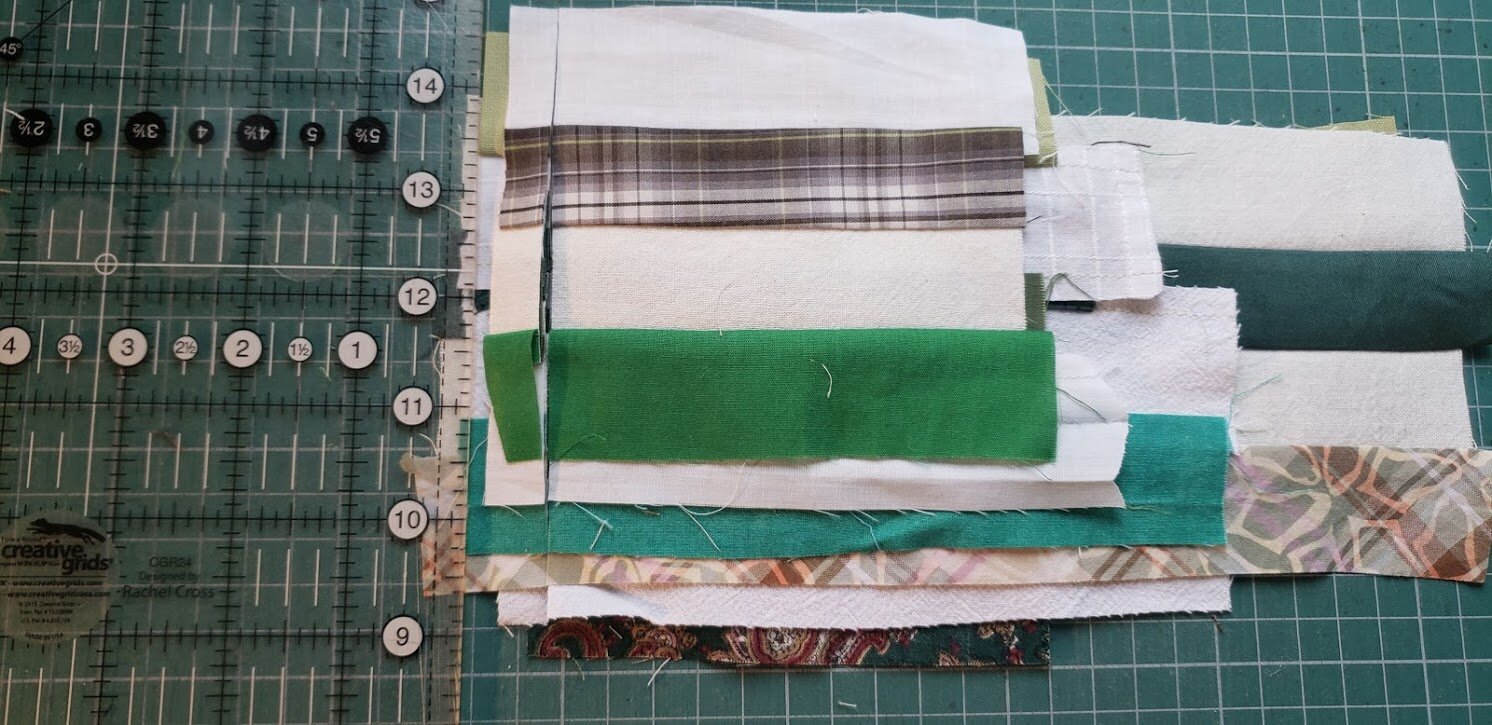
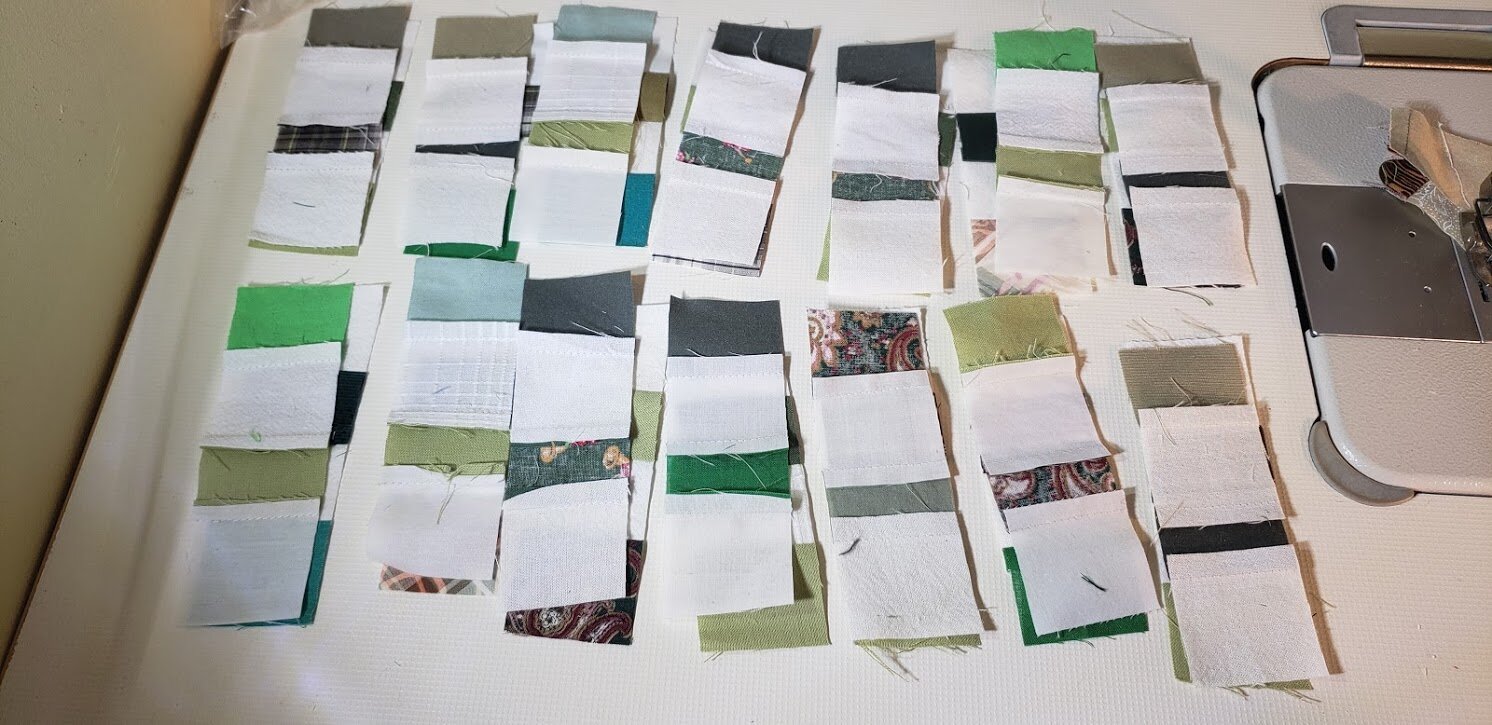
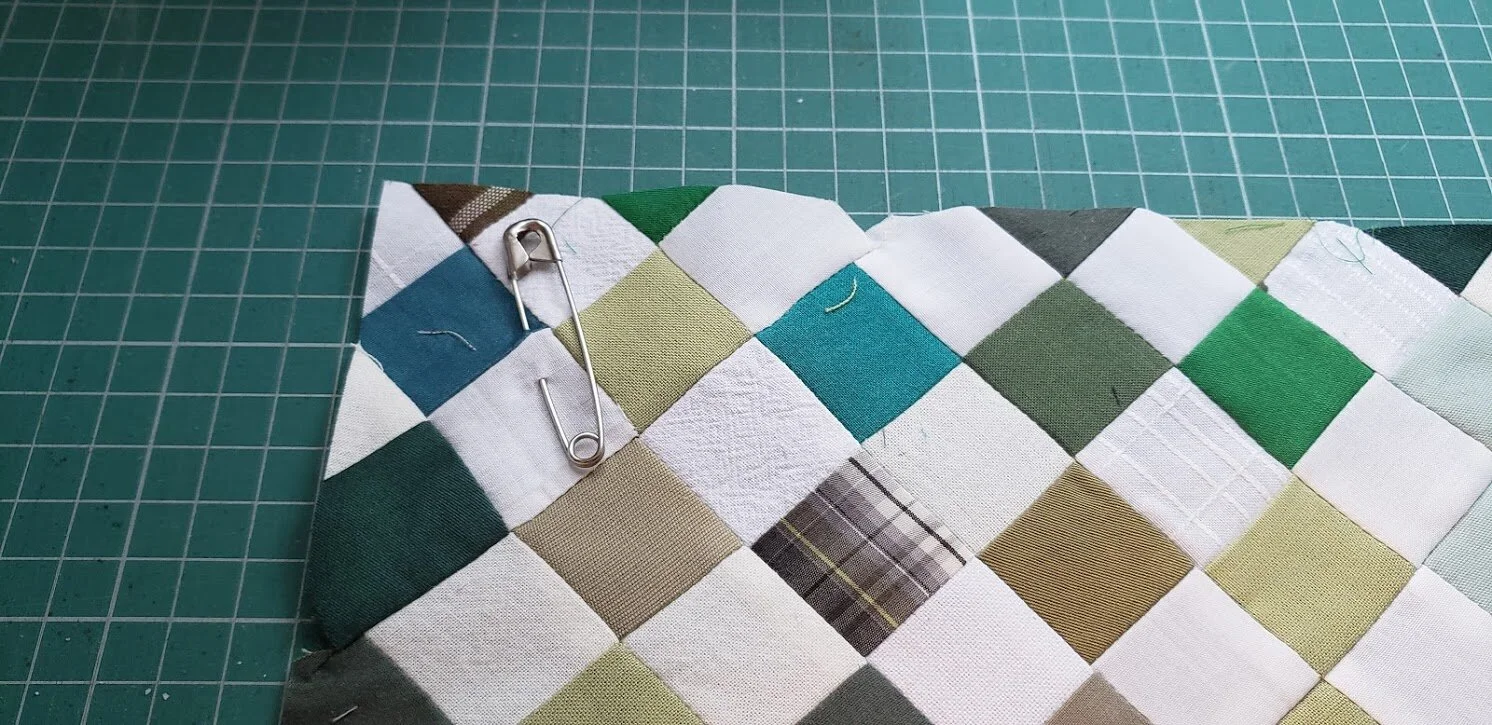
Up close like this you can really see how absolutely ugly my greens are - at least that is how they come across here. Lots of sages and brownish greens - sort of khaki greens. But it’s what I’ve got - and that’s the challenge. Make something nice, and if not pretty - at least INTERESTING from these upcycleds.
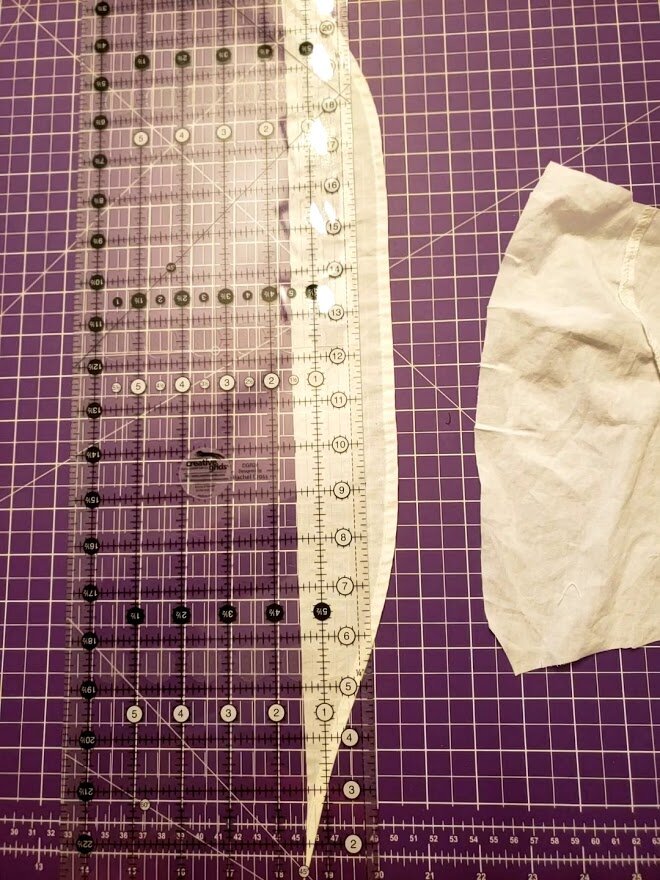
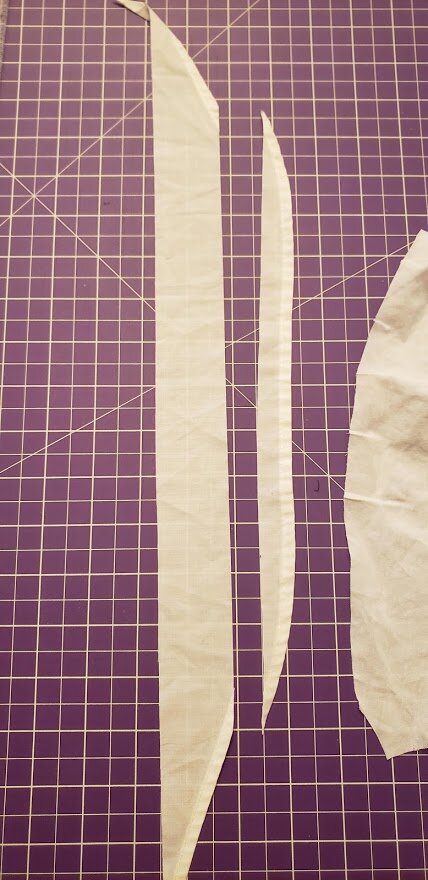
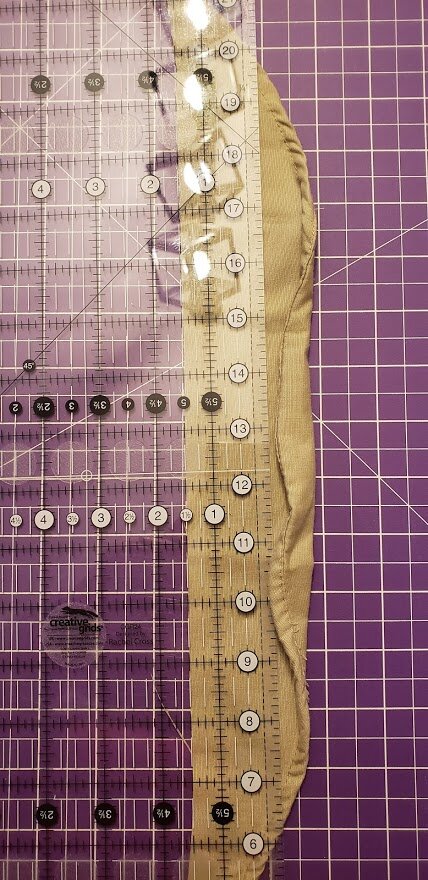
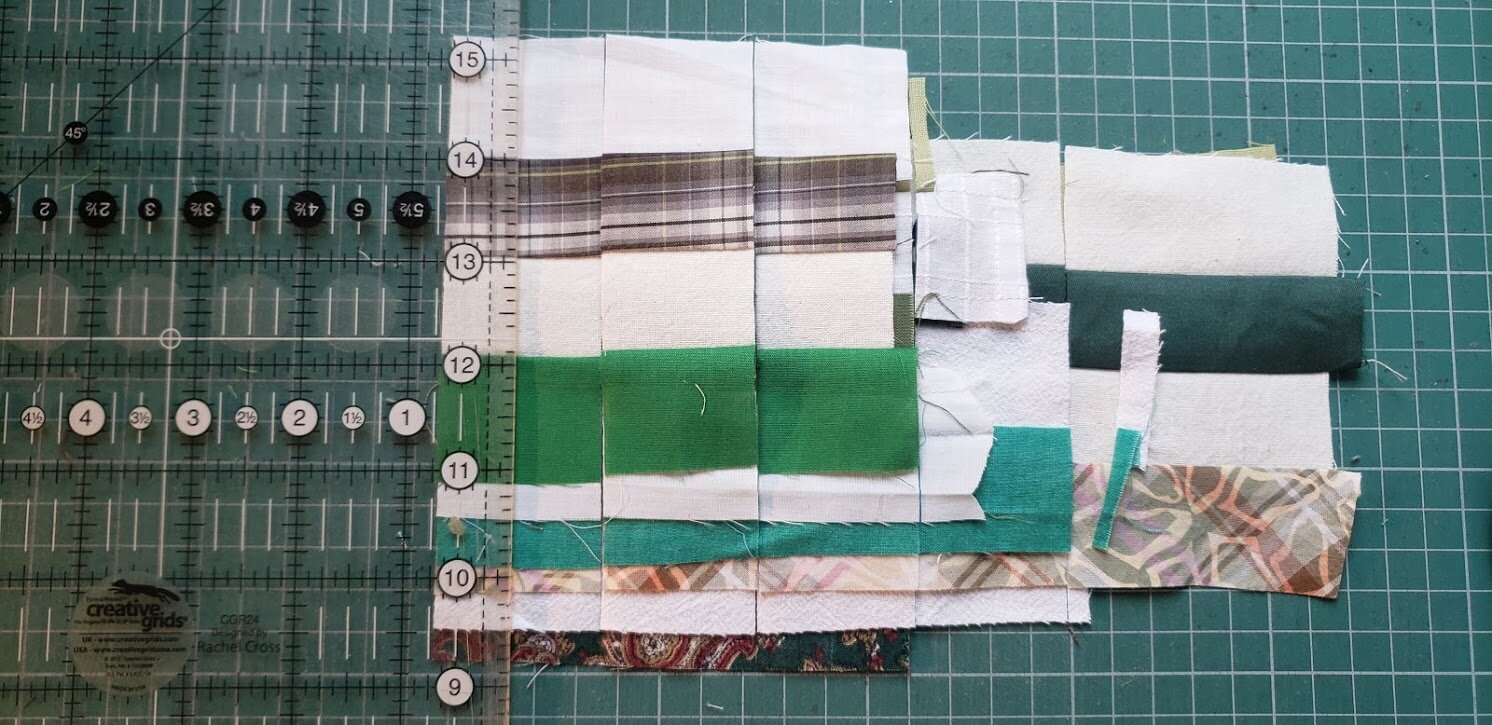
This one I’ll work on it along side other ones. So far I’ve been trimming some odd shaped pieces down into 1.5” strips. Mostly the things I’ve trimmed down are leftover from the first few tops I’ve made.

Checkered
This one will be similar to this one - only this one shown was made with blues.
One 16 patch block at a time. It isn’t hard to make - just time consuming.
But I think it looks so cool in its simplicity. For those of you who are wondering what I’m referring to - this is Checkered in blues - shown on the right.
Now I’m going to make the same pattern, but with greens/white!
So, just keep checking back. I don’t know how often I will update it - it will be more or less when I have something new to show.

For this quilt as shown, I will need 578 16 patches in a checkerboard. So far I’ve made 13.
Let me explain how I’m doing it. The rest of the posts about it will just be “more of the same” as I use this method to add to the top.
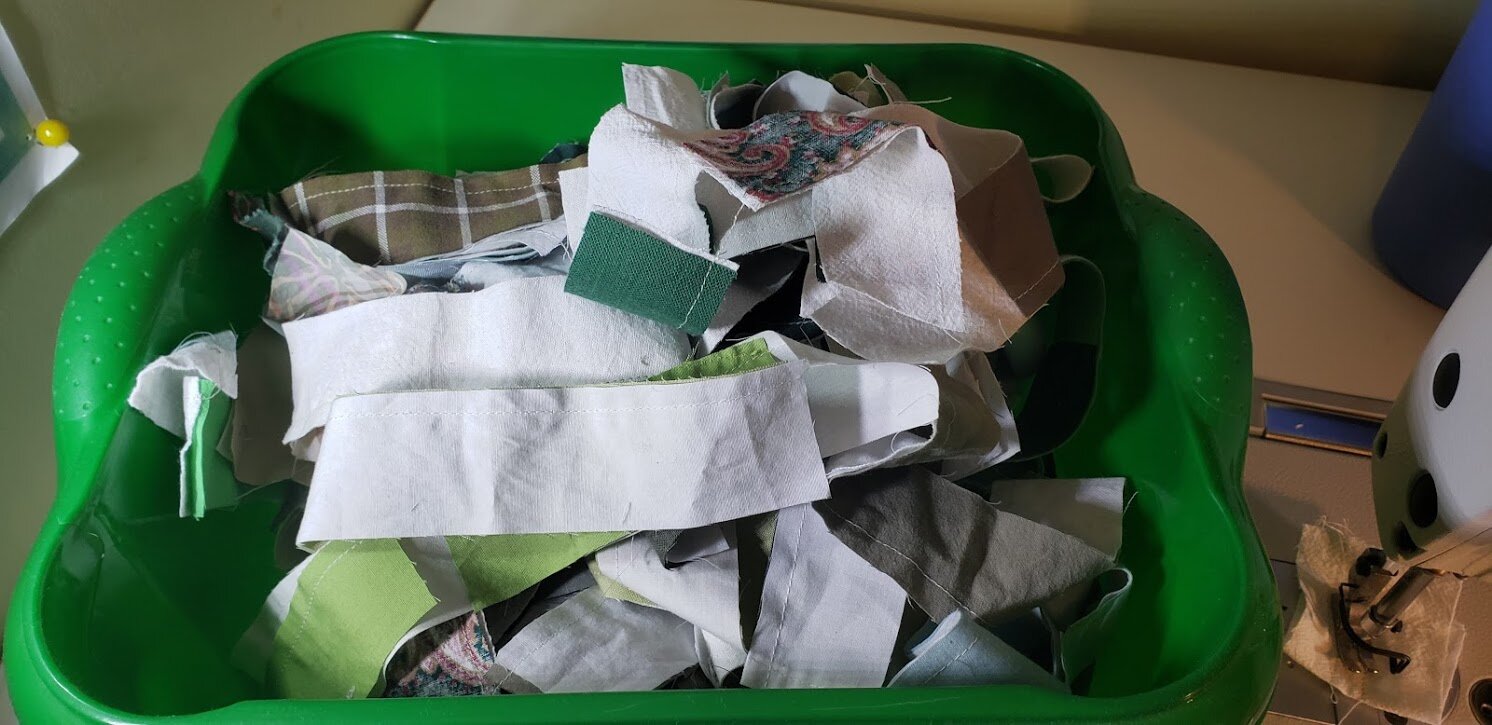
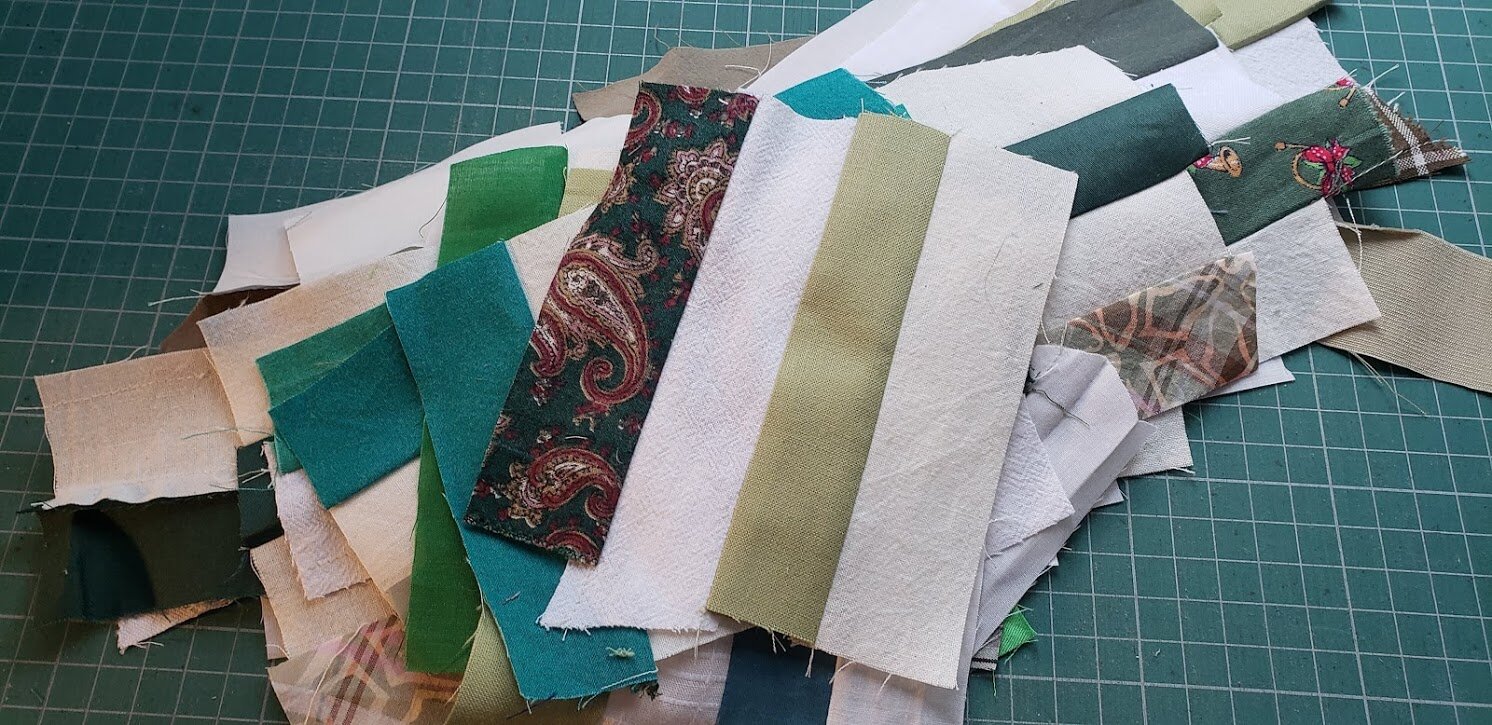
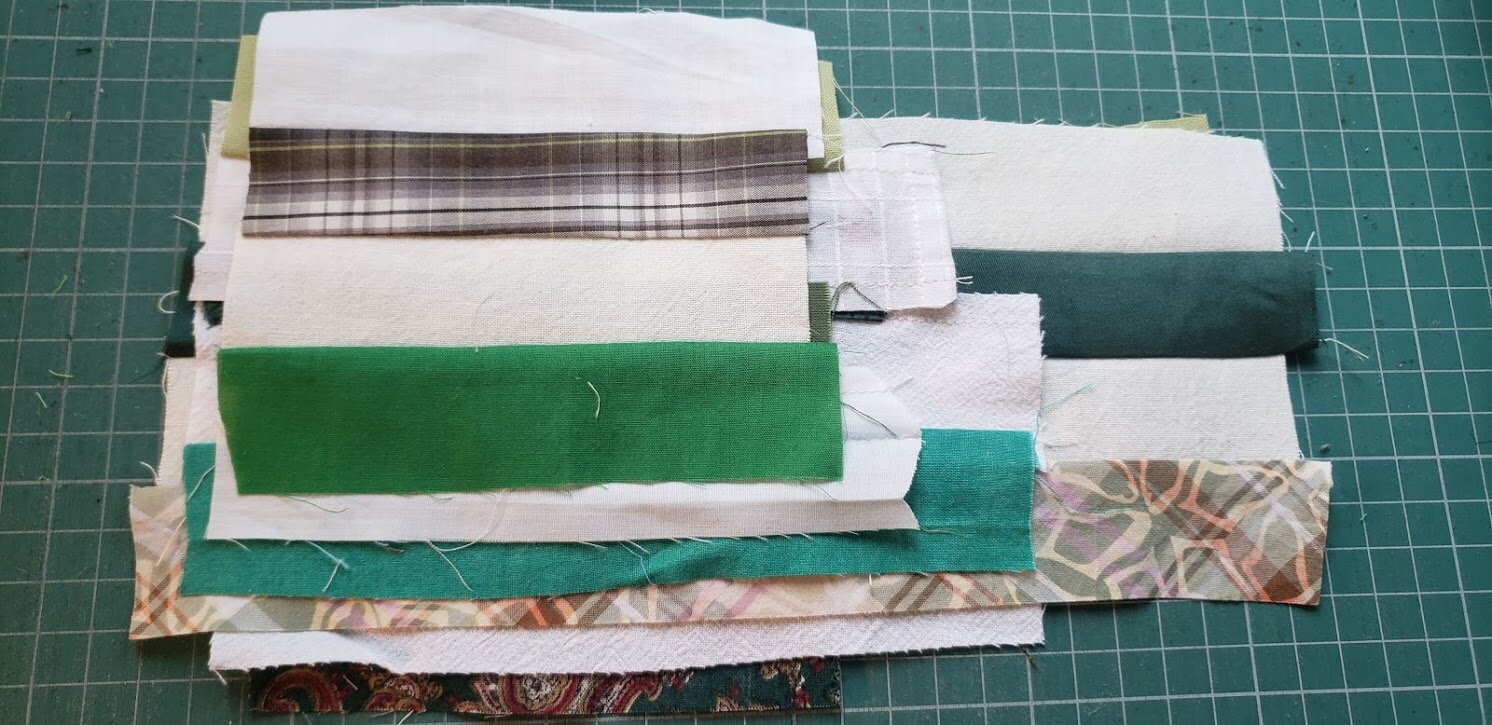
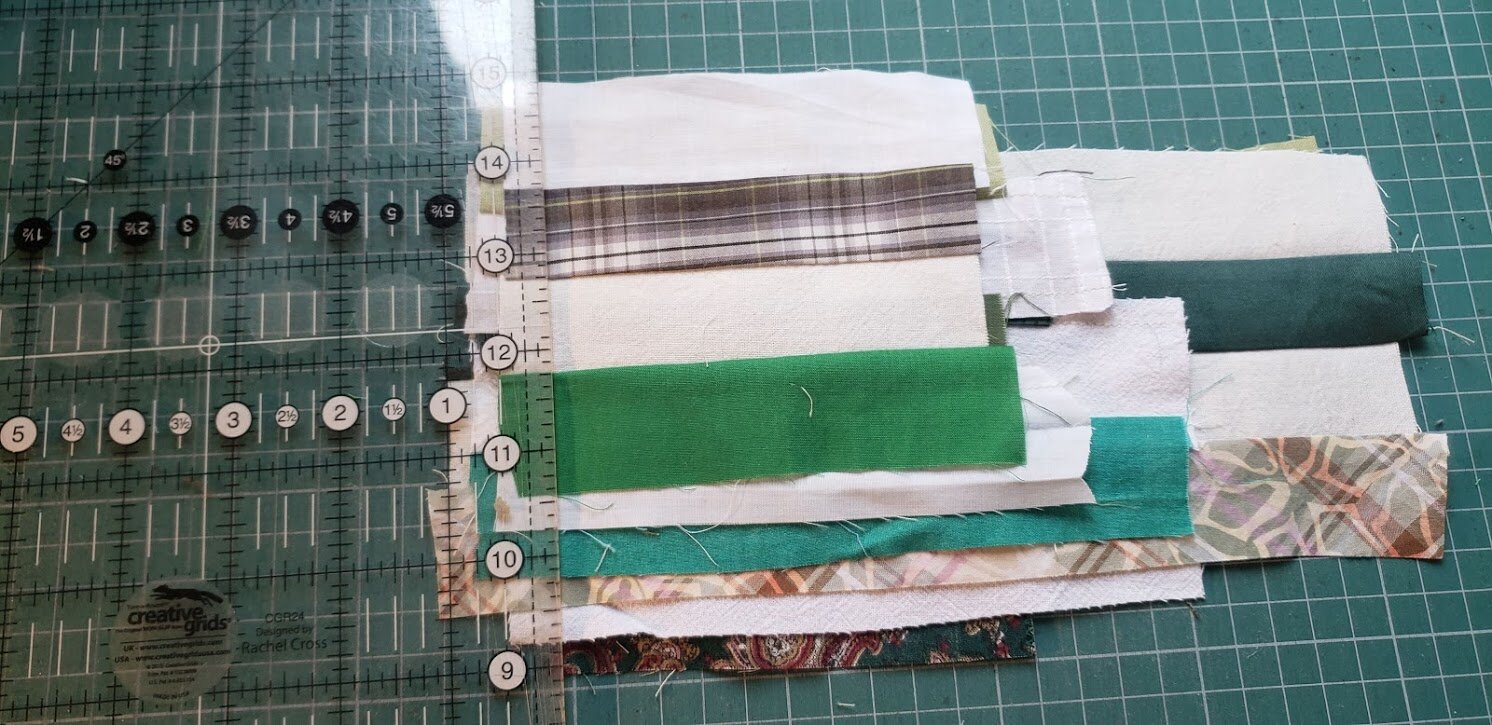
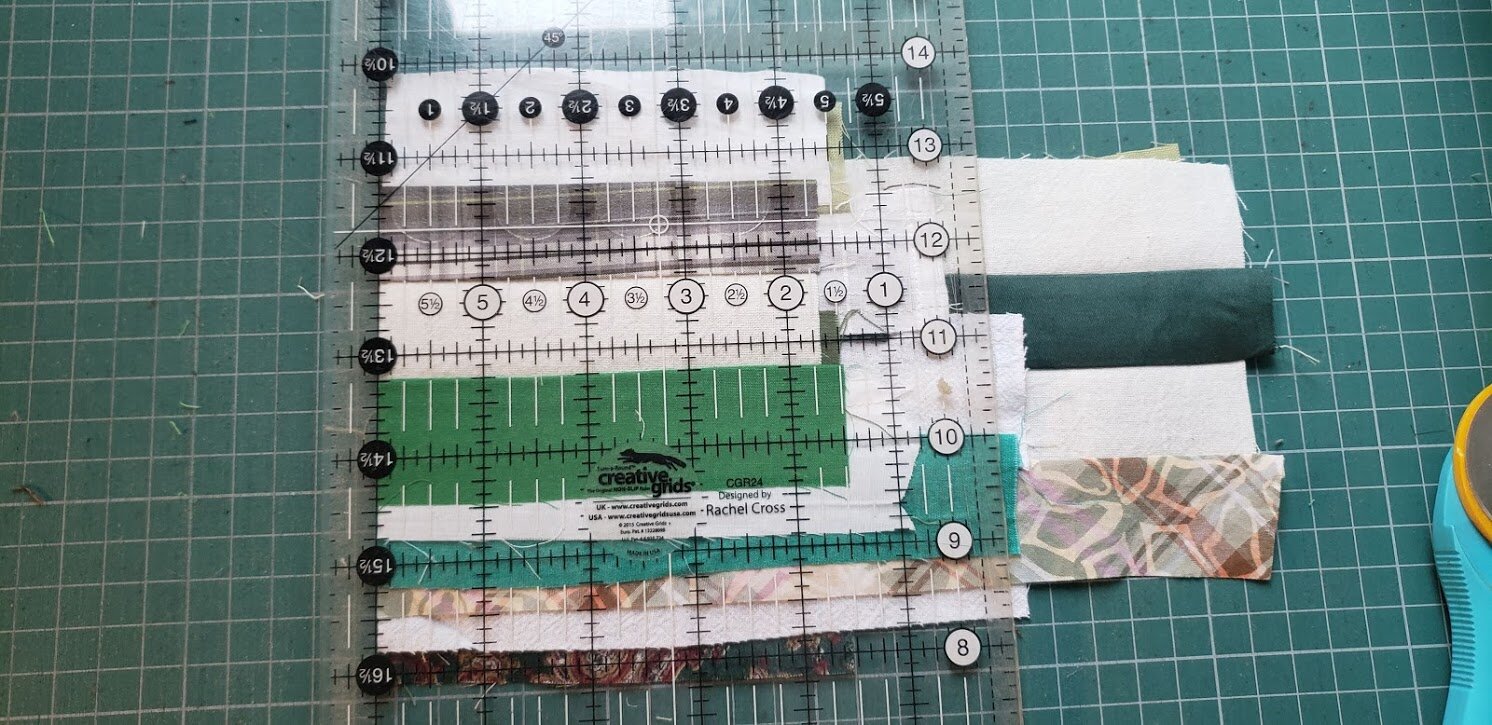
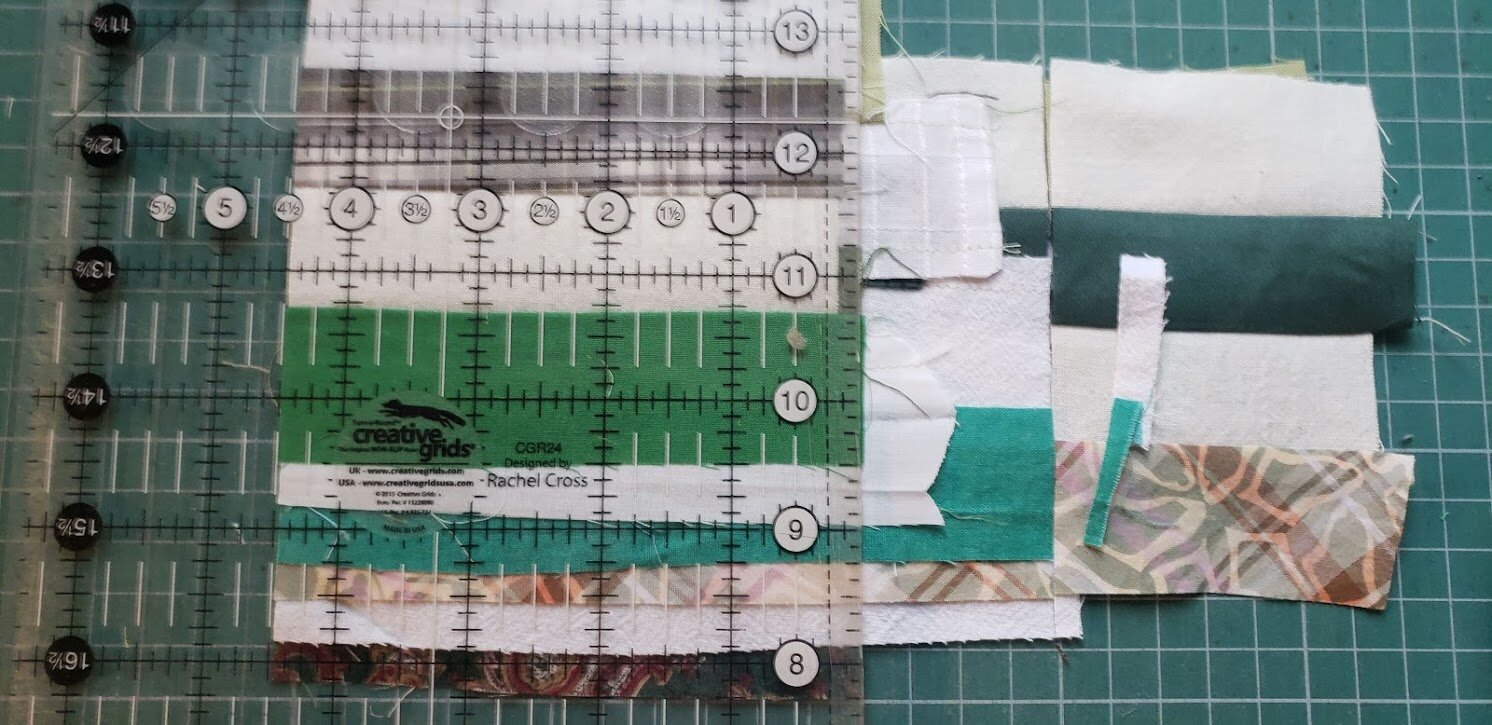
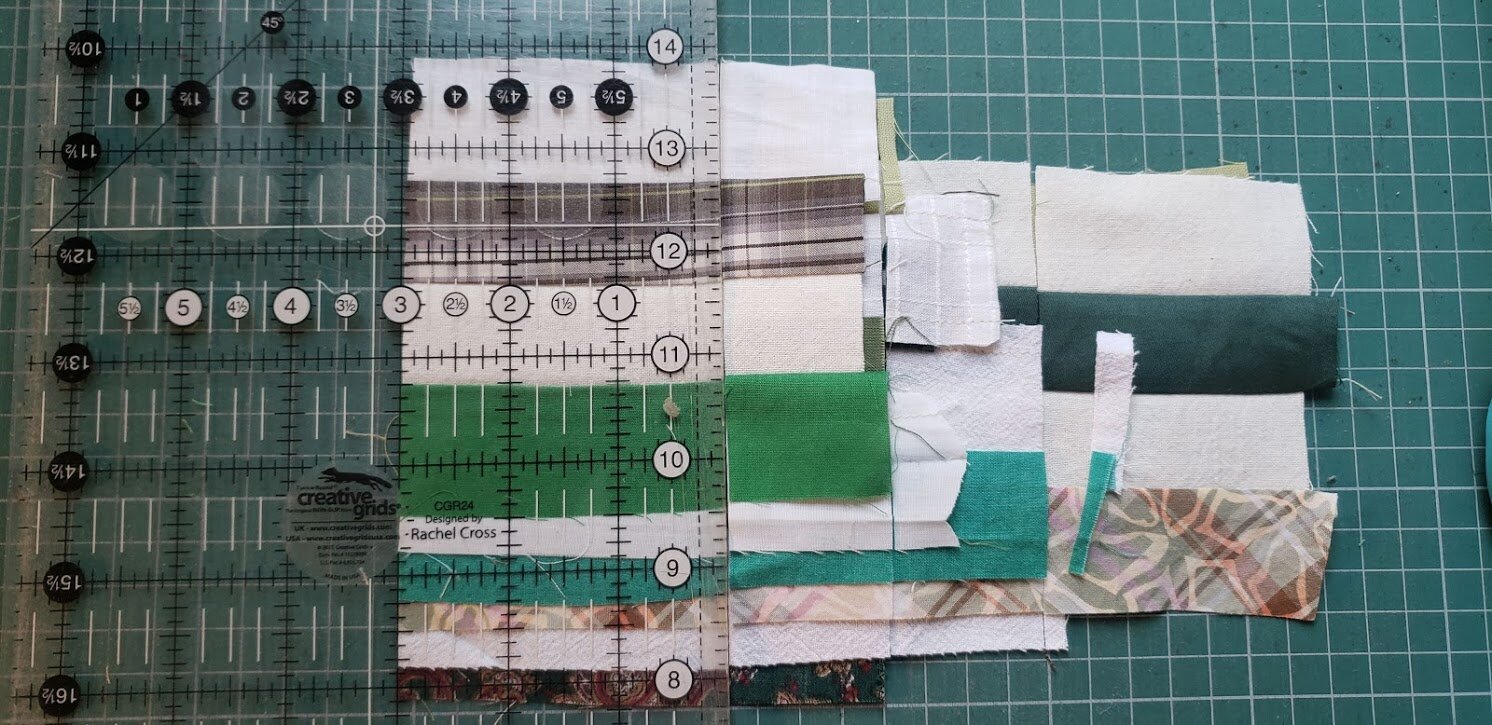
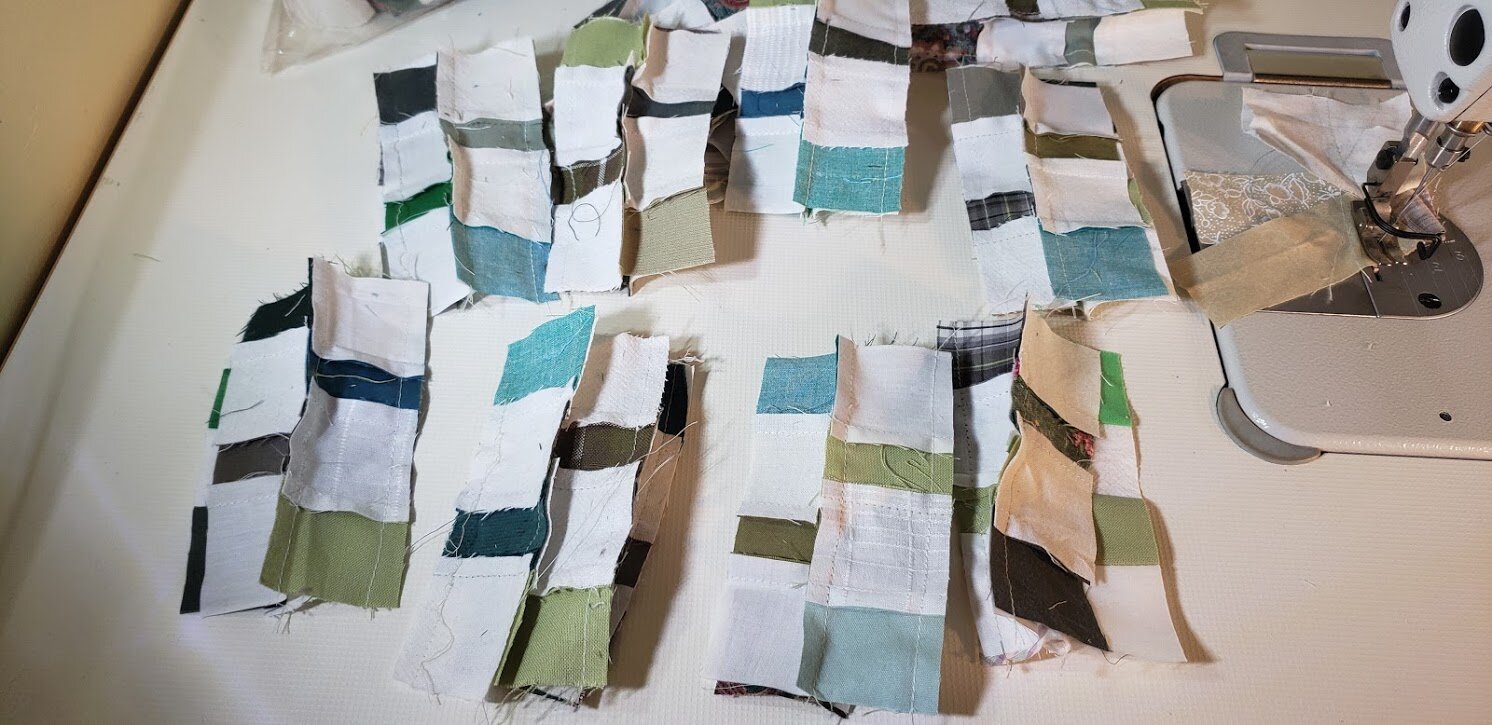
This is my pile of current strips cut at 1.5”. I need both greens and whites/creams. Long and short.
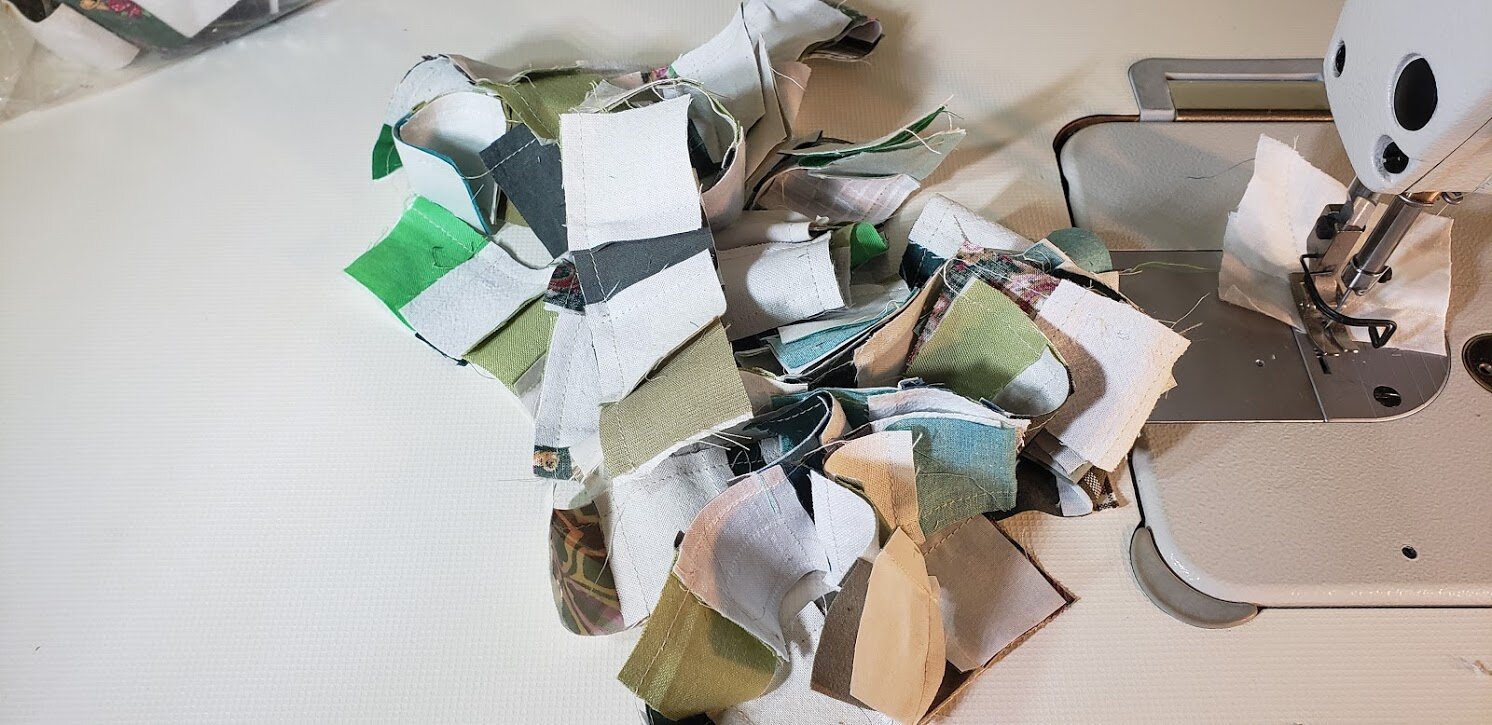
After I cut some strips I sew a bunch of them - white and green right sides together. I use strip piecing methods. That simply means I don’t cut between each set - I just sew from one to the other and end up with a long string of sewn strips. After sewing, I need to cut them apart.
After sewing 2 together, I took those pieces, trimmed apart, and sewed them together like this:

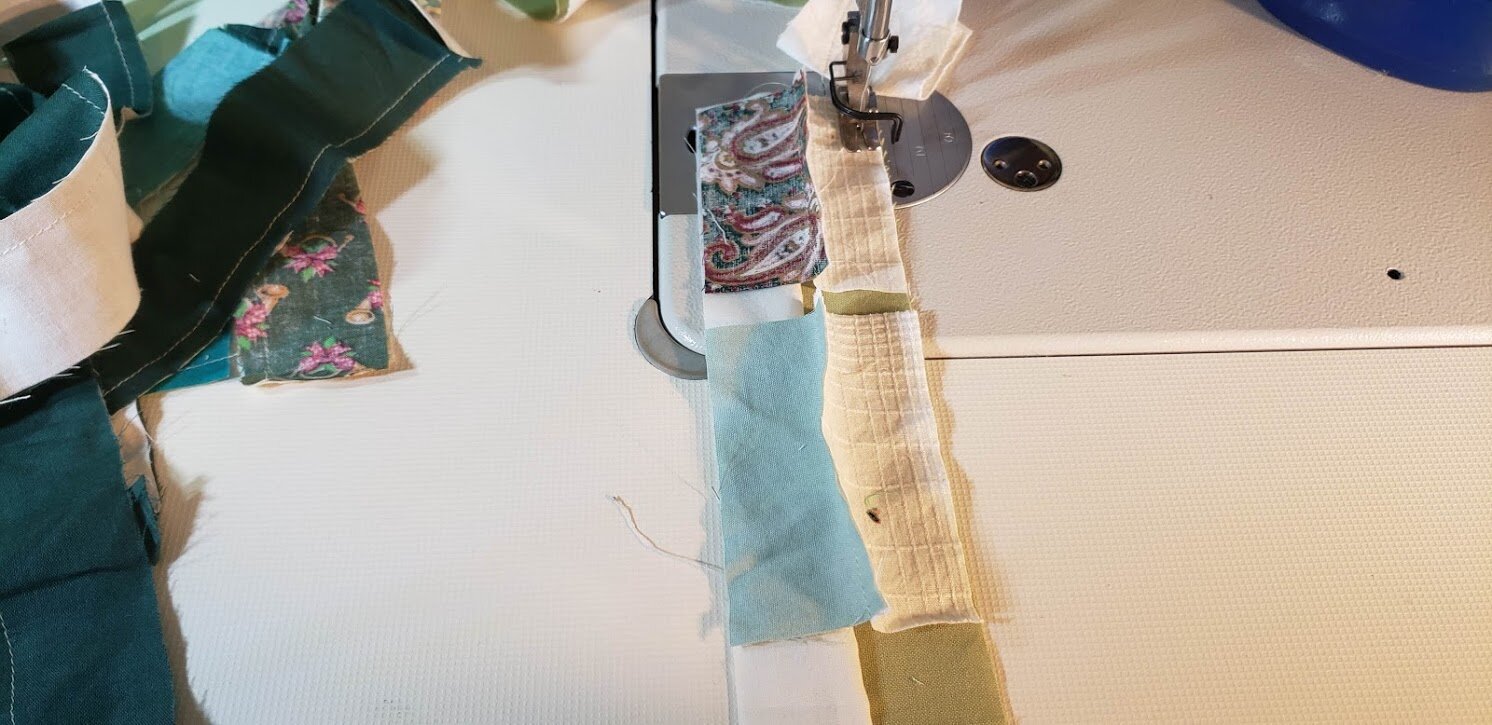
I cut them apart at their sections and pressed open. I press towards the green - this way they nest nicely.
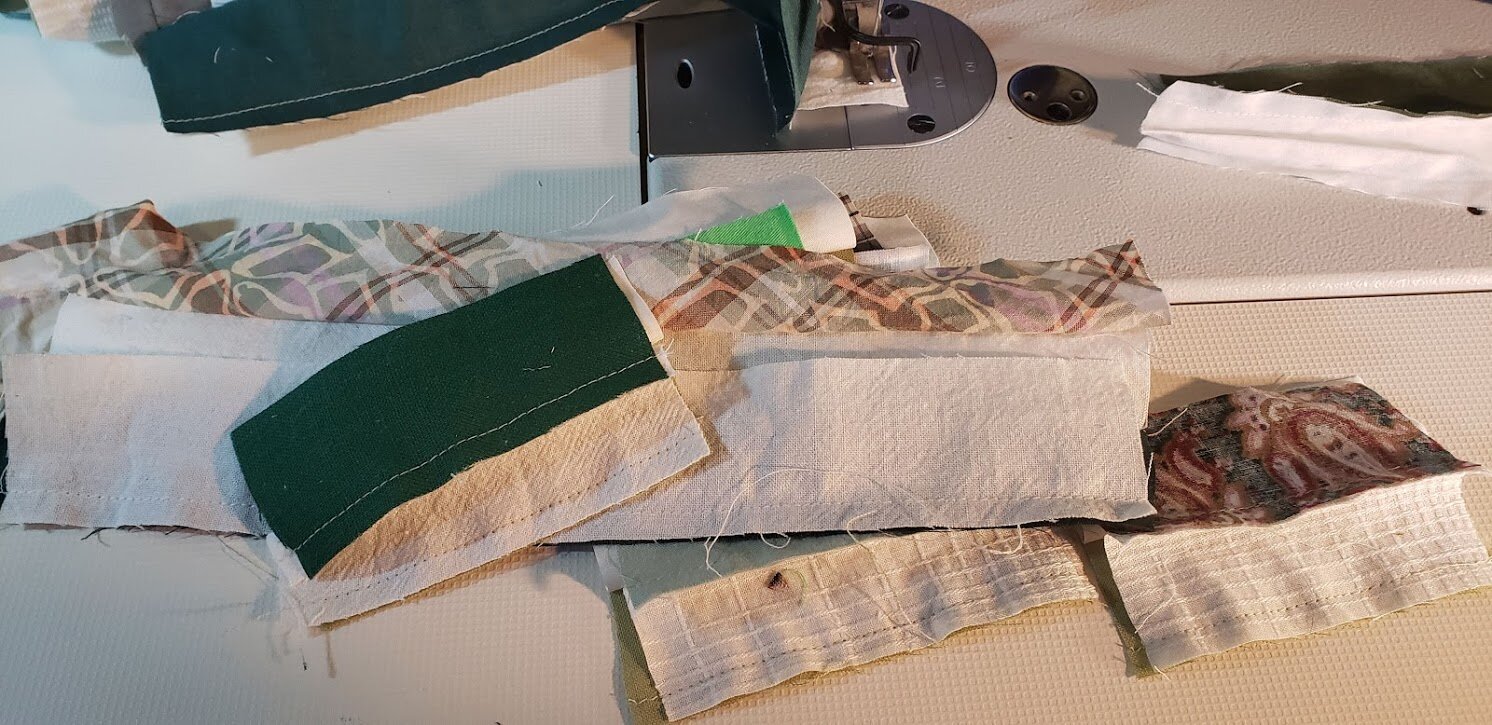
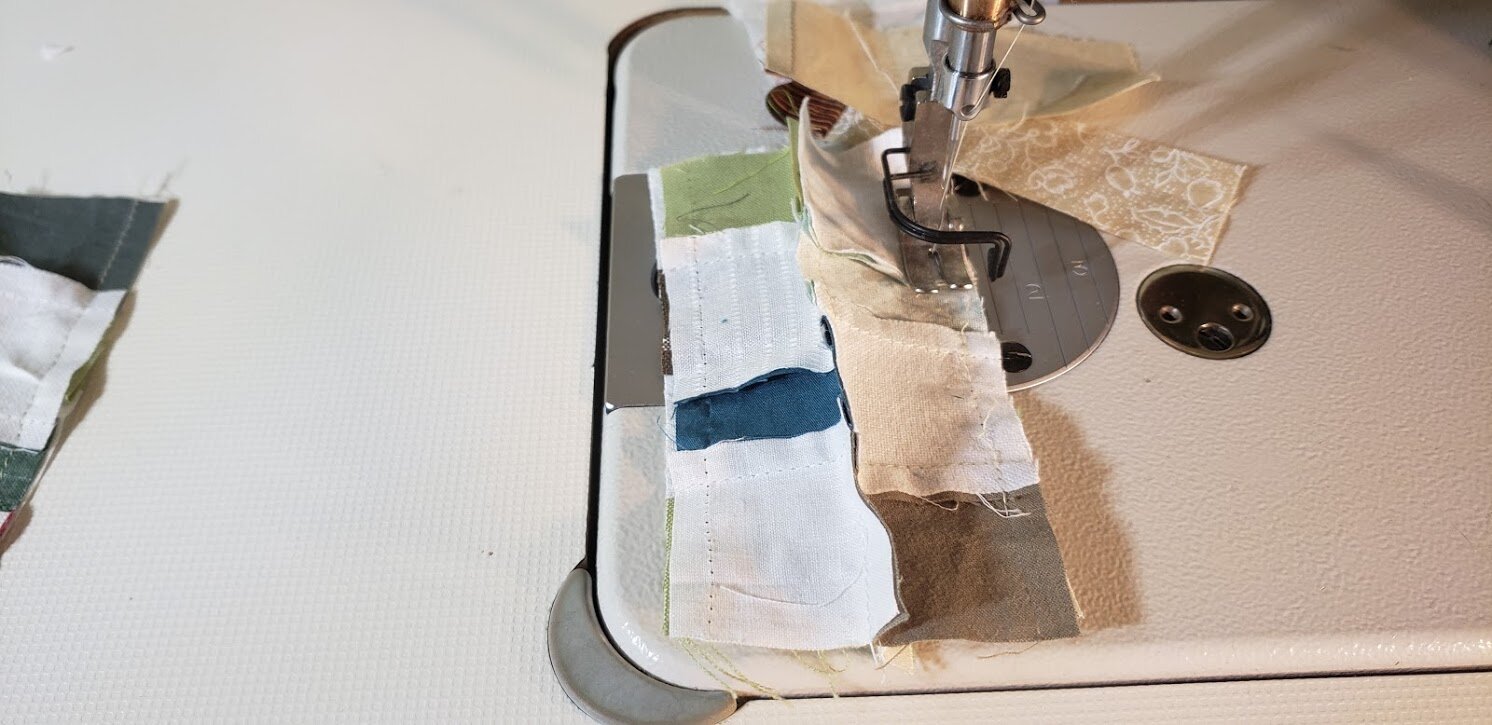
I then subcut them into strip sets.
Then I went ahead and sewed those together to make some 16 patches. First I sew two of those strips together like this:
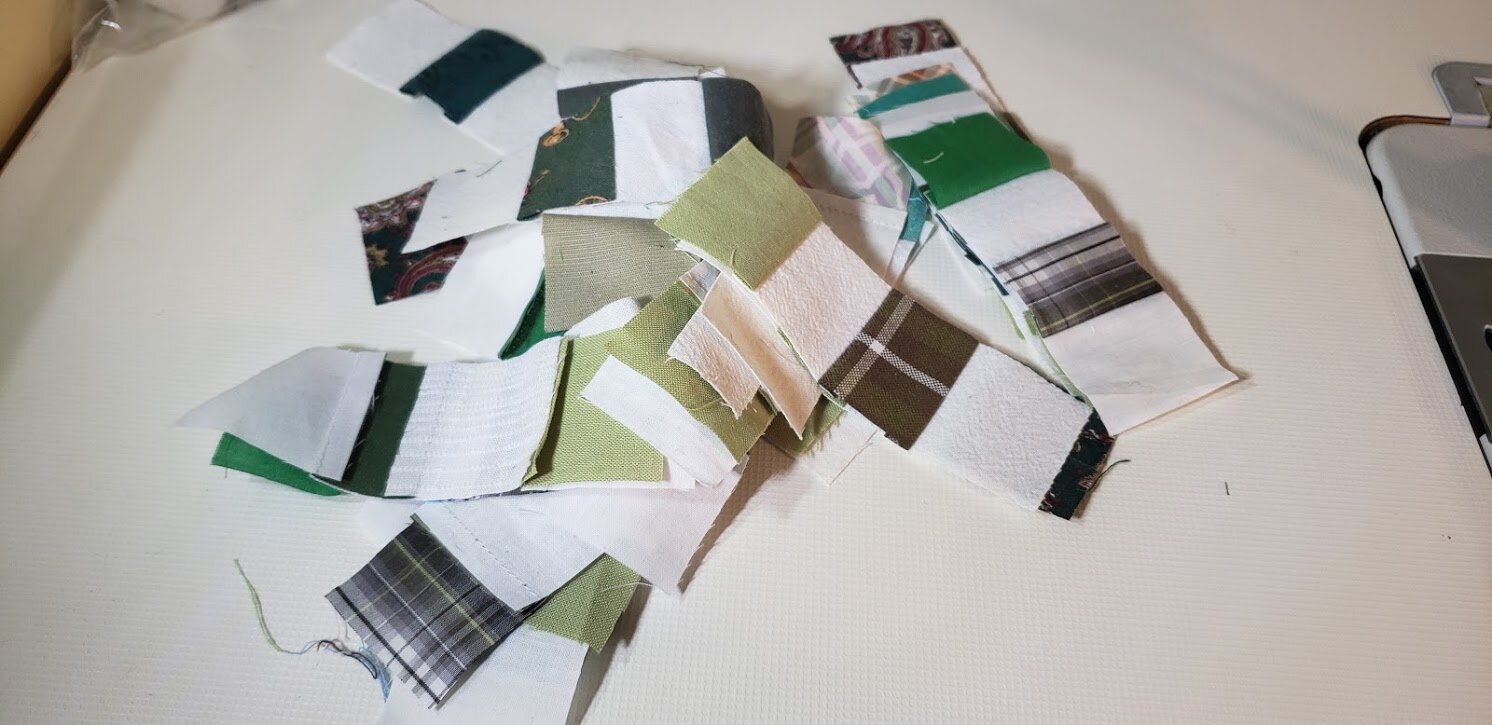
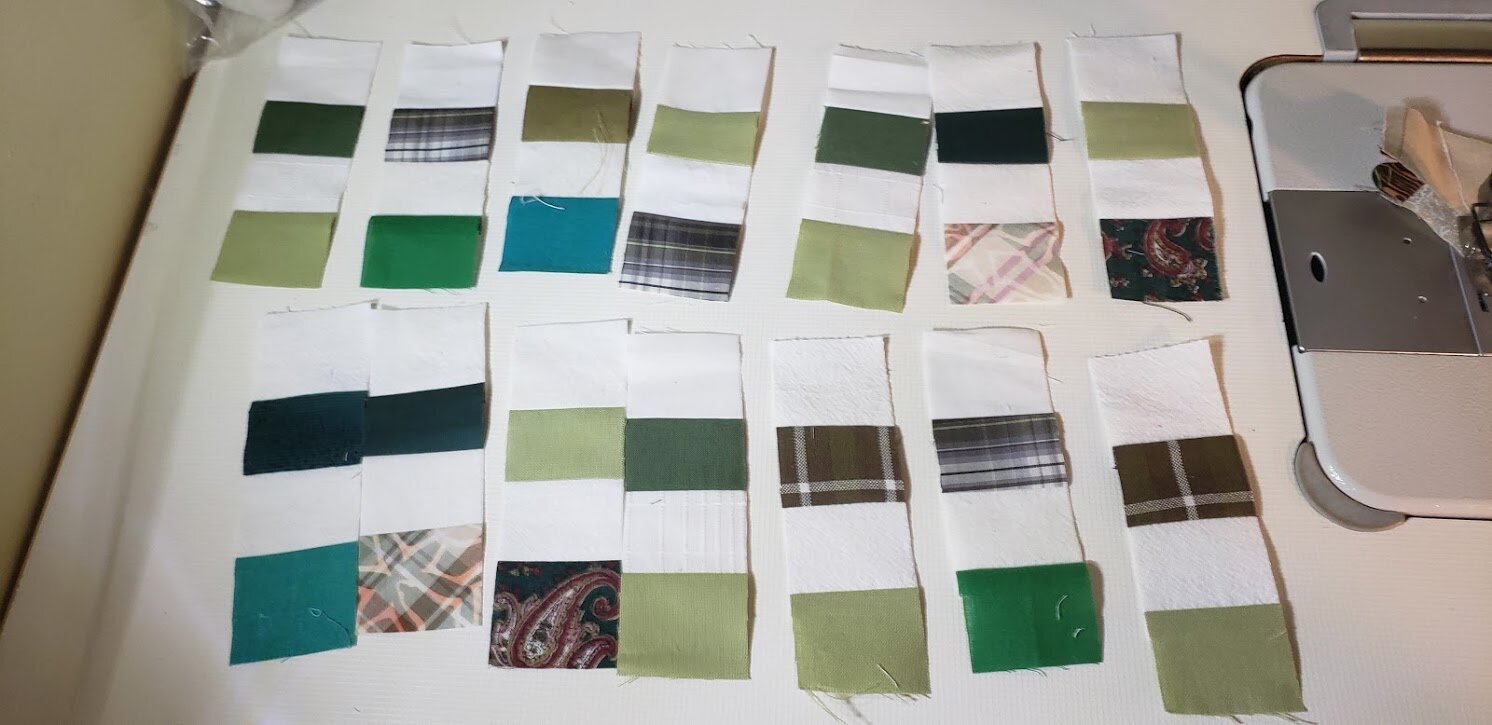
Then I take those sets of 2 strips together and sew one to the other one as shown below.
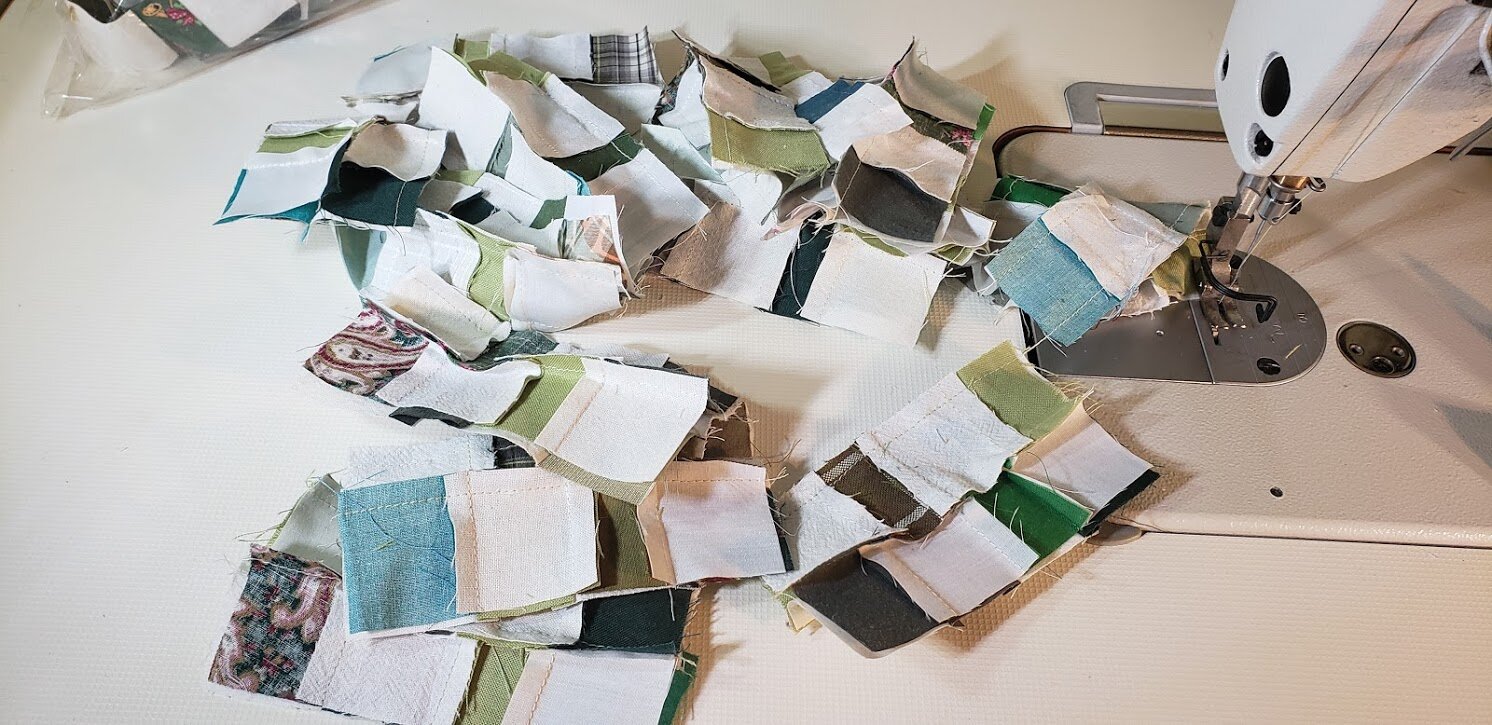
Press these open/flat.

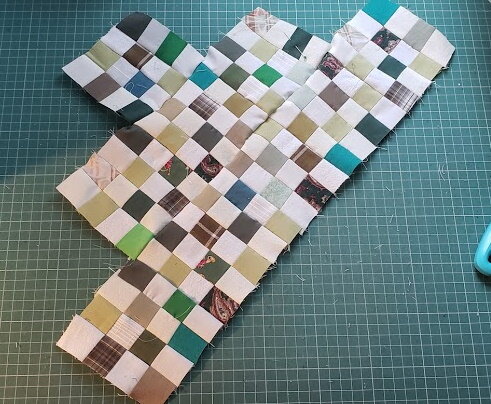
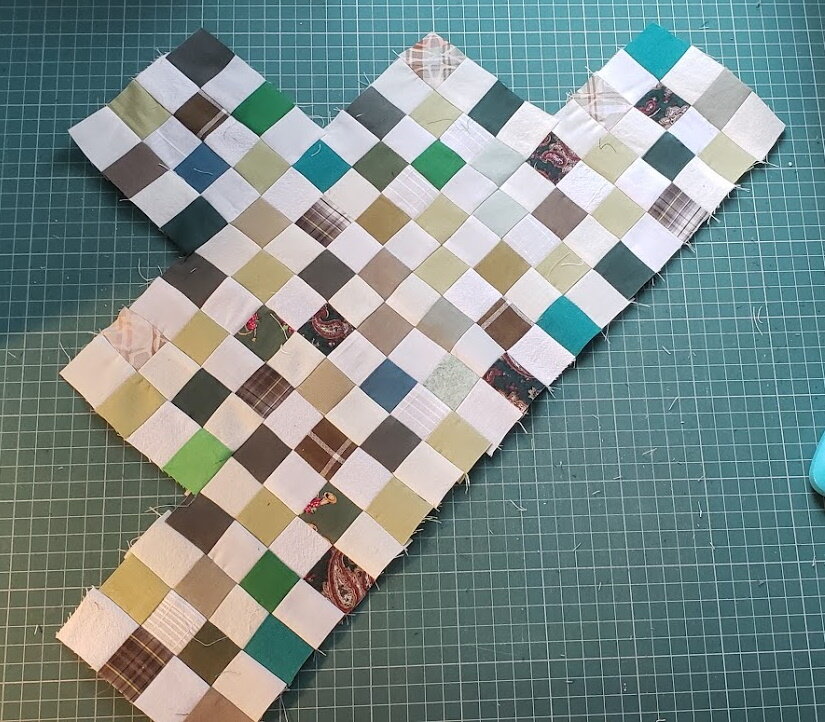
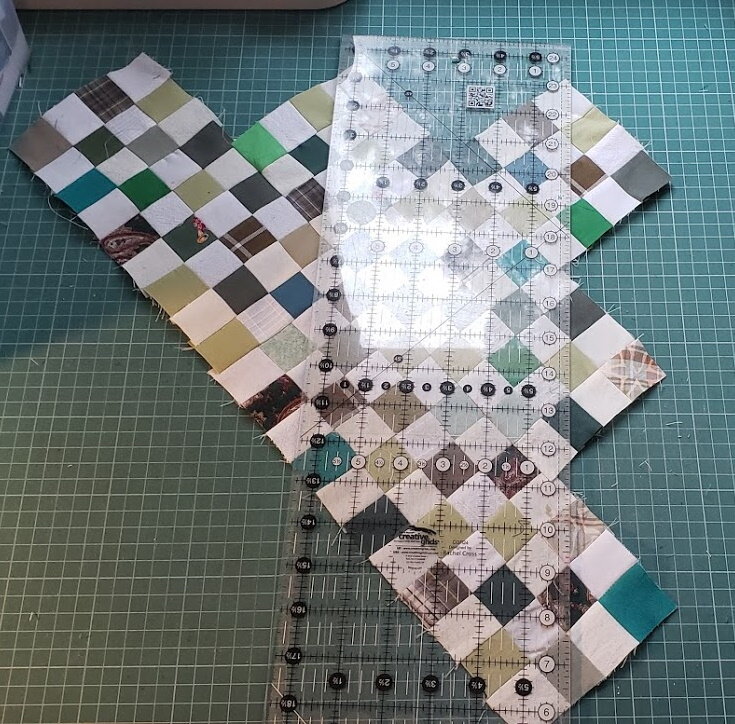
As I put them together, I will work like this: on the diagonal:
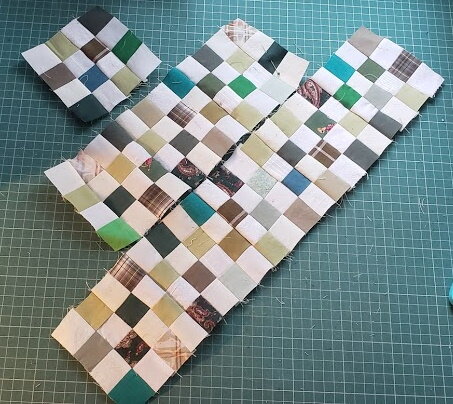
After those together as shown, I trimmed. I lined my ruler up with the center of the edge blocks and trimmed - giving about a half inch allowance. I can trim closer when it is actually time to bind.
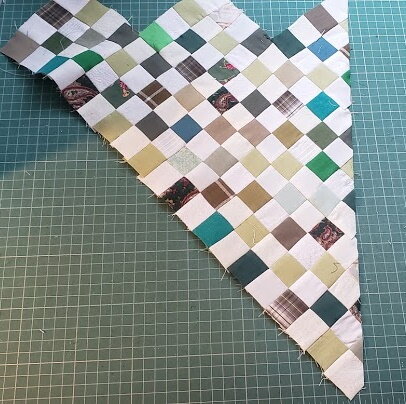

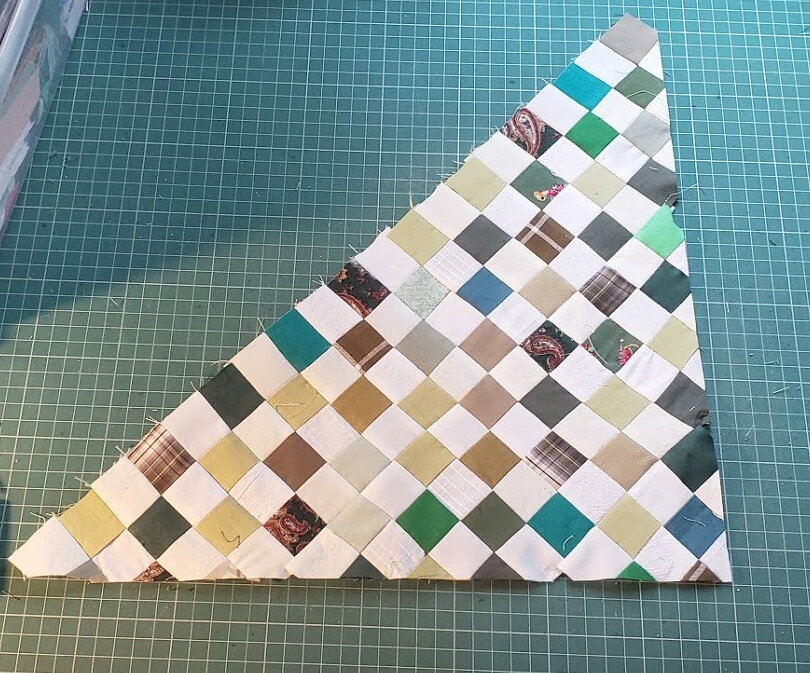
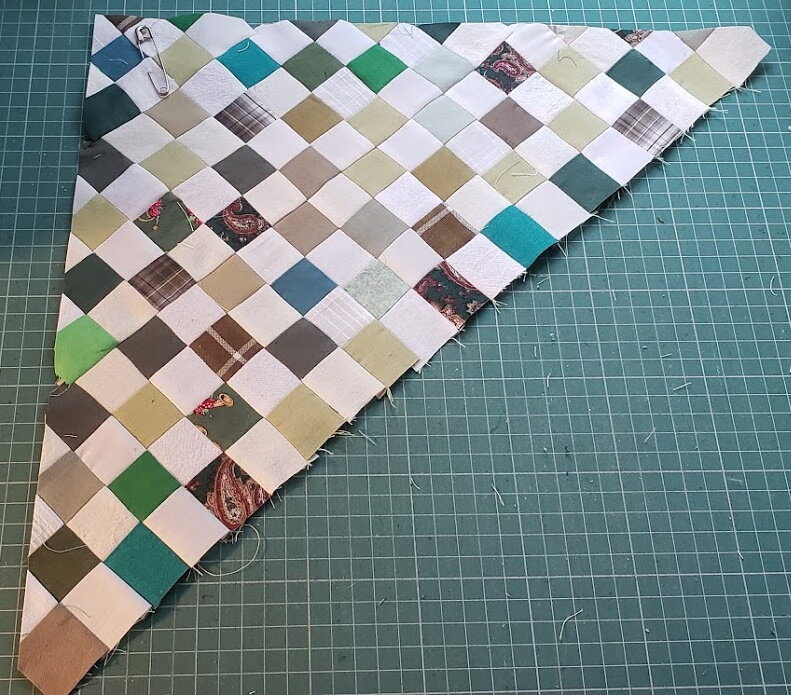
Here is where I am so far. I wanted to just “get going” and show you what I’m doing and how I’m doing it.
This isn’t rocket science, folks. It’s super simple. It’s tedious, yes. But sometimes, simple, non thinking sewing things are exactly what we need - when we just want to sew but we don’t want to have to put our whole minds to it! And in the end, you’ve got to admit, it’s pretty cool.
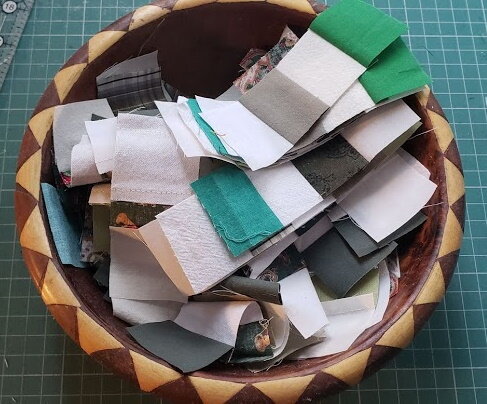
I’m keeping everything to do with this quilt, once I’ve cut strips, in this box. Eventually the top itself will begin to take a lot of space. I’ve got some work before that happens, however!

Here’s the actual diagram. You can save it as a picture and print it out and then mark off when you finish each row. This makes a quilt that is about 92”x97” when each of those little blocks is a finished 4” square.
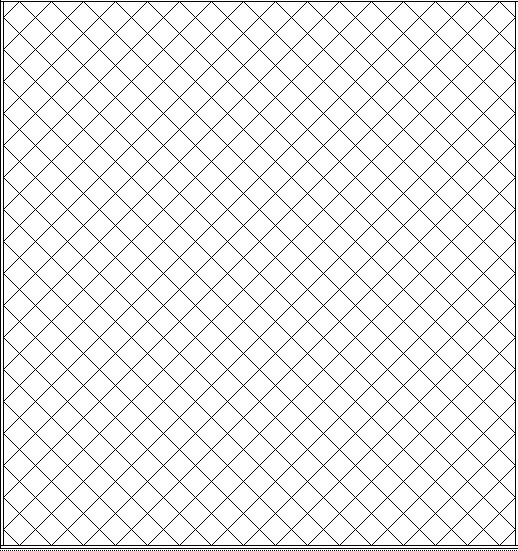
It’s also a pretty heavy quilt top!
Gotta start somewhere and I find that once I get started, sometimes, that’s all it takes for me to keep going.
Have a great day wherever you are reading this!
Be sure to check out what my sis has for you in the store here!
Here’s one of the beauties we have!
